Button Tab Action
-
Navigate to HSYCO Manager
-
Create a new project or open an existing one
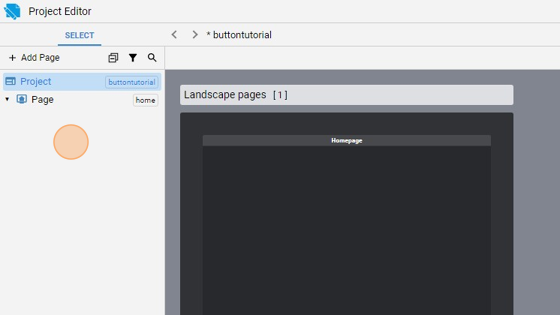
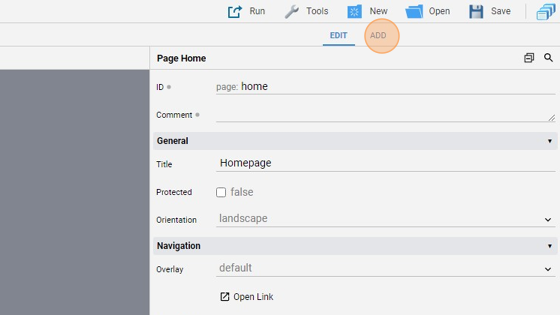
- Go into the Home Page

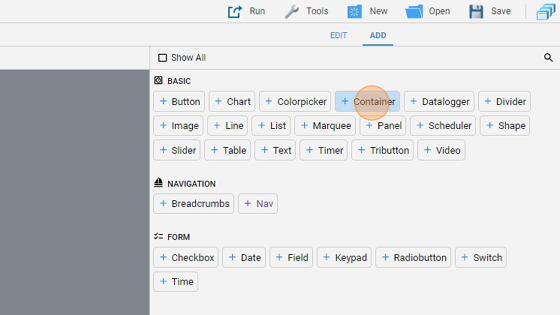
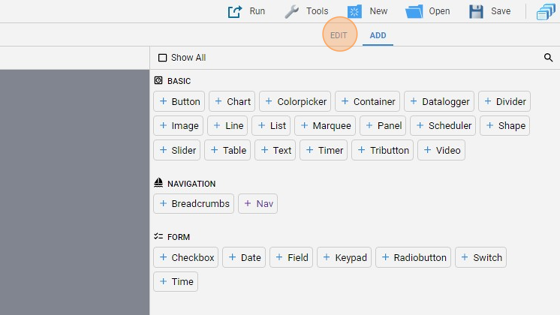
- Click "add"
- Add a "Container"
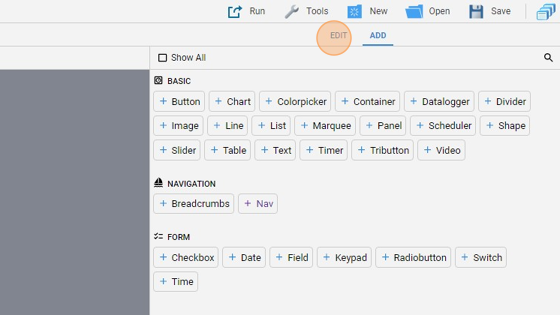
- Click "edit"
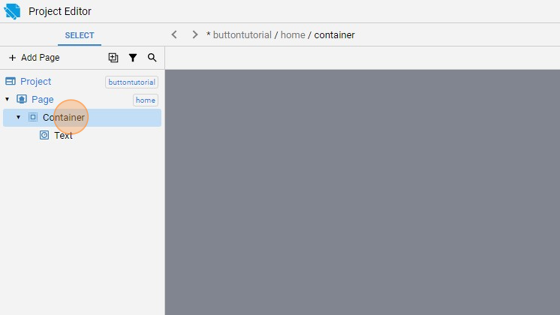
- Give the container an ID ("container1" for example)

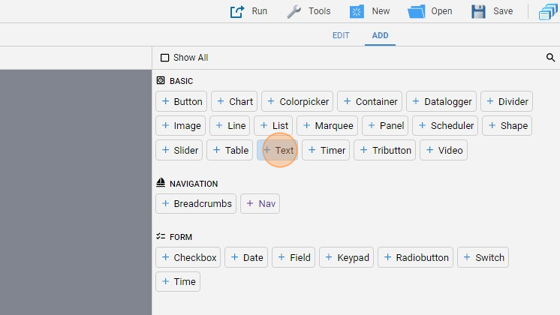
- Click "add"

- Add a "Text" object and go back to "edit" mode
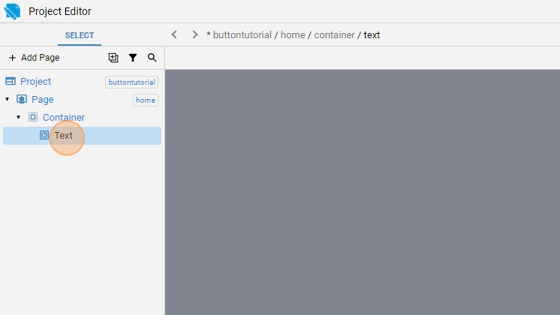
- Move the "Text" object inside the container by dragging the "Text" field in the Select panel under the container
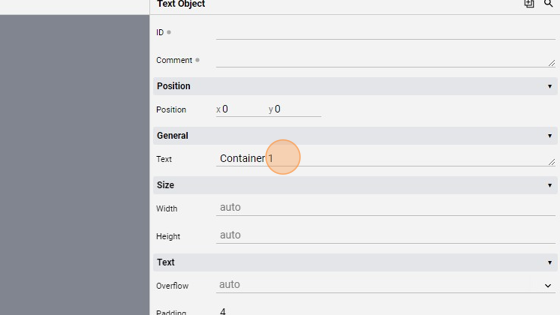
- Change the "Text" displayed to "Container 1"
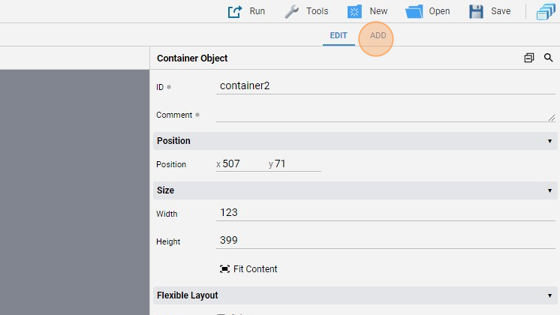
- Now close the container and select it in the Select page
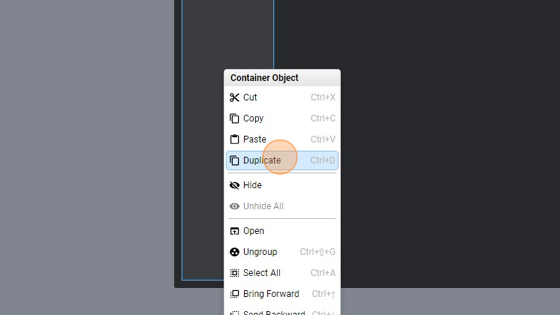
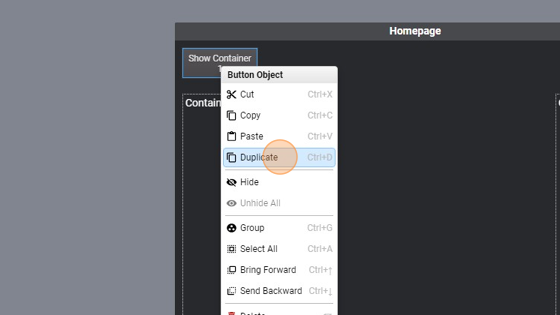
- Right-click on it and select "Duplicate"
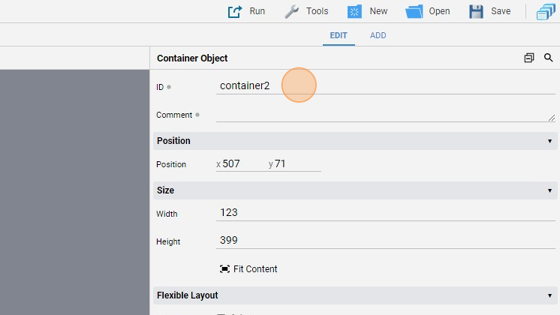
- Move this new container to the right

- Change his ID to "container2"
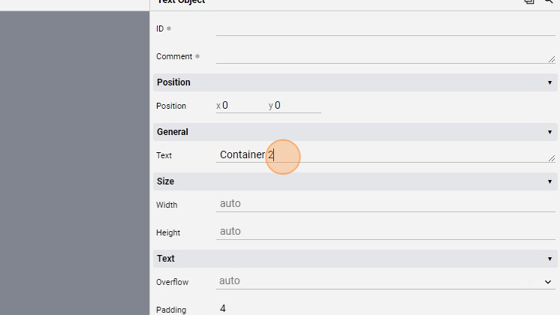
- Select the "Text" object under the new container
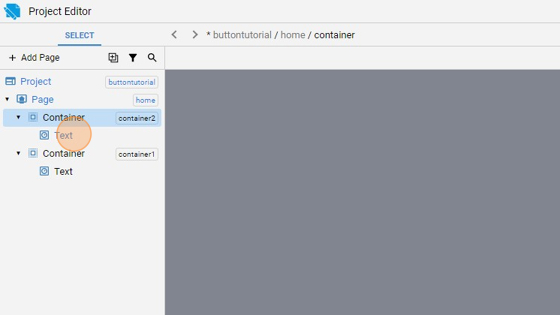
- Change the "Text" to "Container 2"
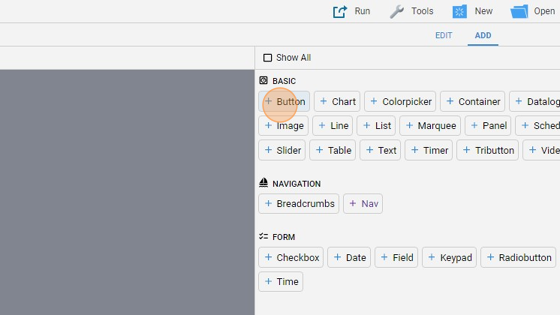
- Click "add"
- Add a "Button"
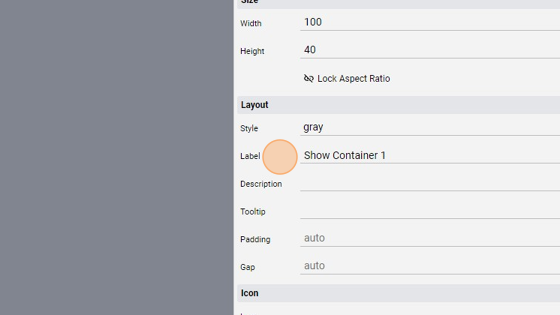
- Click "edit"
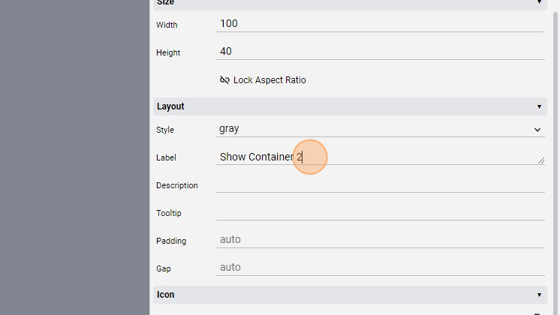
- Change the "Label" to "Show Container 1"
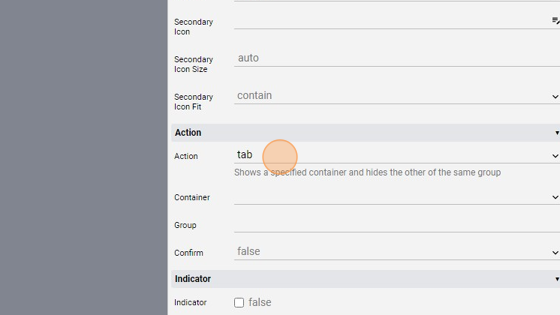
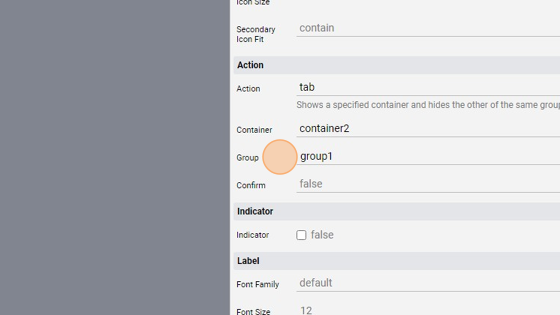
- Change the "Action" to "tab"
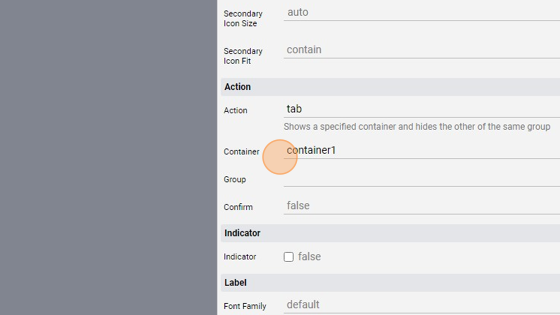
- Change the "Container" to "container1"
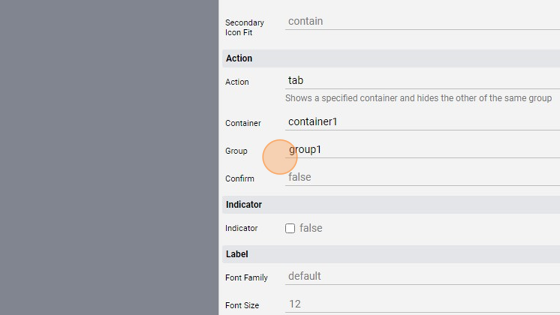
- Change the "Group" to "group1"
- Right-click the button and duplicate again
- Move this new button above the right container
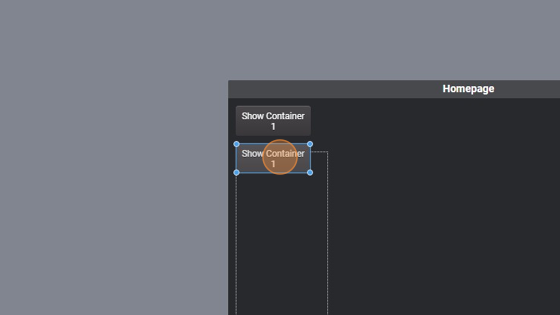
- Change the "Label" to "Show Container 2"
- Change the "Container" to "container2"
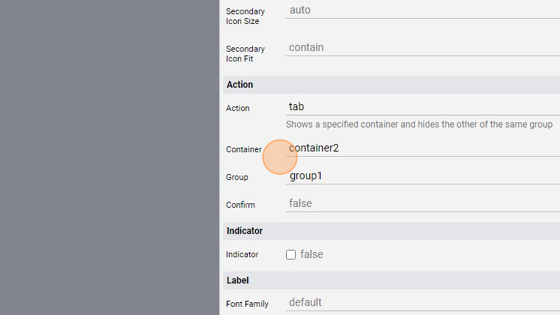
- The "Group" is the same for both the buttons
Tip: Now we will set the two containers' visibility to "Hidden" so that they are shown only when the button is pressed
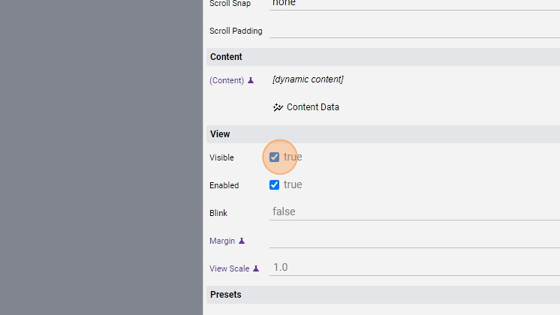
- Select the first container
- Uncheck the "Visible" checkbox
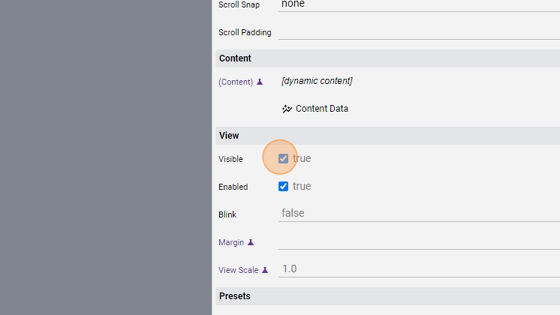
- Select the other container

- Uncheck the "Visible" checkbox
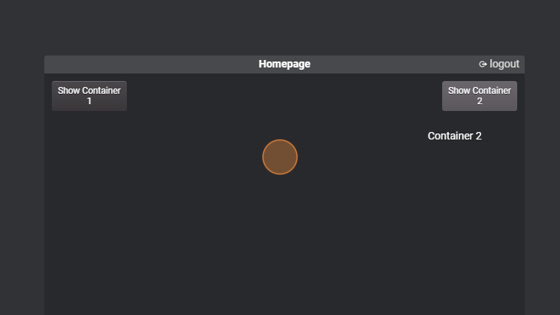
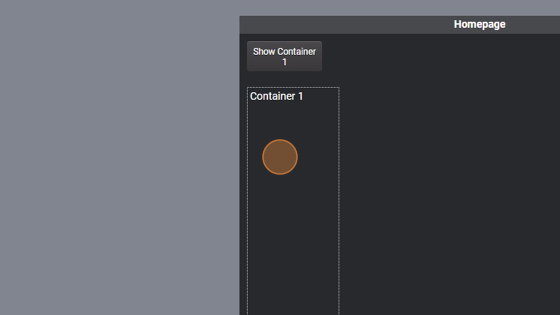
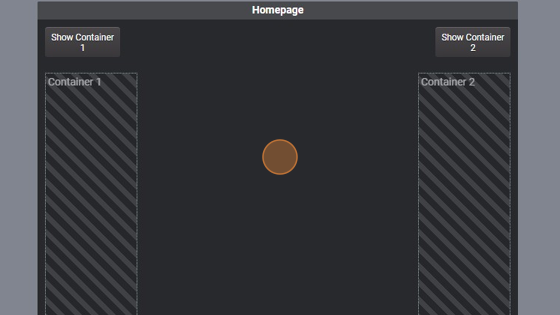
- The page should look like this:
- Click "Save" to save the project

Tip: Done! Now we can try the buttons
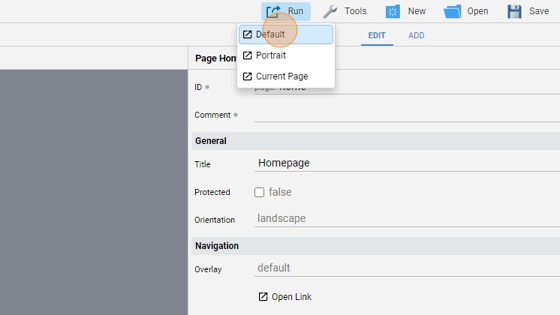
- Click "Run" and then "Default" to launch the application
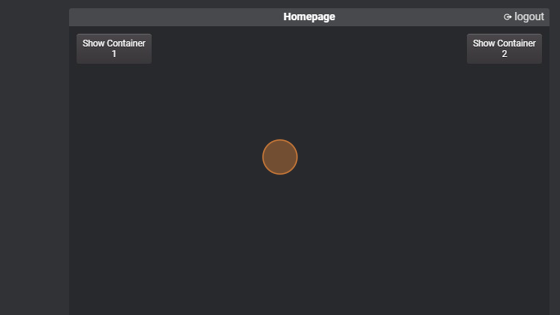
- The two containers are hidden because we set the visibility to "Hidden"
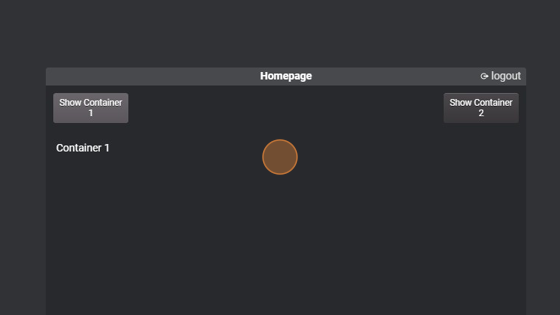
- Click the first button

- As you can see, the linked container showed up while the other didn't
- Click the second button

- Now, the second container is visible while the first is not