Create a Project with NAV and Breadcrumb
-
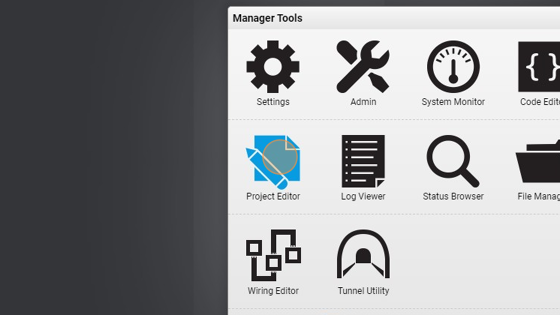
Navigate to HSYCO Manager
-
Click on "Project Editor"
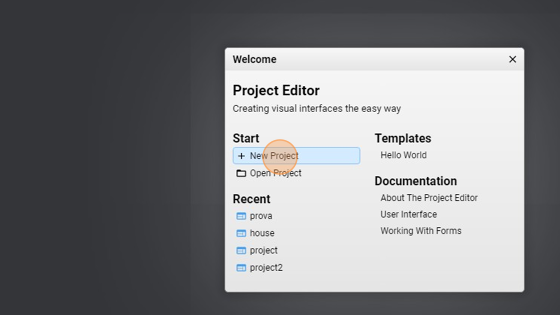
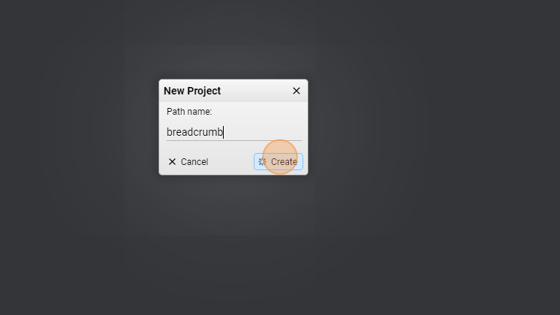
- Click "New Project"
- Give the project a name ("breadcrumb" for example)
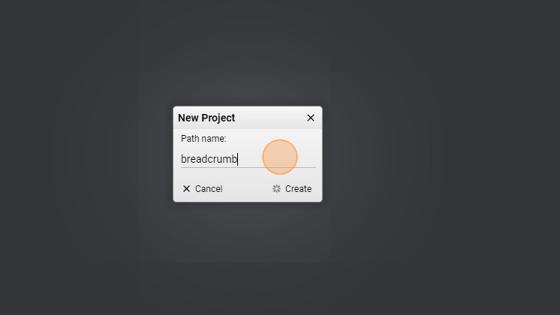
- Click "Create"
Tip: Now we will add the different pages and give them a hierarchy
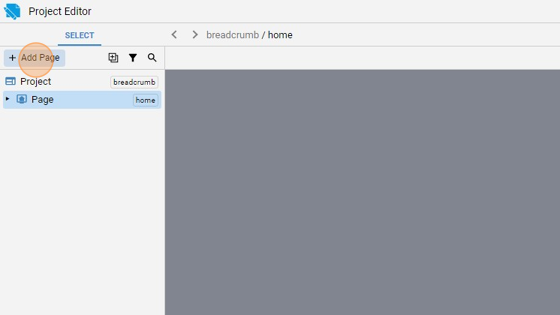
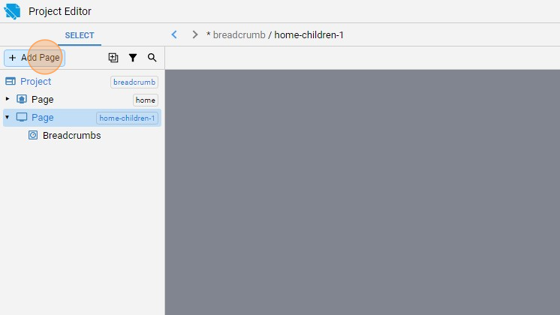
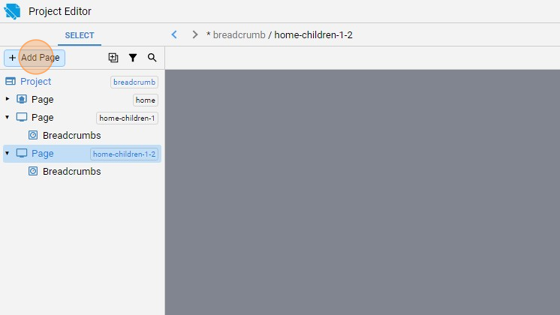
- Click "Add Page"
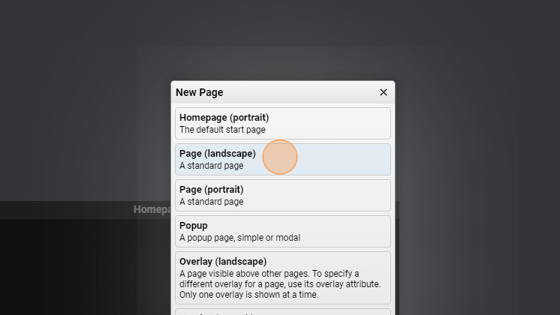
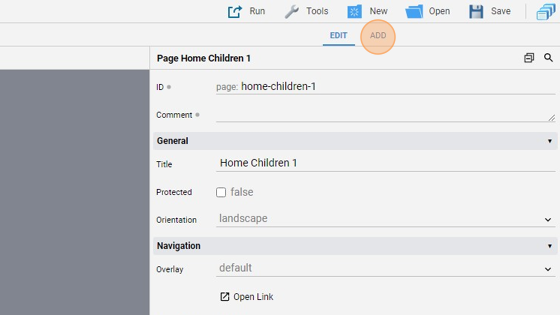
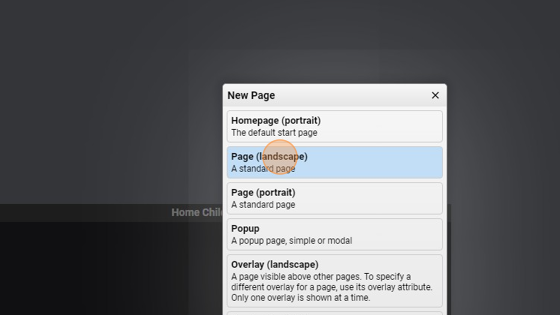
7. Add a simple "Page (landscape)". This page will be a children of the "home" page
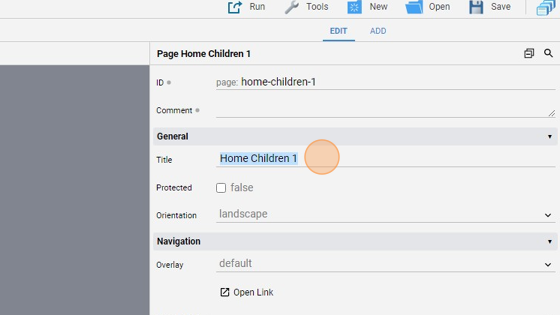
- Change the ID to "home-children-1"

- Change also the "Title" to "Home Children 1"
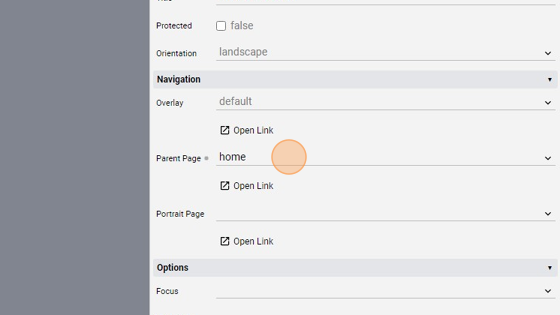
10. Now change the "Parent Page" field to "home". This means that this page ("home-children-1") is a children of "home" page
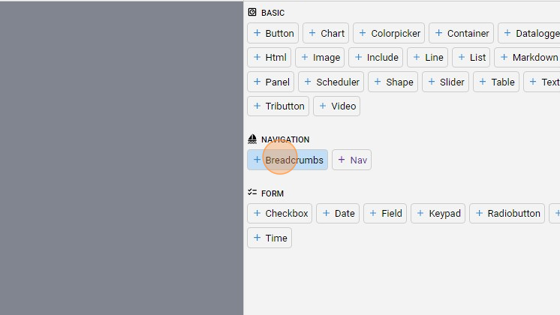
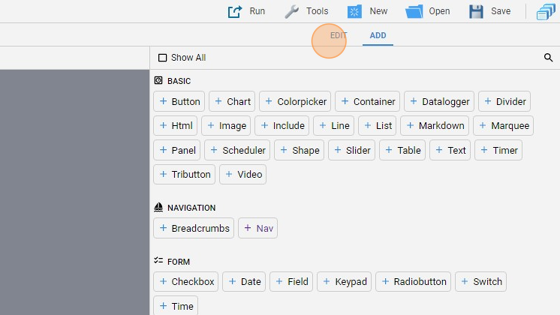
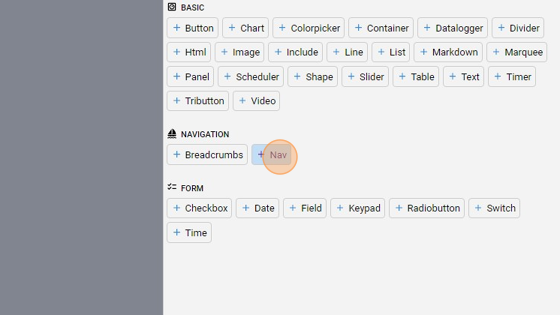
- Go to the "add" section
- Add a "Breadcrumbs" object
- Click "Align" to open the align menu

- Click "Center Vertically"
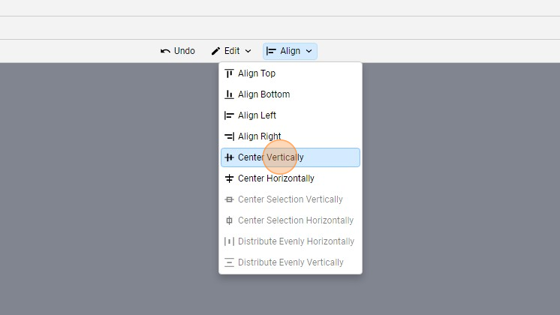
- Click "Center Horizontally"
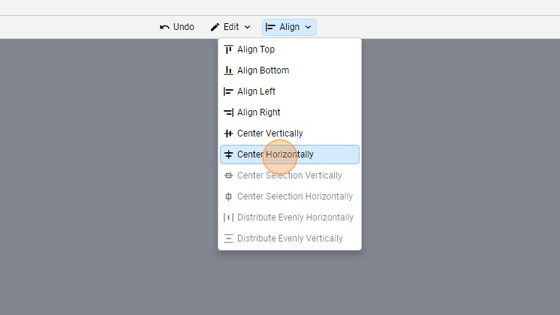
- As you can see, the object is now centered in the middle of the page
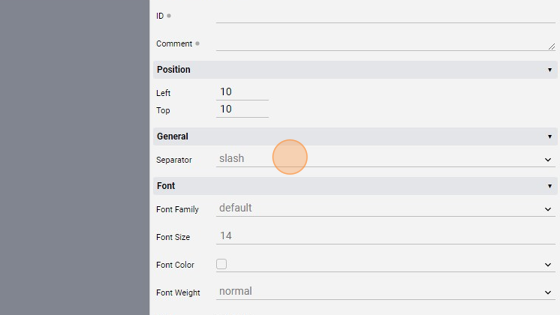
- From the "edit" mode, you can also change the separator (slash or arrow)
Tip: Now we will add a page that is a children of the page we just created
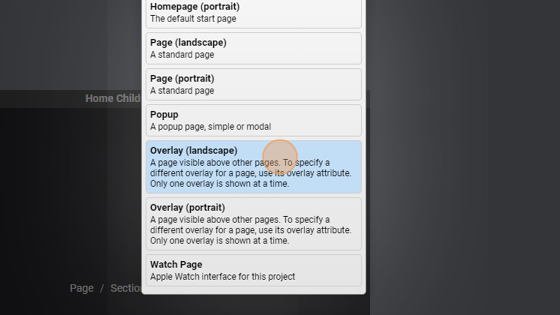
- Click "Add Page"
- Click "Page (landscape)"
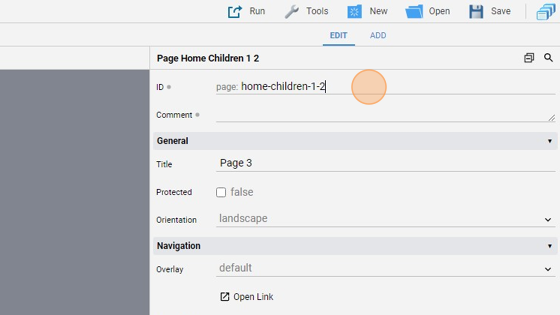
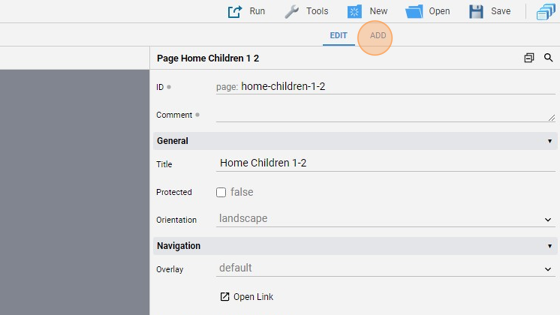
20. Change the ID to "home-children-1-2". This gives us a better overview on the fact that this page is a children of "home-children-1" page
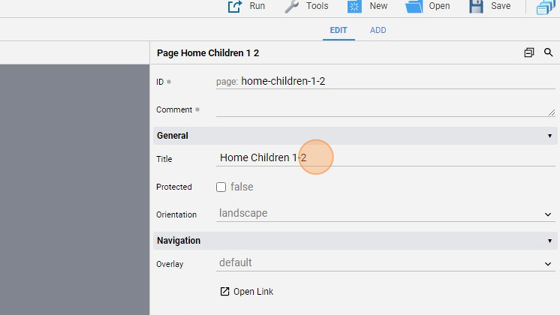
- Change the title to "Home Children 1-2"
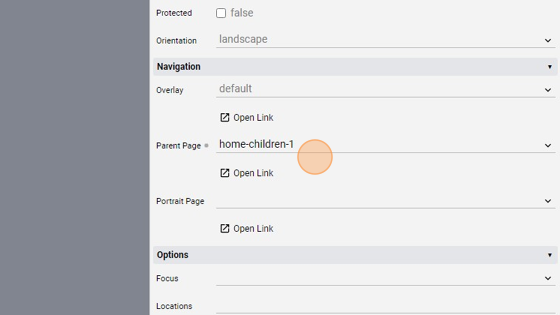
- Change the "Parent Page" to "home-children-1"
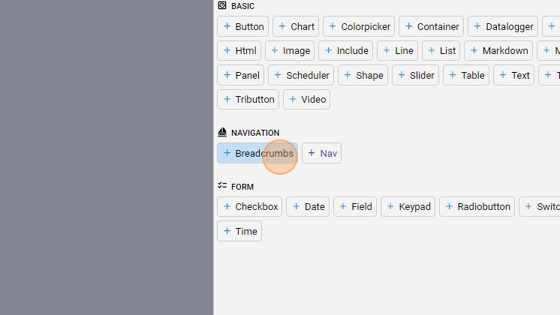
- Click "add"
- Add a "Breadcrumbs"
-
Align horizontally and vertically like we did before
-
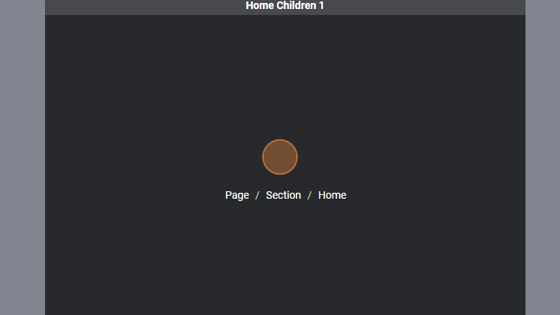
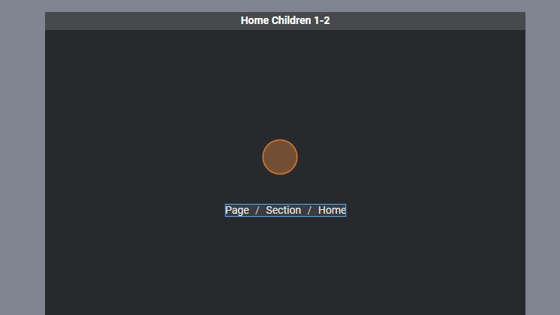
Click "edit"
- The page should look like this
Tip: Now we will add the NAV to go through this pages
- Click "Add Page"
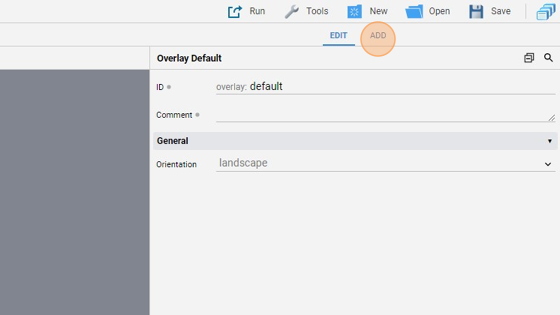
- Add a "Overlay (landscape)"
- Go to the "add" panel
- Add "Nav"
- Click "edit"

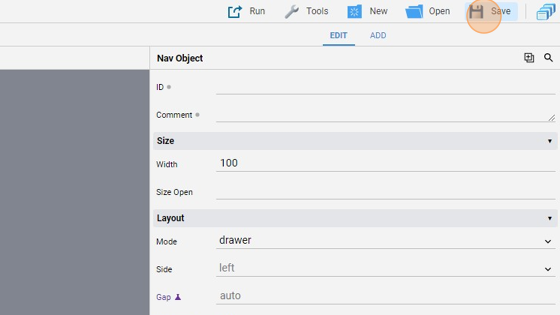
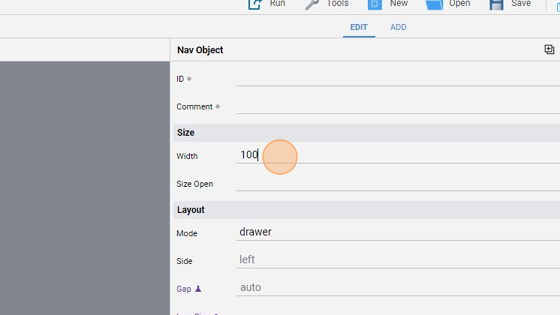
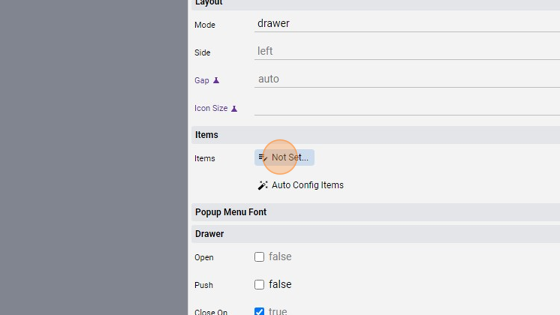
33. Change the mode to "drawer". In drawer mode, nav has closed/opened states, which can be controlled with a hamburger button, defined in the items attribute. When closed the nav is narrower and button appear without label, while when it's open it expands
- Change the width to 100 to give the nav a better appearance
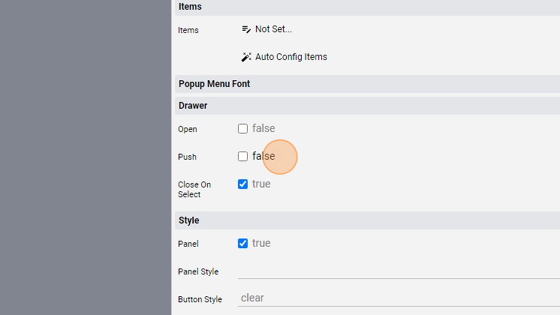
- Untick "Push" so that the content of the page is not pushed aside when opening the nav
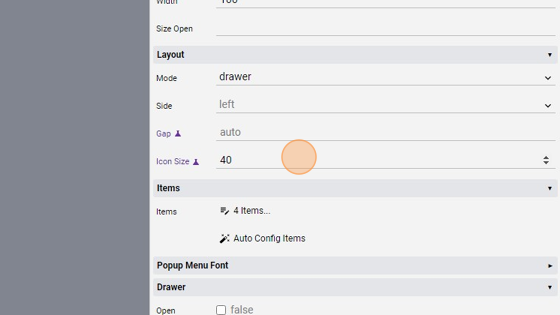
- Change the "Icon Size" to 40 so that icons are clearly visible
- Click "Not Set..."
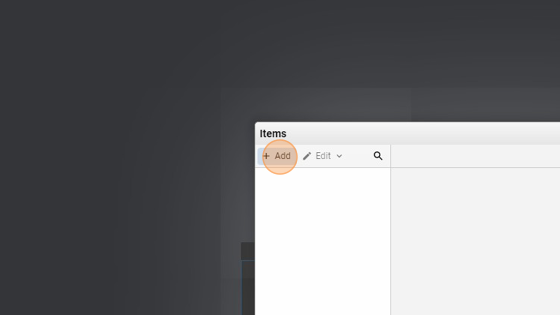
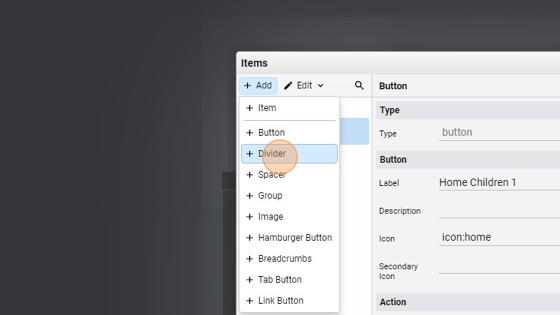
- Click "Add"
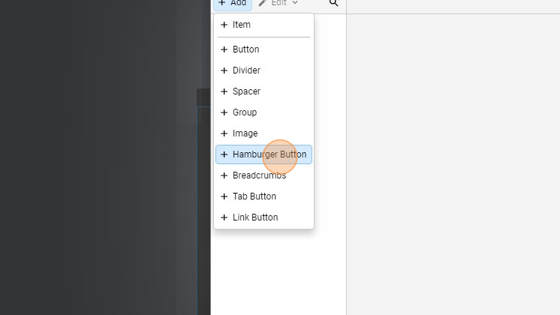
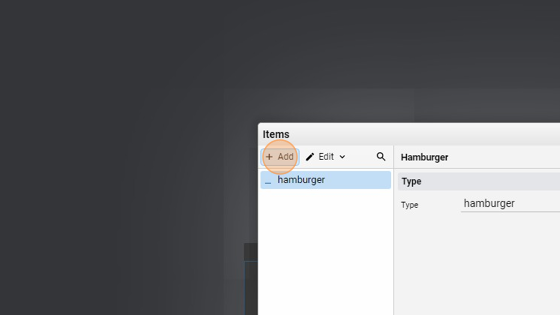
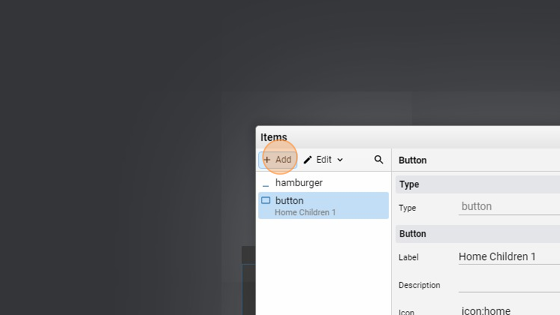
- Click "Hamburger Button". This will be used to open the nav to show the labels of the buttons
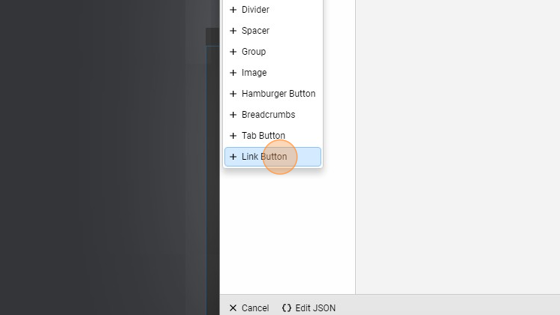
- Click "Add"
- Add a "Link Button"
- Change the "Label" to "Home Children 1"
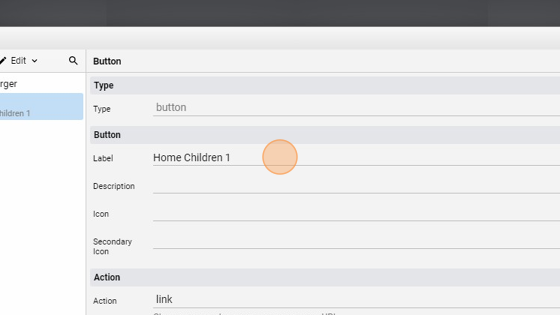
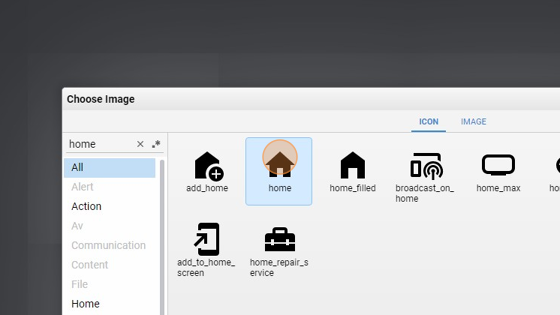
- Click here to change the icon
- Click the "Filter" field and search for "home"
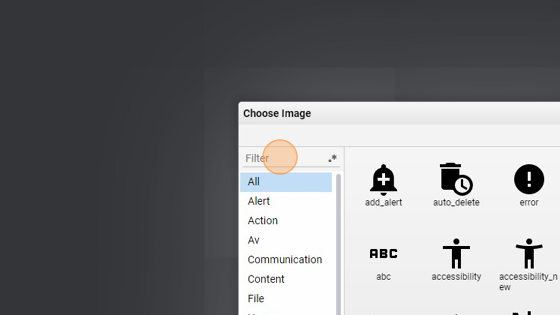
- Select and icon and click "Ok"
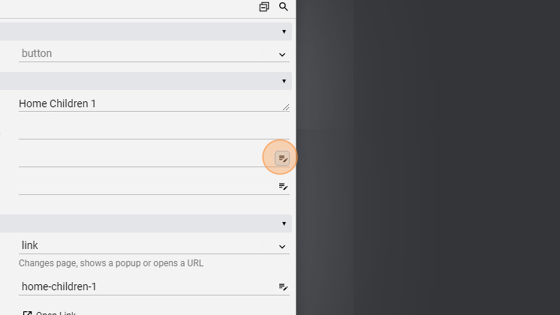
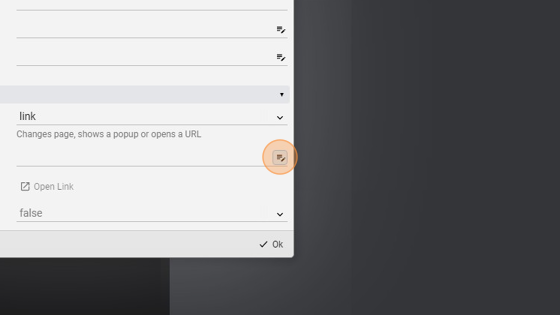
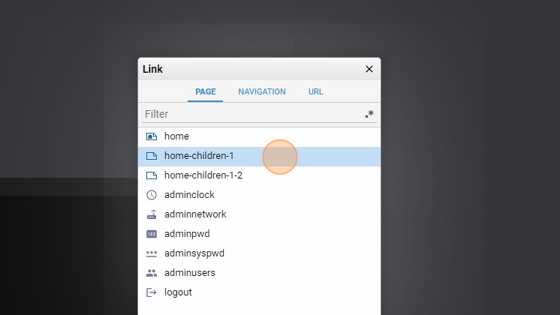
- Change the "Link"
- Select "home-children-1"
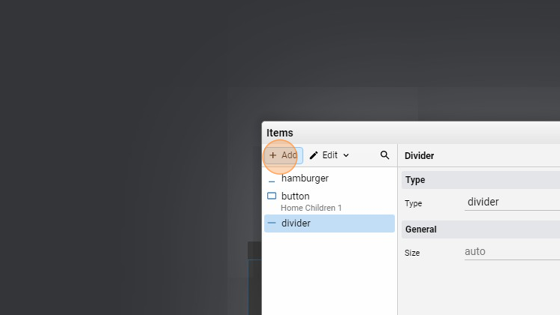
- Click "Add"
- Add a "Divider". This will be used to show a line or, as the name suggests, a divider, between the buttons
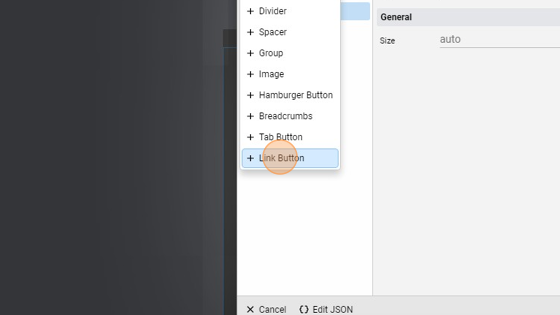
- Click "Add"
- Add a "Link Button"
- Change the "Label" to "Home Children 1-2"
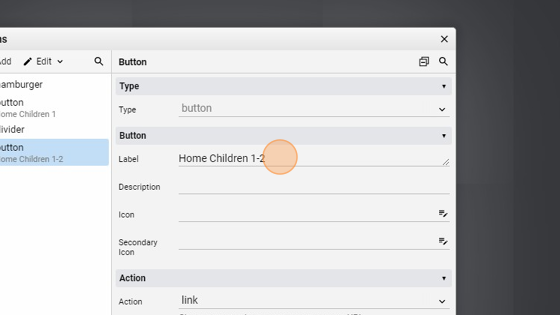
- Click here to change the icon of the button
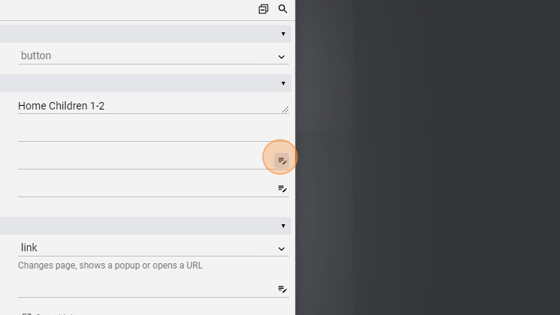
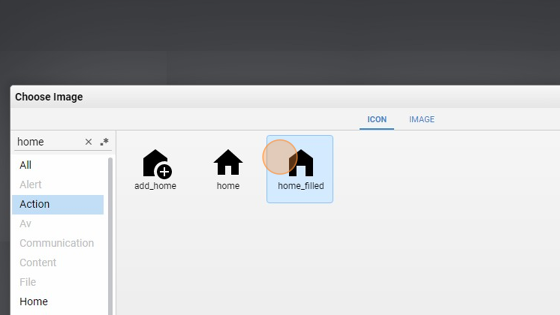
- Click the "Filter" field and search for "home"
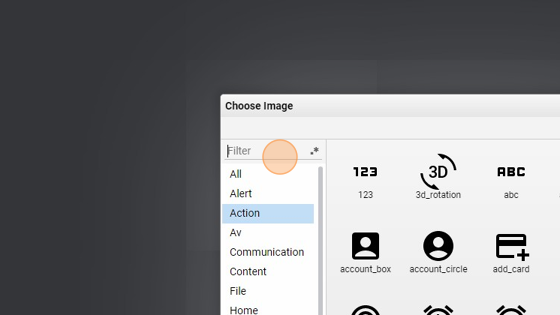
- Select an icon and confirm by clicking "Ok"
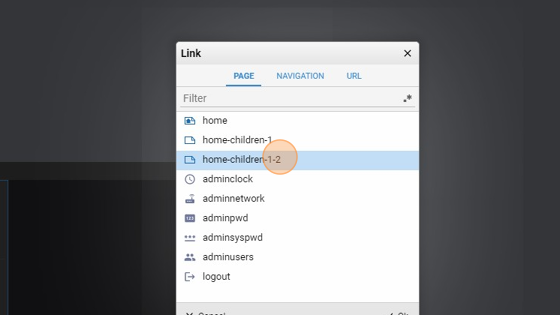
- Click this icon to change the "Link"
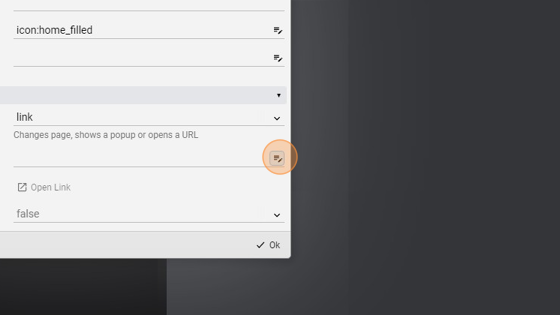
- Select "home-children-1-2"
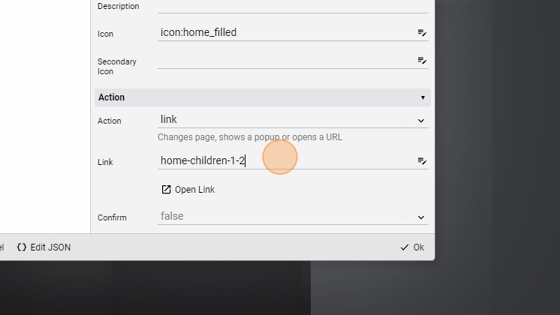
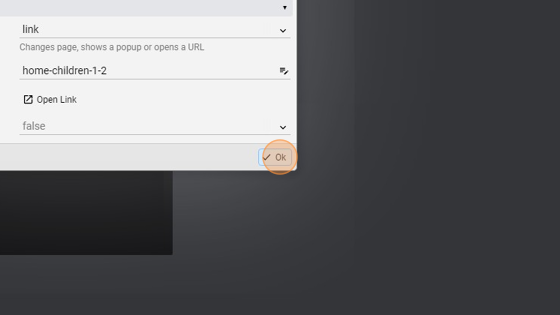
- Click "Ok" to apply changes
- The nav should look like this

- Click "Save" to save the project