Slider Command Action
-
Navigate to HSYCO Manager
-
Create a new project or open an existing one
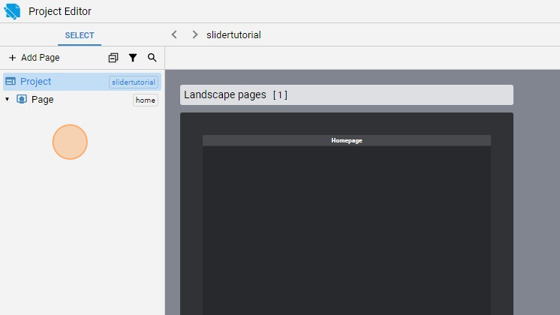
- Go to Home page
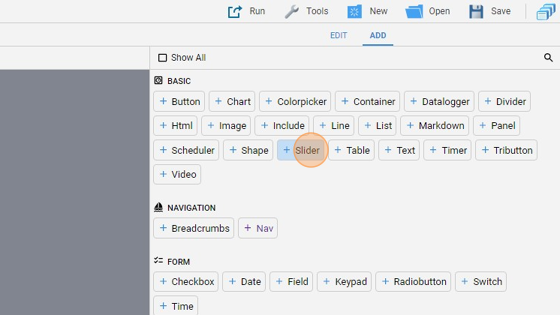
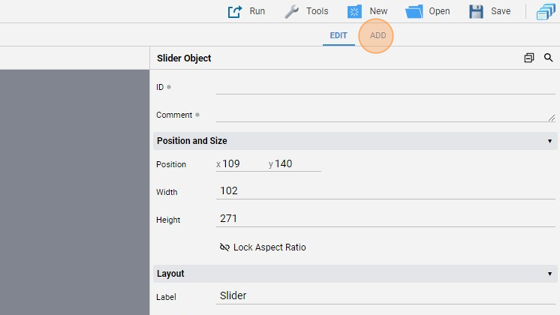
- Click "add"
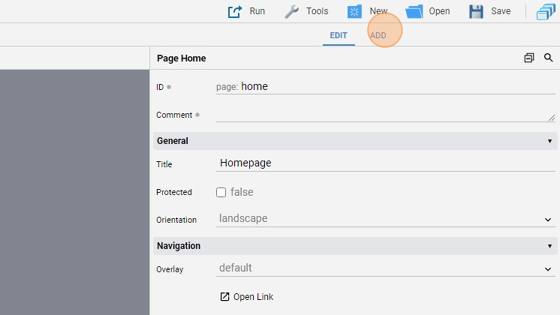
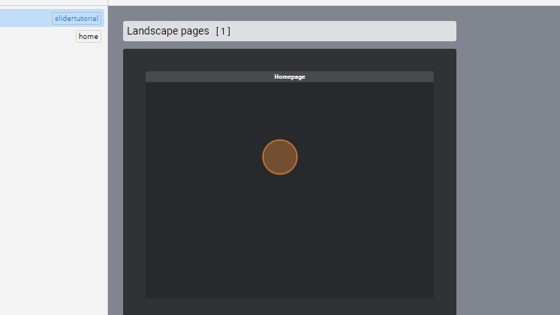
- Add a "Slider"
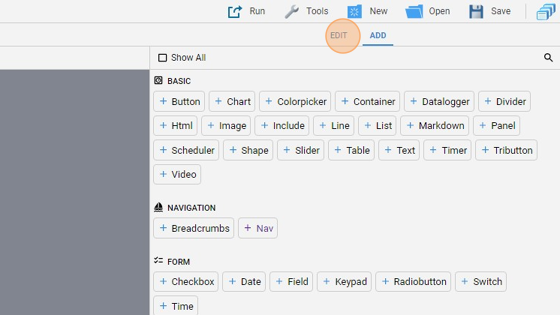
- Go back to "edit" mode
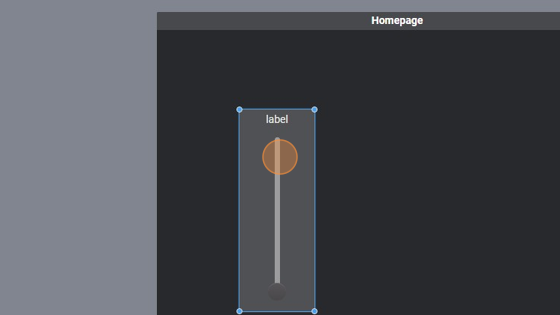
- You can align the object by clicking "Align" and then "Center Vertically"

- You can also move the object or resize it by dragging one of the corners
- Change the "Label"to "Slider"
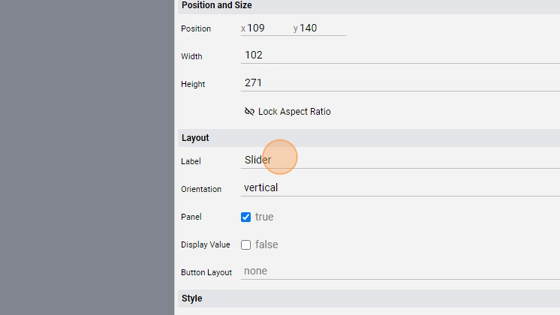
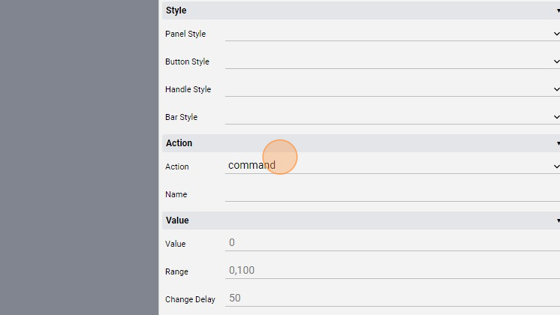
- Change the "Action" to "command"
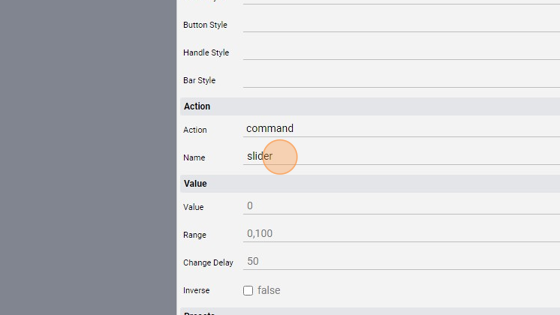
11. Change the "Name" to "slider". This can be any string and is the name of the command launched by the slider
Tip: Now we'll add the text object that will show the value of the slider
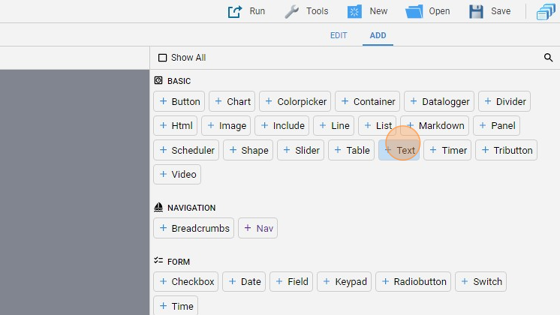
- Click "add"
- Add a "text" object
- Resize it and move it to the right of the slider like this:

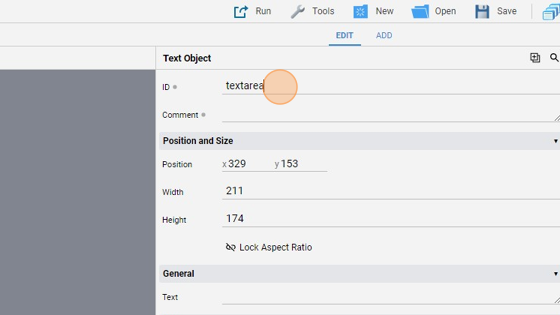
- Click "edit"

- Leave the "Text" attribute blank as this will be modified later by the code
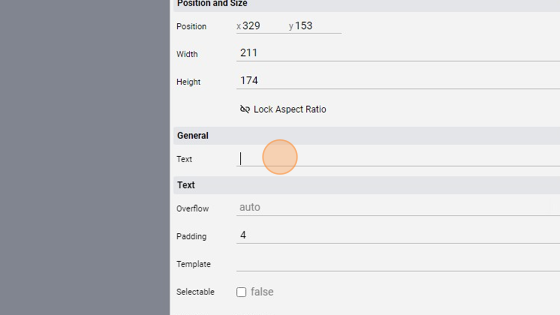
- Change the ID of the object to "textarea"
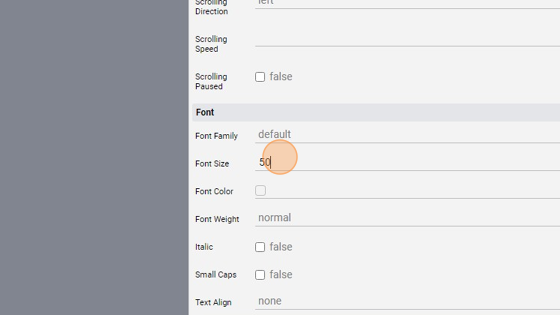
- Change the "Font Size" to 50 to have the number written large
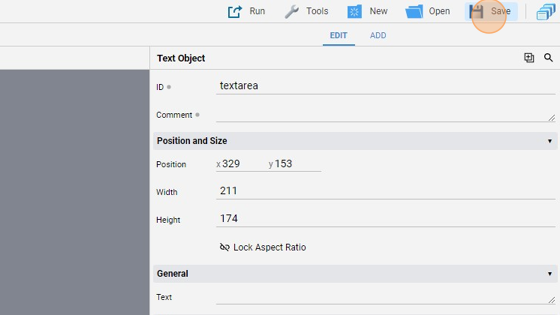
- Click "Save" to save the project
Tip: Great! Now we'll write some code to modify the text showed based on the slider value
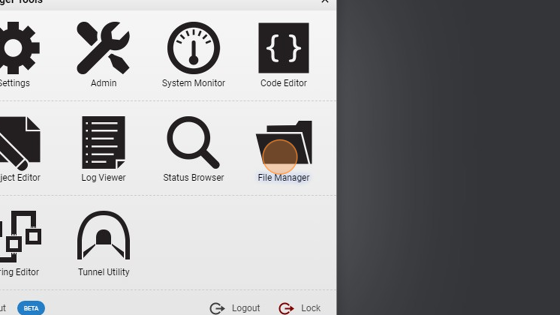
- Go to "File Manager"
- Navigate into the "events" folder
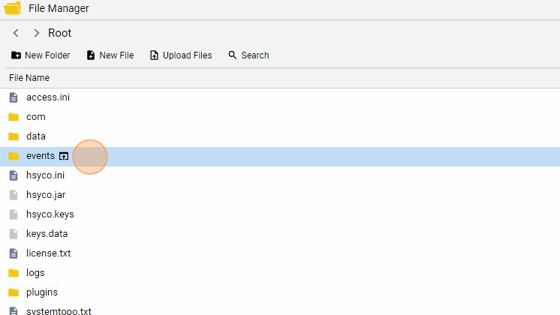
- Click "New File"
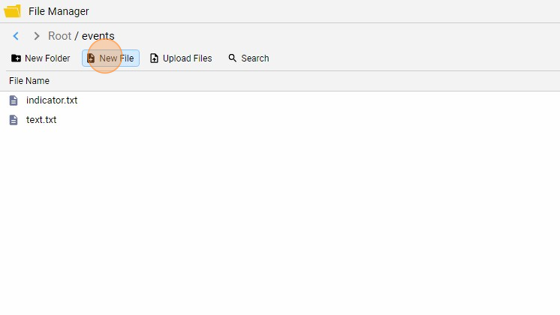
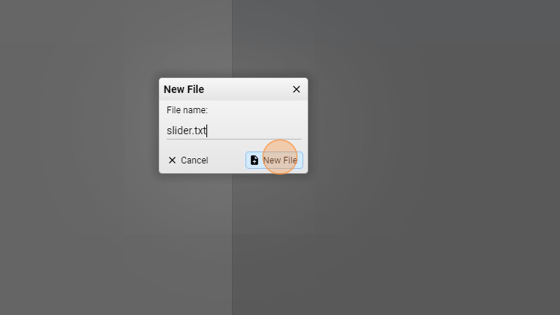
- Give it a name ("slider.txt" for example) and click "New File"
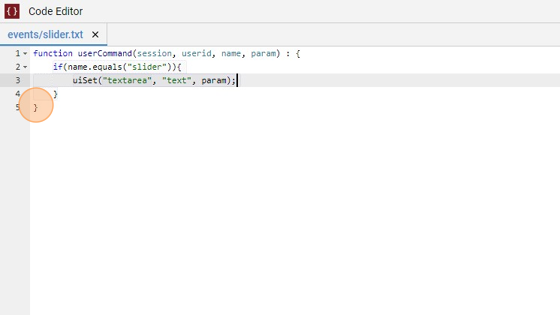
**24. Copy the following code and save the file:
function userCommand(session, userid, name, param) : {
    if(name.equals("slider")){
        uiSet("textarea", "text", param);
    }
}
What this does is it changes the "text" attribute of the object with ID "textarea" and it sets it to the param value, which is the value passed by the slider**
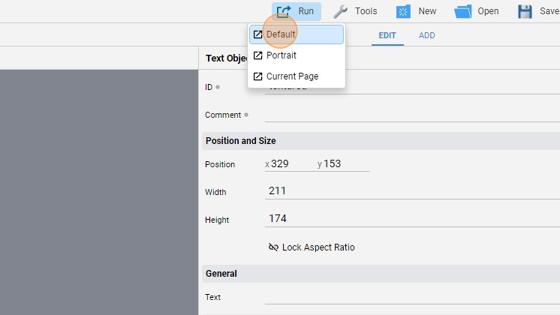
- Now go back into the "Project Editor", click "Run" and then "Default" to launch the application
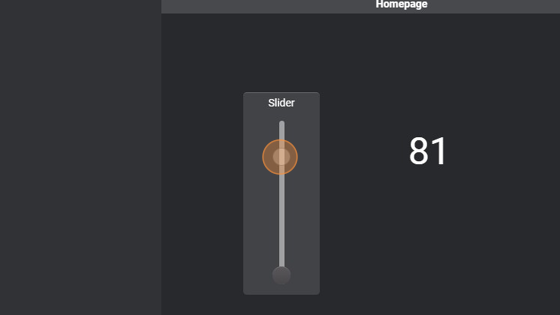
- The page should look like this, with the text object blank:

27. If we change the value of the slider, that value is displayed in the text area. In this case, 81