Image Overview
-
Navigate to HSYCO Manager
-
Create a new project or open an existing one
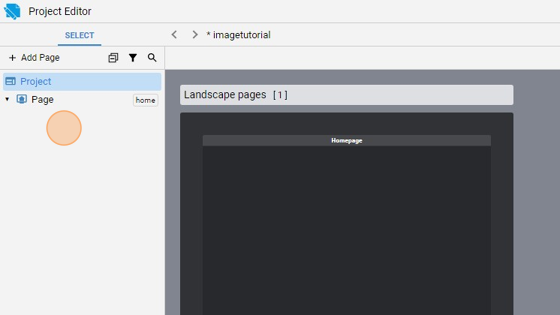
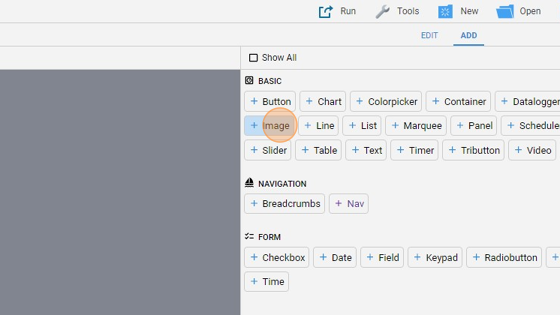
- Go to Home page
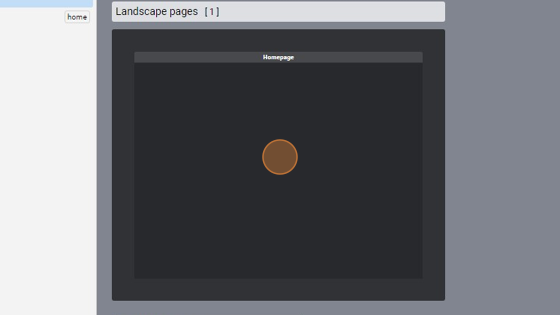
- Click "add"
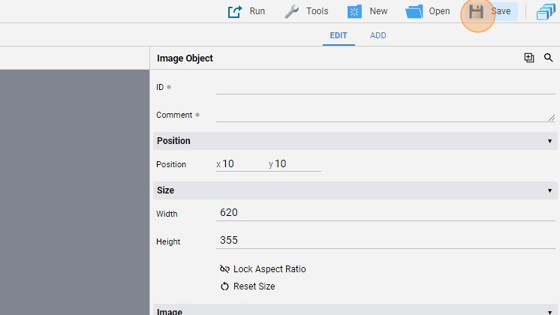
- Add a "Image" object
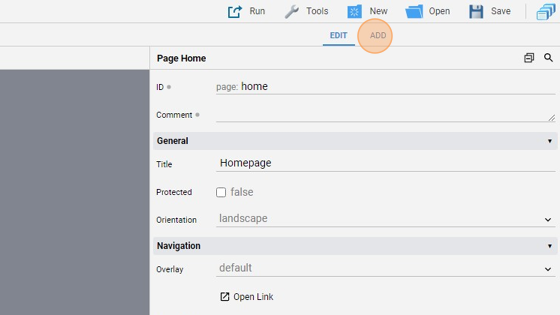
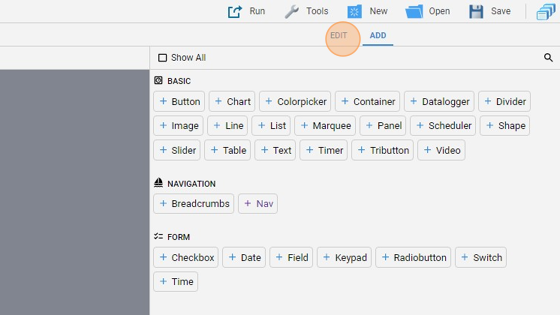
- Go back to "edit" mode
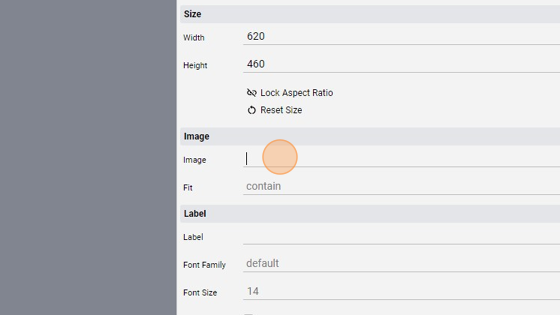
- You can enlarge the image by dragging one of the corners of the object

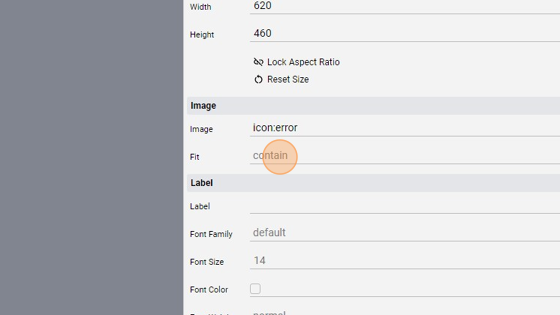
- The "Image" attribute specifies an image to show
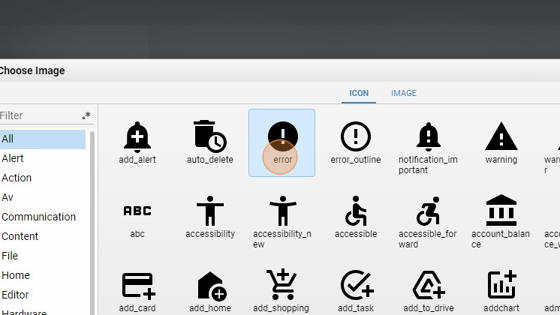
- Click this icon to select an icon
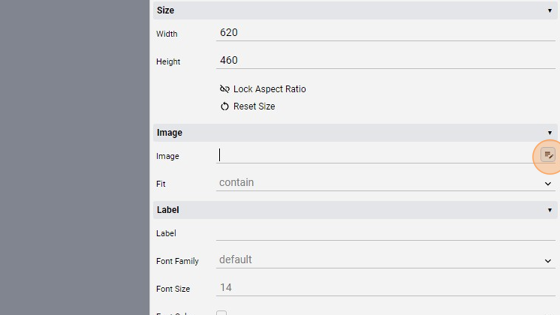
- You can choose from the icons included in HSYCO or you can also upload an image to use
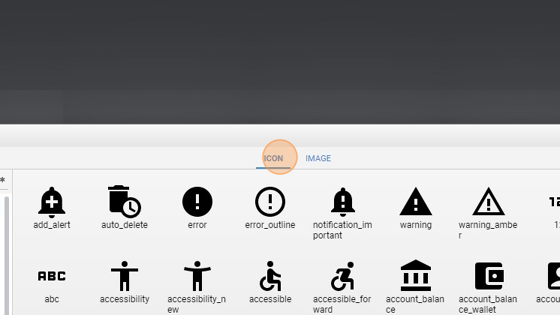
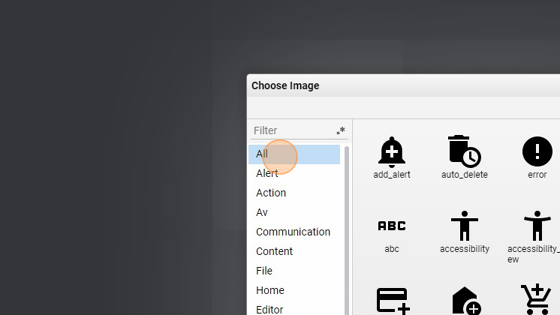
- In the "Icon" section, there is on the left a list of categories from which choose the icon
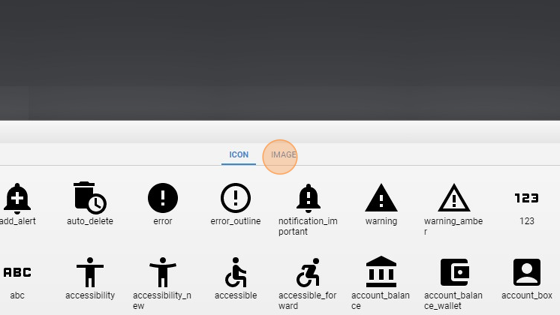
- If you want to use an image, select "Image"
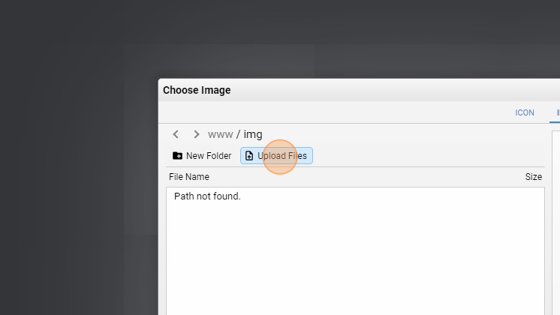
- You can then upload one by choosing "Upload Files"
- Select an icon and click "ok"
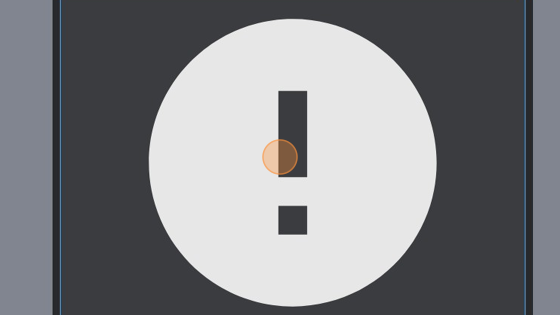
- As you can see, the icon is now shown in the object
16. The "Fit" attribute specifies how an image should be resized to fit its container. There are 5 choices: contain, which is default and keeps the icon aspect ratio, fill, where the image is resized to fill the given dimension (note that it will be , cover, stretched or squished to fit), cover, where the image keeps its aspect ratio and fills the given dimensions but will be clipped to fit, none, where the image is not resized and scale-down, where the image is scaled down to the smallest version of none or contain
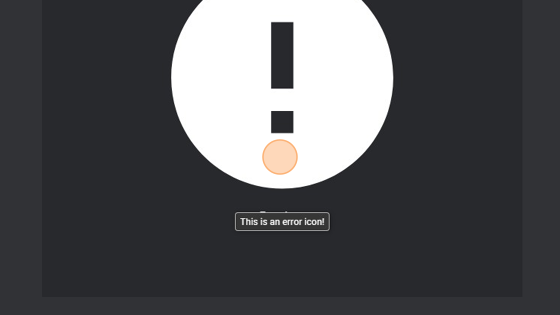
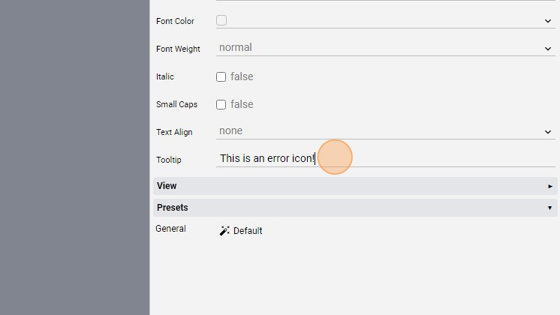
17. Change the "Label" to "Error Icon". The "Label" is shown under the image

18. Change the "Tooltip" to "This is an error icon!". The "Tooltip" is a text that appears on mouseover, after a small delay
- Click "Save" to save the project
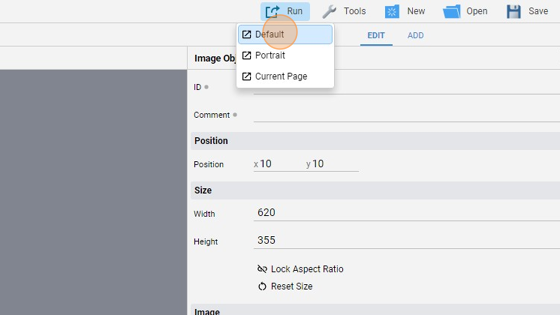
Tip: Great! Now we can try it
- Click "Run" and then "Default" to launch the application
- As you can see, the Label is below the image
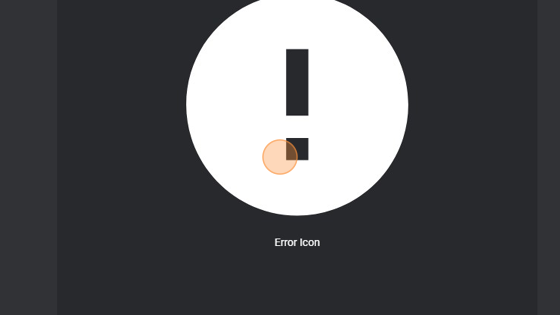
- Also, on mouseover the tooltip is shown