Button Submit Action
-
Navigate to HSYCO Manager
-
Create a new project or open an existing one

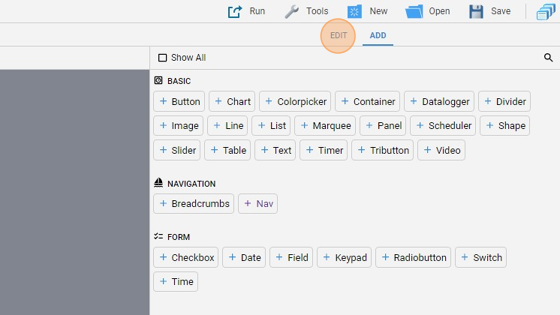
- Go to Home page
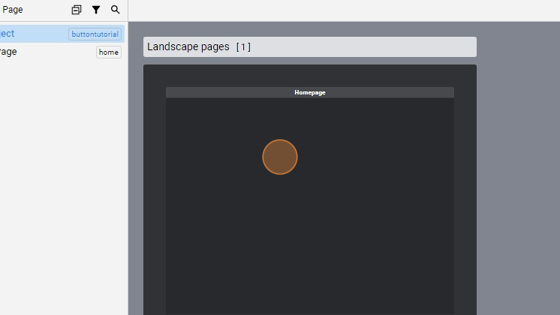
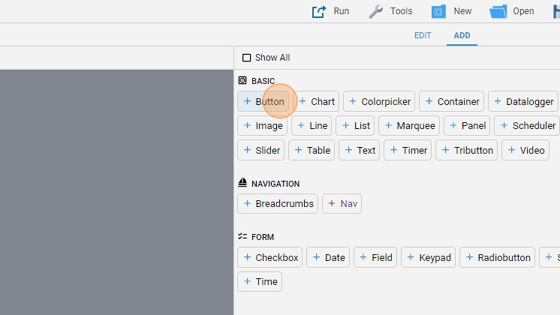
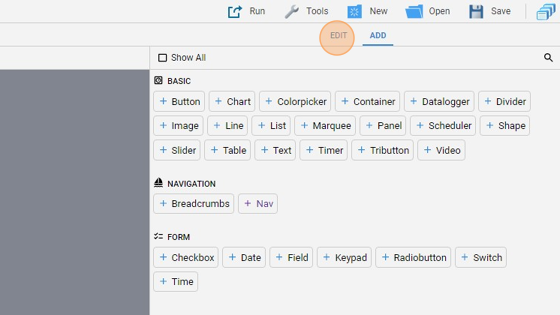
- Click "add"
- Add a "Button"
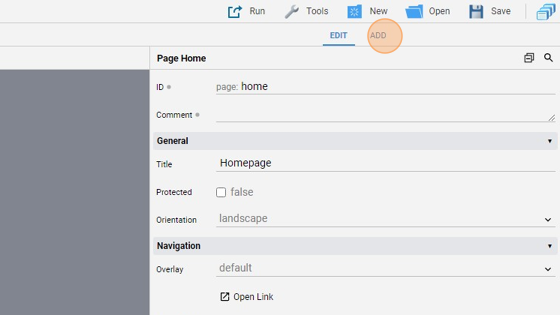
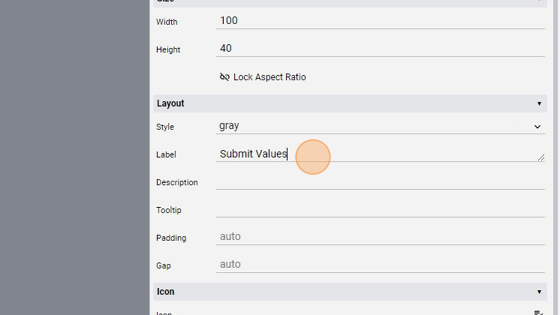
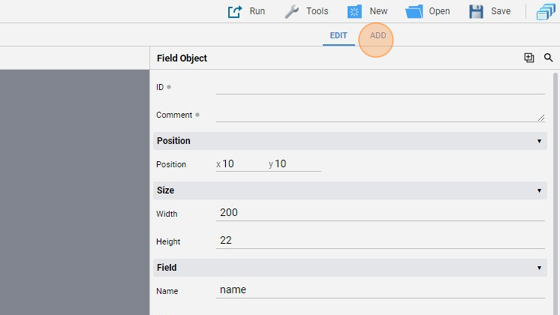
- Click "edit"
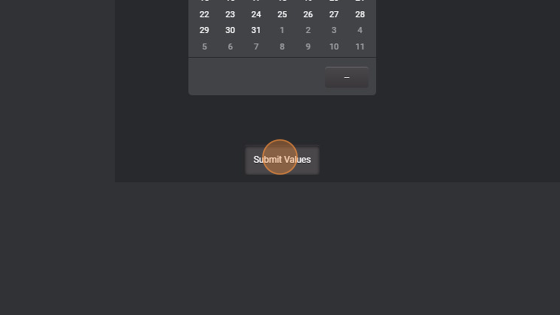
- Because this will be the submit button, we can align it to the bottom and also centering it horizontally

- Change the "Label" to "Submit Values"
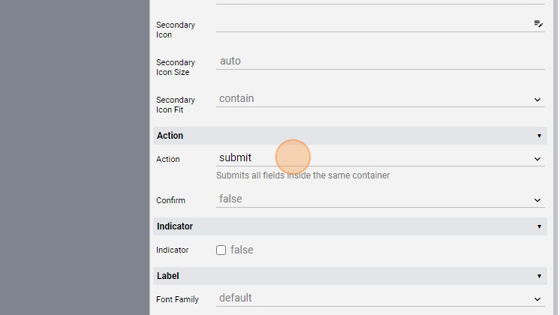
- Change the "Action" to "submit"
Tip: Now we'll add the two text fields and the date field to be submitted
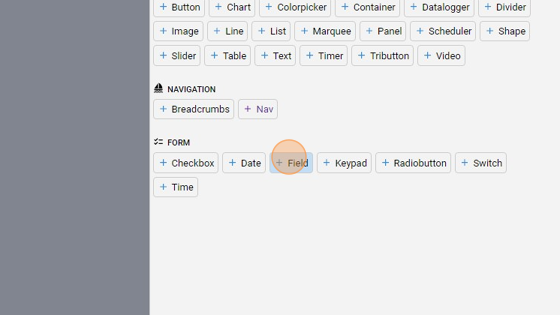
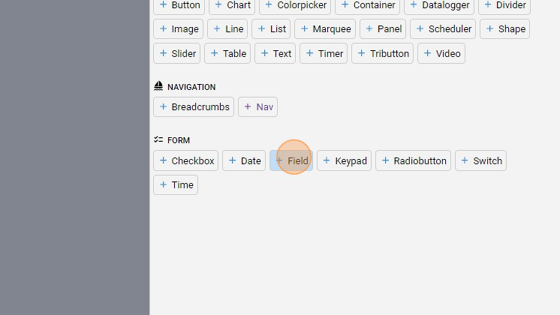
- Click "add"
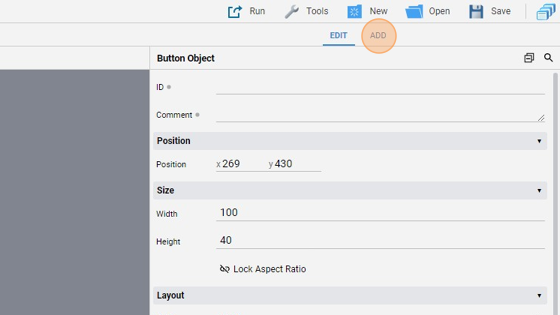
- Add a "Field" under the "Form" tab
- Click "edit"
- Align it to the top and also centered horizontally

14. Change the "Name" attribute to "name". This will be the name of the attribute that will be passed when we press the submit button
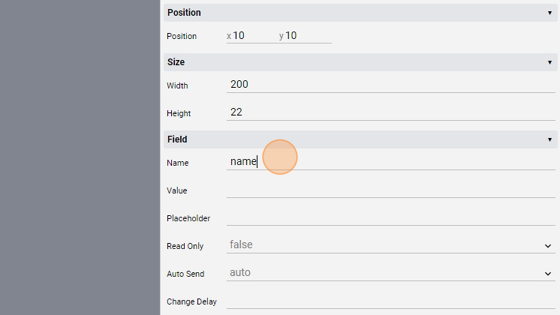
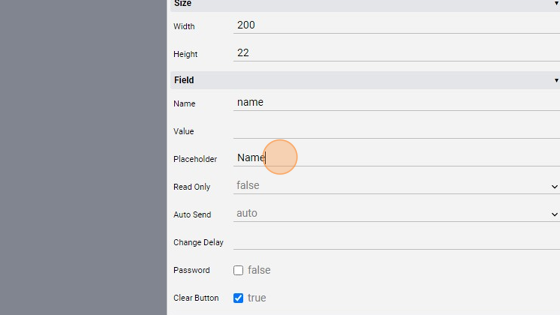
- Change the "Placeholder" to "Name"
- Click "add"
- Add another "Field"
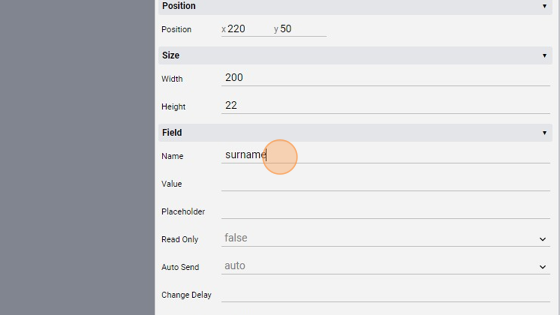
- Go back to "edit" mode

- Align it under the other text field

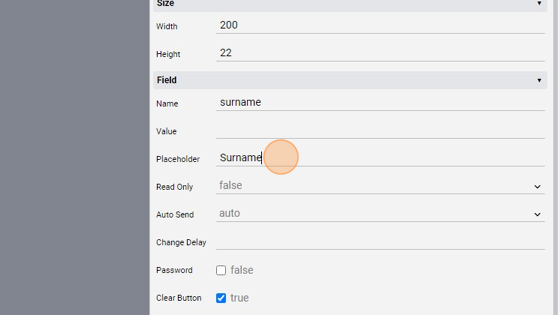
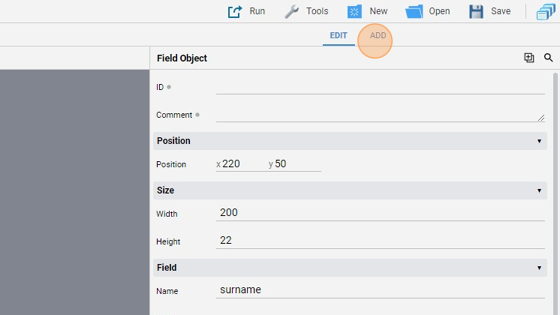
- Change the "Name" to "surname"
- Change the "Placeholder" to "Surname"
- Click "add"
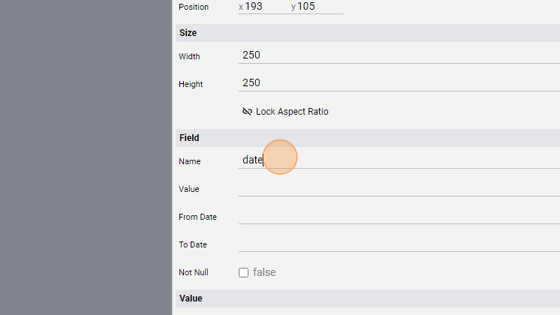
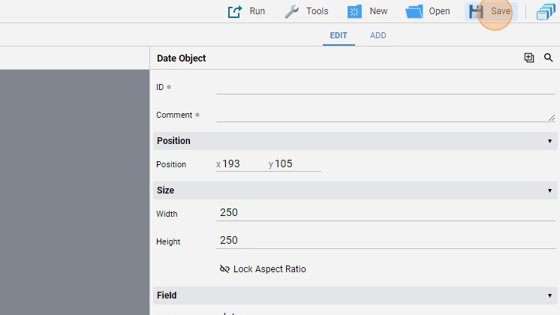
- Add a "Date" object

- Click "edit"

- Align it under the two fields

- Change the "Name" to "date"
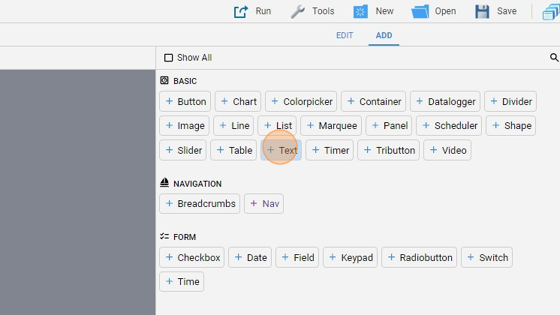
- Click "add"

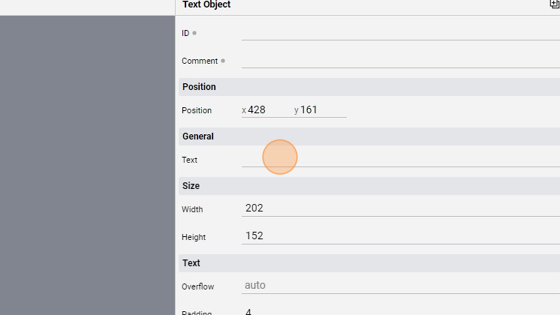
- Add a "Text" area
- Click "edit"

- Change the "ID" to "textarea"
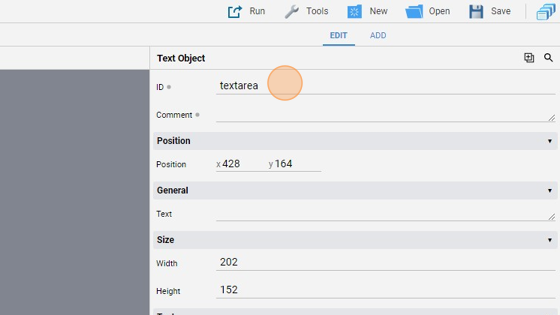
- Move the text area to the right of the form and resize it
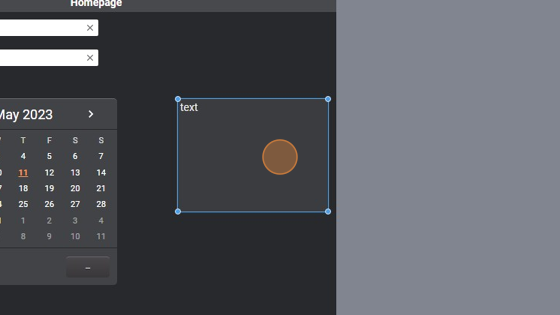
- Leave the "Text" attribute blank as it will be modified dynamically
- the page should look like this:

- Click "Save" to save the project
Tip: Now we'll download from GitHub a small piece of code that captures the command launched from the submit button and shows the different fields in the text area
-
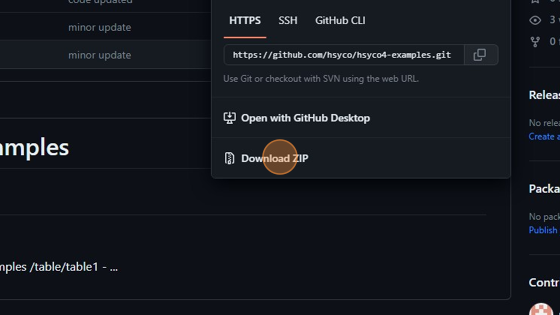
Navigate to https://github.com/hsyco/hsyco4-examples
-
Click "Code"
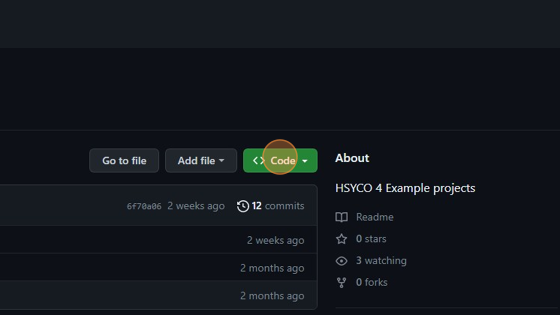
- Click "Download ZIP"
-
Now extract the .zip file and navigate into the /button/submitAction folder to find the submit.txt file
-
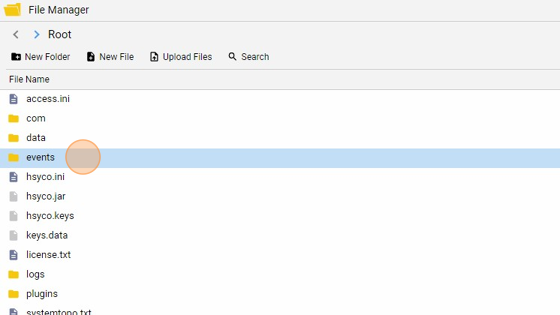
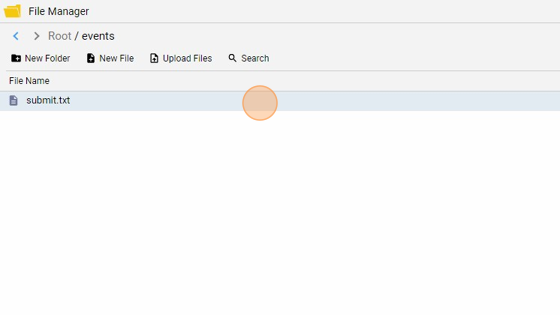
Go into the "File Manager"

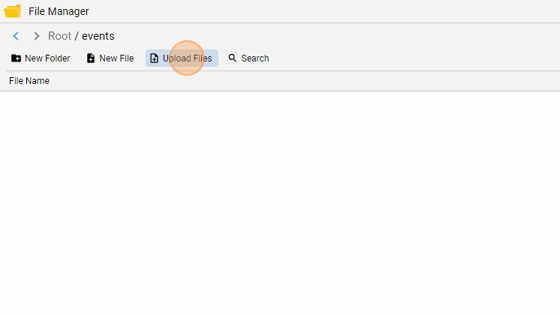
- Navigate into the "events" folder
- Click "Upload Files"
- Select the submit.txt file previously extracted and press "Upload"
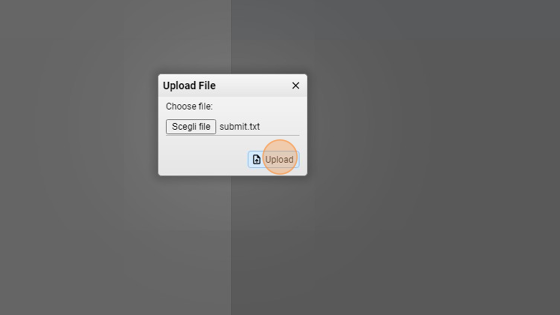
- The file has been uploaded
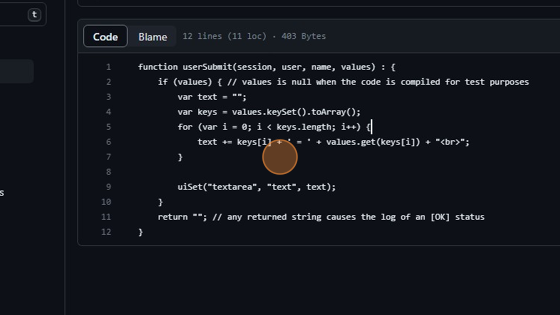
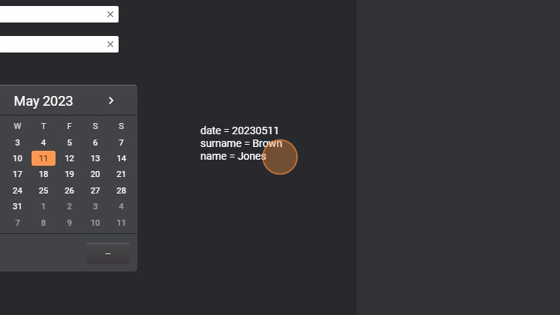
44. The function userSubmit is called when a submit button is pressed. Here, we retrieve all the values from the different form objects and, for every one of them, we add the name of the attribute and its value to a string. This string is then displayed through a uiSet() in the "text" attribute of the object with ID "textarea"
Tip: Done! Now we can try to submit some values and see them in the text area
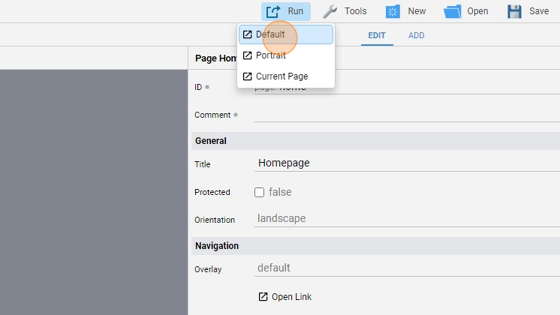
- Click "Run" and then "Default" to launch the application
- Fill the "Name" field
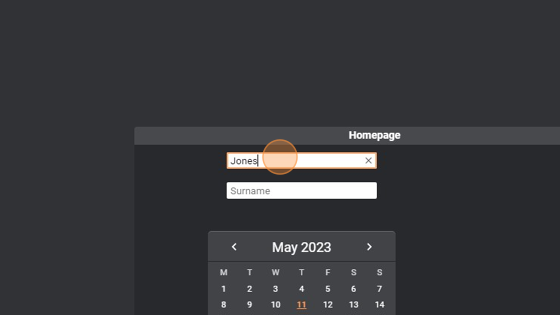
- Fill also the "Surname" field
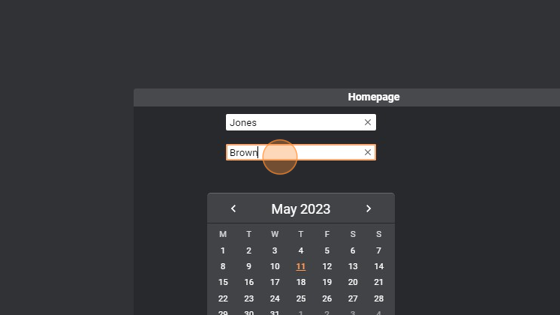
- Select a date

- Press "Submit Values"
- As you can see, the values has been sent and captured by the code that displayed them in the text area
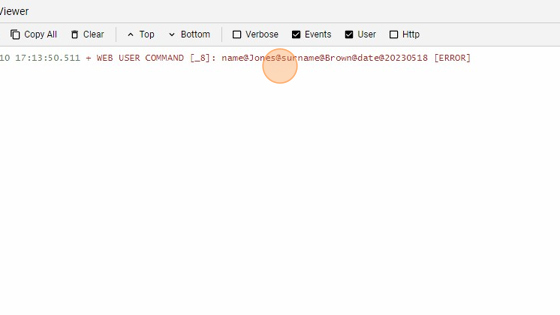
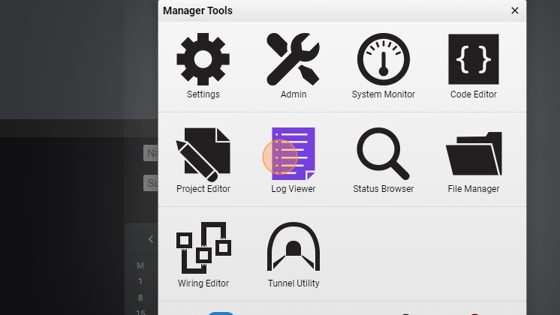
- We can also check in the "Log Viewer" if the command has been sent
52. As you can see, the command has been sent. All the fields are separated by a '@' and the structure is : AttributeName@Value. The "_8" near the Web User Commands indicated the object that launched the command. In our case, because we didn't defined an ID for the submit button, it automatically selected "_8". If we had given the button an ID, we would see that instead of the "_8"