Nav Overview
-
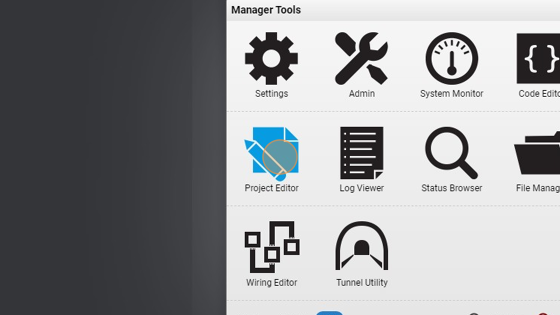
Navigate to HSYCO Manager
-
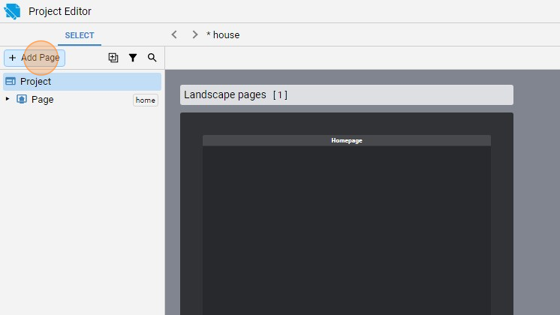
Click on "Project Editor"
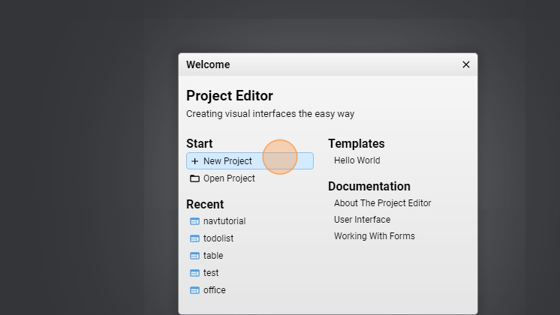
- Click "New Project"
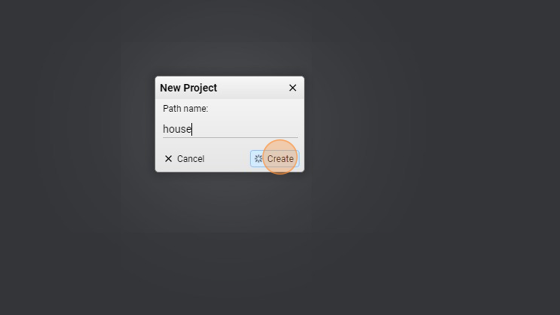
- Give it a name ("house" for example) and click "Create"
Tip: Now that we have a blank project, we will add some pages that represents the rooms of the house and the nav object in the overlay to go though them.
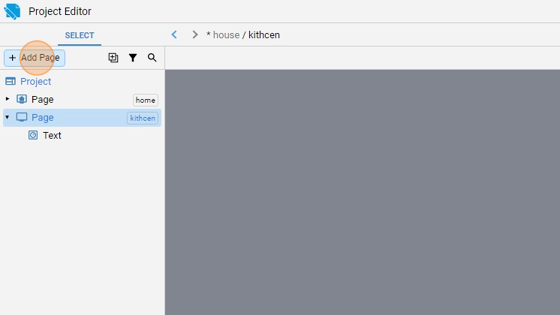
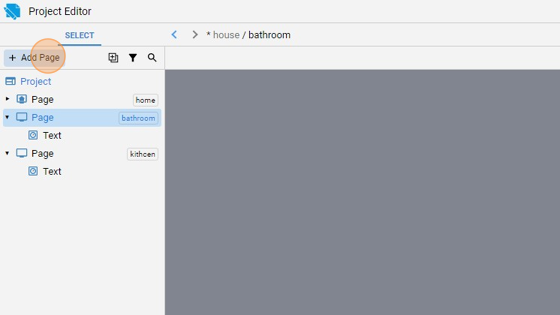
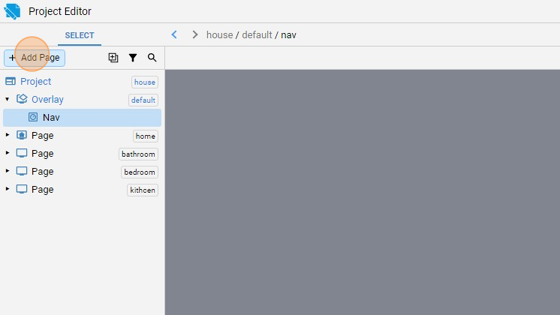
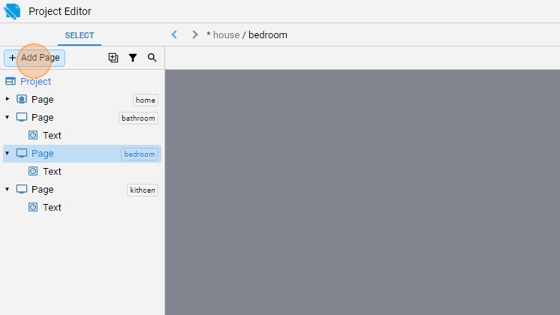
- Click "Add Page"
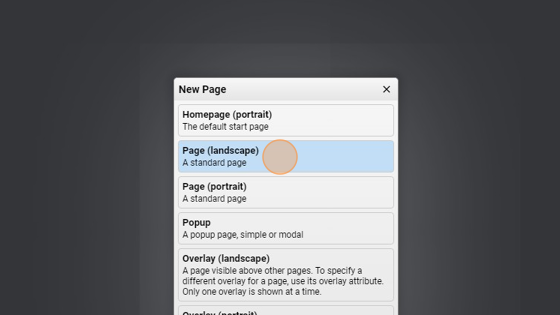
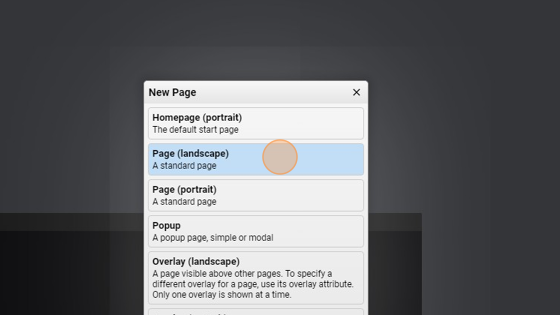
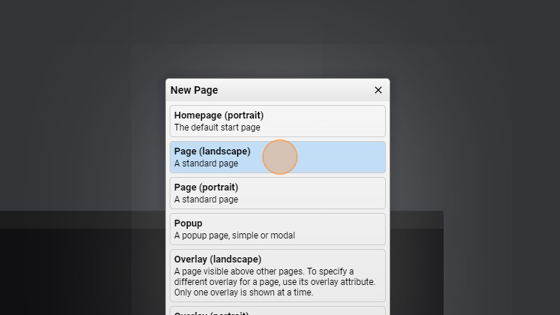
- Add a standard page in landscape mode
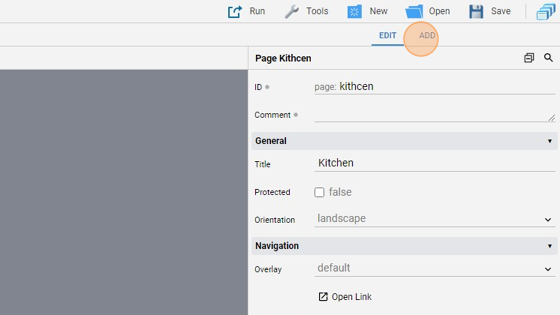
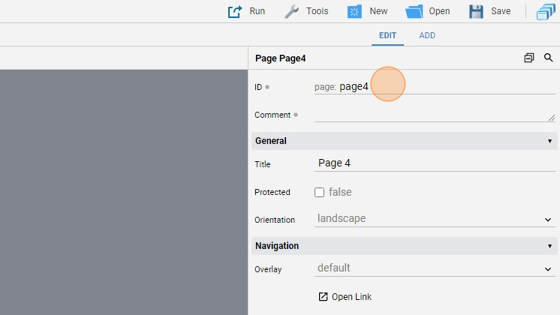
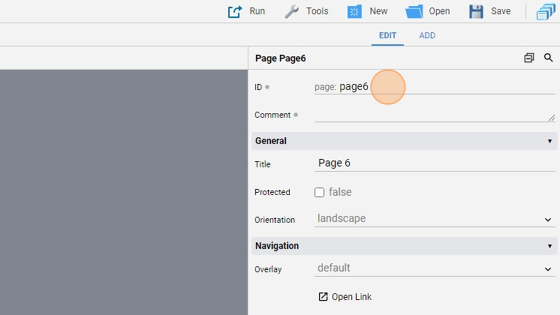
- Change the ID to "kitchen"

- Change also the title showed in "Kitchen"

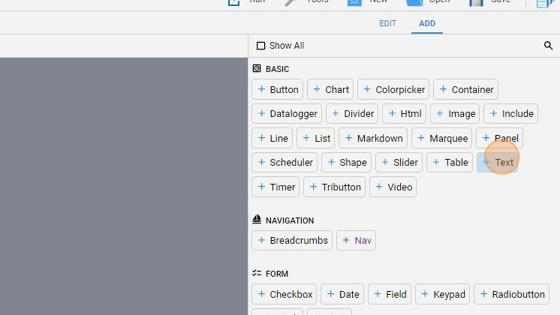
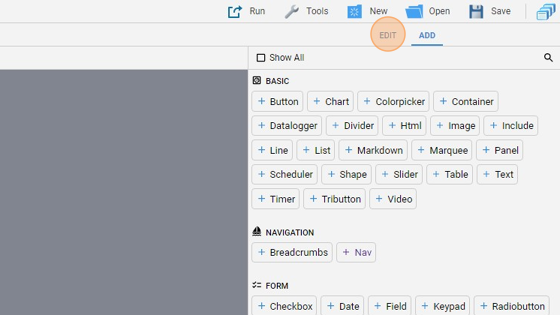
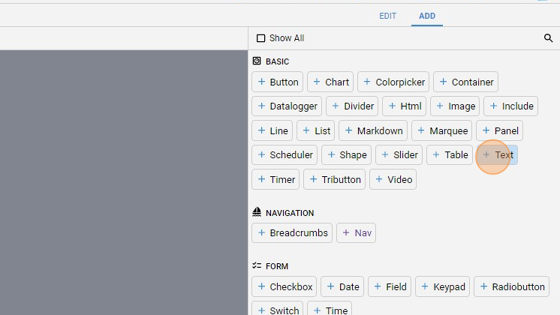
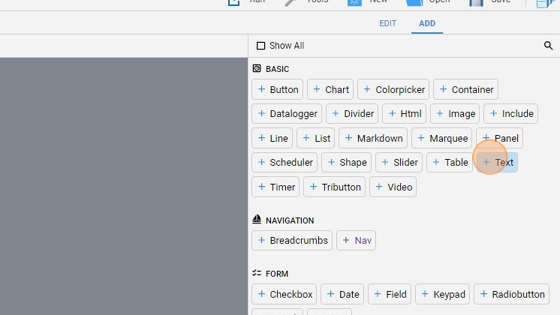
- Go to the "add" panel
- Add a "Text" object
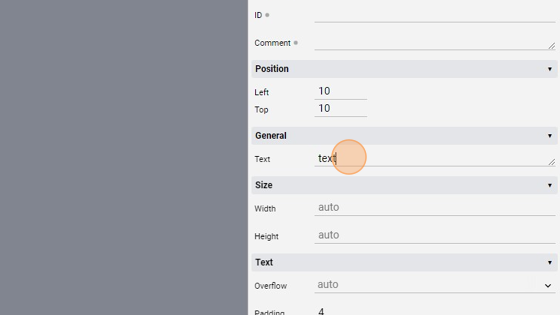
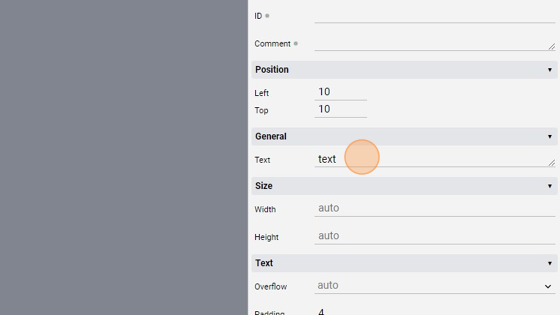
- Go back to "edit" mode
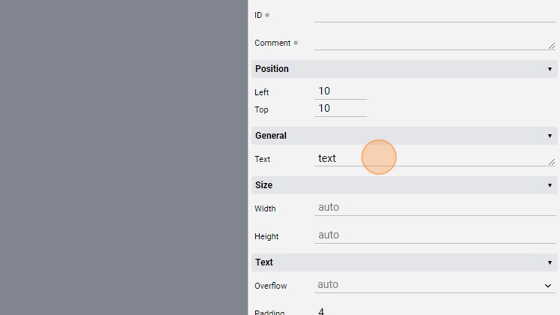
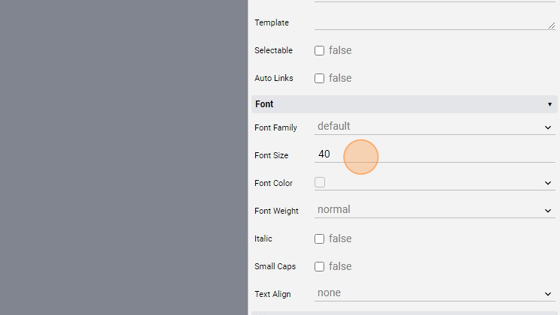
- Change the "text" attribute to "Kitchen"
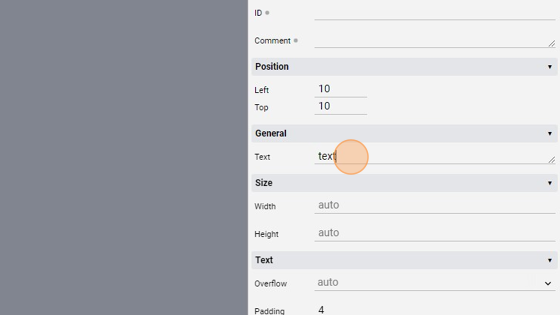
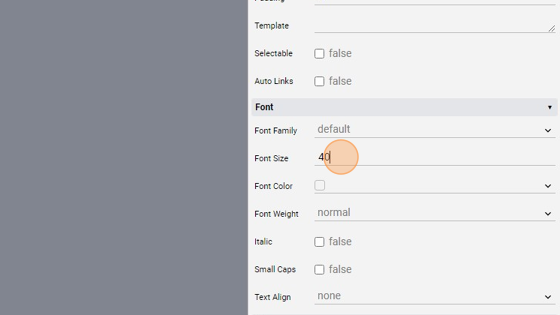
- Change the font size to 40

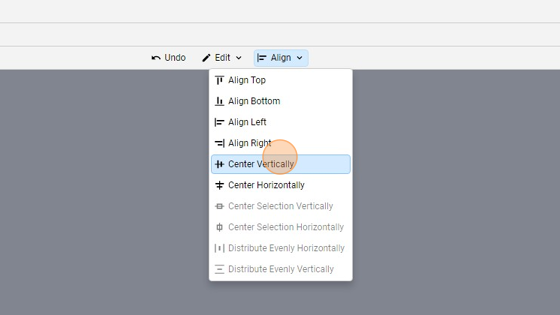
- Now that we added the "text" object, we need to put it in the middle of the page so that it is clearly visible. To do this, click on the "Align" button on the upper side of the Project Editor

- Center the element vertically
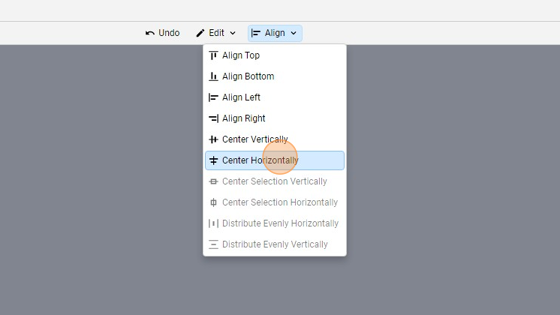
- Center also horizontally
17. Now the element is centered! Notice also that the title of the page changed as we changed the "Title" attribute

Tip: Now repeat for the rest of the rooms!
- Click "Add Page"
- Add a "Page (landscape)"
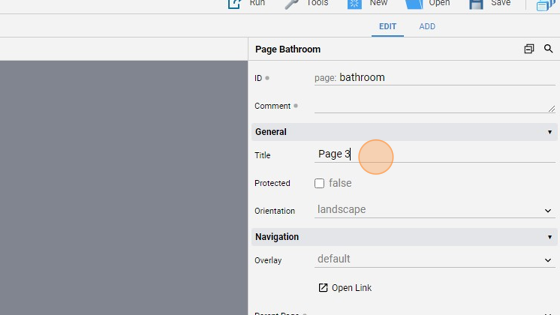
- Change the ID to "bathroom"

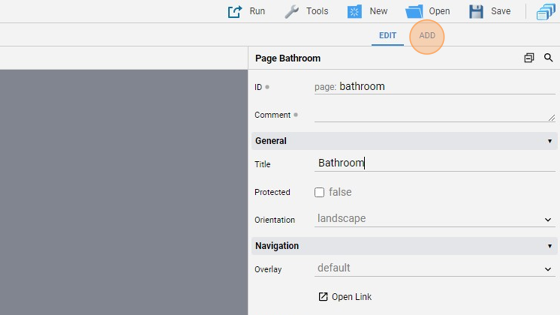
- Change the title to "Bathroom"
- Click "add"
- Add a "text" object
- Click "edit"

- Change the text displayed to "Bathroom"
- Change the font size to 40
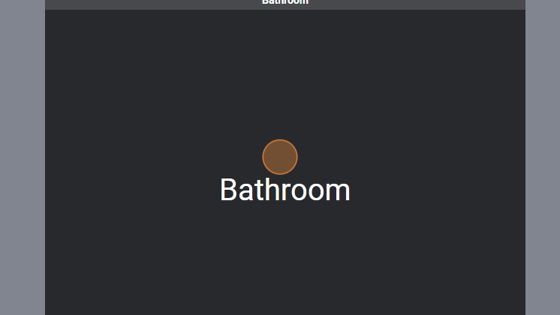
- Center the item horizontally and vertically like we did before by clicking on "Align" and then "Center horizontally" and "Center vertically"

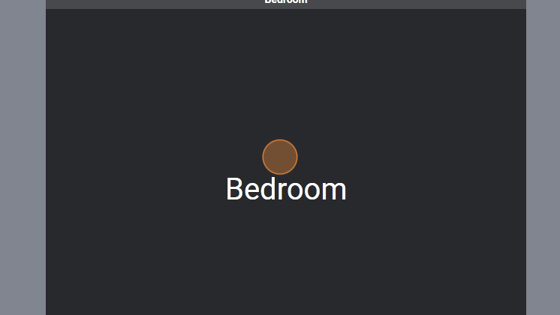
- Now it's centered!
- Click "Add Page"
- Add a simple "Page (landscape)"
- Change the ID to "bedroom"
- Change also the title to "Bedroom"

- Click "add"

- Add a "Text" area

- Go back to "edit" mode

- Change the text to "Bedroom"
- Lastly, change the font size to 40
- Align horizontally and vertically the element

- Now the text is centered
- Click "Add Page"
- Add a "Page (landscape)"

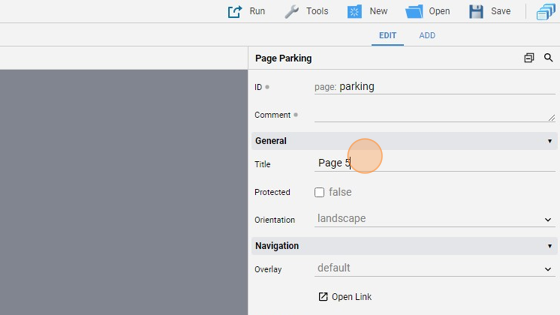
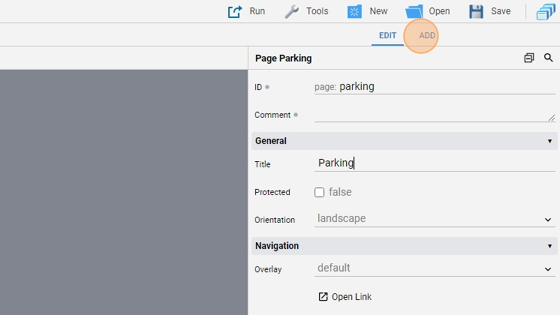
- Change the ID to "parking"

- Change also the title to "Parking"
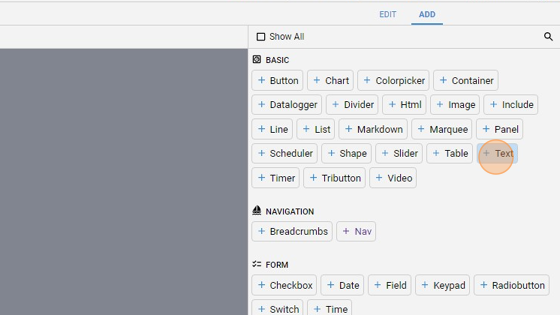
- Go to "add" panel
- Click "Text"
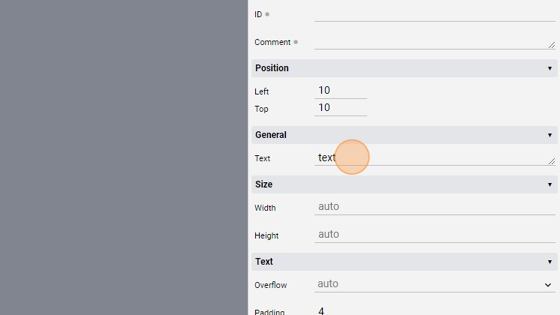
- Click "edit"

- Change the "text" attribute to "Parking"
- Change the "Font Size" to 40

- Align like before

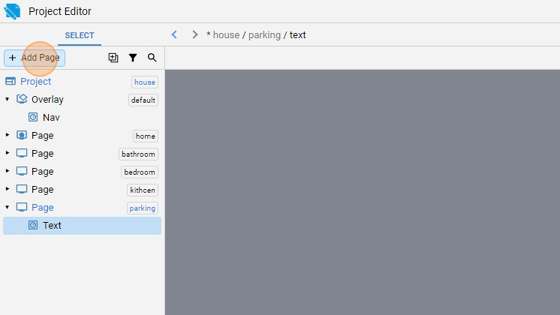
- Click "Add Page"
- Add a "Page (landscape)"

- Change the ID to "entrance"
- Change the title to "Entrance"

- Click "add"

- Add a "text" item
- Go to "edit" mode

- Change the "text" showed in "Entrance"
- Change the "Font Size" to 40

- Align horizontally and vertically

Tip: Insert the overlay
- Click "Add Page"
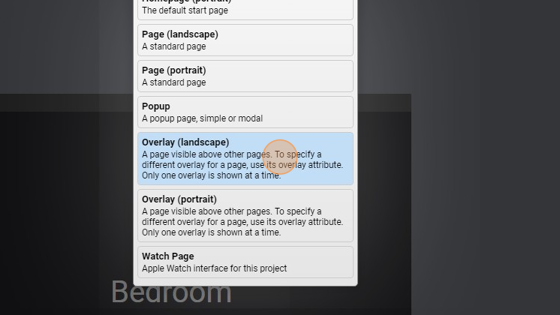
- Add an "Overlay" in landscape mode
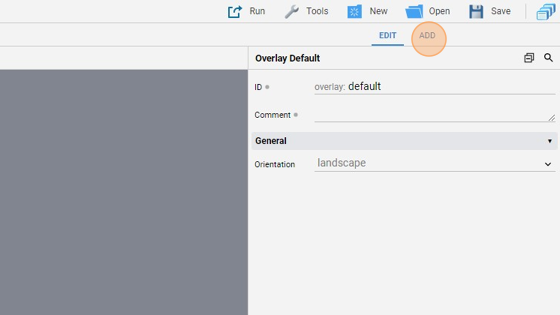
- Click "add"
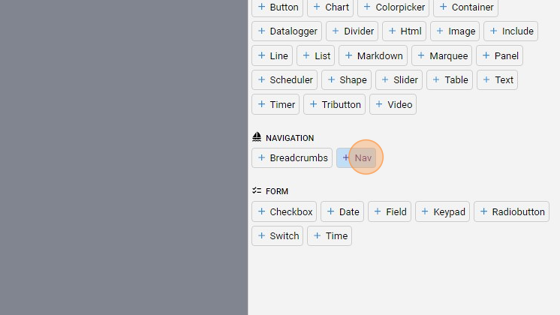
- Add the "Nav" object
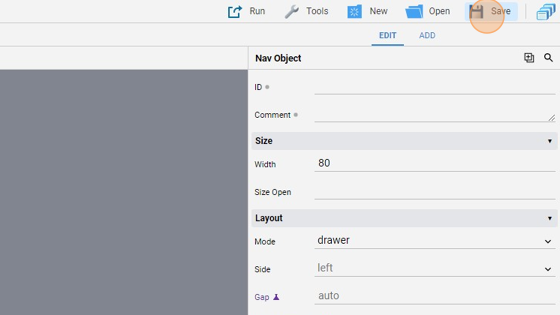
- Go back to "edit" mode

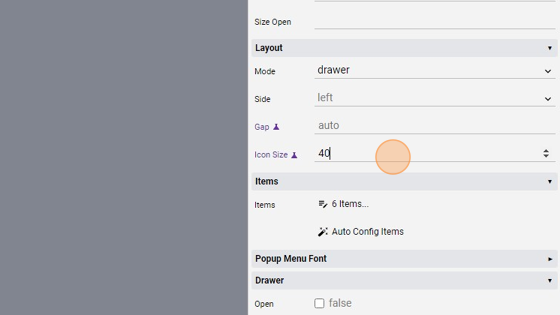
65. Change the mode to "drawer". In drawer mode, nav has closed/opened states, which can be controlled with a hamburger button, defined in the items attribute. When closed the nav is narrower and button appear without label, while when it's open it expands

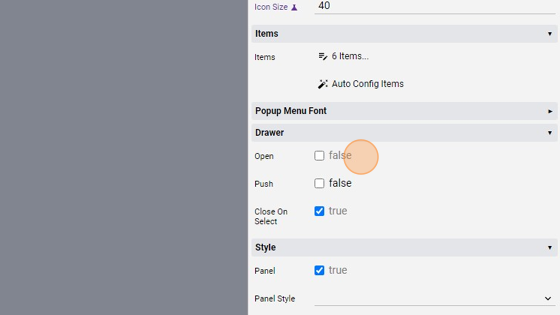
- Change the icon size to 40 so that the logos will have a better visibility
- Untick "Push" so that the content of the page is not pushed aside when opening the nav
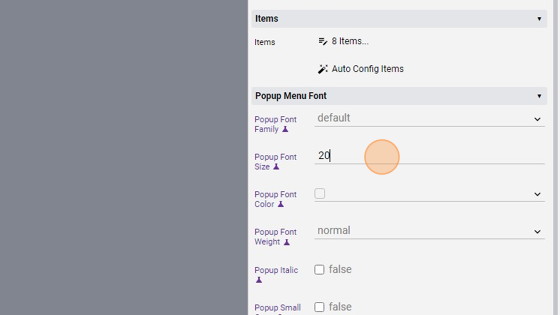
- Change the "Popup Font Size" to 20 so that popup buttons will be more visible
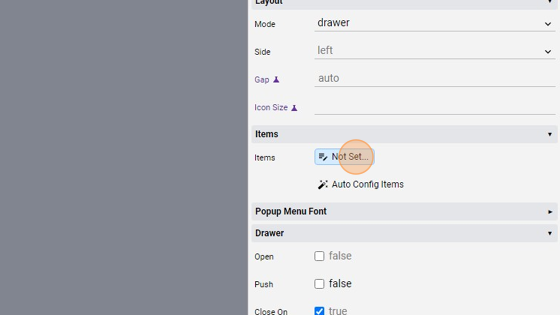
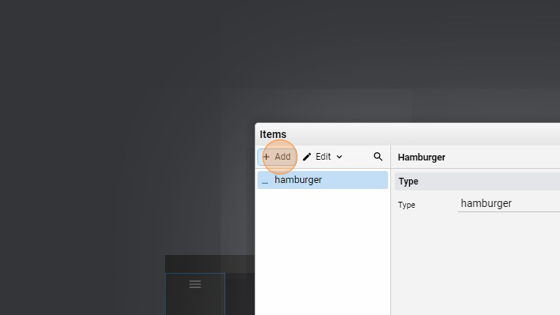
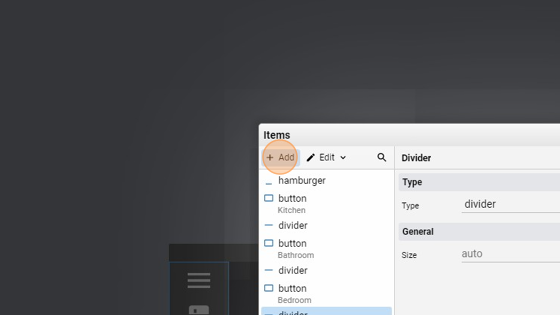
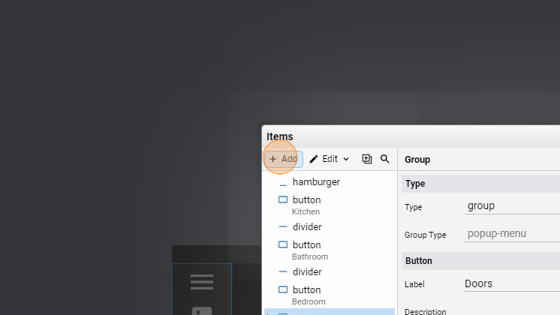
- Click on "Not Set..." to add some buttons
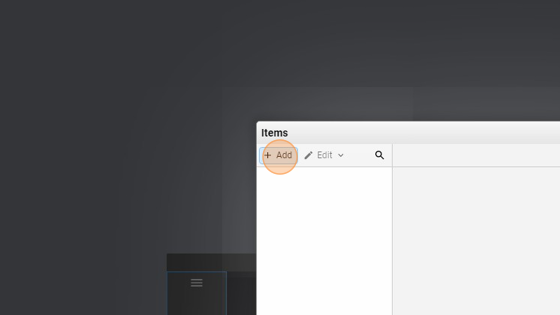
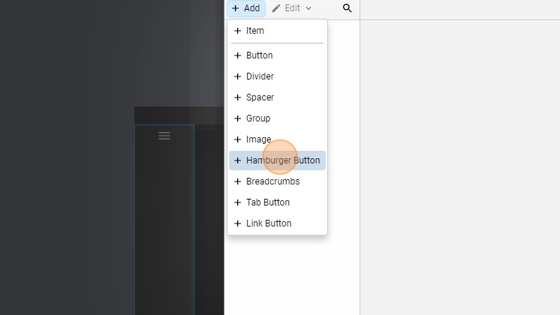
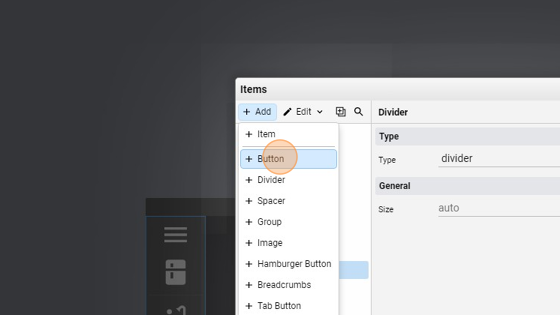
- Click "Add"
- Click "Hamburger Button". This will be used to open the nav to show the labels of the buttons
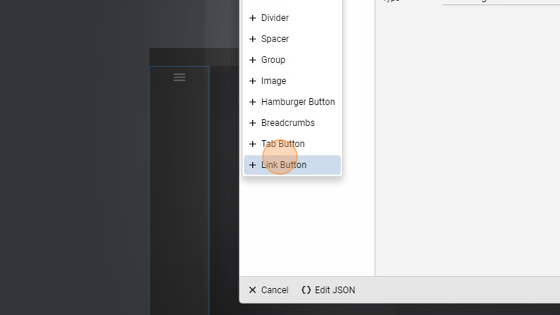
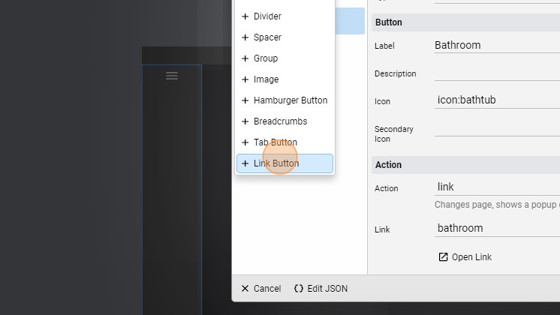
- Click "Add"
- Add a "link button"
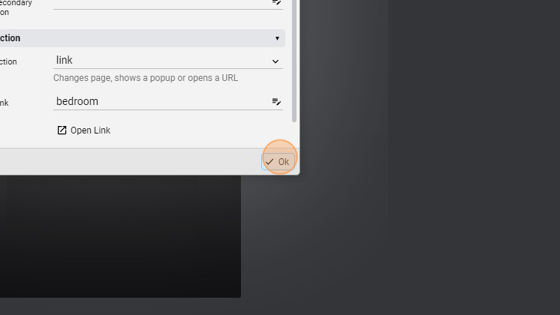
- Change the "link" to our first page, "kitchen"
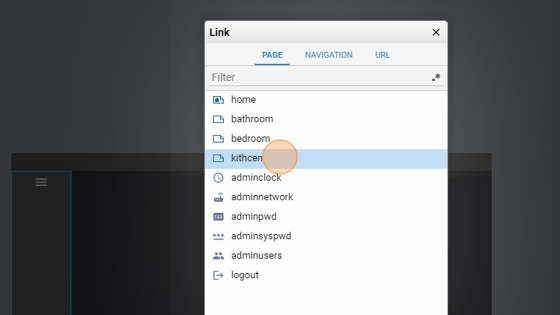
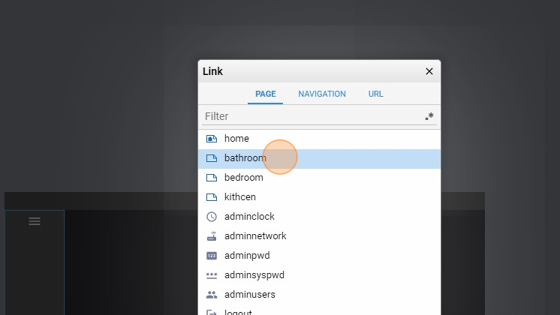
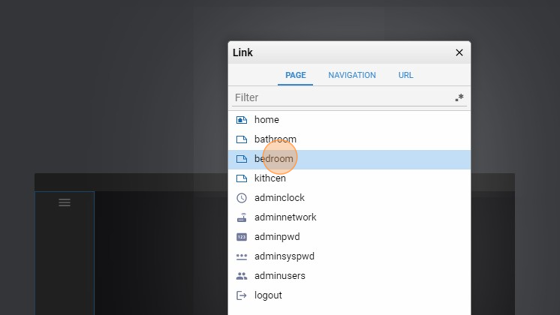
- Click here.

- Click on the "kitchen" page and press "Ok"
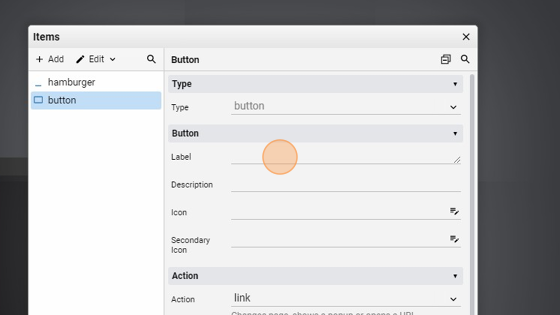
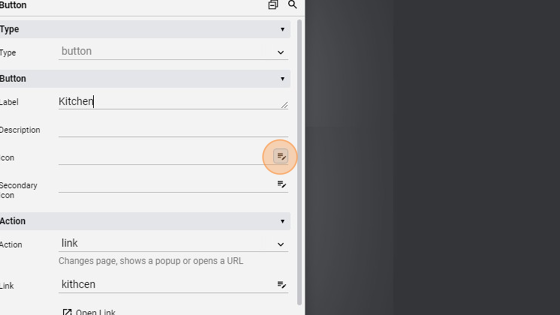
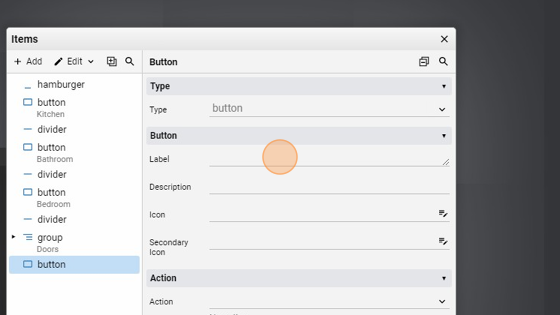
- Change the "label" of the button to "Kitchen"
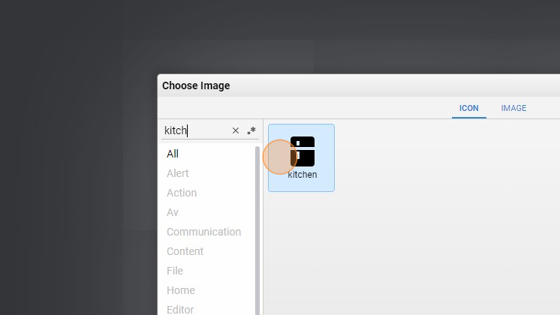
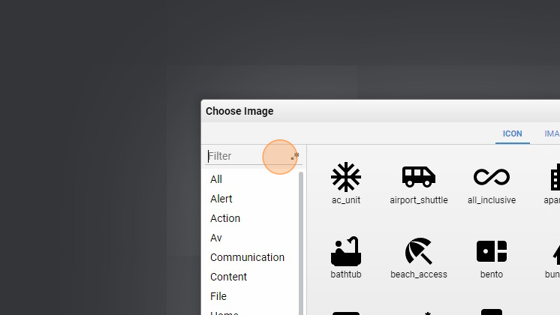
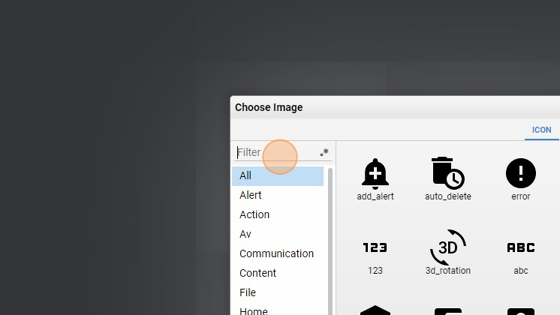
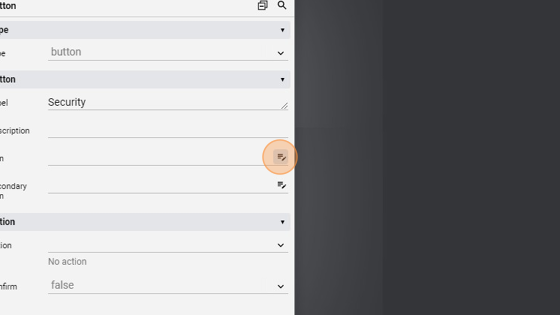
- Click here to give the button an icon
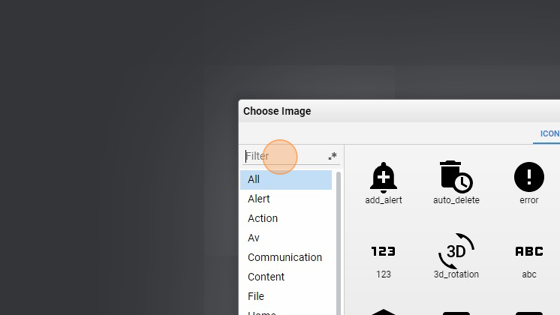
- Click the "Filter" field and search for "kitchen"
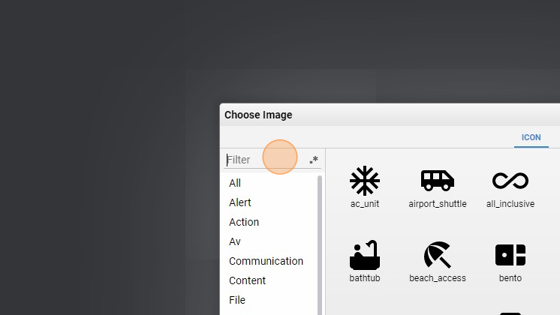
- Click on the logo ok press "Ok"
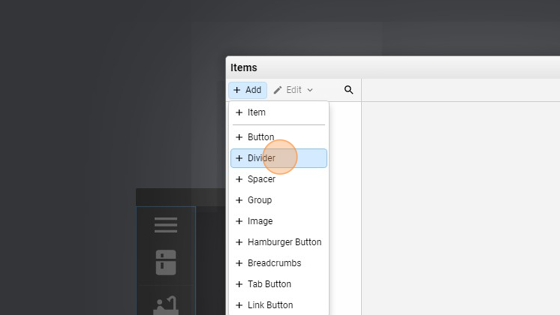
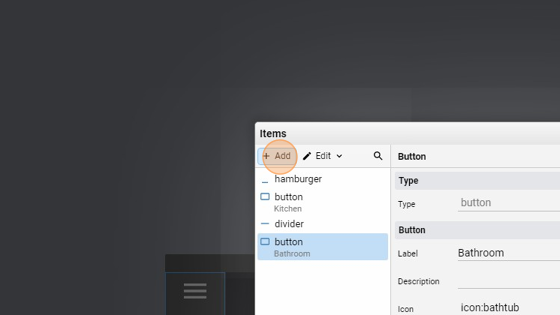
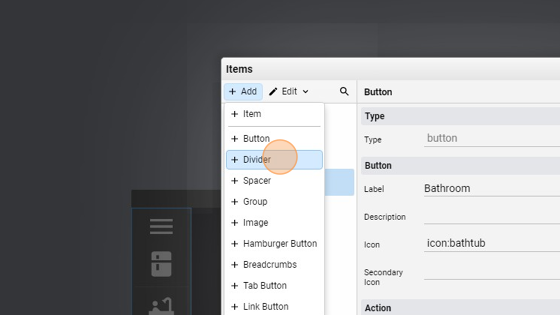
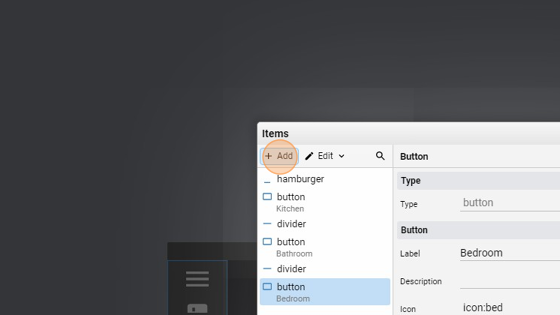
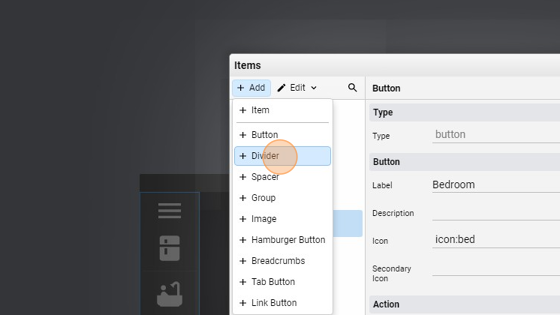
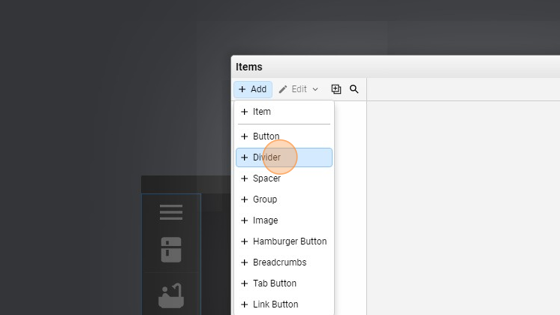
- Click "Add"
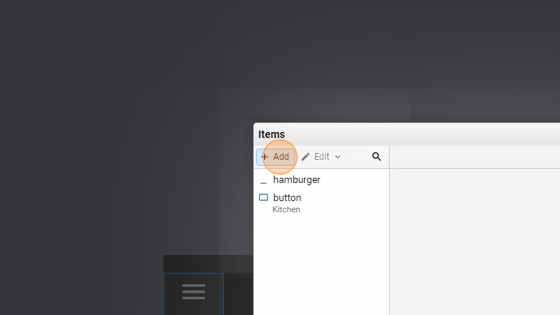
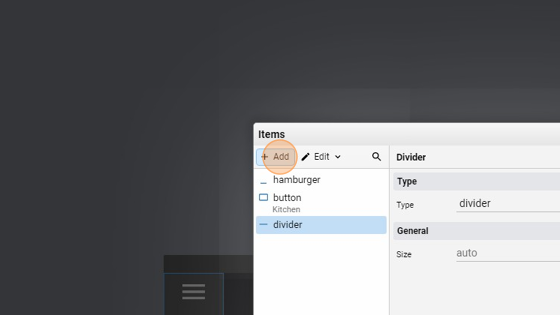
- Add a "Divider". This will be used to show a line or, as the name suggests, a divider, between the buttons
- Click "Add"
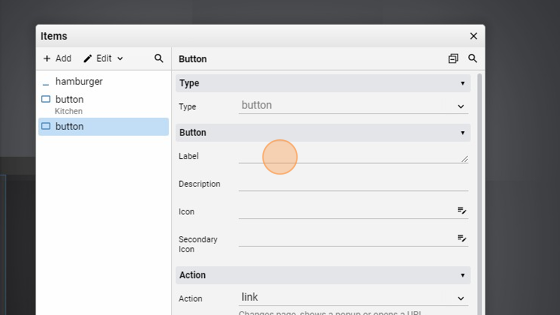
- Click "Link Button"

- Link the "bathroom" page

- Change the "Label" to "Bathroom"
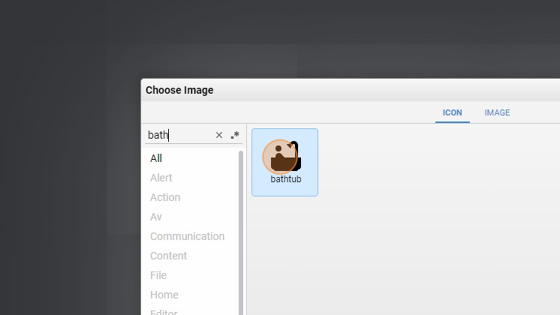
- Change the "Icon"
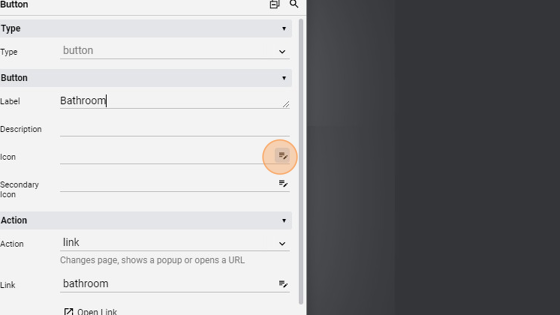
- Click the "Filter" field and search for "bath"
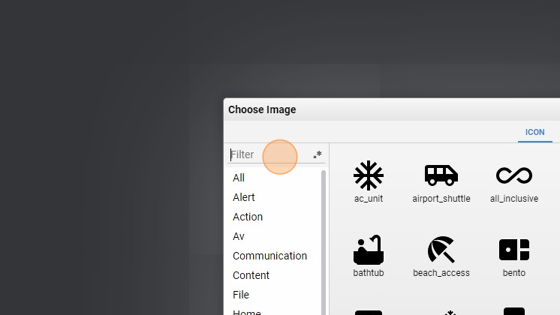
- Add this logo and click on "Ok"
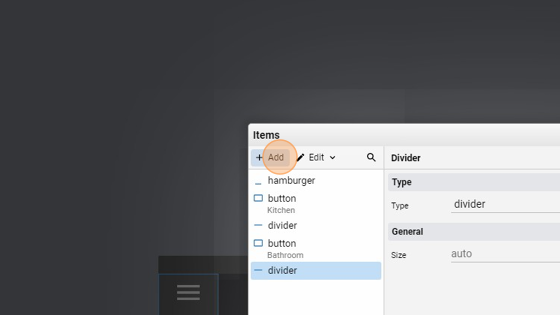
- Click "Add"
- Add a "Divider"
- Click "Add"
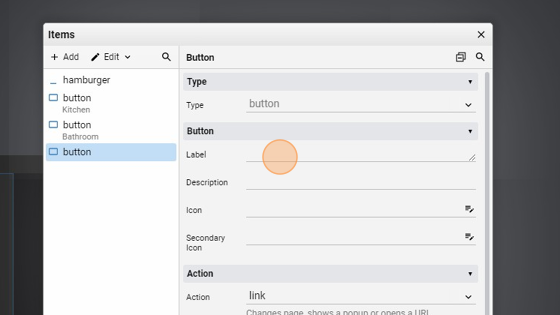
- Add a "Link button"
- Link the "bedroom" page

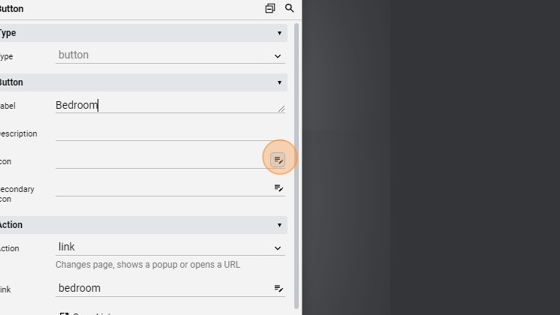
- Change the "Label" to Bedroom
- Lastly, change the "Icon" of this button
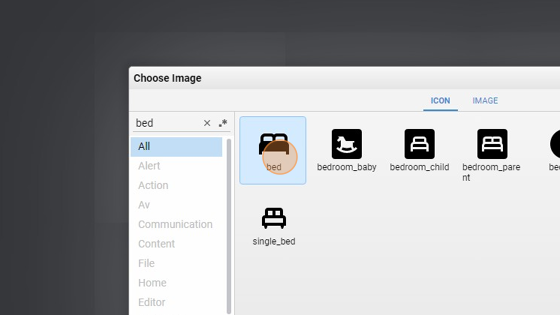
- Click the "Filter" field and search for "bed"
- Click on the "bed" icon and confirm by pressing "Ok"
- Click "Add"
- Add a "Divider"
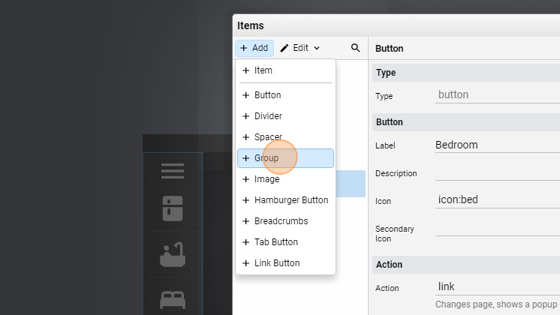
- Click "Add"
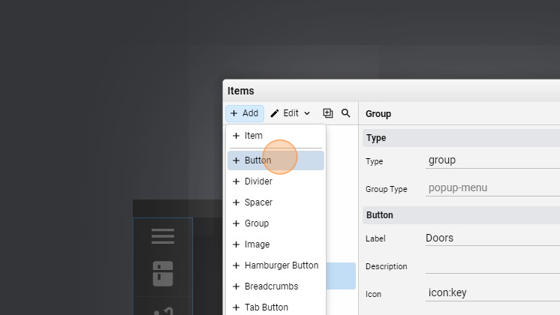
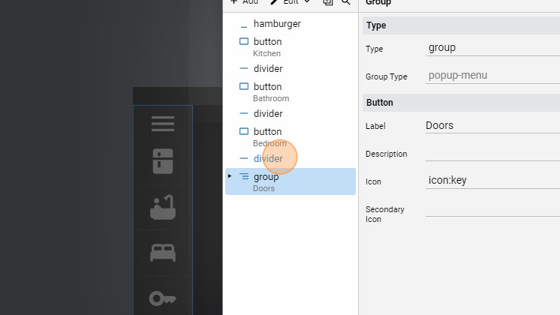
- Add a "Group". This is a special button that, when pressed, opens a popup-menu (default value), scroller or accordion. In our case, the default value is the best
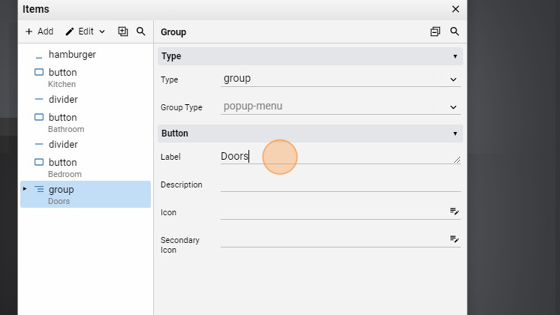
- Change the "Label" to "Doors"
- Change the icon
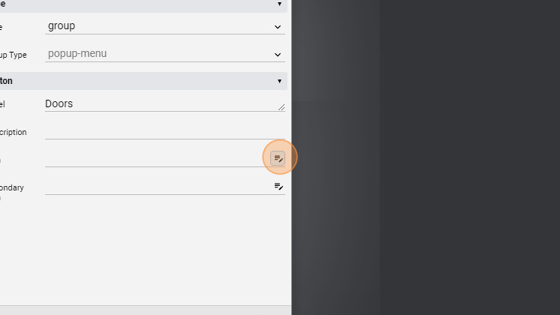
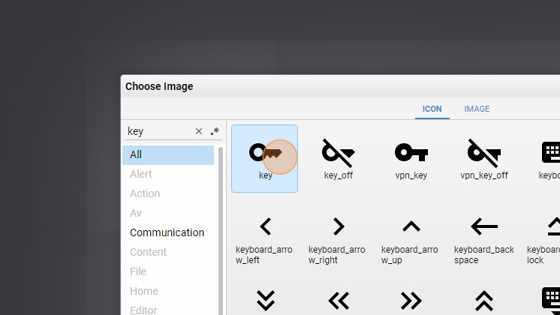
- Click the "Filter" field and search "key"
- Select an icon and press "Ok"
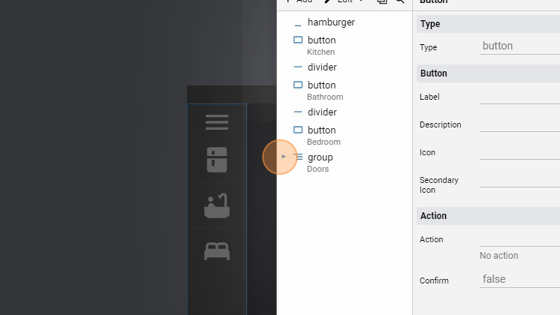
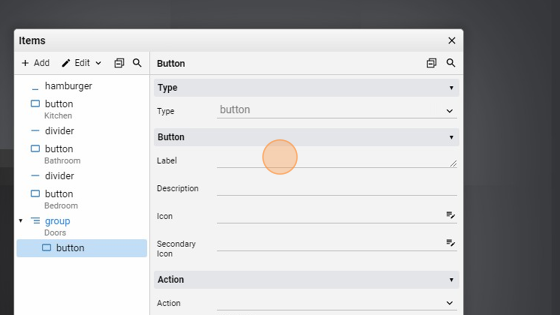
- Click here to expand the group and see all the button under it
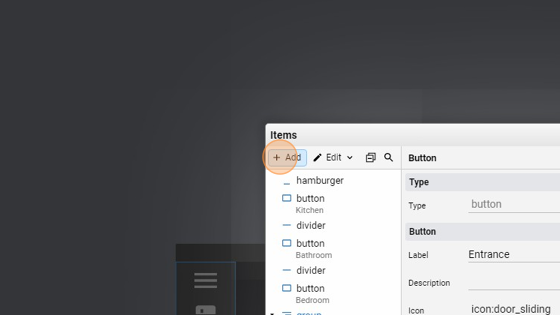
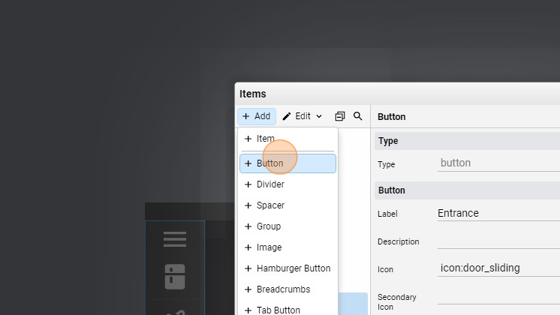
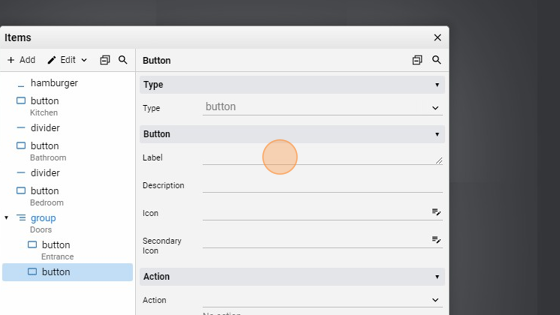
- Now add a button under the group
- Click "Button"
- Change the "Label" to "Entrance"
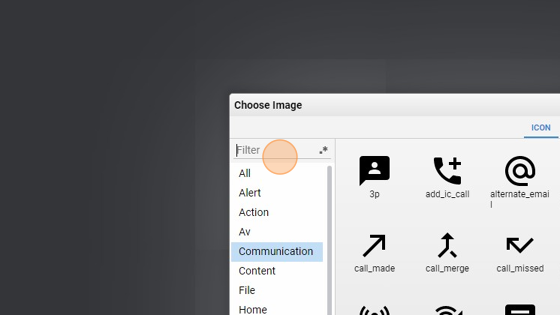
- Change the icon

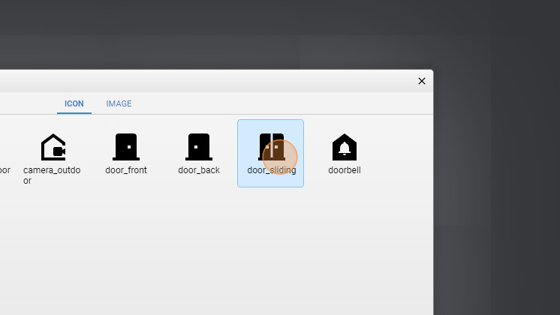
- Click the "Filter" field and search for "door"
- Select an icon and press "Ok"
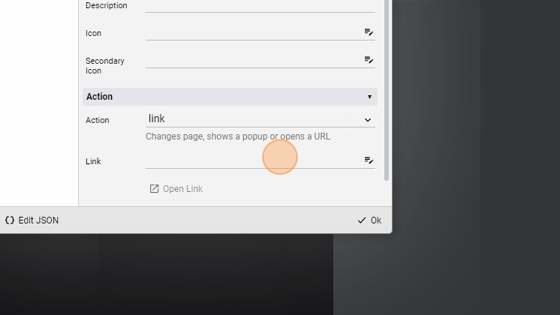
- Change the "Action" to "link"
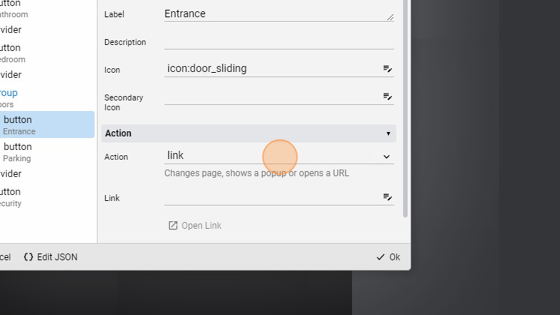
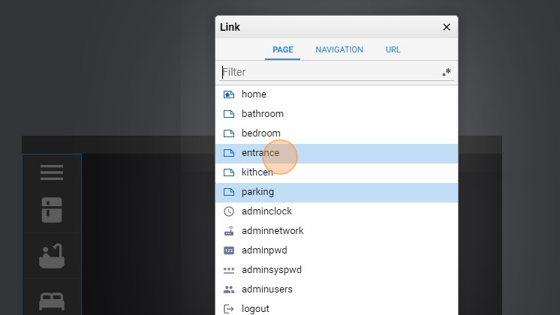
- Change the page linked

- Select "entrance" and press "Ok"
- Add another button
- Click "Button"
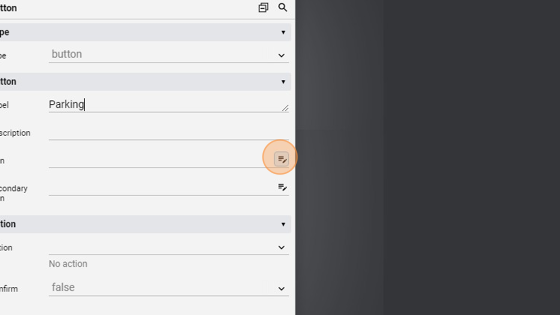
- Change the "Label" to "Parking"
- Change the icon
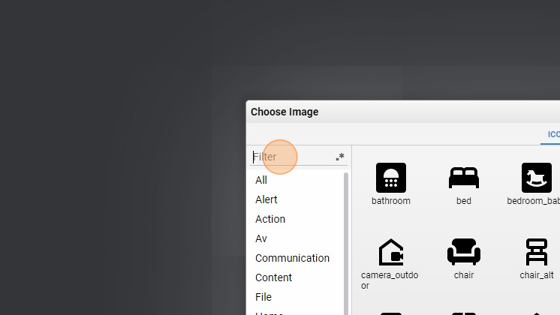
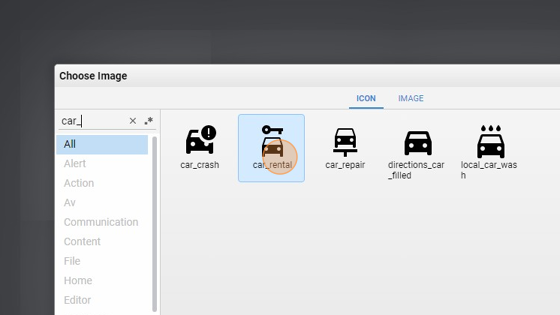
- Click the "Filter" field and search for "car"
- Select an icon and click on "Ok"
- Change the "Action" to "link"
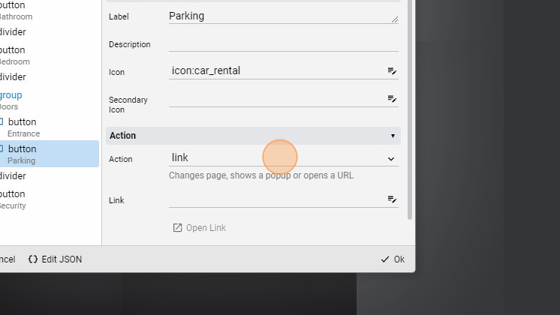
- Click this icon to change the page linked
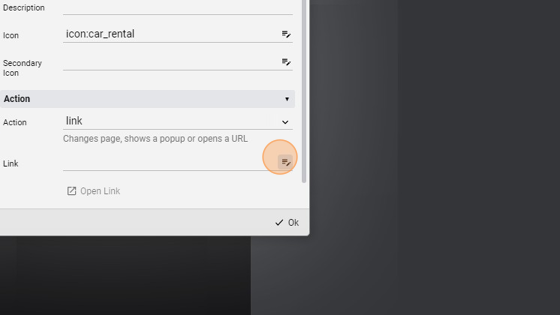
- Select the "parking" page and press "Ok"

128. Now deselect the group to add the last button that is not included in it. To do this, just click on another item like the "divider" above
- Click "Add"

- Add a "Divider"
- Click "Add"

- Add a simple "Button"
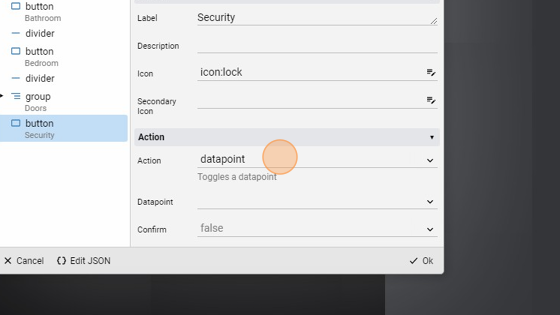
- Change the "Label" to "Security"
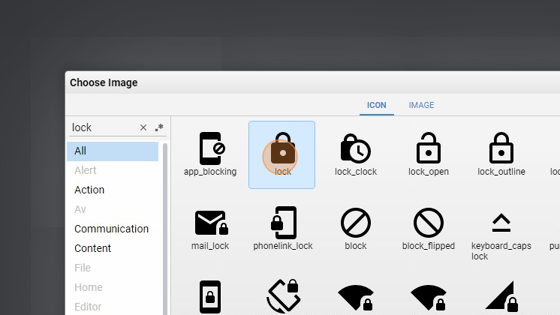
- Change the icon
- Click the "Filter" field and search for "lock"
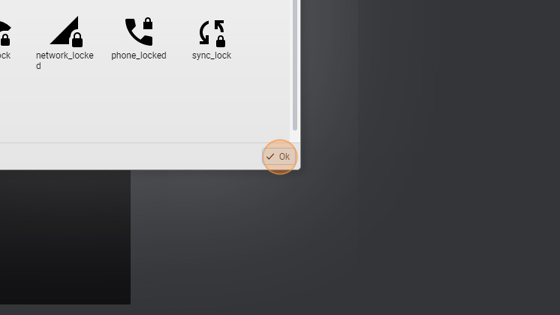
- Select an icon and confirm the choice
- Click "Ok"
- Change the "Action" to "datapoint"
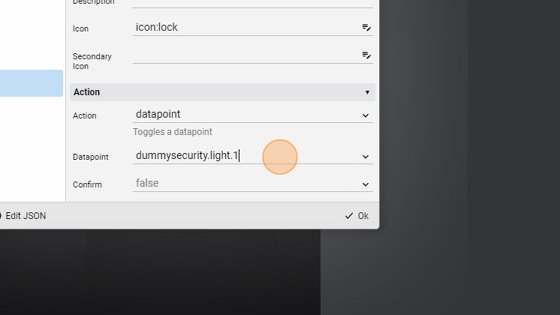
- Change also the "Datapoint" which is linked to this button to "dummysecurity.light.1" which is the name of the light included in the dummy server that we defined in Step 7 of the last guide (https://scribehow.com/shared/Create_a_Dummy_Server_with_1_light__bwLbmPeuRzCt_XKFUkYinw#e4fb6109)
- Click "Ok" to confirm the changes to the nav
- The homepage should look like this
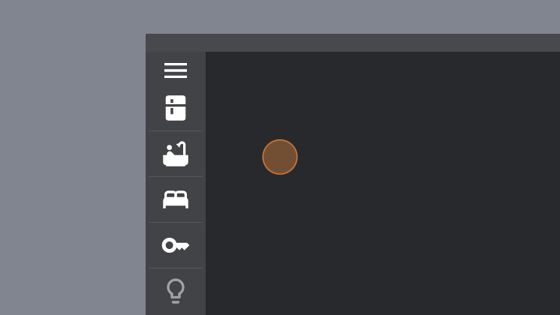
- Save the project