Checkbox Overview
-
Navigate to HSYCO Manager
-
Create a new project or open an existing one
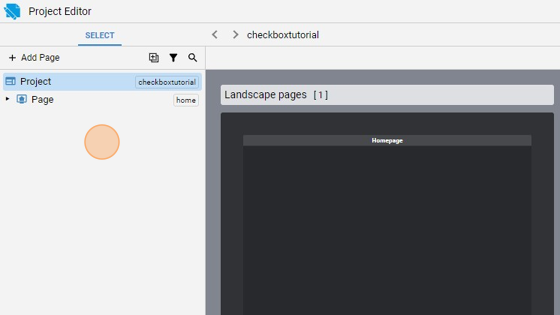
- Go into the Home page
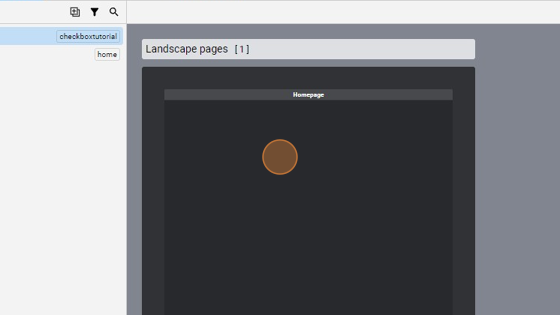
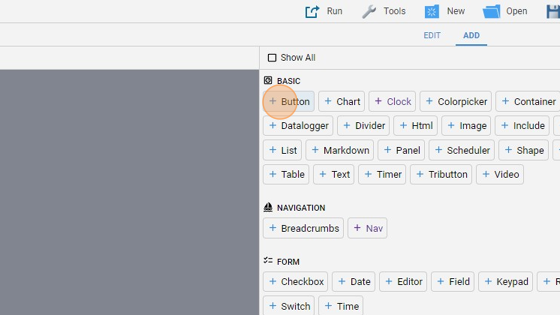
- Click "add"
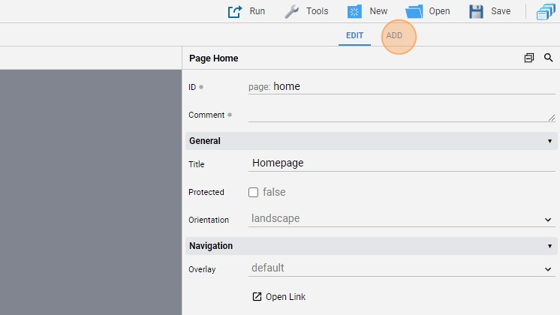
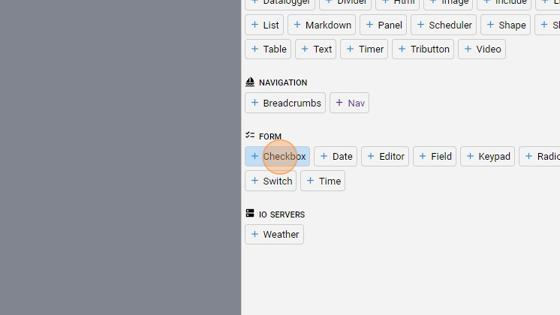
- Add a "Checkbox" object
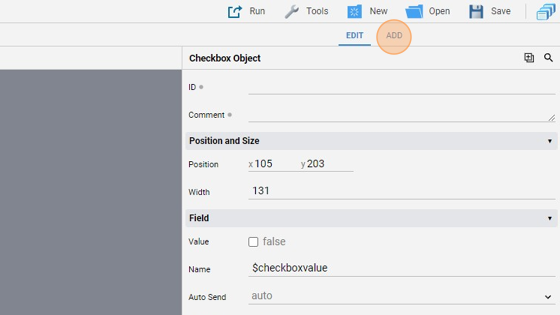
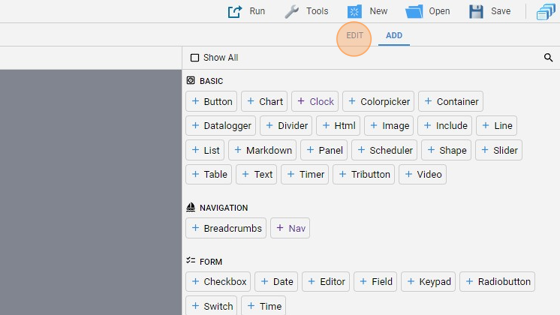
- Go back to "edit" mode

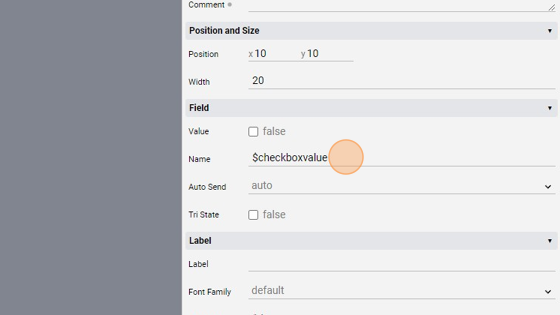
7. Change the "Name" attribute to "$checkboxvalue". "$checkboxvalue" is a variable that will contain the value of this checkbox. By doing so, we can directly write the content of this object to a variable and use that variable later with some code
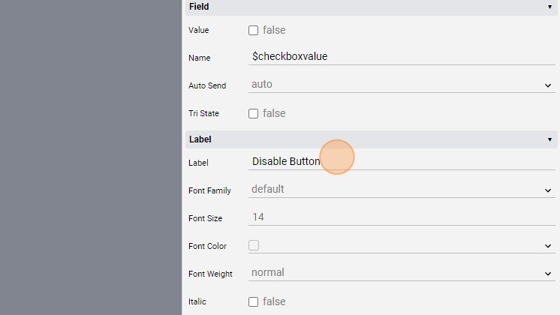
- Change the "Label" to "Disable Button"
- You can enlarge the object by dragging one of the corners and also align it by pressing "Align" and then "Center Vertically"

Tip: Now we'll add the button linked to the dummy datapoint
- Click "add"
- Add a "Button"
- Click "edit"
- Move the button at the right of the checkbox
14. Change the "ID" to "dummy1". This will help us later when we will disable the button based on the checkbox value through some code
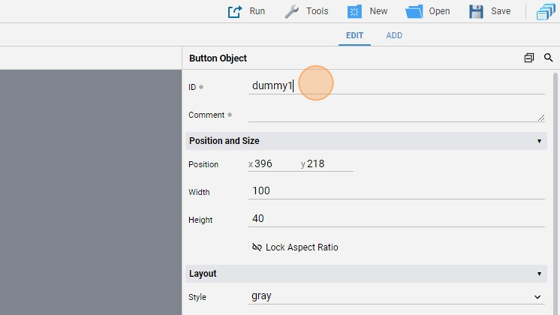
- Change the "Label" to "Dummy Light 1"
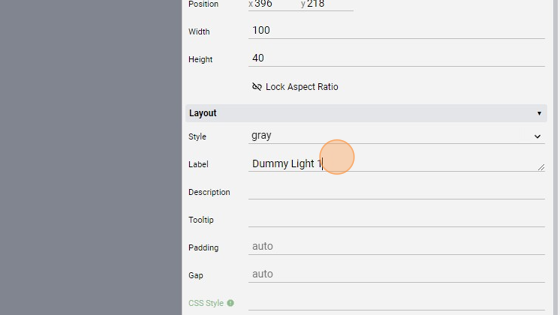
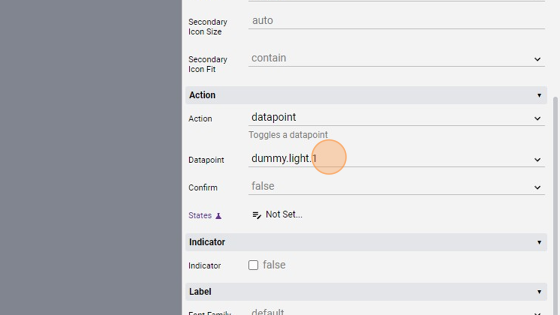
- Change the "Action" to "datapoint"
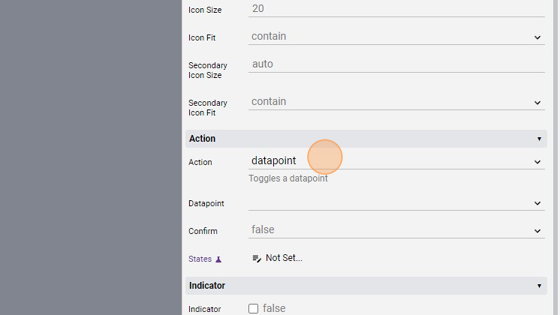
- Change the "Datapoint" to "dummy.light.1"
- Click "Save" to save the project

Tip: Great! Now we'll write some code to change the "Enabled" attribute of the button based on the checkbox value. We'll start with the EVENTS code
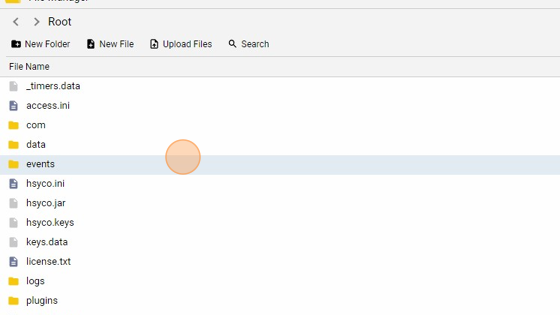
- Go into the File Manager

- Navigate into the "events" folder
- Click "New File"
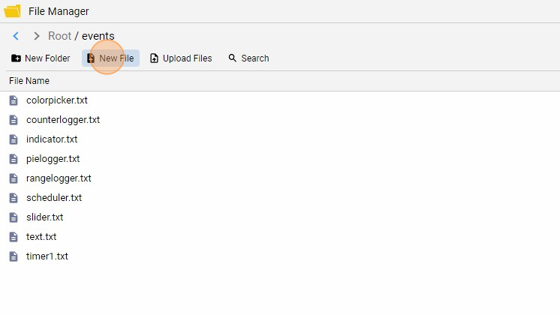
- Give it a name ("checkboxevents.txt" for example) and click "New File"

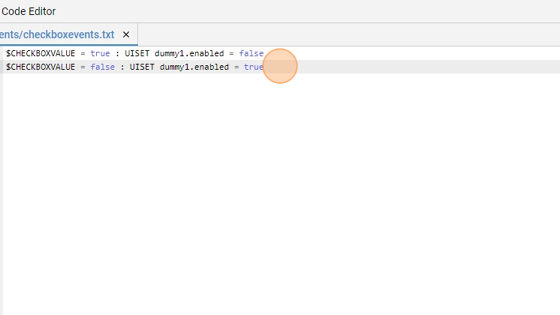
**23. Copy the following EVENTS code and save the file:
$CHECKBOXVALUE = true : UISET dummy1.enabled = false
$CHECKBOXVALUE = false : UISET dummy1.enabled = true
If the checkbox value is "true", disable the button with ID "dummy1" by setting his "enabled" attribute to false. Otherwise, do the opposite, so enable it if the checkbox is "true"**
- Normally, with the checkbox disabled, the button is clickable and enabled
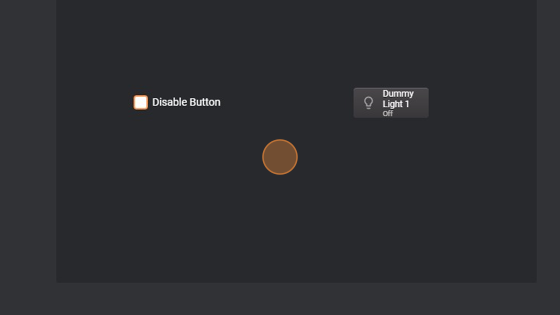
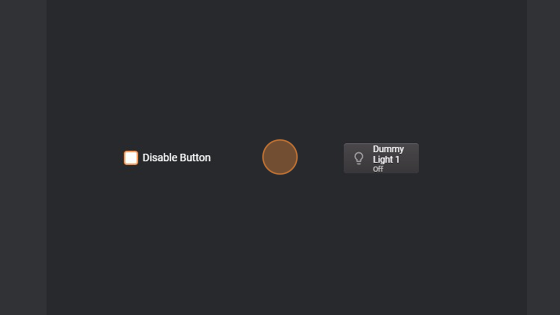
- If we press the checkbox, the button greys out and becomes disabled

- By clicking again, so setting the checkbox to false, the buttons returns enabled
Tip: We can do the same with some JavaScript code instead of EVENTS
- Create a new file under the "events" folder and give it a name ("checkboxjs.txt" for example)
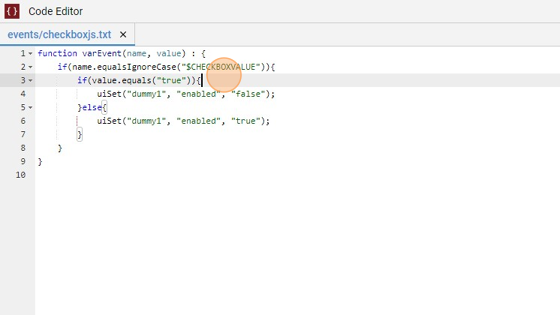
**28. Copy the following JavaScript code and save the file:
function varEvent(name, value) : {
    if(name.equalsIgnoreCase("$CHECKBOXVALUE")){
        if(value.equals("true")){
            uiSet("dummy1", "enabled", "false");
        }else{
            uiSet("dummy1", "enabled", "true");
        }
    }
}
What this does is, through the varEvent() function called when a variable cahnges its value, it checks if the name of the variable is "$CHECKBOXVALUE" (this check is Case-insensitive because of the equalsIgnoreCase() function, so you can pass to this function the name of the variable without worring of upper or lower cases) and, if it does, it sets the button disabled if the checkbox is true or the opposite if it is false.**