Switch Overview
-
Navigate to HSYCO Manager
-
Create a new project or open an existing one
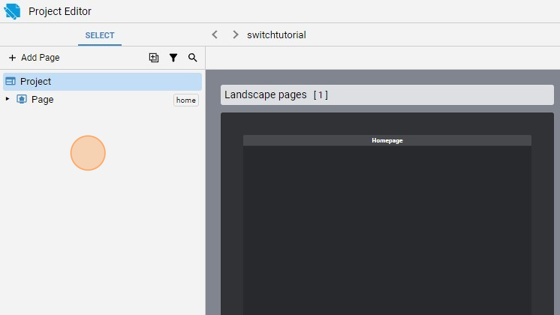
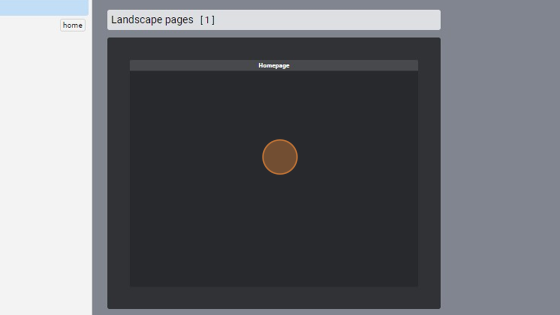
- Go into the Home page
- Click "add"
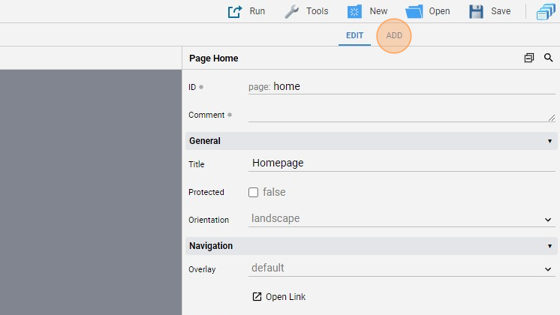
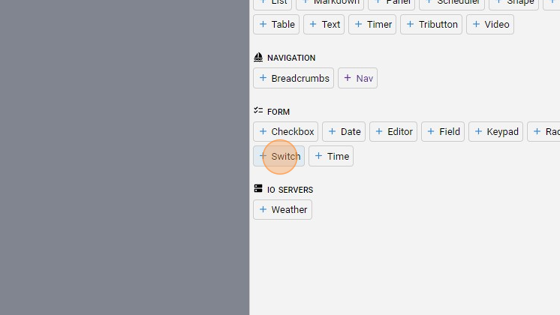
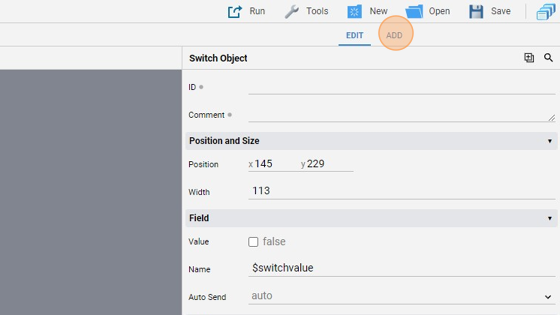
- Add a "Switch" object
- Go back to "edit" mode

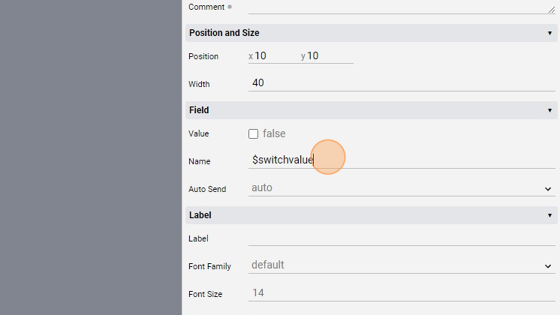
7. Change the "Name" attribute to "$switchvalue". "$switchvalue" is a variable that will contain the value of this switch (true or false). By doing so, we can directly write the content of this object to a variable and use that variable later with some code
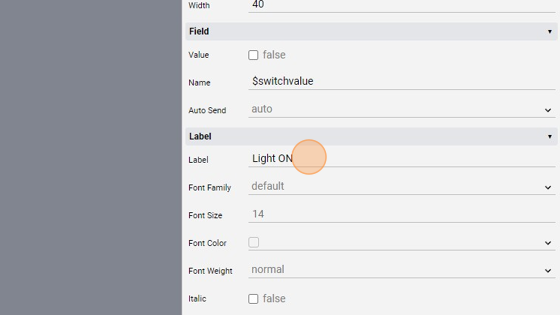
- Change the "Label" to "Light ON"
- You can enlarge the object by dragging one of the corners and also align it by pressing "Align" and then "Center Vertically"

Tip: Now we'll add the button linked to the dummy datapoint
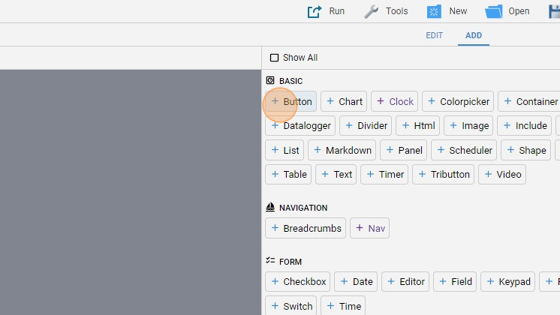
- Click "add"
- Add a "Button"
- Click "edit"

-
Move the button at the right of the switch object
-
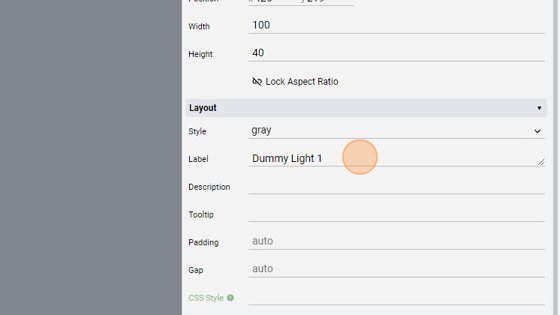
Change the "Label" to "Dummy Light 1"
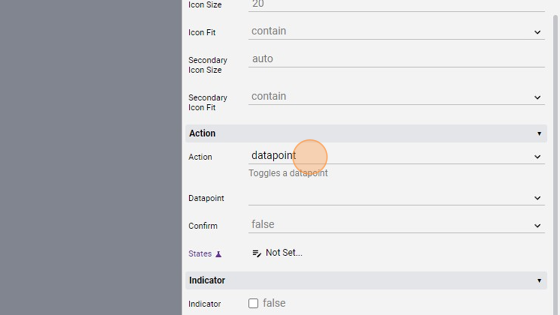
- Change the "Action" to "datapoint"
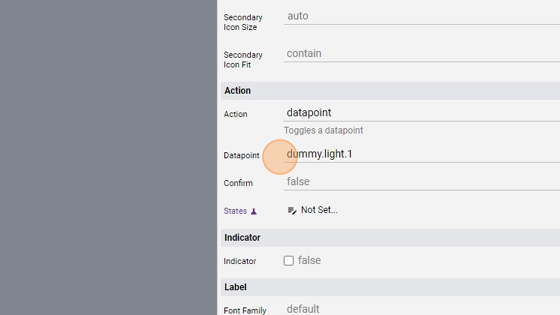
- Change the "Datapoint" to "dummy.light.1"
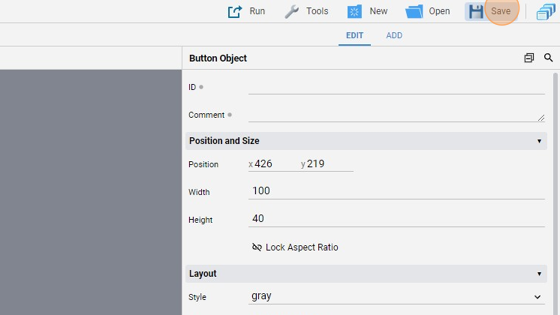
- Click "Save"
Tip: Great! Now we'll write some code to flip the status of the light based on the value of the switch. We'll start with the EVENTS code
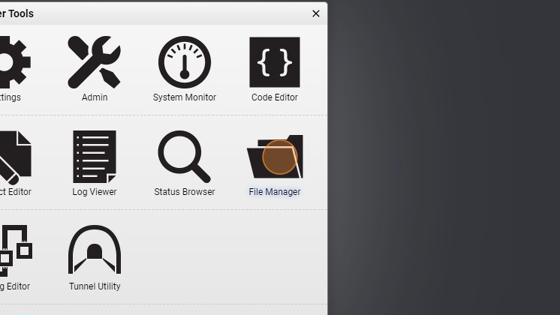
- Go into the File Manager
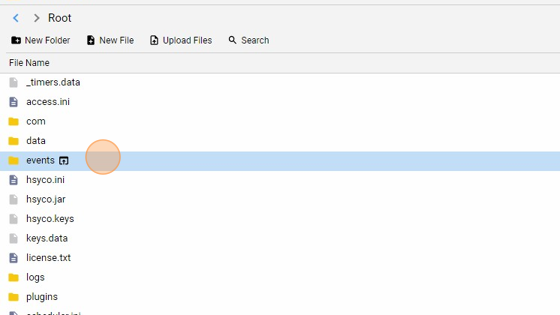
- Navigate into the "events" folder
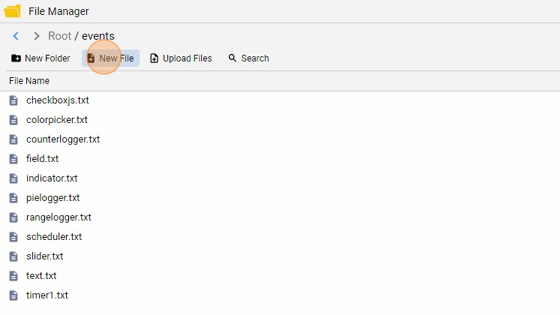
- Click "New File"
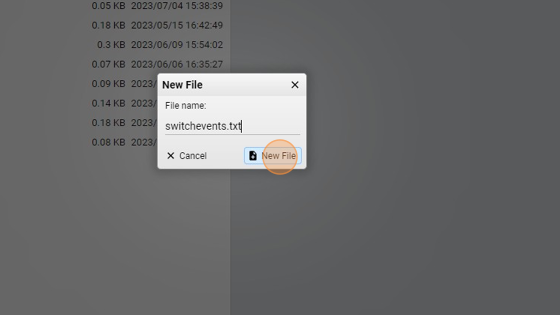
- Give it a name ("switchevents.txt" for example) and click "New File"
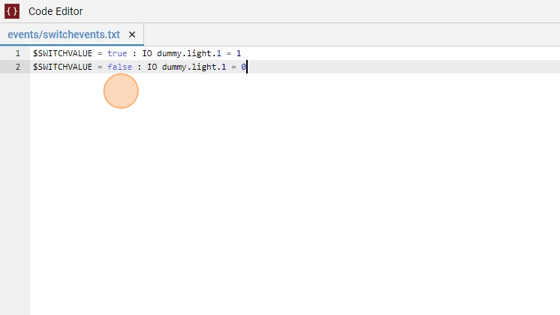
**22. Copy the following code and save the file:
$SWITCHVALUE = true : IO dummy.light.1 = 1
$SWITCHVALUE = false : IO dummy.light.1 = 0
If the switch value is "true", set the dummy light 1 status to 1, which means ON. Otherwise, do the opposite, so set its status to 0 or OFF**
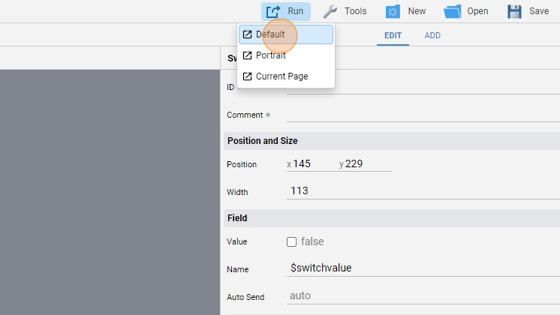
- Go back to the Project Editor, click "Run" and then "Default" to launch the application
- As you can see, by default the switch is OFF like the dummy light at first

- If we press the switch and change its status to "true", the light will turn on

- The same applies for the "false" status which makes the light turn OFF
Tip: We can do the same with some JavaScript code
- Create a new file under the "events" folder and give it a name ("switchjs.txt" for example)
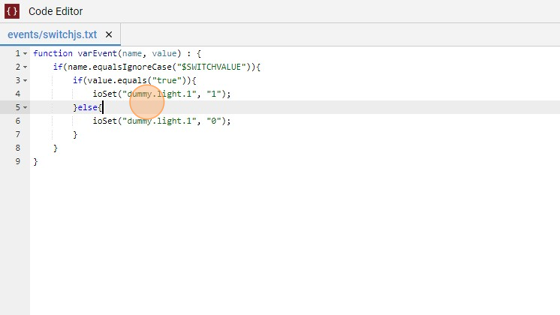
**28. Copy the following code and save the file:
function varEvent(name, value) : {
    if(name.equalsIgnoreCase("$SWITCHVALUE")){
        if(value.equals("true")){
            ioSet("dummy.light.1", "1");
        }else{
            ioSet("dummy.light.1", "0");
        }
    }
}
What this does is, through the varEvent() function called when a variable cahnges its value, it checks if the name of the variable is "$SWITCHVALUE" (this check is Case Insensitive so even if the variable has a full Upper-Case name, in the equalsIgnoreCase() function you can write its name without worring of upper case or lower case characters) and, if it does, it sets dummy datapoint status to 1 or 0, so ON or OFF**
- As you can see, the switch is OFF like the dummy light at first