Scheduler Overview
-
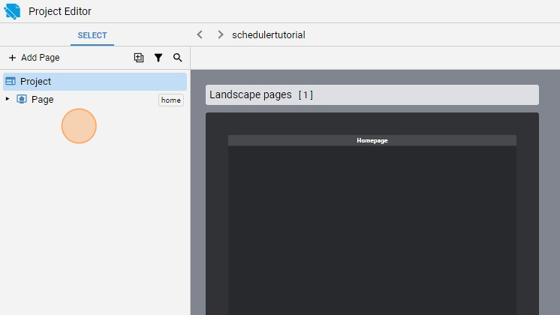
Navigate to HSYCO Manager
-
Create a new project or open an existing one
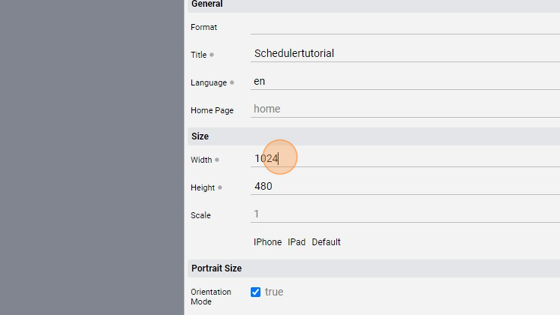
Tip: A scheduler has two graphical modes: compact and wide, depending on the object's width. A width of 750 pixels or more will toggle the wide mode that will display both the list of rules and the rule's details. Because the standard resolution is 640x480, we have to enlarge the size of the landscape.
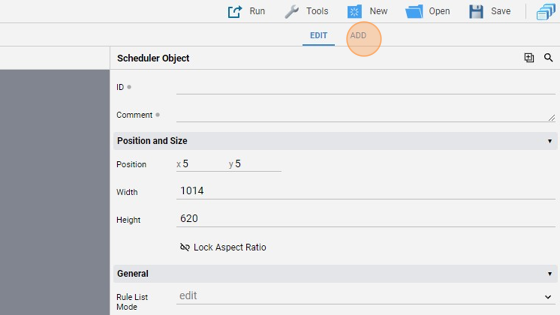
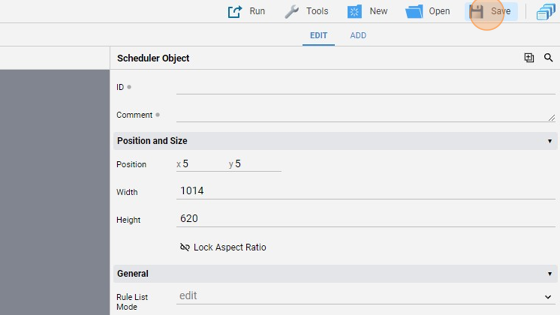
- Change the "Width" to 1024
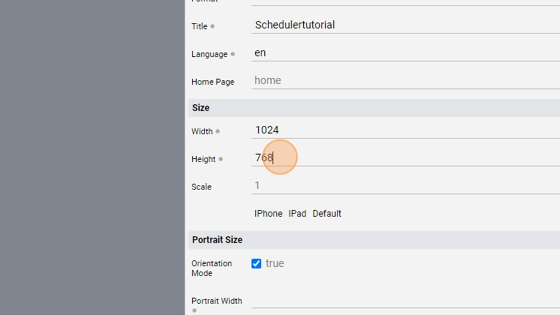
- Change the "Height" to 768
- Now go to the Home page

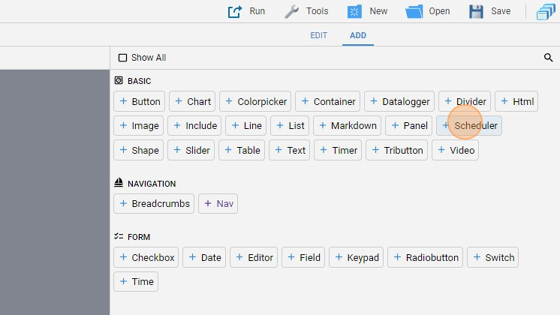
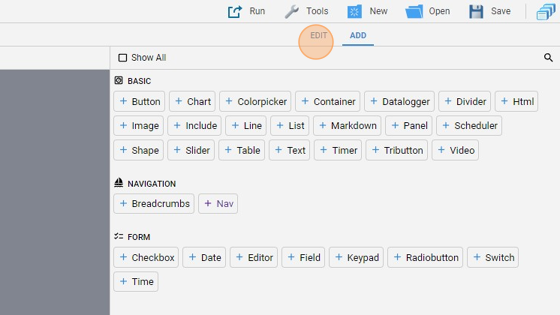
- Click "add"
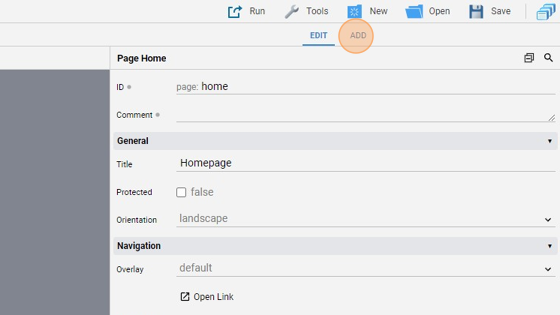
- Add a "Scheduler"
- Go back to "edit" mode

- Enlarge the Scheduler object to fit the horizontal width

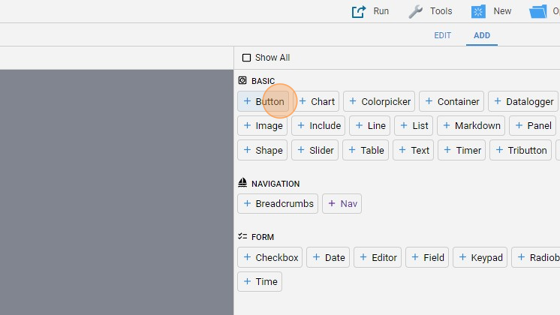
- Click "add"
- Add a "Button"
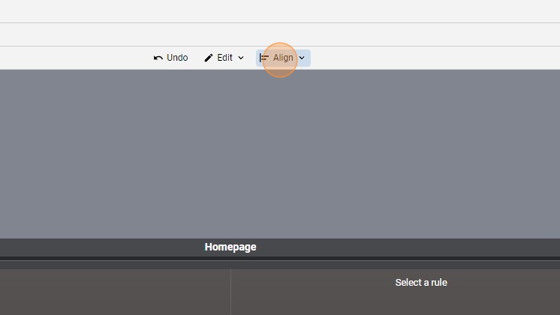
- Click "edit"
- You can align the button by clicking "Align" and then "Center Horizontally"
-
Move the button below the scheduler
-
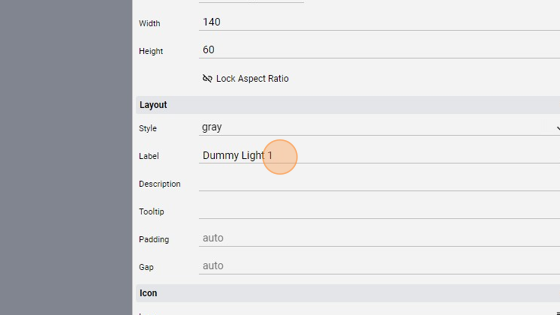
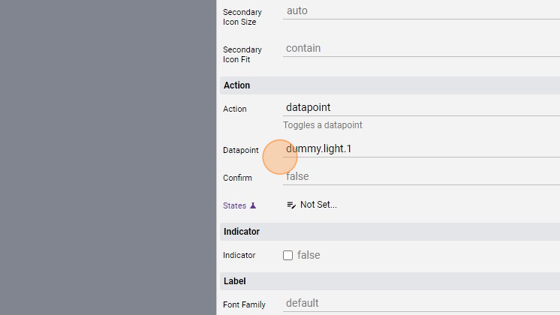
Change the "Label" to "Dummy Light 1"
- Change the "Action" to "datapoint"
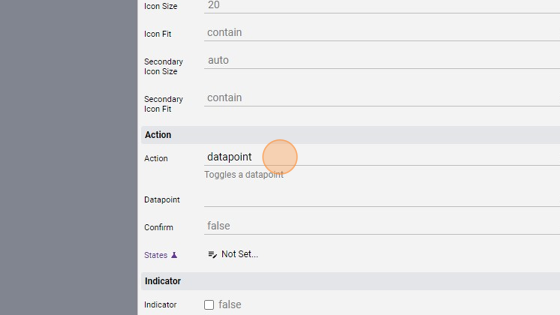
- Change the "Datapoint" to "dummy.light.1"
- Click "Save" to save the project
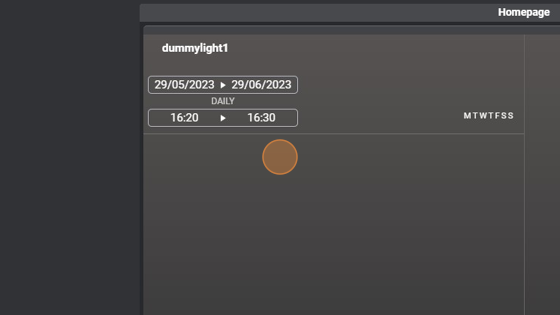
Tip: Great! Now we can try the object
- Click "Run" and then "Default" to launch the application
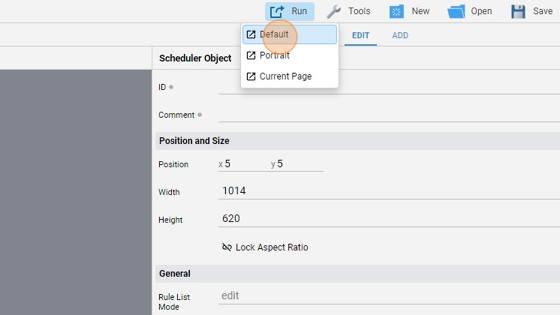
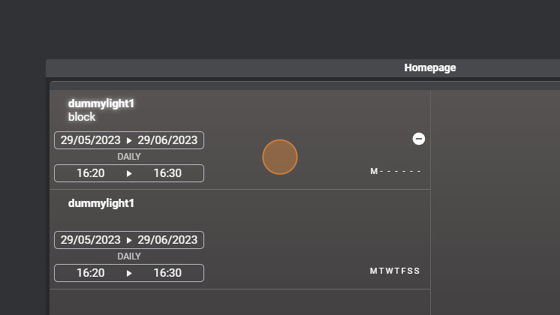
- The page should look like this:

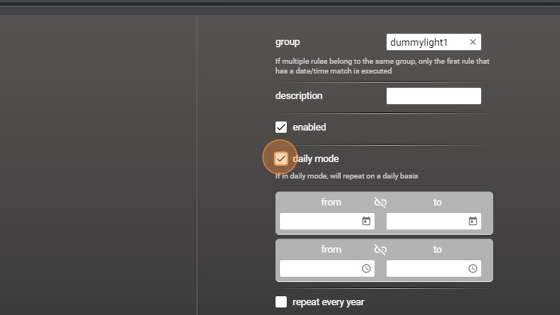
- Click this icon to add a new rule

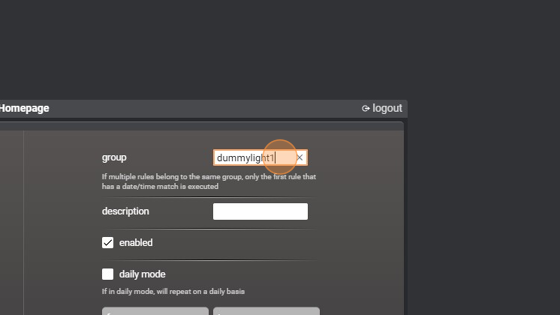
22. Change the "group" to "dummylight1". This can be any string and represents the group of the rule. If multiple rules have the same group, only the first that has a match will execute
23. Check the "daily mode" check. This makes the rule repeat on a daily basis
- Now select a start date and an end date for the rule
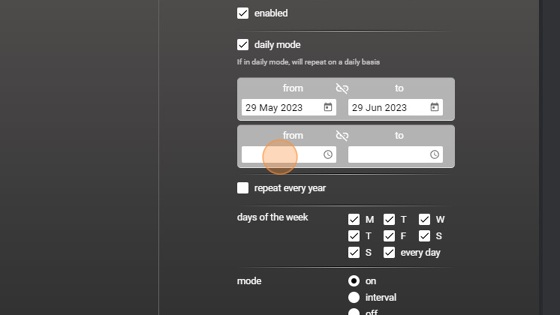
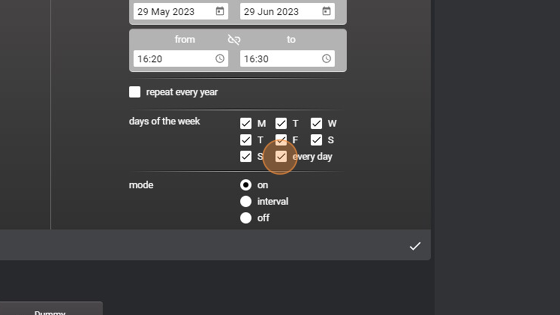
25. This rules repeats every day of the week. If you want to have some days where this rule is not executed, just uncheck one or more days
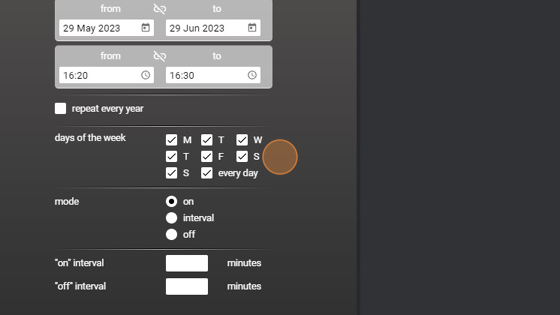
26. Leave "mode" at "on". This means that the rule is always executed. The "interval" mode means that is goes on and off for a fixed interval of time, while the "off" mode means that it will not be executed
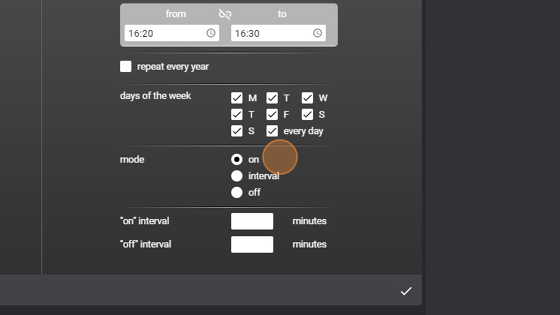
- Click this icon to confirm

- As you can see on the left of the object, the rule has been added
Tip: Now we need to write some code to capture the TIMER event launched when date and time interval are matched and turn on and off the dummy light
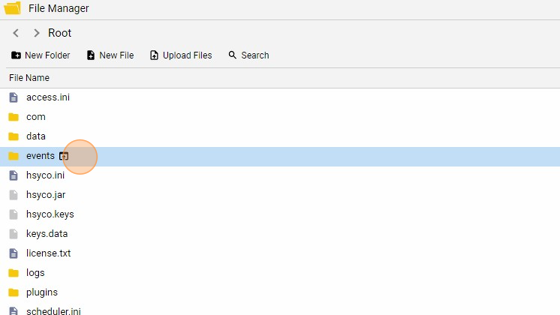
- Go into the "File Manager"

- Navigate into the "events" folder
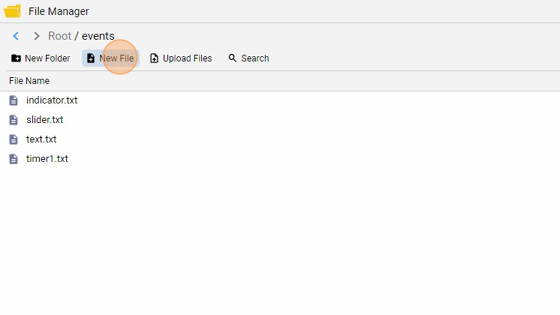
- Click "New File"
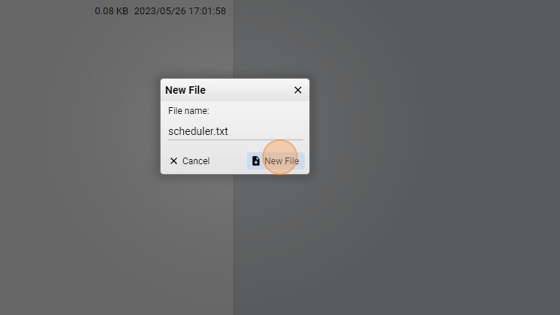
- Give it a name ("scheduler.txt" for example) and click "New File"
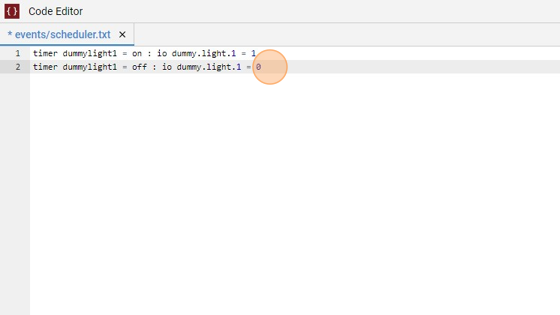
**33. Copy the following code and save the file:
timer dummylight1 = on : io dummy.light.1 = 1
timer dummylight1 = off : io dummy.light.1 = 0
What this does is it turns on and off the "dummy.light.1" when the timer "dummylight1" is on and off. "dummylight1" is the group of the rule that we added in the scheduler object**
- Now if we go back to the opened project and we wait until the execution time, we'll see that the light will turn on and, at the end of the time interval, will turn off.

Tip: Now let's suppose that in a specific day we don't want the light to turn on. We can simply achieve that by adding another rule under the same group. As I said in the beginning, If multiple rules belong to the same group, only the first one that has a date/time match will execute
35. Go back to the scheduler object. Click this icon to add a new rule

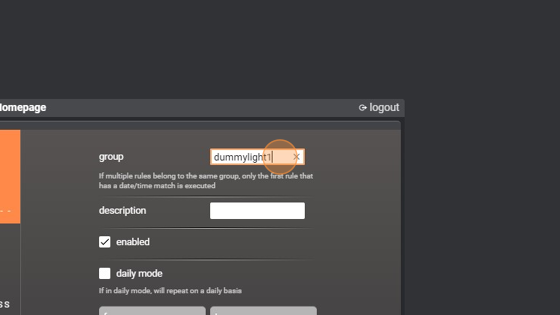
- Change the "group" to "dummylight1" (the same we used for the other rule)
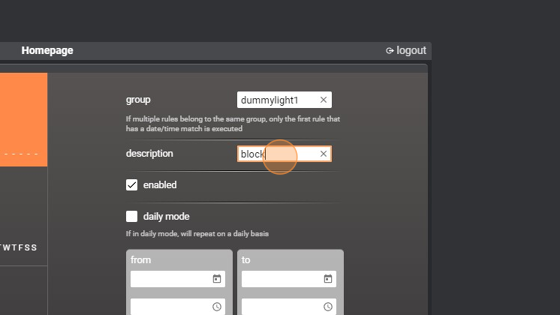
- Give it also a description like "block" to know that this rule is blocking all the others in the same group
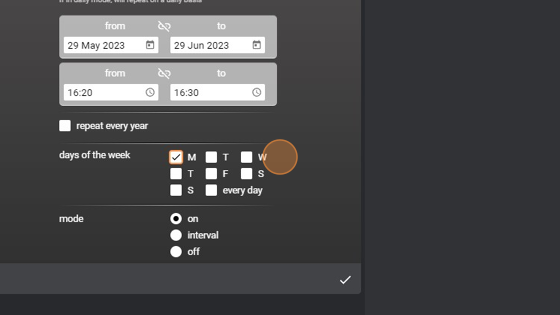
- Enable the "daily mode" and set the same date/time interval as in the other rule
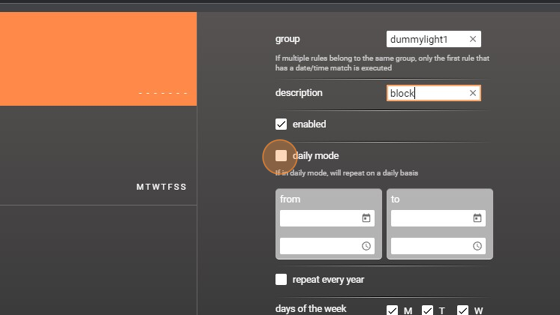
- Now uncheck the "every day" checkbox
- Select only one day when the execution will be blocked (on Monday for example)
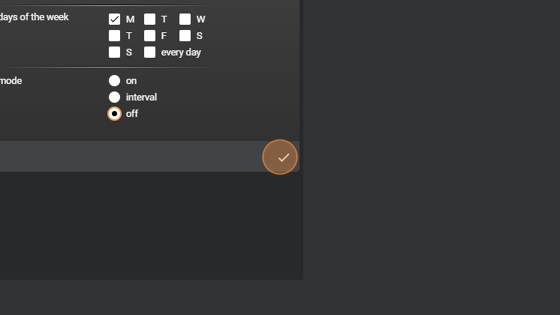
- Set the "mode" to "off"
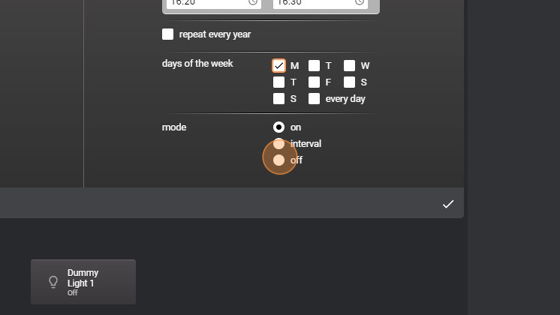
- Click this icon to confirm
43. Now, on every Monday in the date interval set, this new rule will be executed before the one previously created because it matches date and time, and all the rules in the same group will not be considered and executed. On the other days of the week, the newly created rule will not match the date/time interval so the second one will be executed because that matches