Colorpicker Overview
-
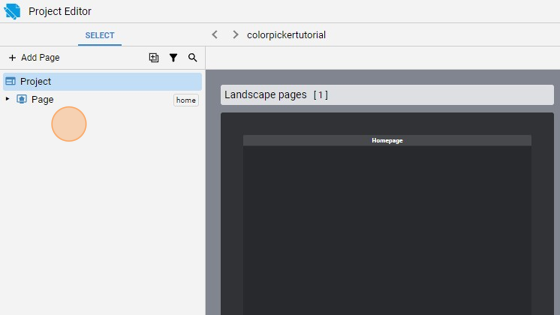
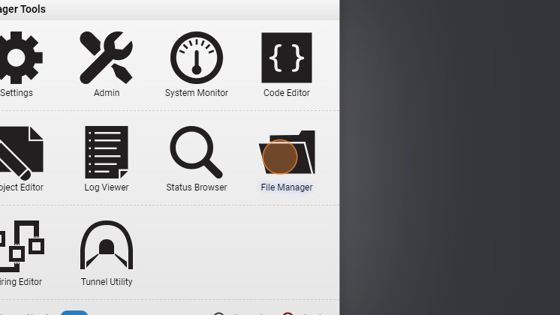
Navigate to HSYCO Manager
-
Create a new project or open an existing one
- Go into the Home page
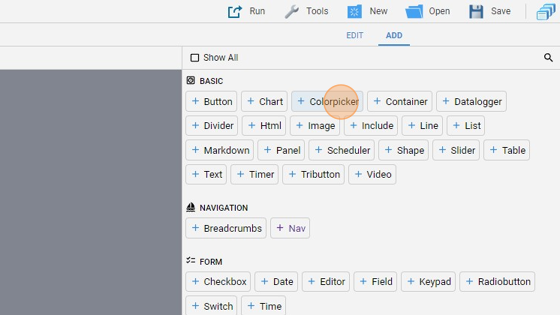
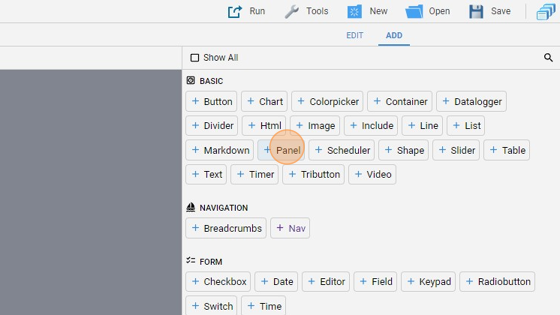
- Click "add"

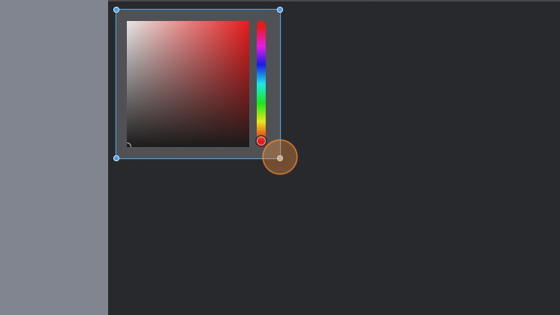
- Add a "Colorpicker" object
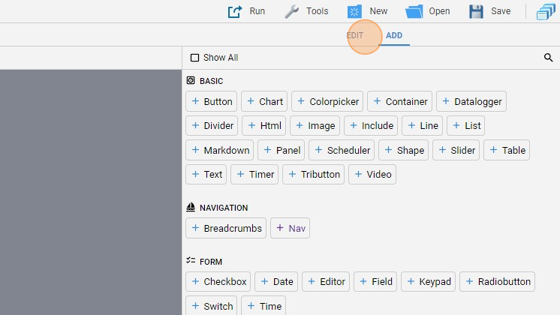
- Go back to "edit" mode

- Enlarge the object by dragging one of the corners because we'll add some feature to the right of the color palette
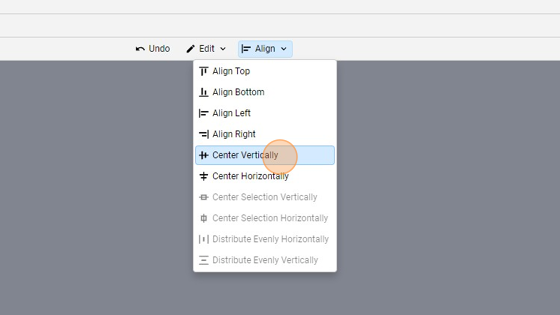
- You can also click "Align" and then "Center Vertically" to center vertically the object
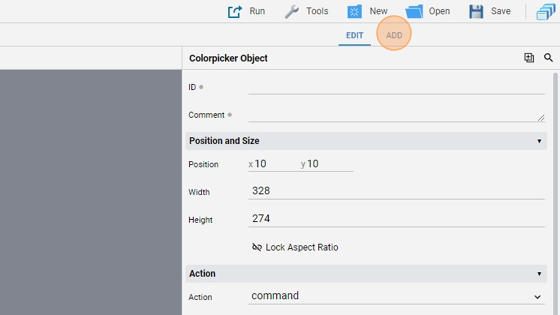
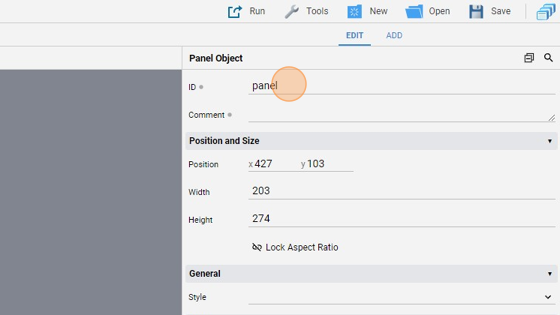
- Change the "ID" of the object to "colorpicker"

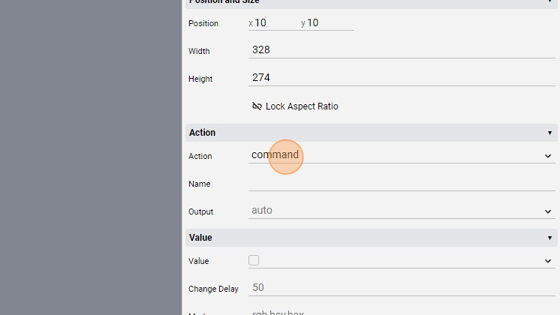
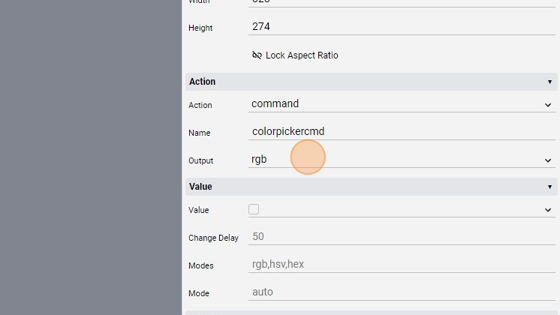
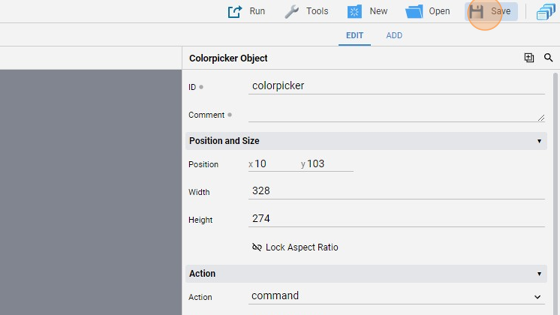
10. Change the "Action" to "command". This will send a command to the server that we can capture
11. Change the "Name" to "colorpickercmd". This is the name of the command sent to the server
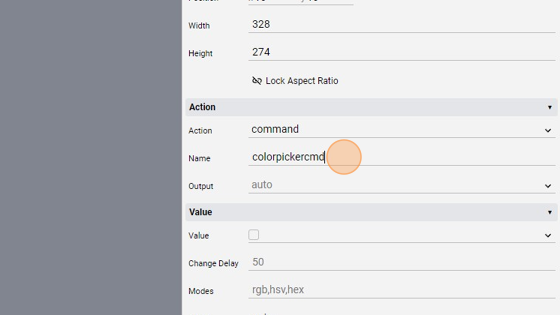
12. Change the "Output" to "rgb". This specifies the output format of the parameter of the command
13. Change the "Modes" to "rgb". This specifies the available modes, so by setting this to "rgb" we can only use the RGB format
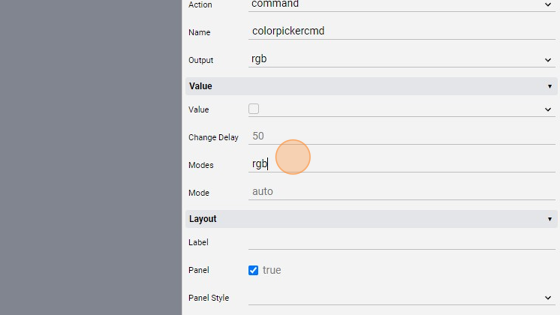
14. Change the "Mode" to "rgb". This specifies the current mode used
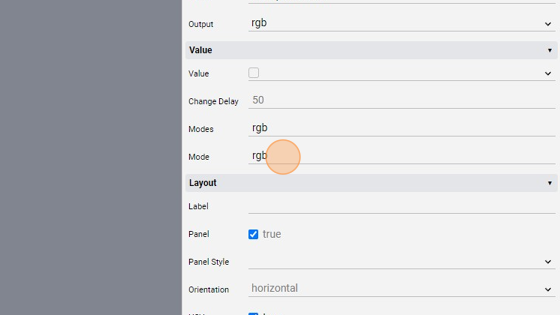
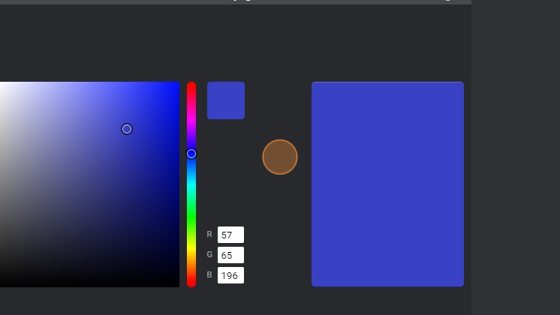
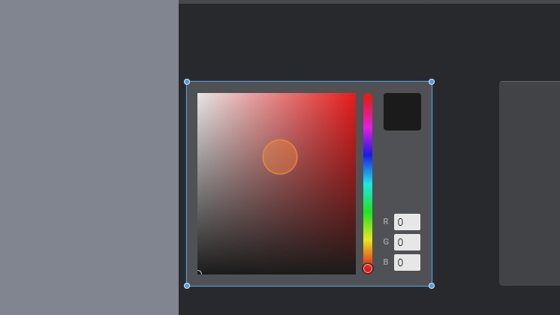
15. Now check "Preview" and "Fields". This will add a preview and three fields to input the RGB values singularly, without selecting the color from the palette
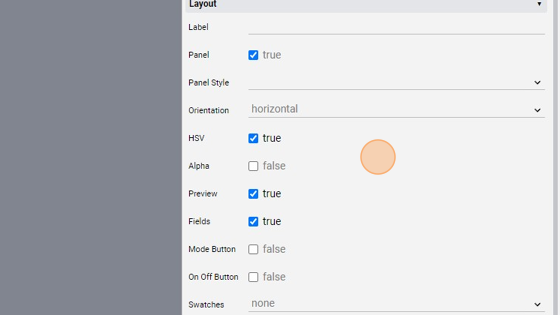
- As you can see, a preview appeared in the top right corner, while in the low right corner there are the three fields for the RGB standard
Tip: Now we'll add a panel that will change color based on the colorpicker object
- Click "add"
- Add a "Panel"
- Go back to "edit" mode
- Move the panel and enlarge it
- Change the "ID" to "panel"
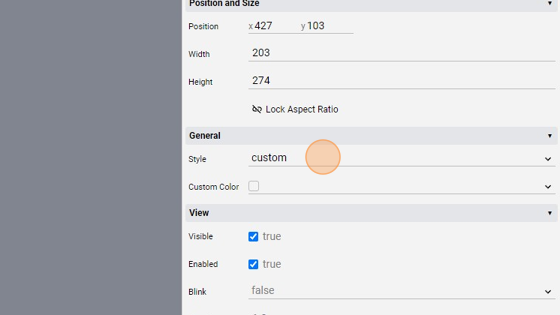
22. Change the "Style" to "custom". By setting this to "custom", we can now access the "Custom Color" field that we'll use to set the panel color
- Click "Save" to save the project
Tip: Great! Now we can write some code to capture the command sent by the colorpicker every time we select a color from the palette and use that to color the panel
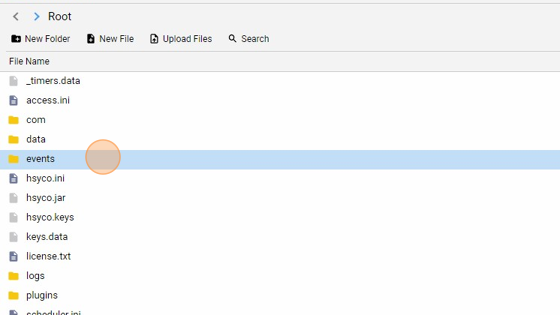
- Go into the File Manager
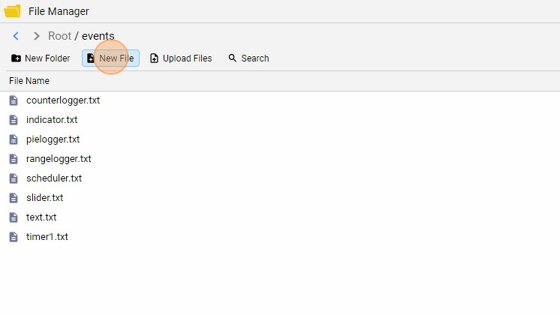
- Navigate into the "events" folder
- Click "New File"
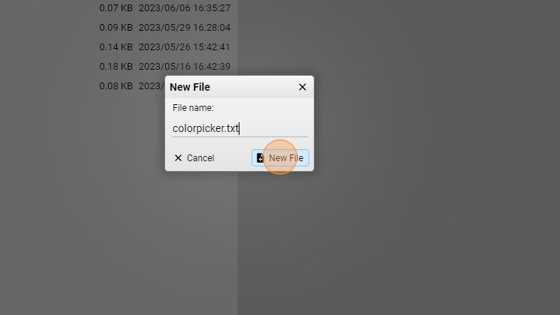
- Give it a name ("colorpicker.txt" for example) and click "New File"
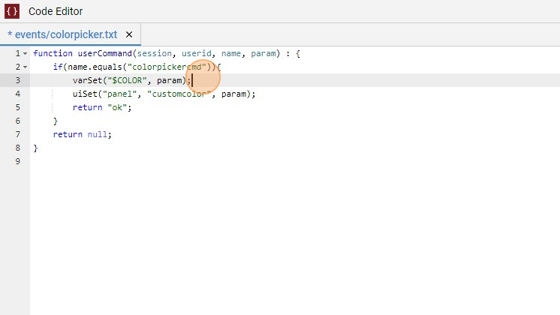
**28. Copy the following code and save:
function userCommand(session, userid, name, param) : {
    if(name.equals("colorpickercmd")){
        varSet("$COLOR", param);
        uiSet("panel", "customcolor", param);
        return "ok";
    }
    return null;
}
What this does is it checks if the command has the name that we set in the colorpicker attributes, and if it does it sets the panel custom color to the parameter, which is the rgb color selected in the colorpicker object and it also sets a persistent variable called "$COLOR" to that color**
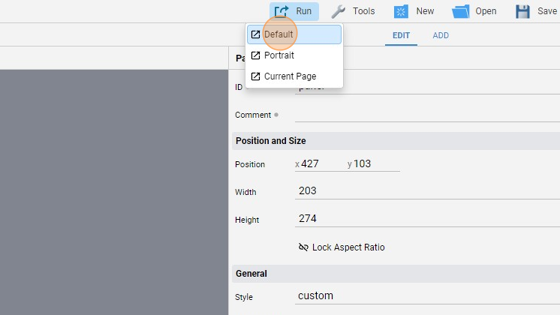
- Go back to the Project editor, click "Run" and then "Default" to launch the application
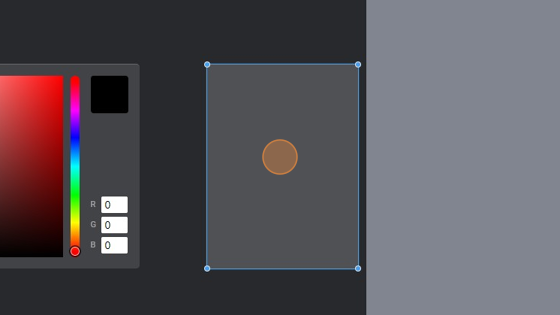
- The page should look like this:
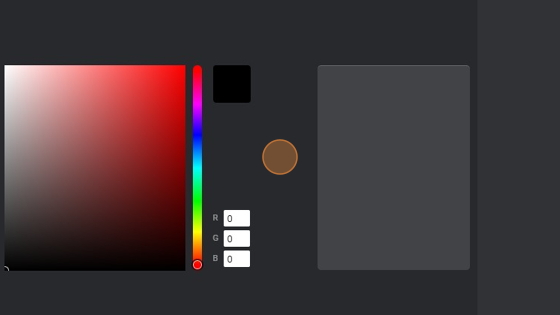
31. If we select a color from the palette, the panel should take on that color. Here with black for example
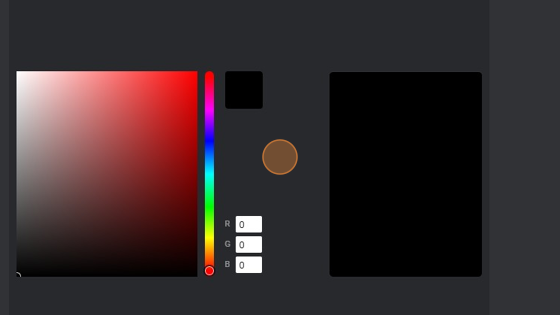
32. We can also input the three values singularly and it still works. Here with a special blue color for example