Button Command Action
-
Navigate to HSYCO Manager
-
Create a anew project or open an existing one
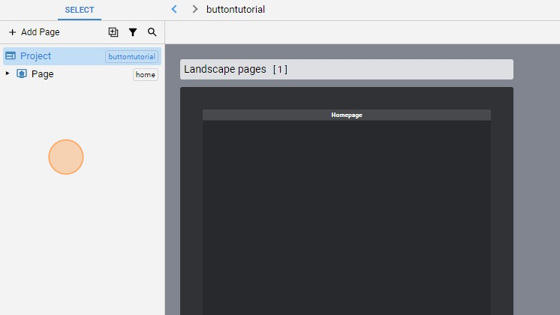
- Go into the "home" page
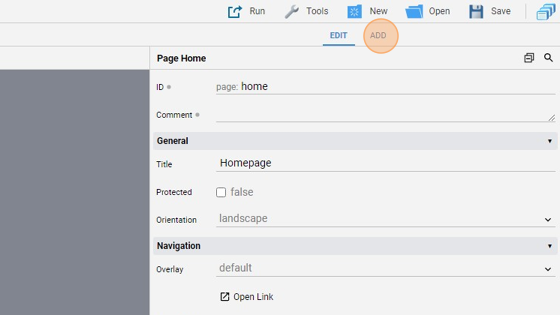
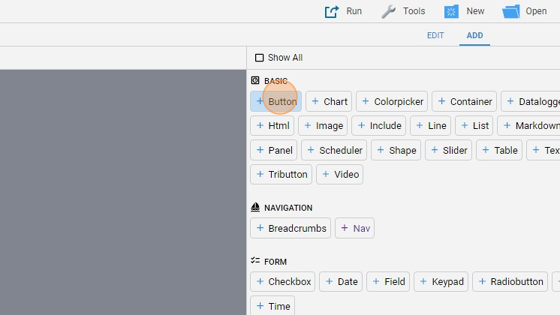
- Click "add"
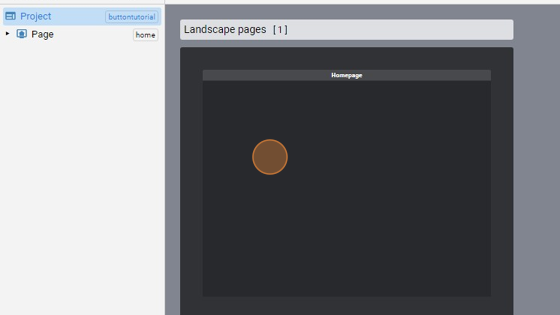
- Add a "Button"
- You can align the button in the middle of the page by clicking "Align" and then "Align horizontally" and "Align vertically"

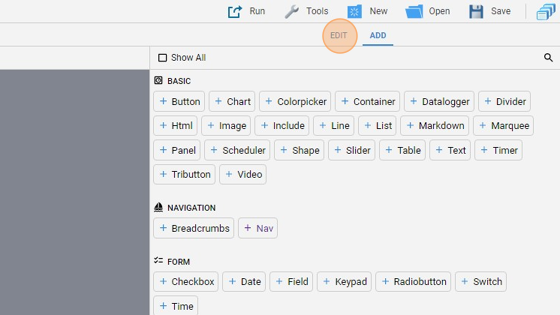
- Go back to "edit" mode
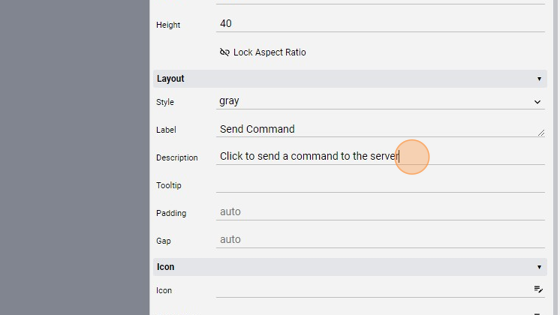
- Change the "Label" to "Send Command"

- Change the "Description" to "Click to send a command to the server"
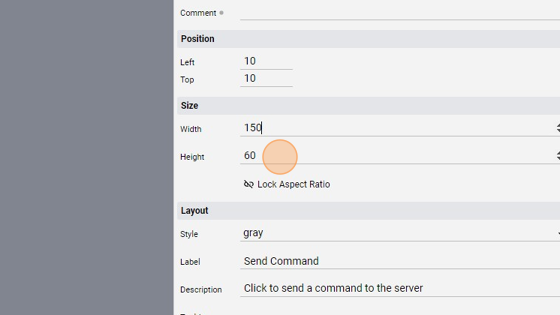
- You can also change the "Width" and the "Height" of the button so that the two strings are clearly visible
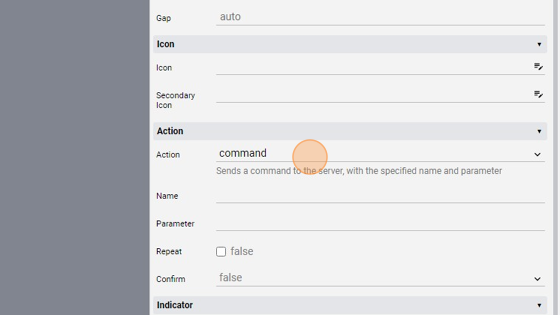
11. Change the "Action" to "command". This specifies a command to send to the server with a name and a parameter
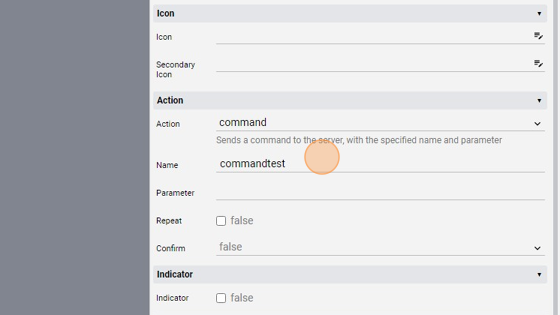
12. Change the "Name" to "commandtest". If not specified, the default name is the "ID" of the button. In our case, we haven't specified an "ID" so the "Name" is mandatory. This can be any string
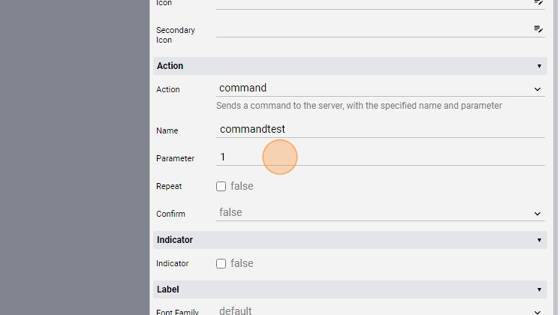
13. Change the "Parameter" to "1". This can also be any string
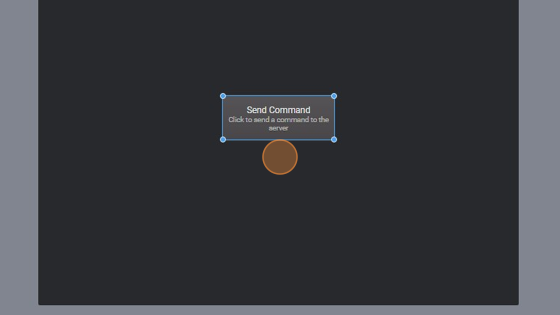
- The button should now look like this:
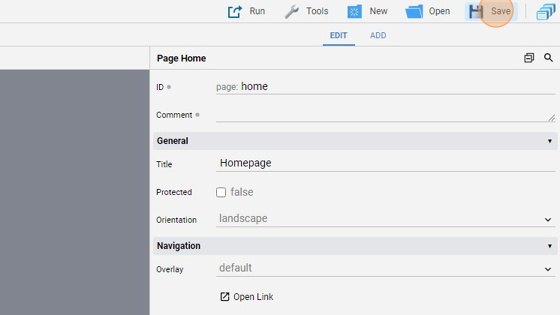
- Click "Save" to save the project
Tip: Good! The button is now working. Let's test it
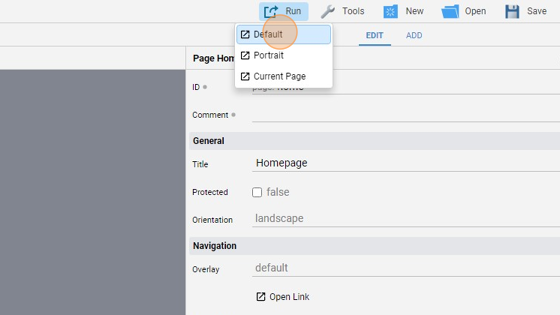
- Click "Run" and then "Default" to launch the application
- The page should look like the one in the Project Manager:

- Click the button to send the command

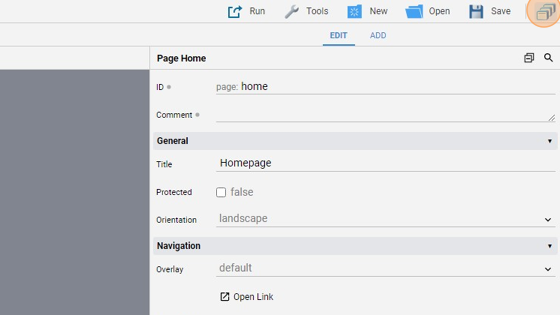
- Go back to the Project Manager and click this icon to open up the Menu
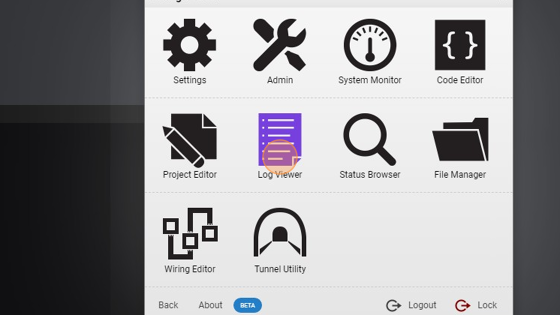
- Click "Log Viewer"
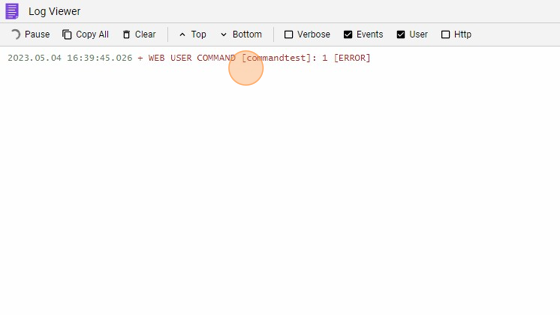
21. As you can see, the Command has been sent and shown in the logs. The name (the one between the square brackets) is "commandtest" and the parameter (after the colon) is "1".