Button Indicator
-
Navigate to HSYCO Manager
-
Create a new project or open an existing one
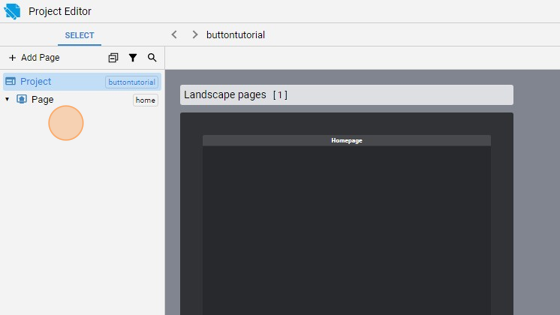
- Open the Home page
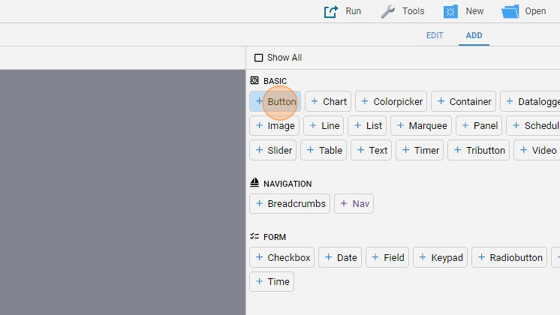
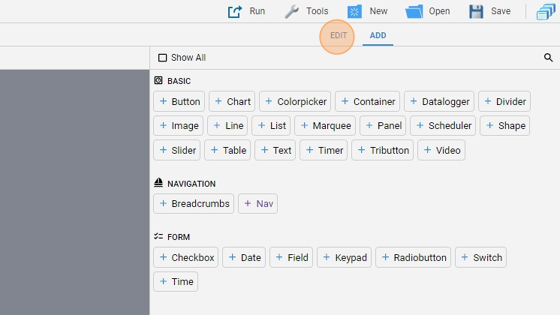
- Click "add"
- Add a "Button"
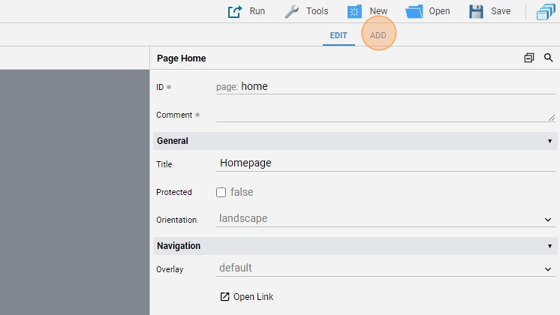
- Click "edit"
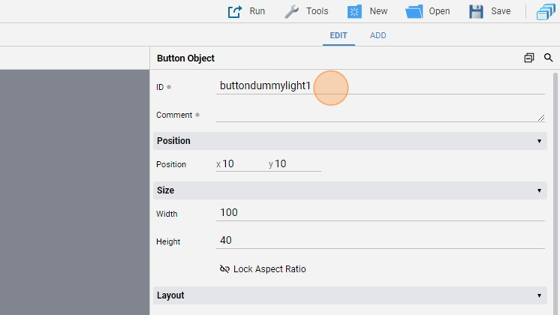
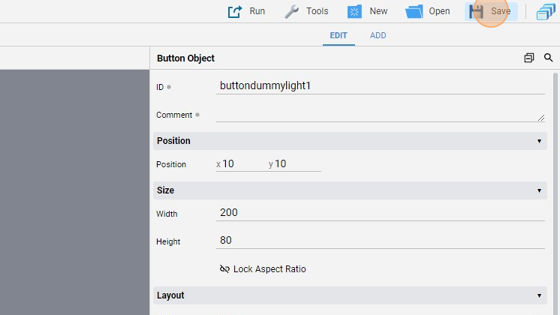
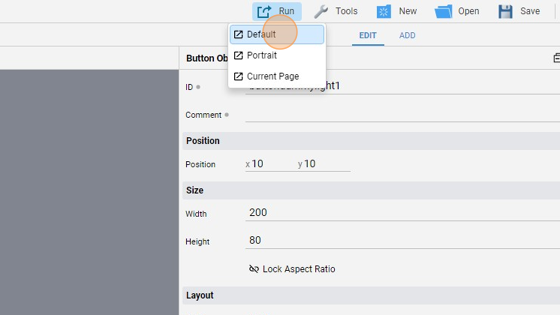
**7. Change the "ID" to "buttondummylight1". This is important because the ID is used later to change some attributes dynamically **
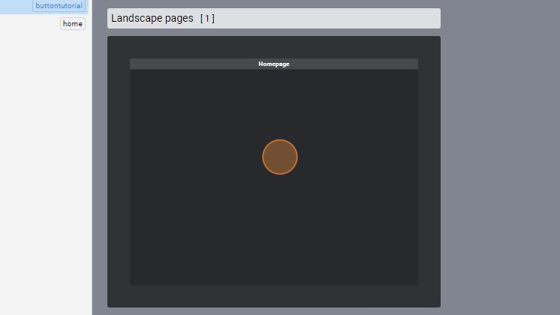
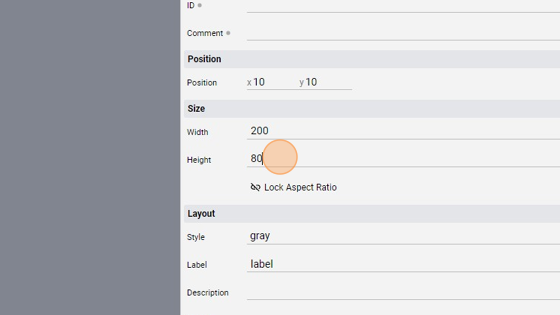
- Change the "Width" and "Height" of the button to enlarge it
- Align the button in the middle of the page by clicking "Align" and then "Center Vertically" and "Center Horizontally"

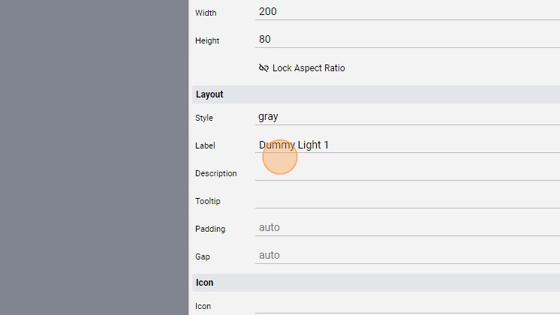
- Change the "Label" to "Dummy Light 1"
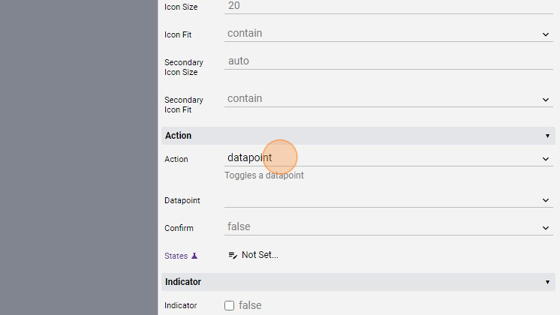
- Change the "Action" to "datapoint"
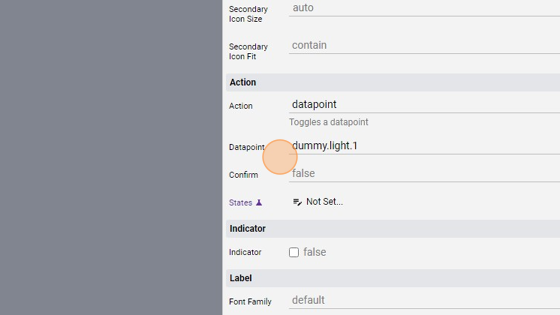
- Change the "Datapoint" to "dummy.light.1"
- Click "Save" to save the project
Tip: Done! Now we need some code to show the indicator when the button is pressed and to hide it when pressed again
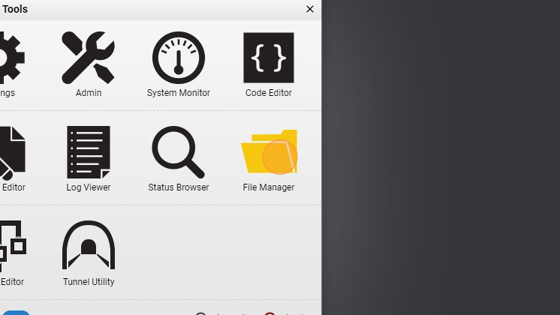
- Go into "File Manager"
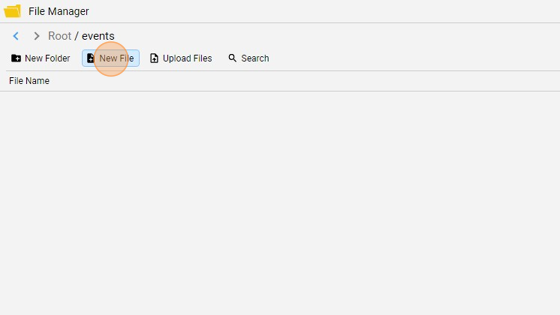
- Navigate into the "events" folder
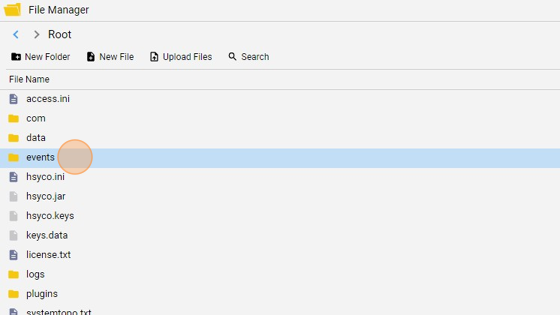
- Click "New File"
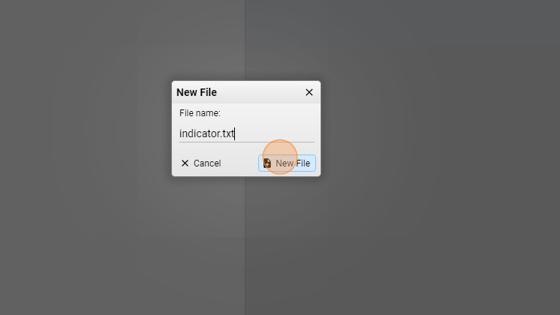
- Give it a name ("indicator.txt" for example) and click "New File"
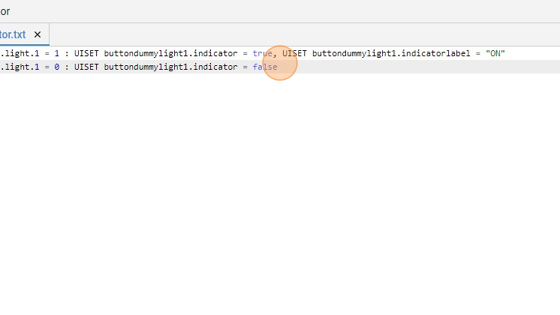
**18. Now copy the following code and save the file:
IO dummy.light.1 = 1 : UISET buttondummylight1.indicator = true, UISET buttondummylight1.indicatorlabel = "ON"
IO dummy.light.1 = 0 : UISET buttondummylight1.indicator = false
What this does is it changes the "Indicator" attribute to true and gives it a "Label" (to the button with ID buttondummylight1) when the dummy.light.1 datapoint is On, namely 1. Otherwise it hides the "Indicator"**
Tip: Now we can test the button and see the indicator!
- From the "Project Editor", click "Run" and then "Default" to launch the application
- Click the button

- As you can see, the light has turned on and the indicator is now shown with the "Label" ON

- Press the button again

- The light turns off and the indicator disappears
