Button Datapoint Action
-
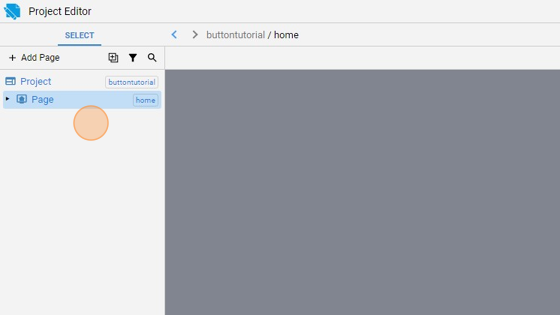
Navigate to HSYCO Manager
-
Create a new project or open an existing one
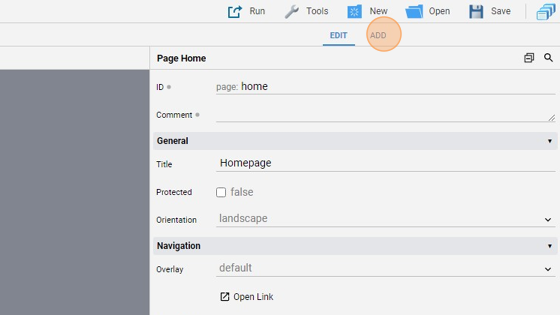
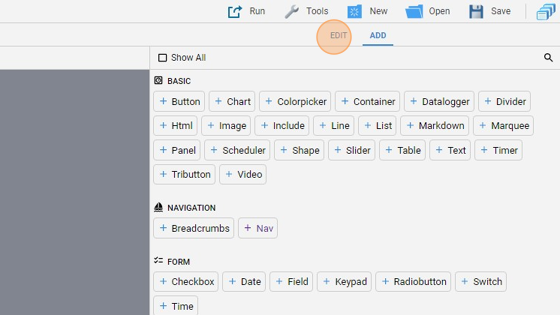
- Click "add"
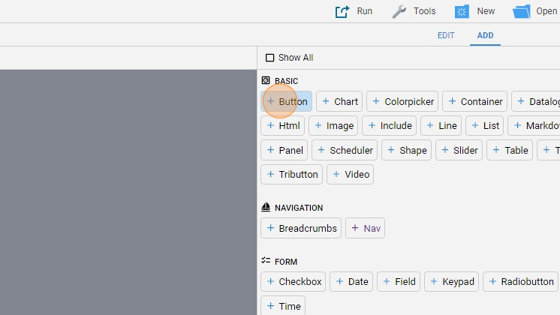
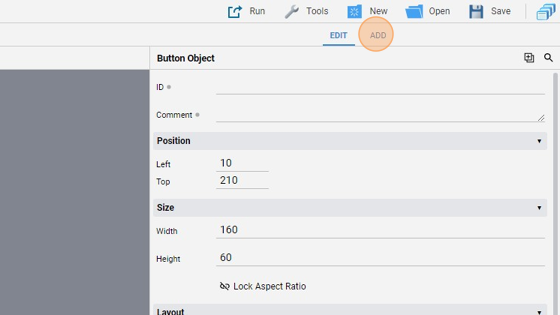
4. Add a "Button". This button will control a single dummy light
- Go back to "edit" mode

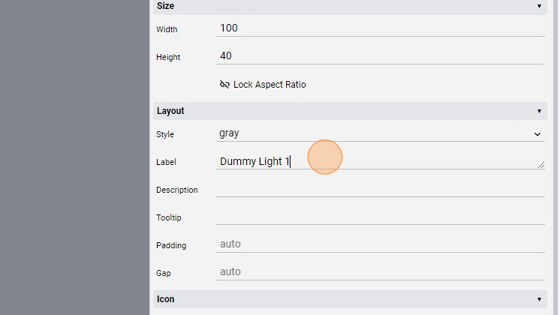
- Change the "Label" to "Dummy Light 1"
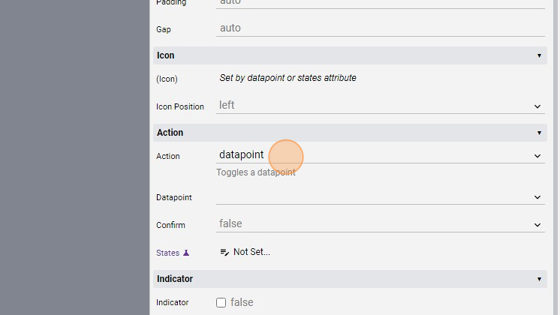
- Change the "Action" to "datapoint"
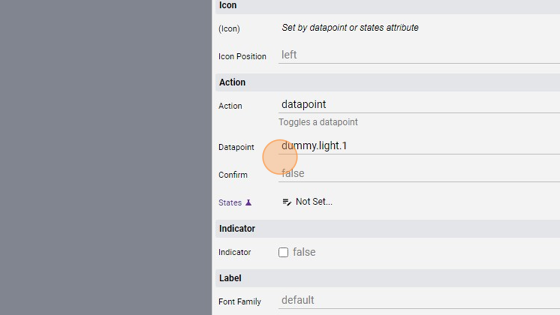
- Change the "Datapoint" to "dummy.light.1"
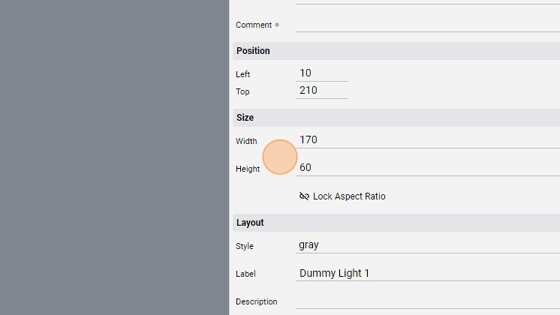
- Change the size of the button so that the "Label" is clearly visible
- You can align the button by clicking "Align" and then "Center Vertically" and moving it to the left or right

- Click "add"
12. Add another "Button". This will control a dummy dimmer light

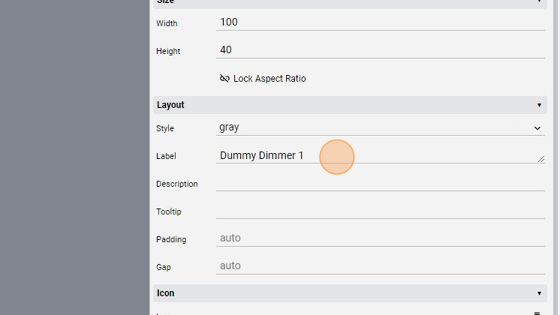
- Go back to "edit" panel
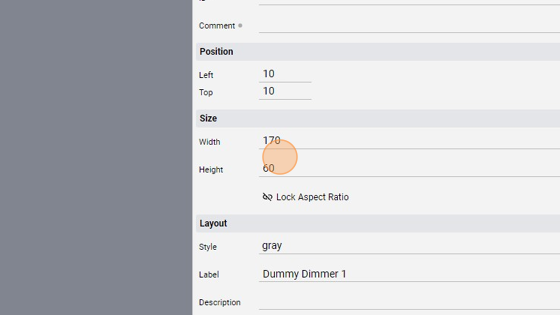
- Change the "Label" to "Dummy Dimmer 1"
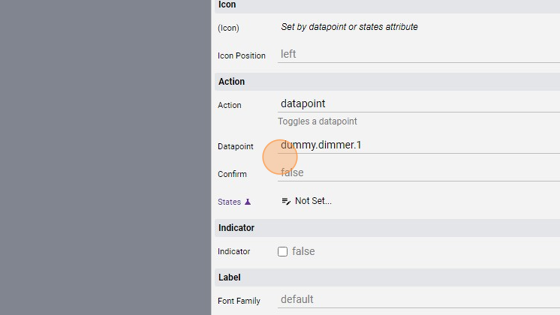
- Change the "Action" to "datapoint"
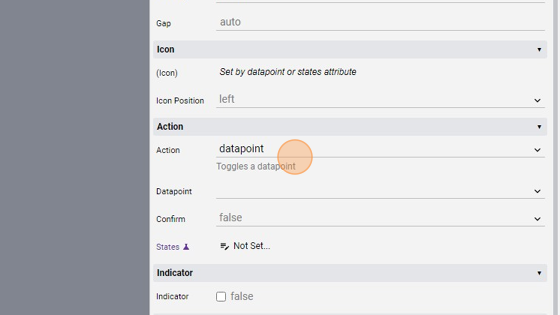
- Change the "Datapoint" to "dummy.dimmer.1"
- Change the size like before
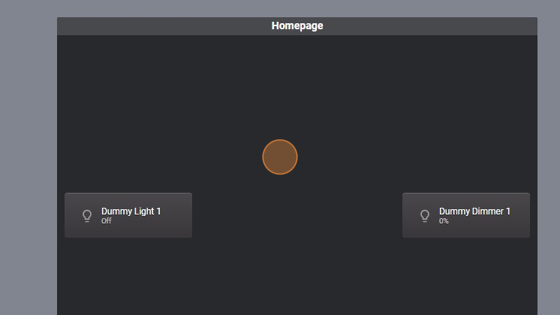
- Align this button next to the other

- The page should look like this:
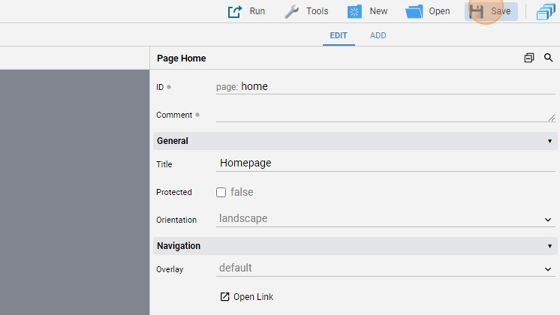
- Click "Save" to save the project
Tip: Done! This two buttons now control two different datapoints, a light ("dummy.light.1") and a dimmer ("dummy.dimmer.1") Now let's try them
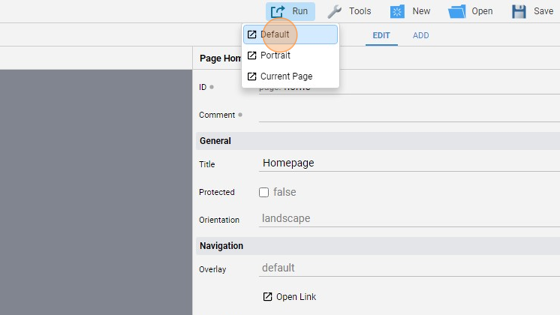
- Click "Run" and then "Default"
- The page should be the same as the "Project Editor"

- Click the "Dummy Light 1" button

- As you can see, the "dummy.light.1" datapoint is now "On"

- Click the button again

- Now the light is back to "Off"

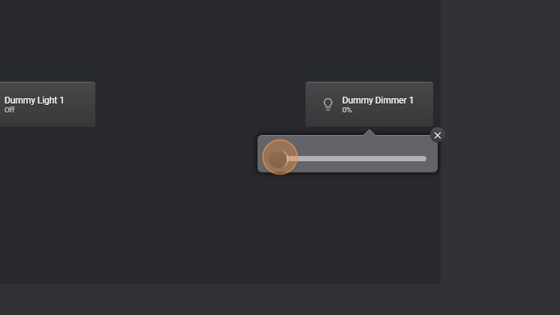
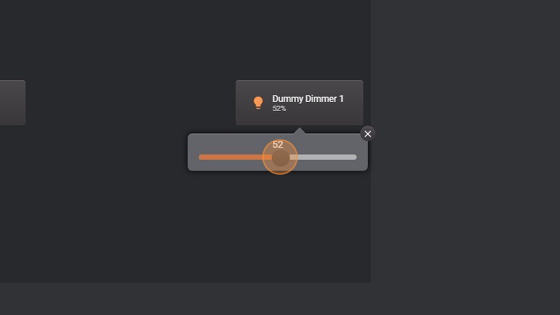
- Click and press the "Dummy Dimmer 1" button to open the little menu and change the intensity of the dimmer

- By changing the intensity the button shows that the dimmer is now "On" at 52%
- We can also turn the dimmer "Off" by setting the intensity to 0%