Create a DataSource Table
-
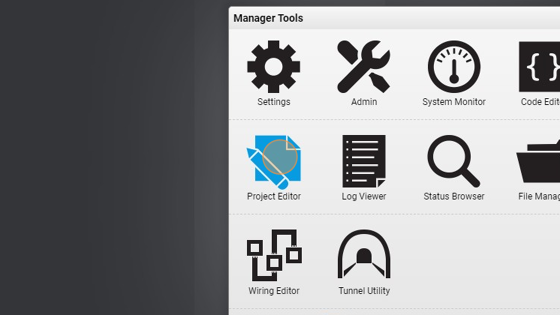
Navigate to HSYCO Manager
-
Click on "Project Editor"
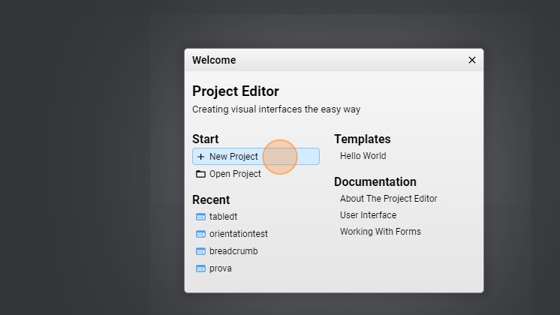
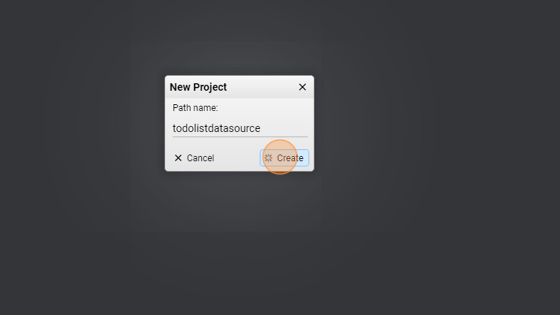
- Click "New Project"
- Give it a name ("todolistdatasource" for example)
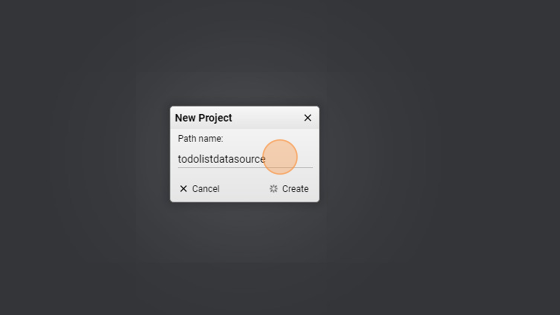
- Click on "Create"
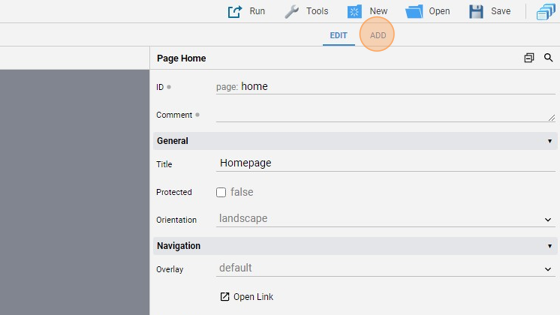
- Navigate to the homepage

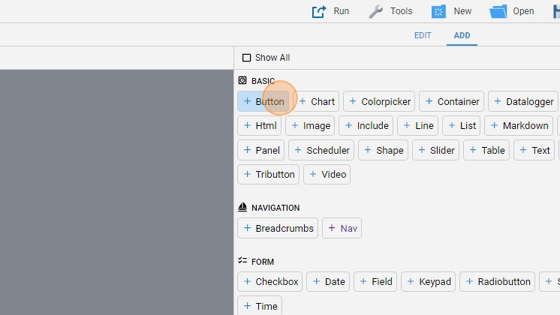
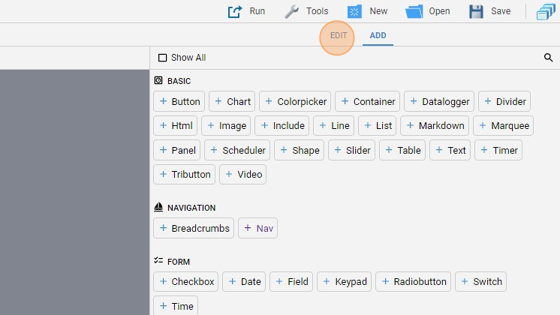
- Click "add"
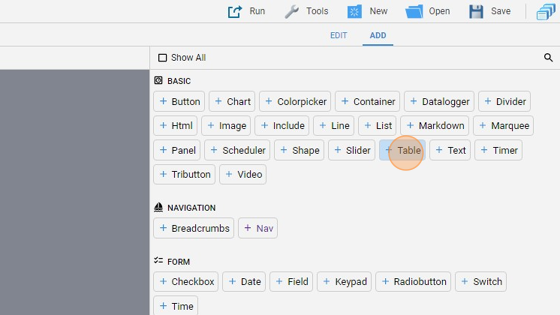
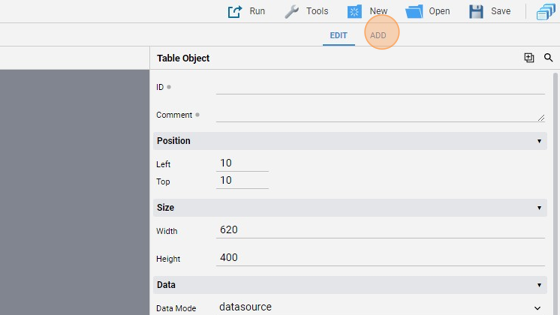
- Add a "Table"
- You can scale back the table if you want by dragging one of the corners

- Go back to "edit" mode

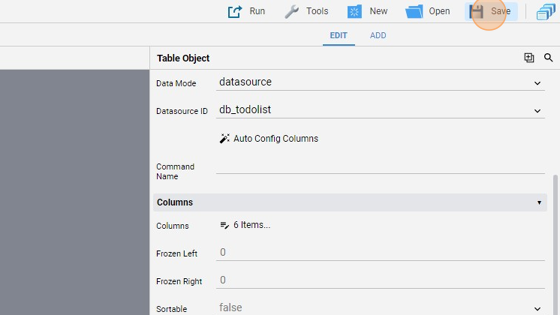
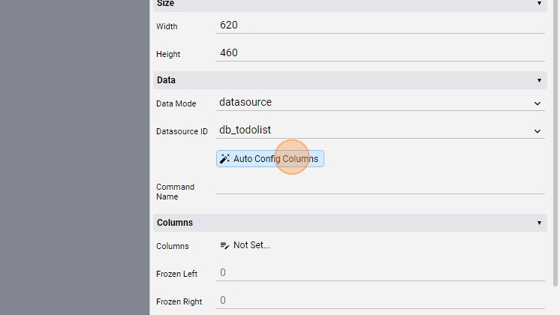
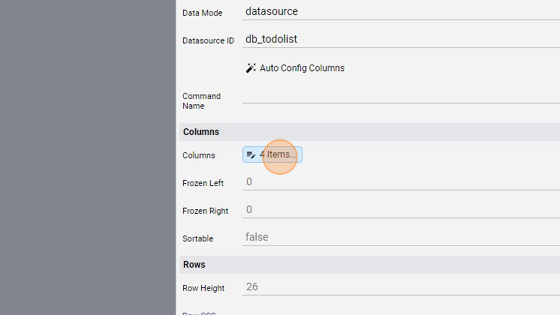
11. Now change the "Data Mode" from "uiset" to "datasource". This changes the way the table's data is populated.
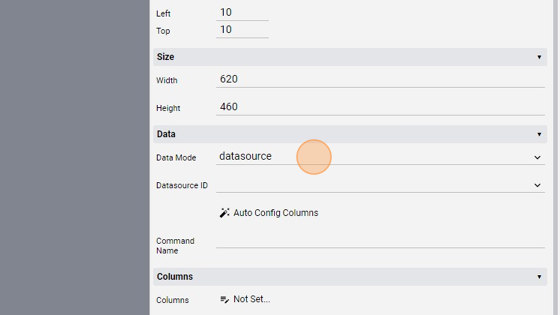
12. Change also the "DataSource ID" to "db_todolist". This name is specified in the file under the /events folder inside the plugin folder

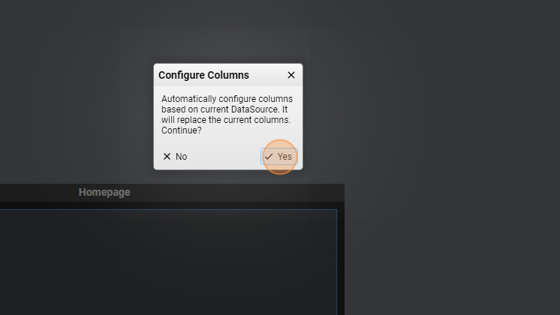
13. Click "Auto Config Columns" This, like the name suggests, populates the table's column with the data inside of the database
- Click "Yes"
- As you can see, the table columns are automatically populated
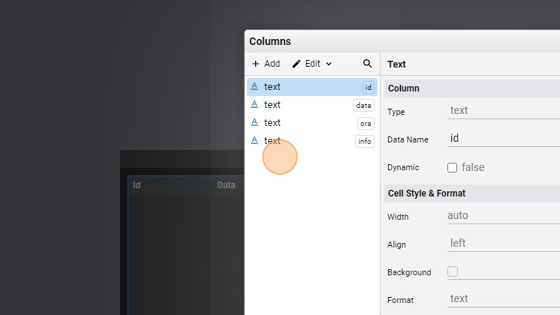
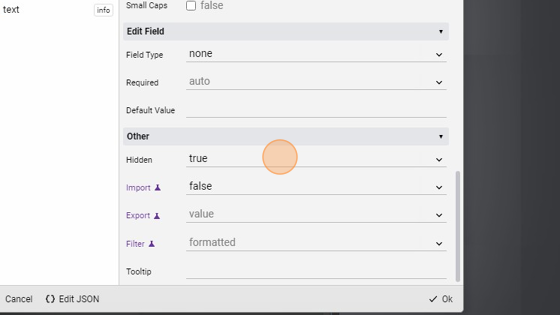
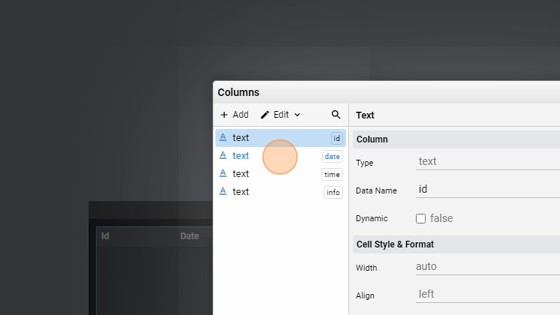
16. Select the "id" column and change the "hidden" field to "true". The "id" field is auto generated by the database so we don't need to insert it or to see it in viewmode
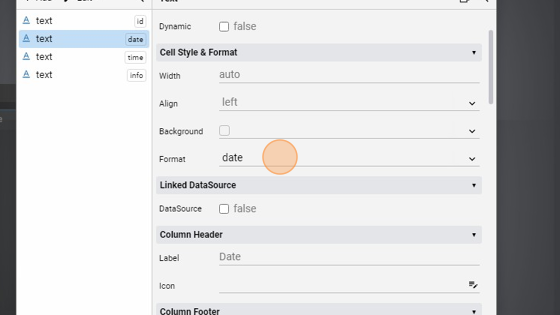
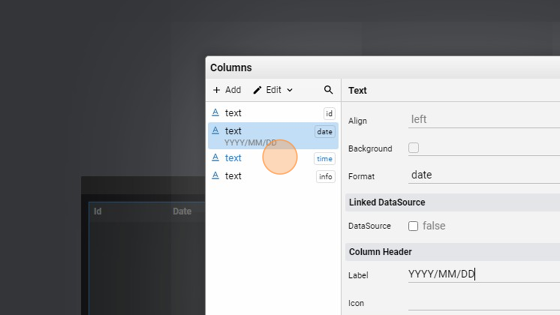
- Now select the "date" column
- Change the "Format" to "date"
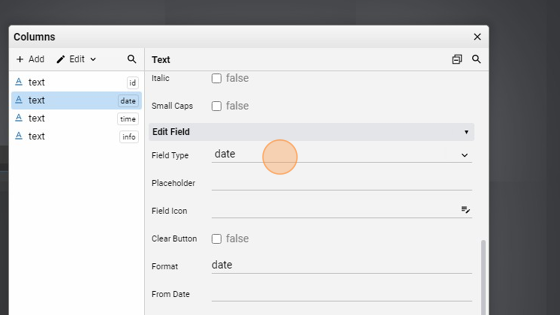
- Change the "Field Type" to "date"
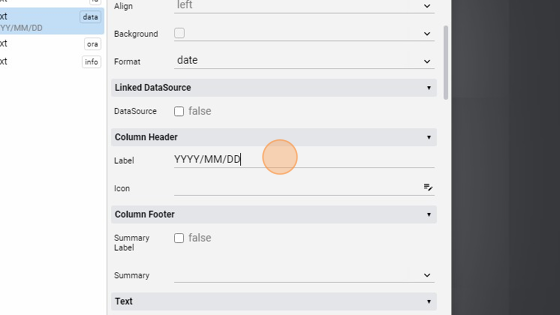
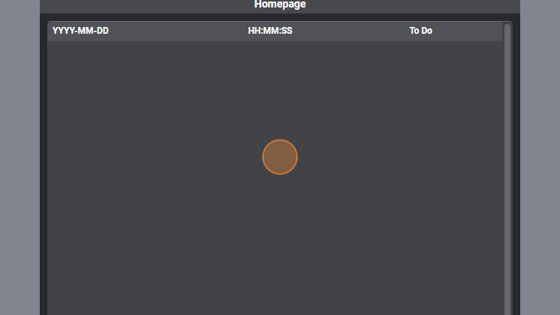
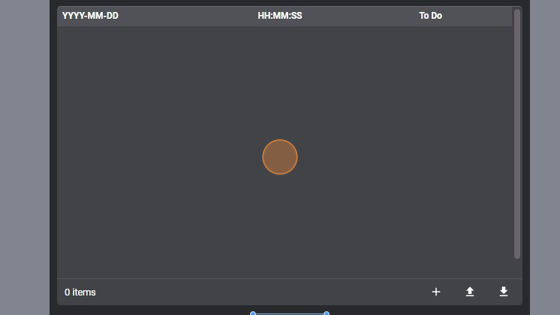
- Change the "Label" field to "YYYY/MM/DD"
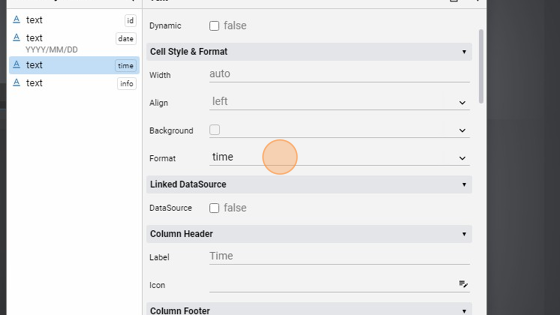
- Select "time"
- Change the "Format" to "time"
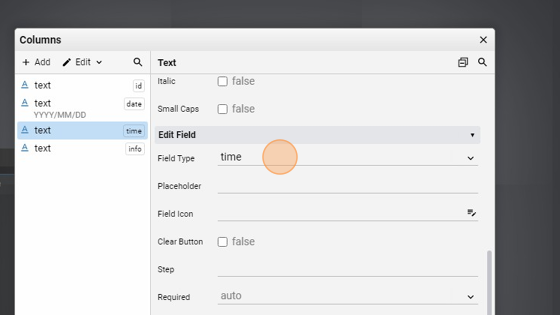
- Change the "Field Type" to "time"
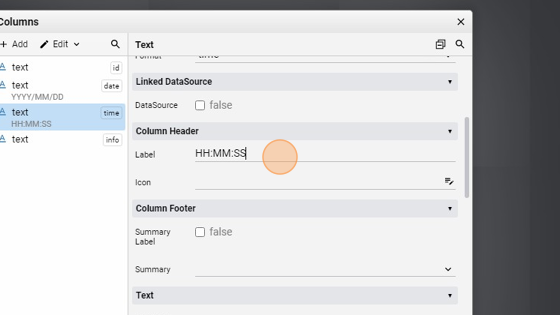
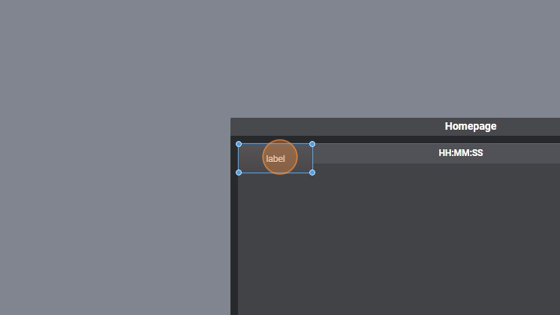
- Change the "Label" field to "HH:MM:SS"
- Click the "Info" field.
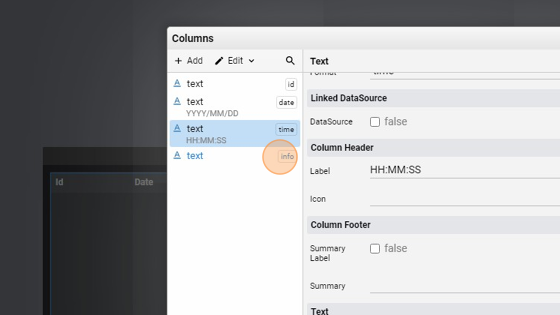
- Change the "Label" to "To Do"

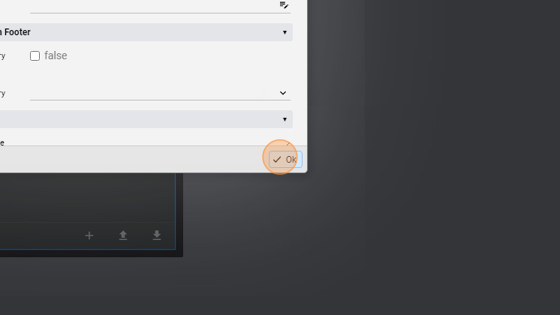
- Click "ok" to save changes
- Now go into the attributes of the table and change the "edit mode" to "true"
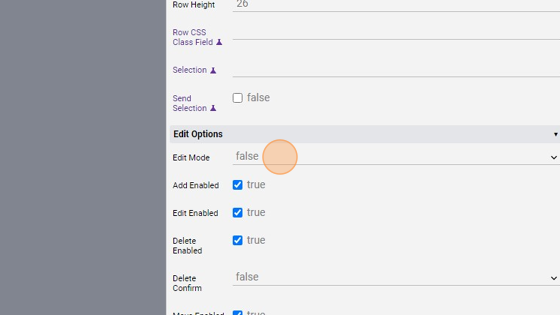
- Click "4 Items..." to add the "edit" and "delete" button to the table
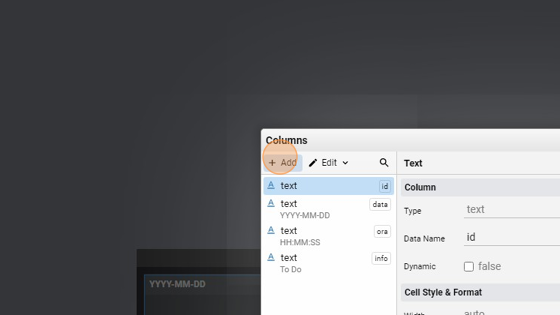
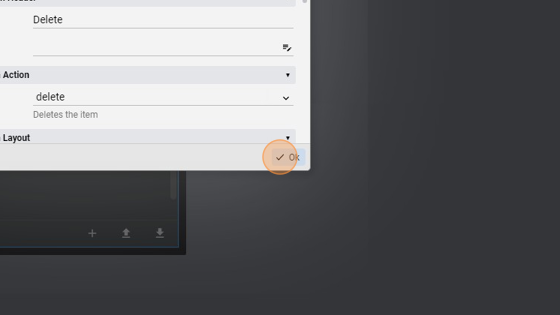
- Click "Add"
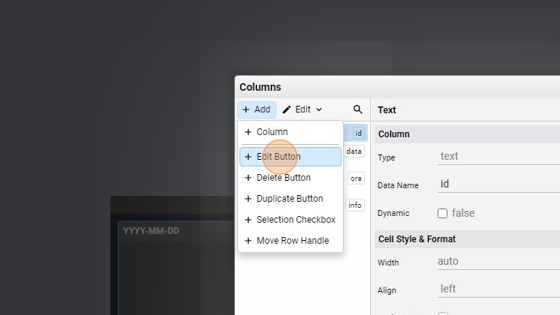
- Click "Edit Button"
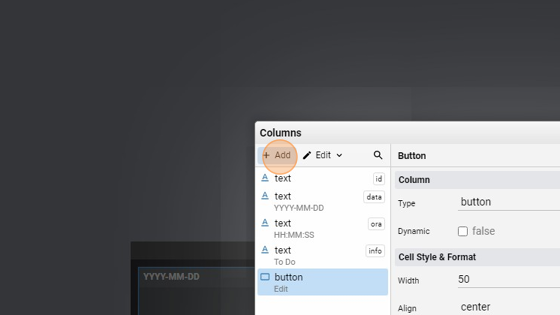
- Click "Add"
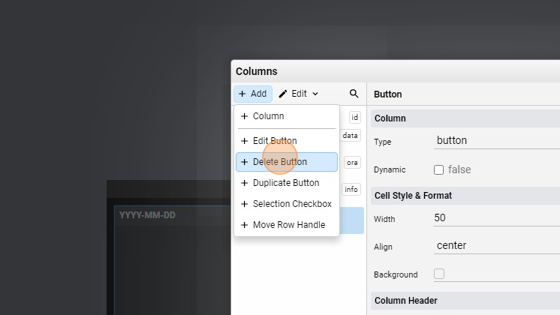
- Click "Delete Button"
- Confirm by clicking "ok"
- The table object should look like this
Tip: Now we will add a button under the table to clear all the content in the table within a click!
- Click "add"
- Click "Button"
- Move the button in the lower-side of the page, under the table
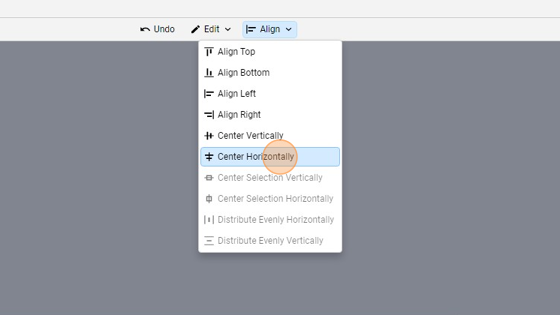
- You can also align by clicking "Align"

- "Center Horizontally" to align horizontally
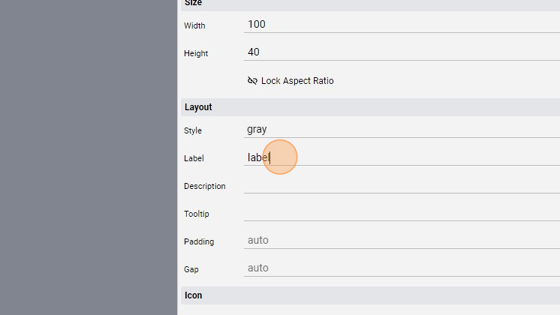
- Go to "edit" mode
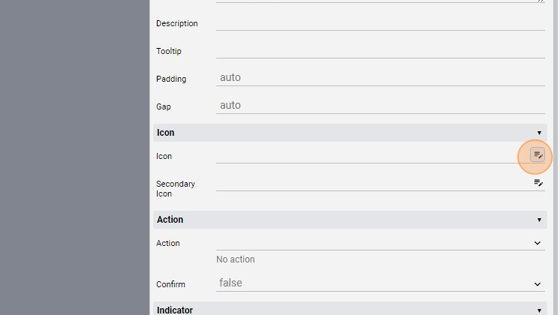
- Change the "Label" to "Clear Table"
- Click this icon to change the icon
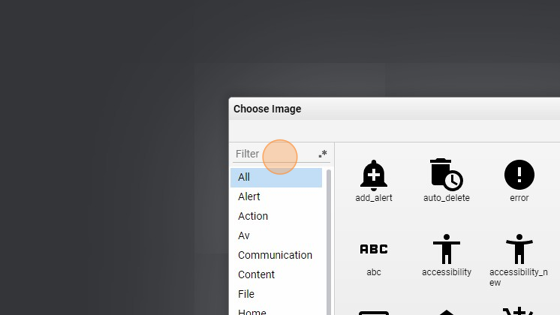
- Click the "Filter" field and search for "cancel"
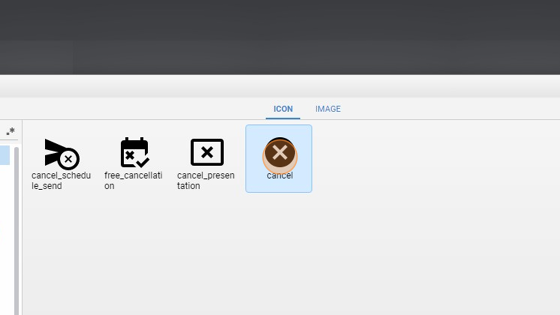
- Select an icon and press "ok"
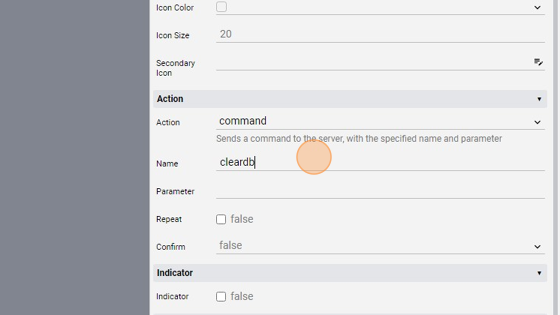
- Change the "Action" to "command"
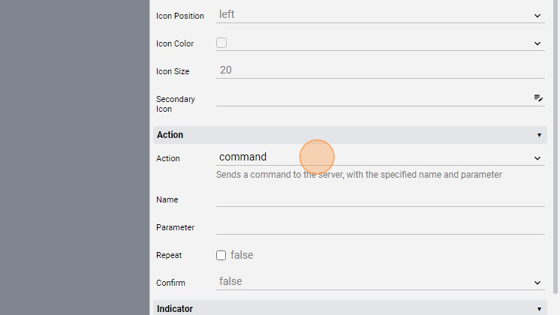
- Change the "Name" to "cleardb"
- Lastly, change the "parameter" to "clear"
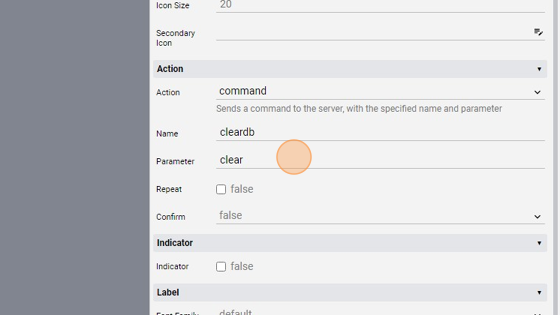
Tip: By changing the name and the parameter of the command, we can intercept it in our code and execute some action, like a query to the database to clear all the records
- The page should now look like this
- Save the project by clicking "Save"