Create 2 Datasource tables
-
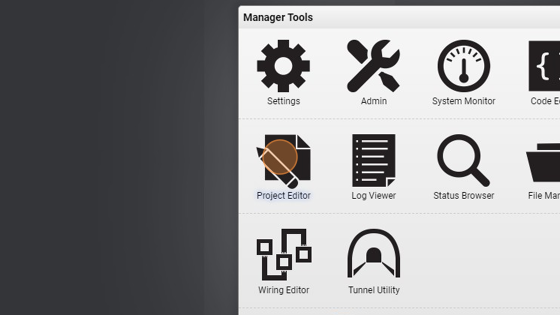
Navigate to HSYCO Manager
-
Click on "Project Editor"
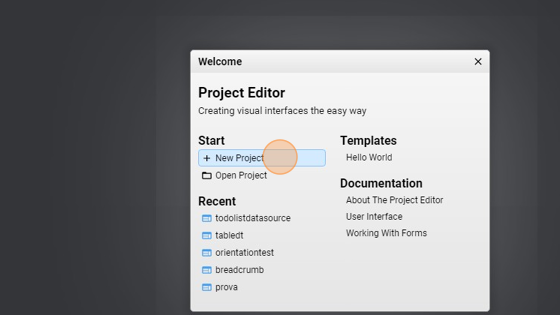
- Click "New Project"
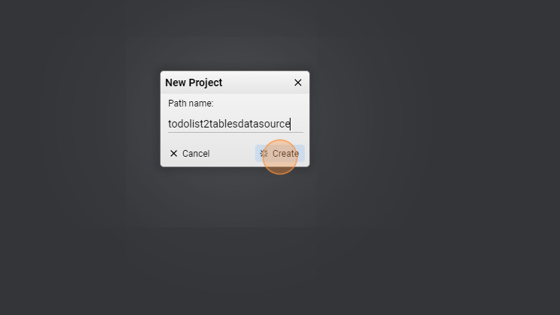
- Give it a name ("todolistdatasource2tables" for example) and click "Create"
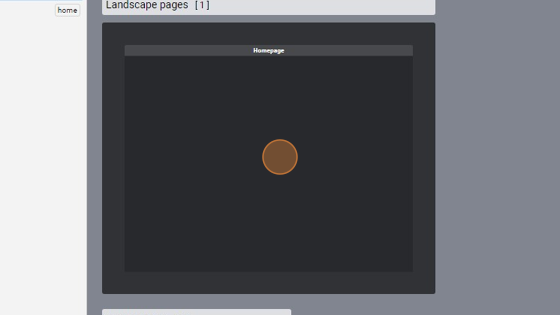
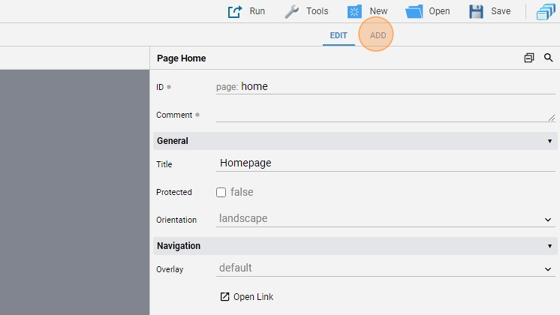
- Go on the home page
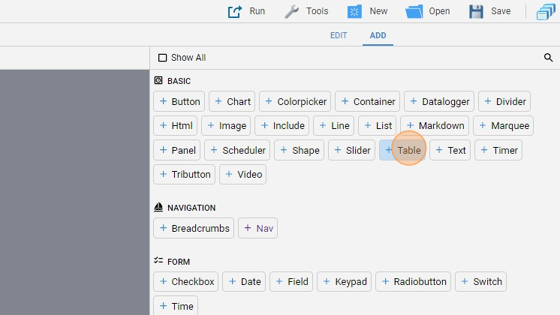
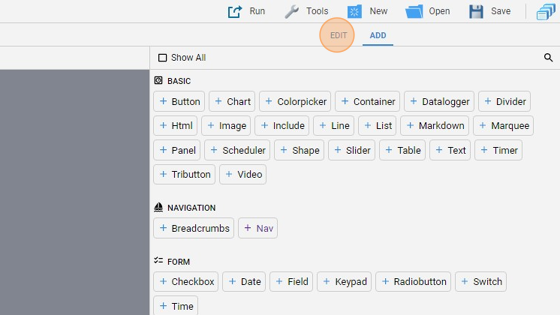
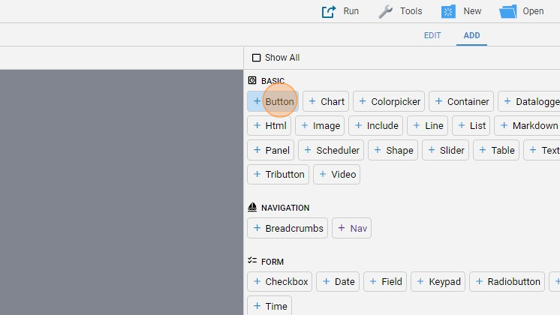
- Click "add"

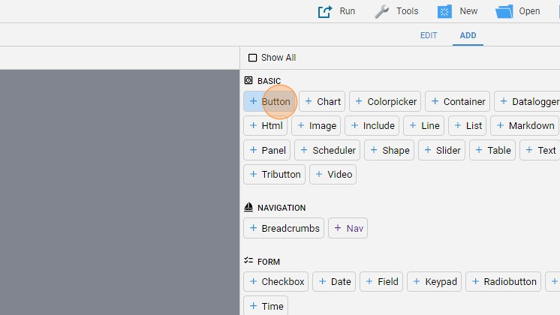
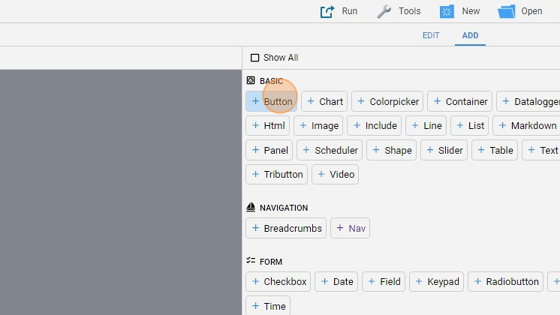
- Add a "Table"
- You can resize it by dragging the left corner around the page

- Go back to "edit" mode

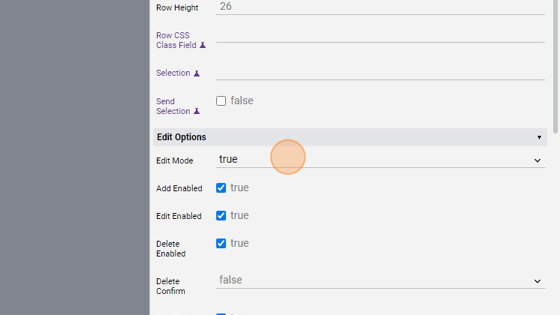
- Change the "Edit Mode" of the table to "true"
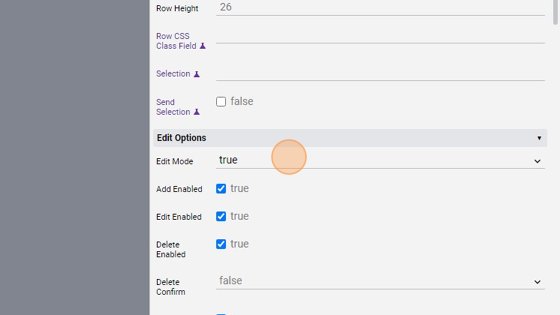
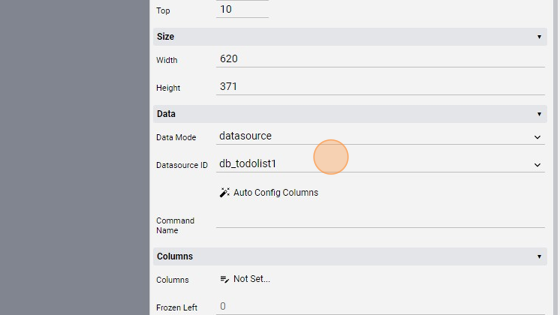
- Change the "Data Mode" to "datasource"
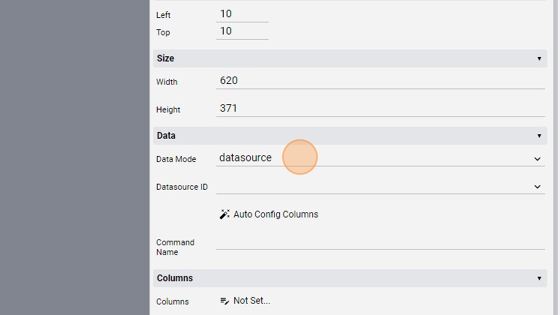
- Change also the "Datasource ID" to "db_todolist1", which is our first database
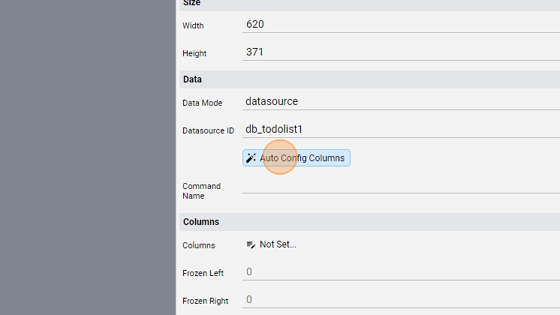
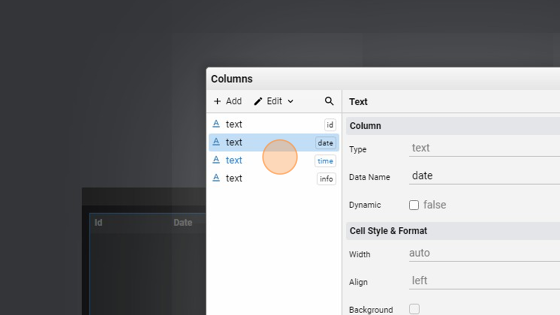
13. Click "Auto Config Columns". This will auto config the column based on current Datasource
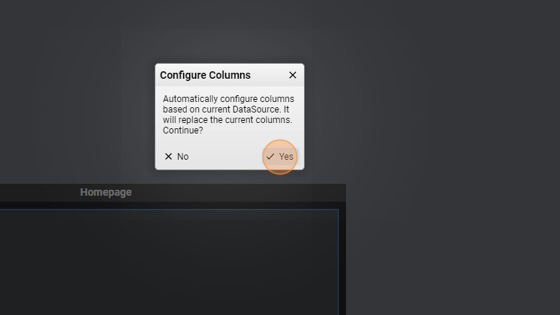
- Click "Yes"
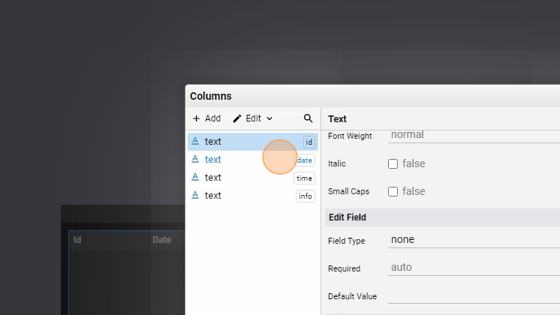
- As you can see, we have our four attributes from the database already in the table
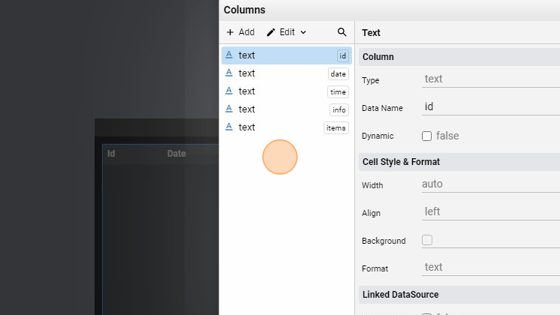
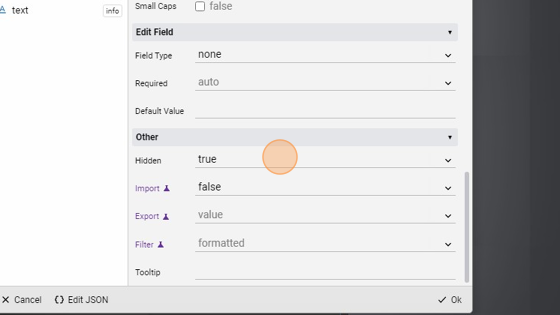
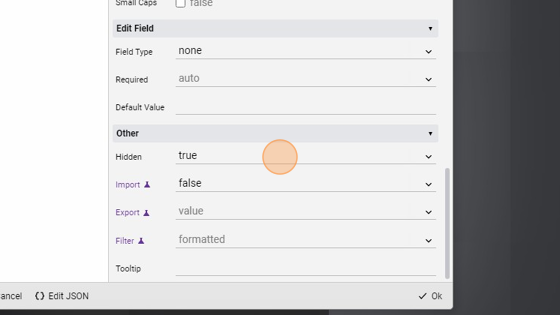
16. Change the "Hidden" field of the ID to "true". This field is auto generated so we don't have to add it manually
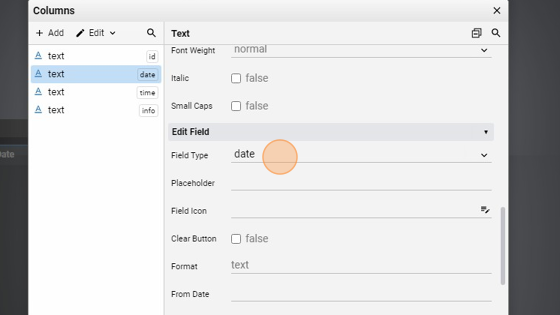
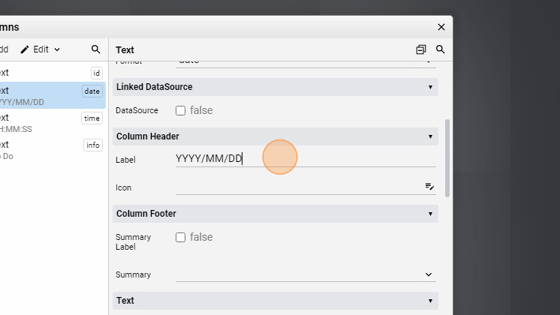
- Click on "date"
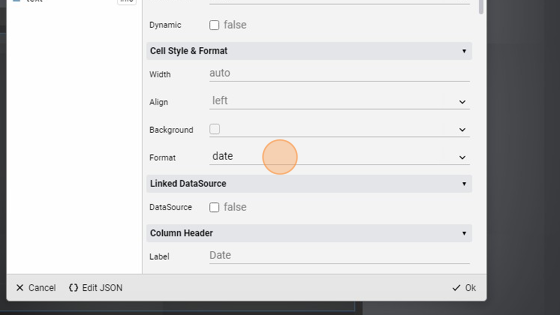
- Change the "Field Type" to "date"
- Change the "Format" to "date"
- Change the "Label" to "YYYY/MM/DD"
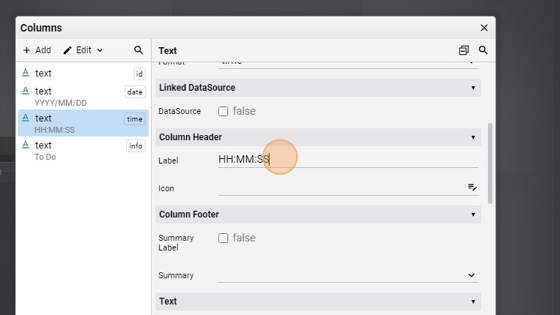
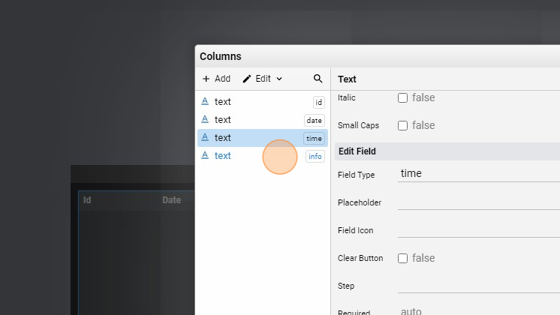
- Now click on "time"
- Change the "Field Type" to "time"
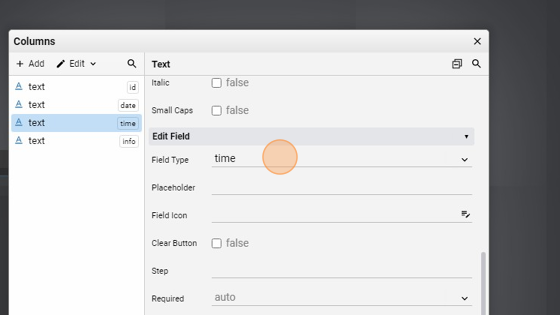
- Change the "Format" to "time"
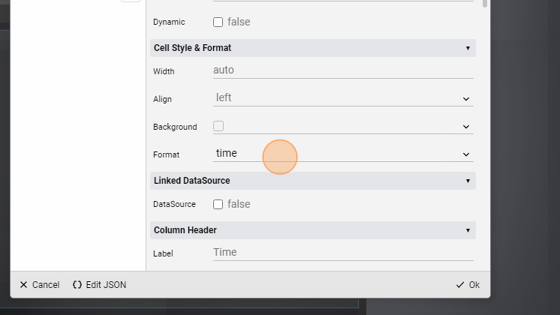
- Change the "Label" to "HH:MM:SS"
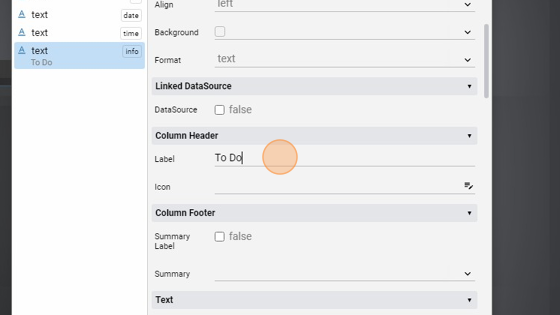
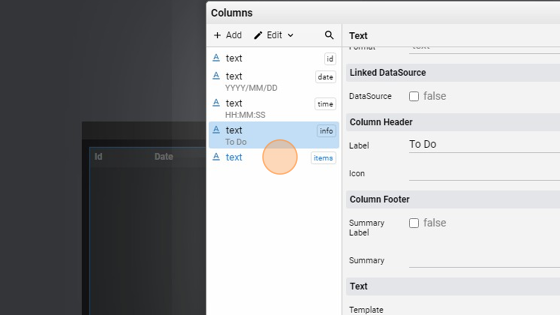
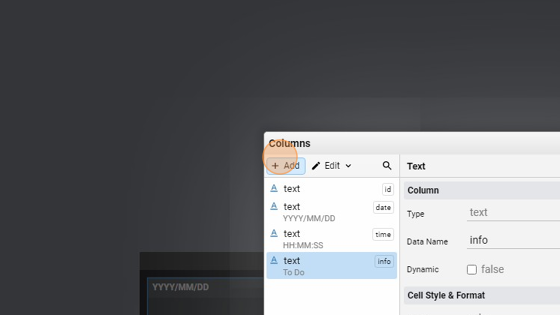
- Now click on "info"
- Change the "Label" to "To Do"
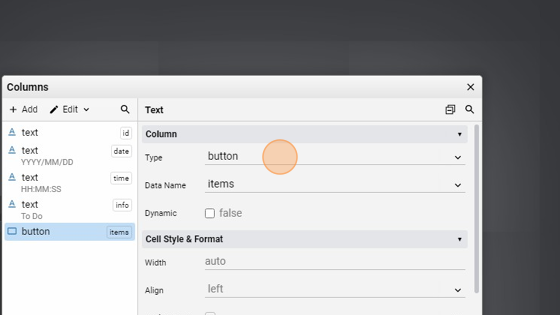
- Click on "items"
- Change the "Type" to "button"
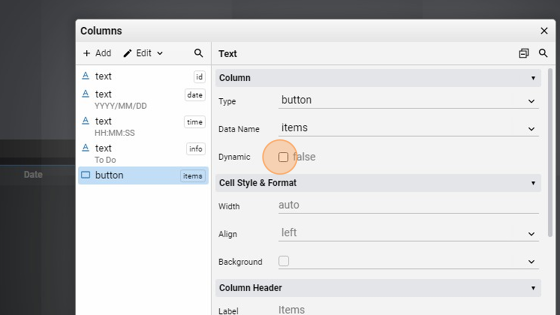
29. Check the "Dynamic" checkbox. If this is set to true, the cell value can change the columns attribute dynamically
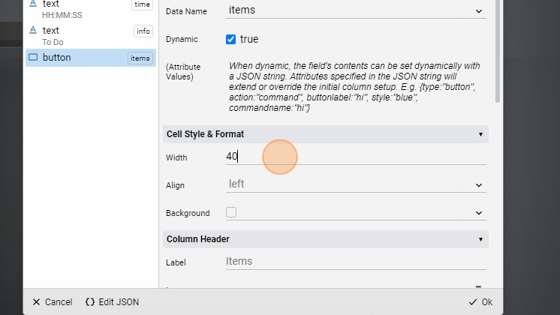
- Set the "Widht" to 40 to give the button a better appearance
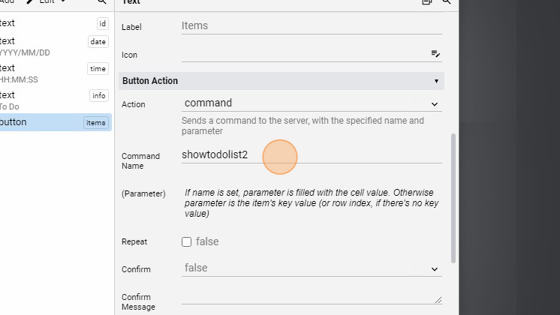
- Change its "Action" to "command"
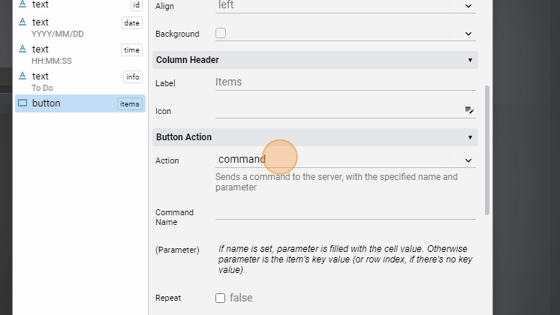
32. Change the "Command Name" to "showtodolist2". If you change this name, remember to change it also in the code, as explained later
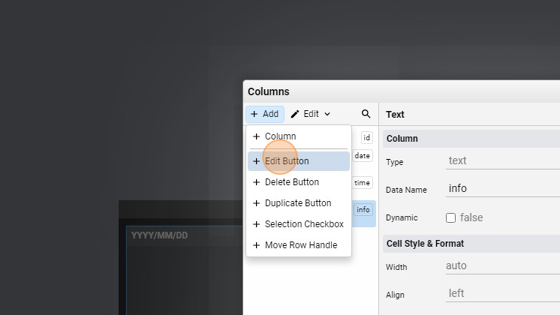
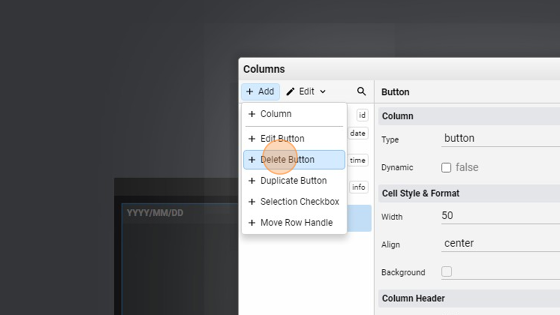
- Click on "Add"
- Add the "Edit Button"
- Click "Add"
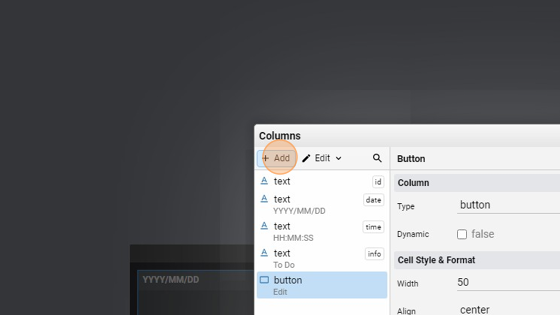
- Add the "Delete Button"
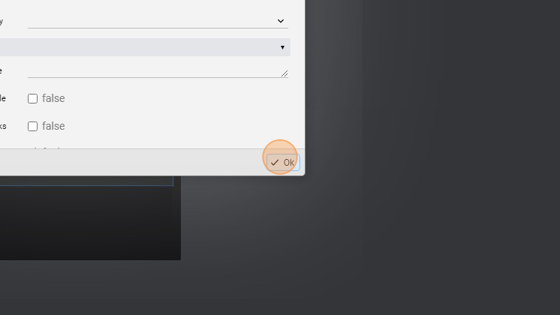
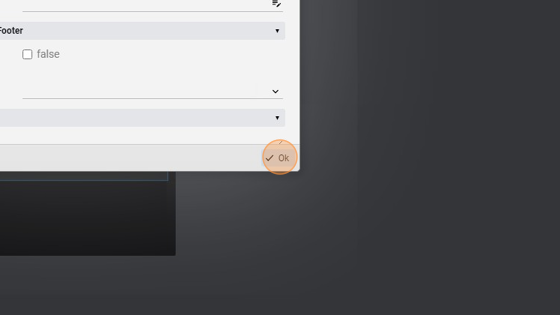
- Click on "ok" to save changes
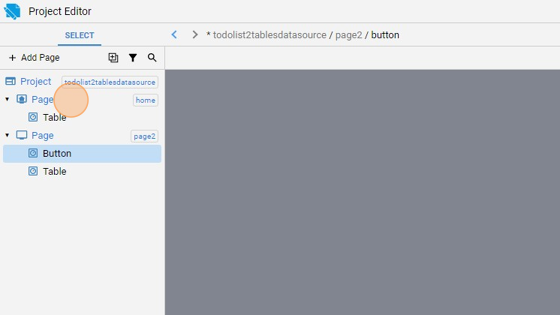
Tip: Now we will add another page with the second table
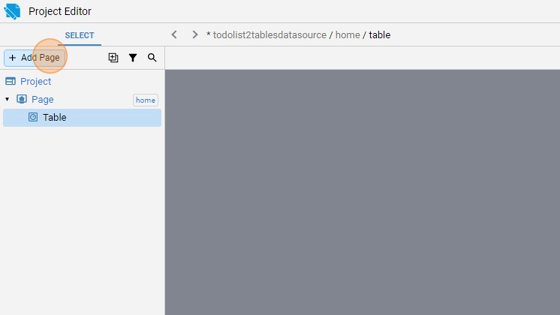
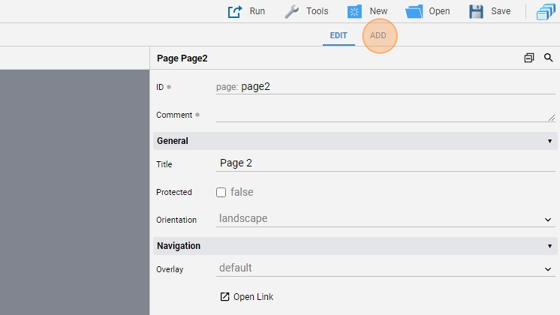
- Click "Add Page"
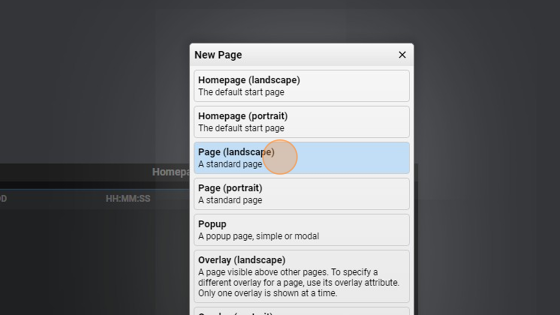
- Add a "Page (landscape)"
- Click "add"
- Add a "Table"

- Resize it

- Go back to "edit" mode
- Change the "Edit Mode" to "true"
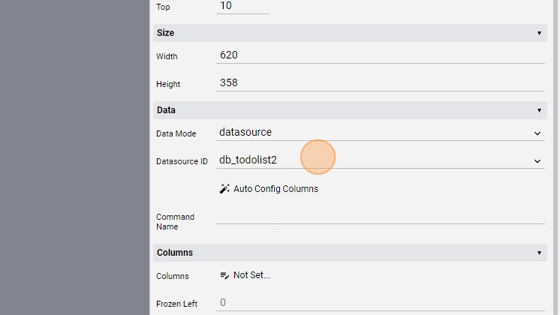
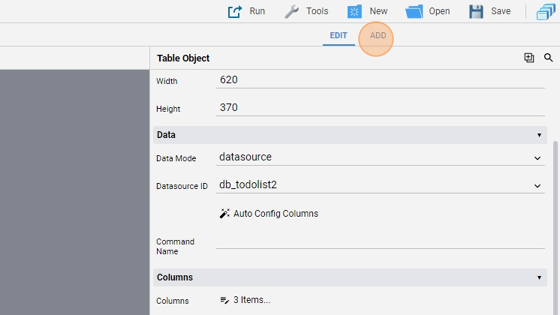
- Change the "Datamode" to "datasource"
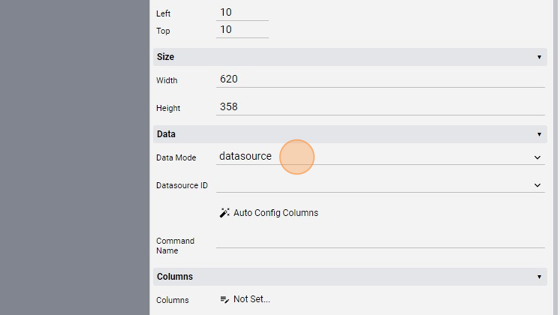
- Change also the "Datasource ID" to "db_todolist2"
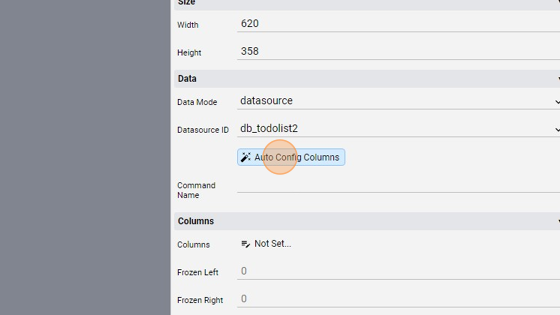
- Click "Auto Config Columns"
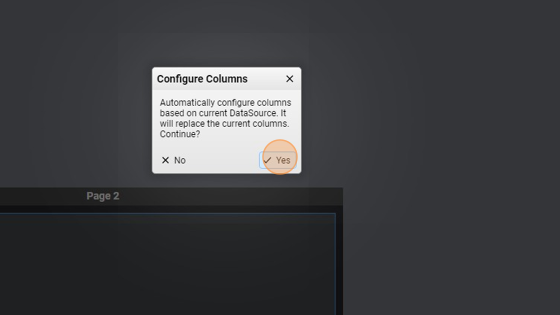
- Confirm by clicking "Yes"
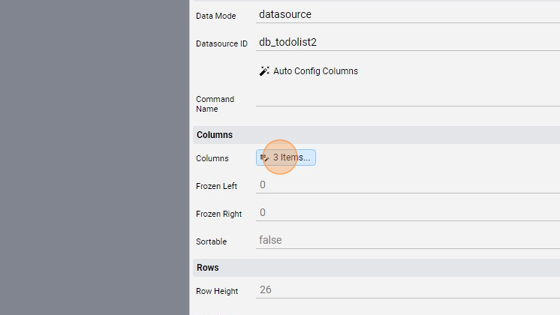
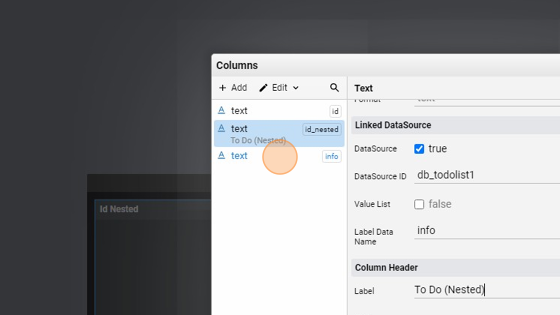
- Click "3 Items..." under the "Columns" tab to modify the table's columns
50. Change the "Hidden" field of the "id" to "true". This value is autogenerated like in the other table so we need to hide it
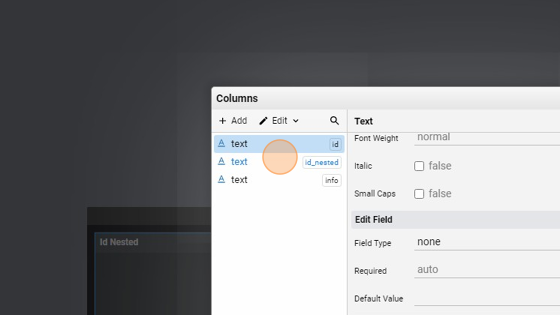
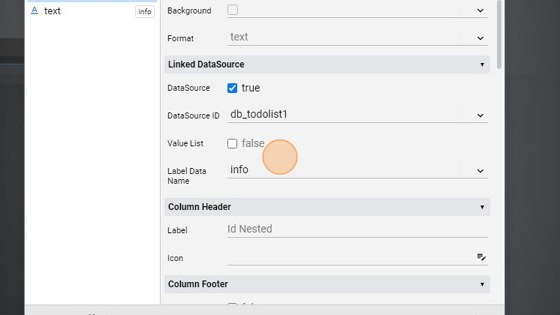
- Select the field "id_nested"
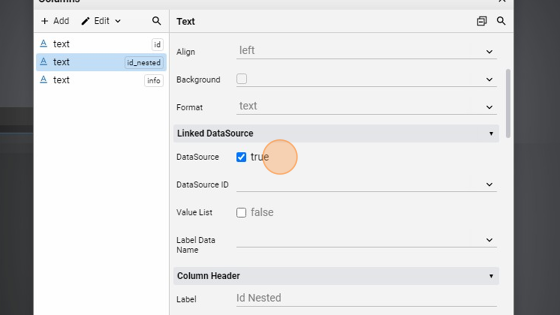
52. Tick the "DataSource" option. This means that the cell's value is taken from the linked datasource's column specified in the "Label Data Name"
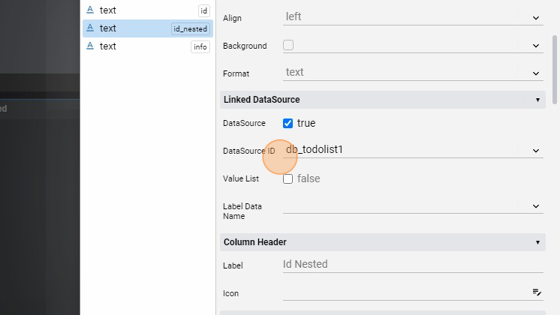
- Change the "DataSource ID" to "db_todolist1", so that the value is taken from the first database (linked to the first table)
54. Change the "Label Data Name" to "info". "info" is the name of the attribute specified in the database and is, in the other table, the last column where there is the text area
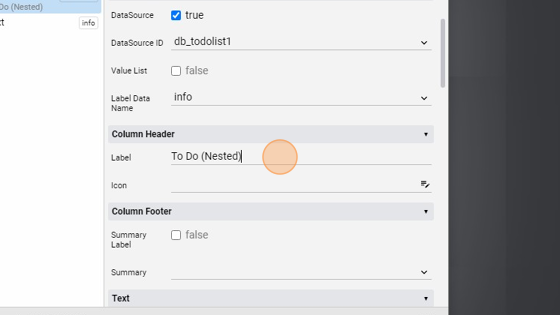
- Change the "Label" to "To Do (Nested)"
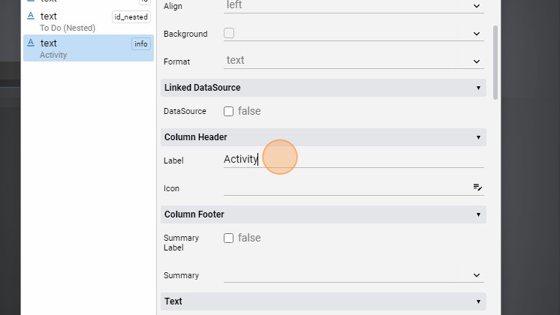
- Select the "info" field
- Change the "Label" to "Activity"
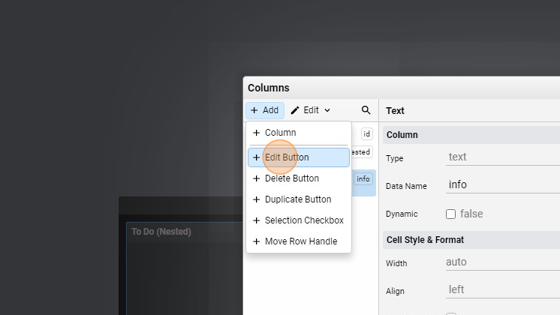
- Click "Add"
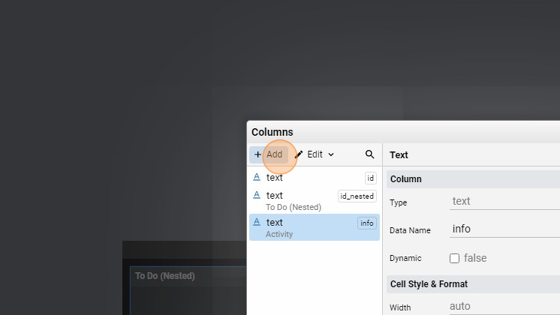
- Click "Edit Button"
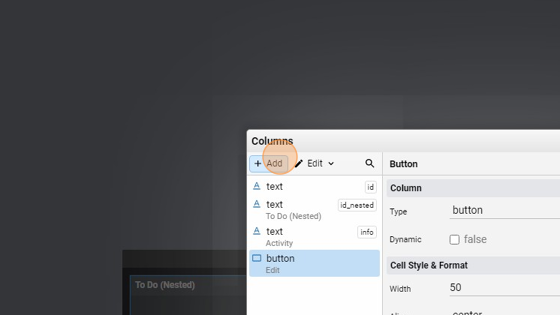
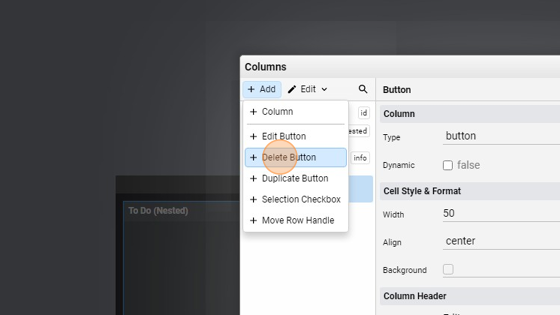
- Click on "Add"
- Click "Delete Button"
- Click "Ok"
- Click "add"
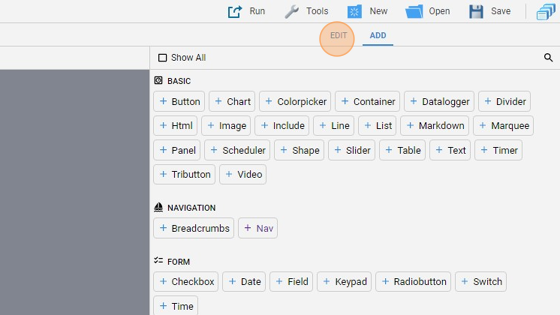
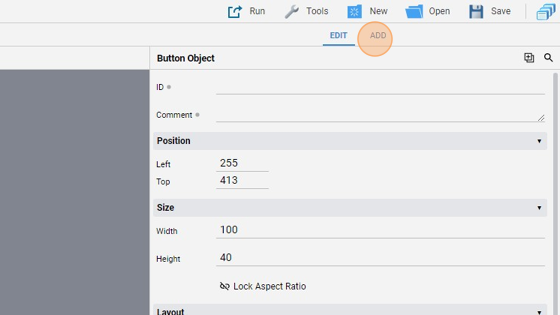
- Add a "Button"
65. Move the button under the table. You can also use "Align" to align it horizontally or vertically

- Click "edit"
- Change the "Label" to "Home Page"
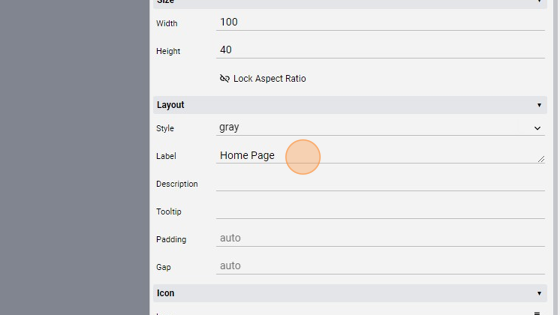
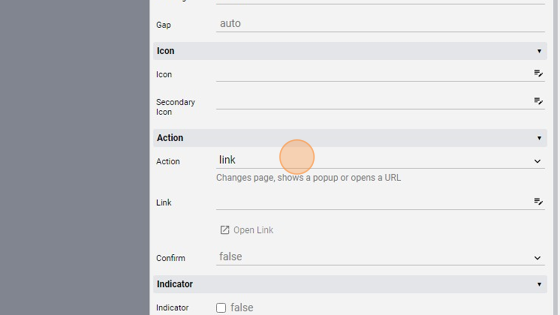
68. Change the "Action" to "link". This button is linked to the home page to navigate between these two pages
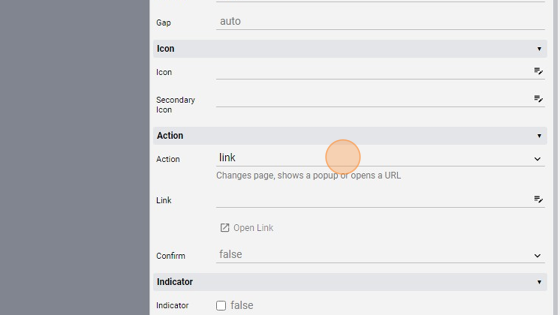
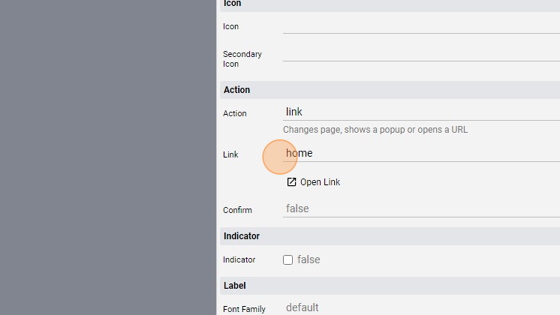
- Change the "Link" to "home"
- Now go back to "home" page and select it
- Click "add"
- Add a "Button"
- Move this button, like the previous one, under the table and align it.

- Go back to "edit" mode
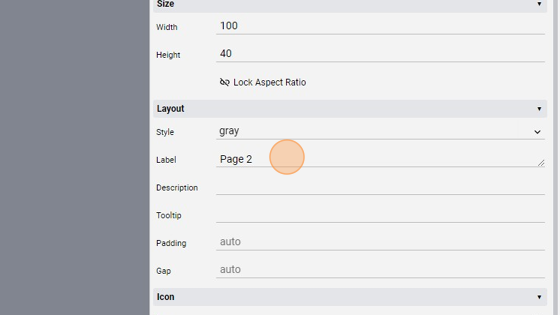
- Change the "Label" to "Page 2"
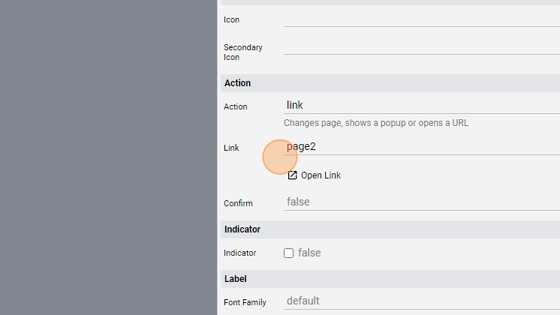
- Change the "Action" to "link"
- Change the "Link" to "page2", which is the standard name of the second page
- Click "add"
- Add another "Button"
Tip: This button will be used to clear all the records in the two tables
- Align the button (like in the lower right corner) and go back to "edit" view

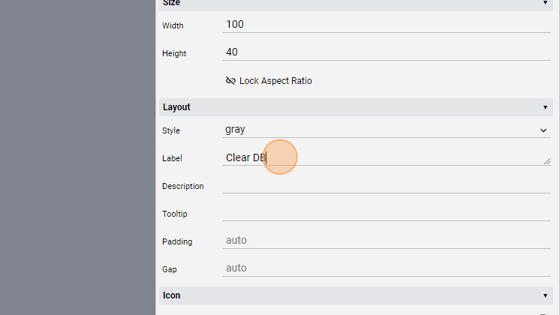
- Change the "Label" to "Clear DB"
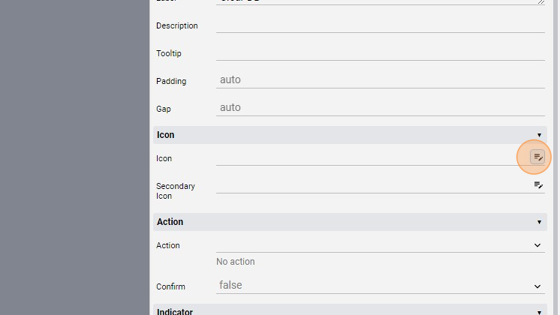
- Click this icon to change the icon of the button
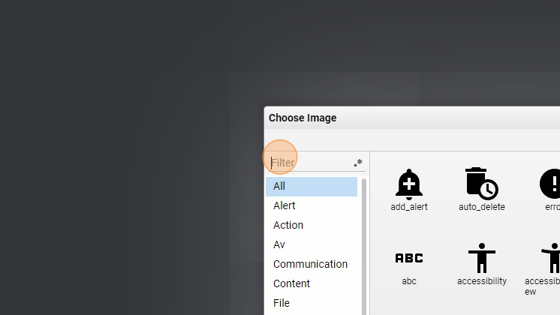
- Click the "Filter" field and search for "delete"
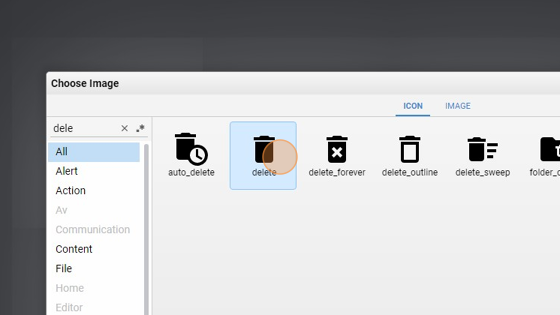
- Select an icon and confirm by clicking "ok"
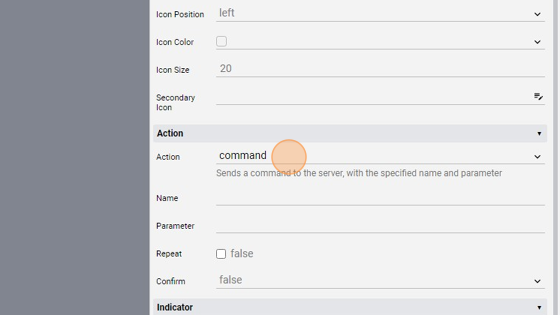
85. Change the "Action" to "command". When pressed, this button will send a command that we will capture in our code to delete all records in the databases
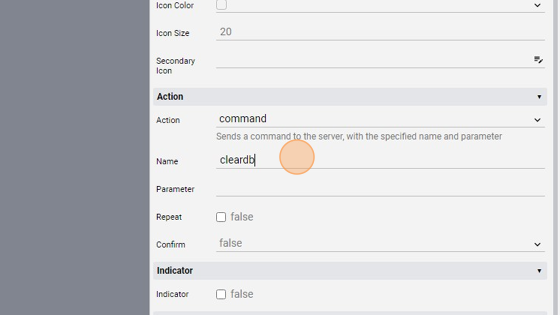
- Set the "Name" to "cleardb"
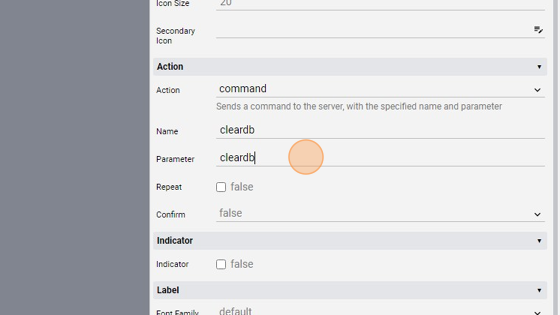
- Set also the "Parameter" to "cleardb"
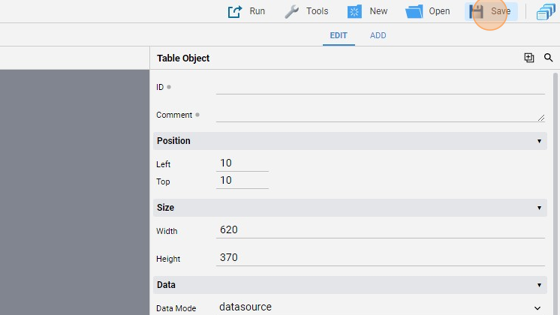
- Click "Save" to save the project