Timer Overview
-
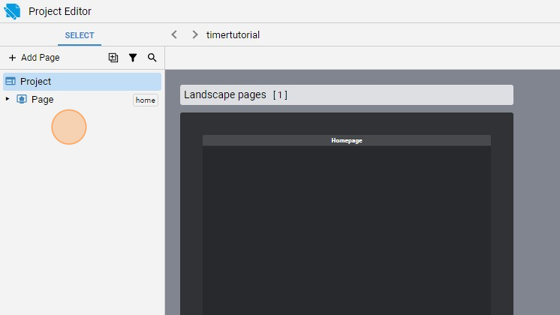
Navigate to HSYCO Manager
-
Click here.
- Click here.
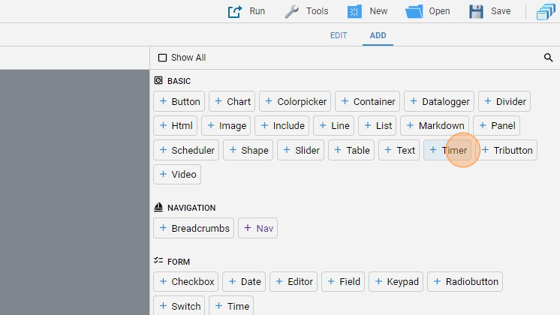
- Click "add"
- Add a "Timer"
- Go back to "edit" mode

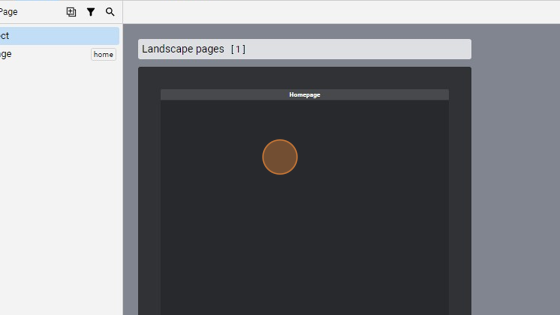
- You can align the object by clicking "Align" and then "Center Vertically"

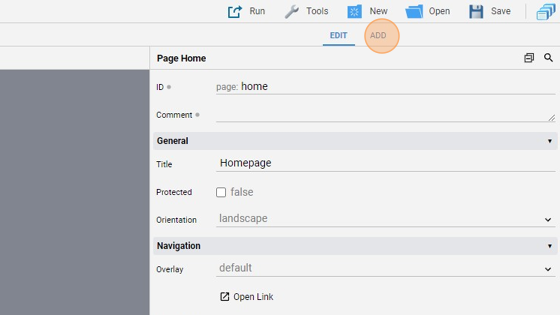
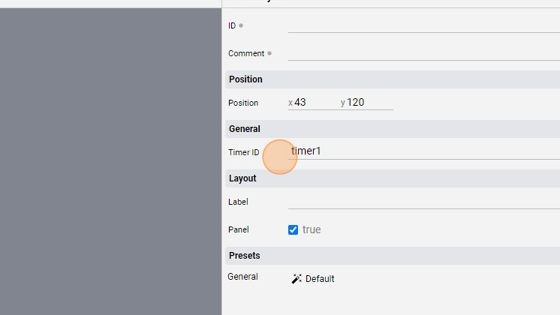
- Change the "Timer ID" to "timer1", which is the ID of the timer defined in the settings
Tip: Now we'll add a button that links to a datapoint to see that, when the timer turns on, also the light turns on
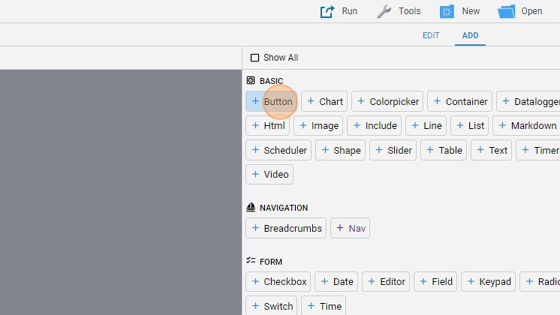
- Click "add"
- Add a "Button"
- Click "edit"

-
Align the botton to the right of the timer object
-
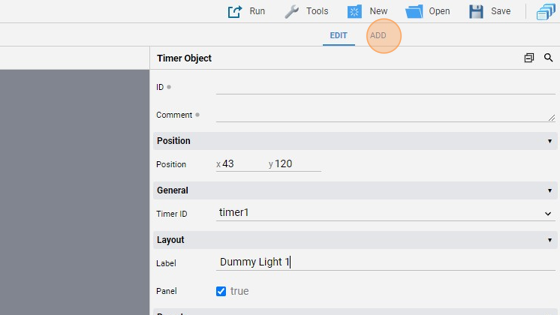
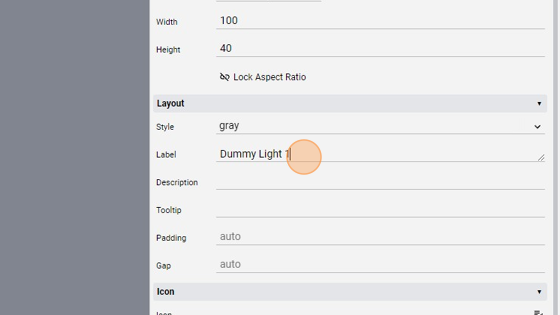
Change the "Label" to "Dummy Light 1"
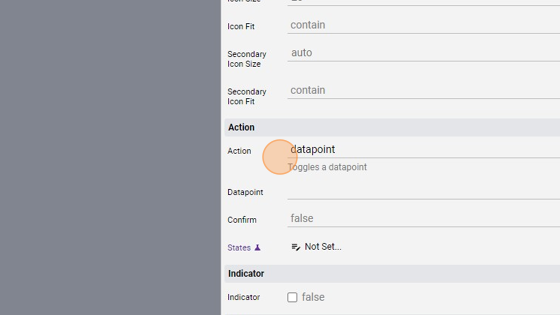
- Change the "Action" to "datapoint"
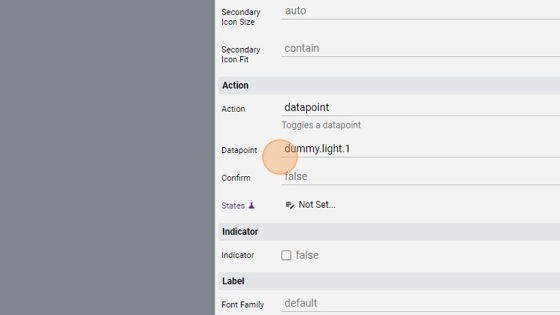
- Change the "Datapoint" to "dummy.light.1"
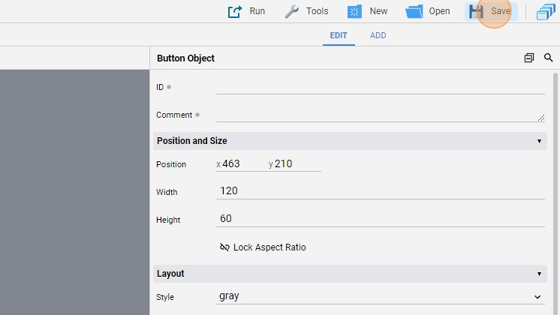
- Click "Save" to save the project
Tip: Now we'll write some code to capture the TIMER event and change the status of the dummy light
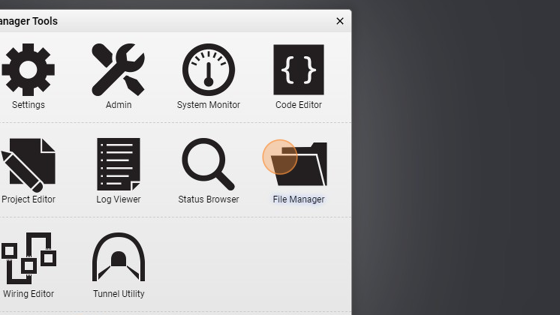
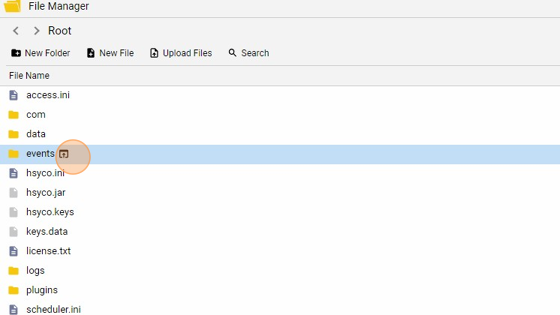
- Open the "File Manager"
- Navigate into the "events" folder
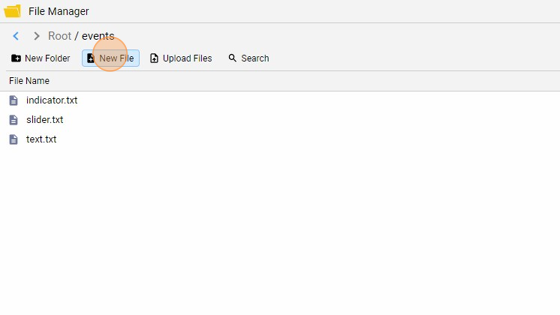
- Click "New File"
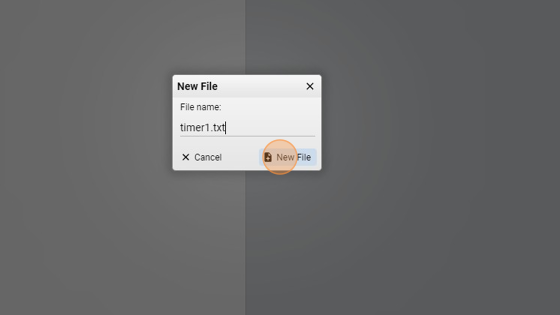
- Give it a name ("timer1.txt" for example) and click "New File"
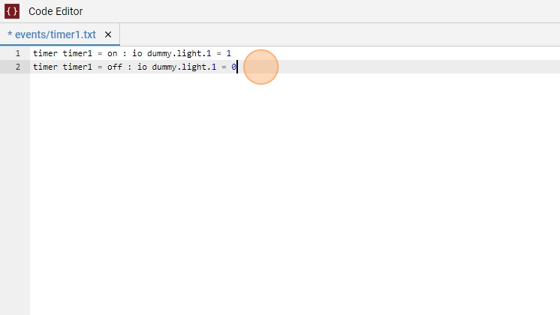
**21. Copy the following code and save:
timer timer1 = on : io dummy.light.1 = 1
timer timer1 = off : io dummy.light.1 = 0
What this does is it turns on and off the dummy light 1 when the timer turns on or off**
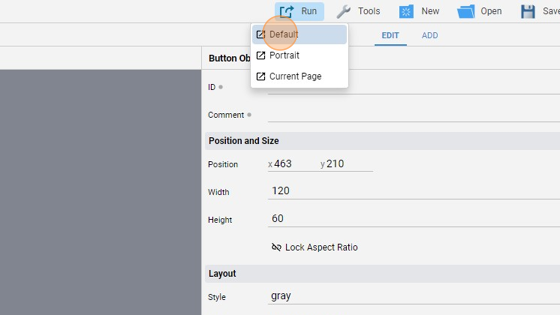
- Now go back into the "Project Editor", click "Run" and then "Default" to launch the application
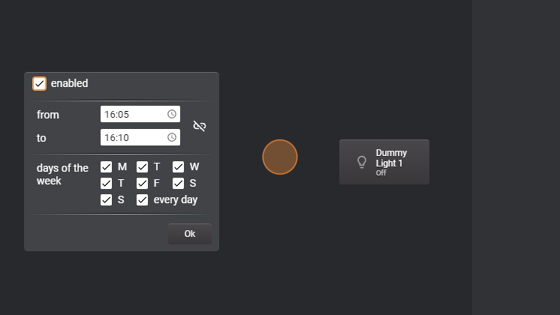
- The page should look like this:
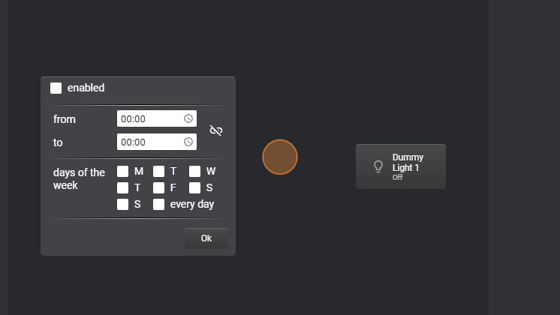
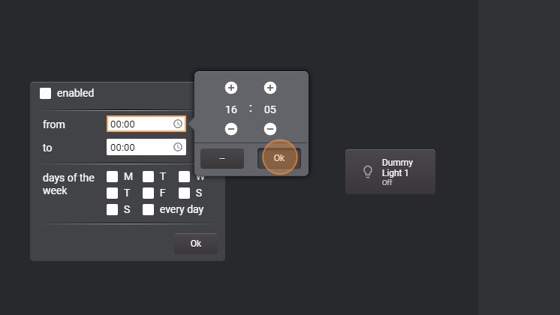
- Select a starting and end time
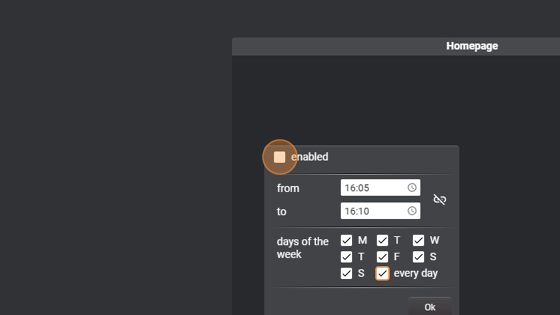
25. Check the days of the week in which you want to use this timer. The option "every day" checks all days of the week
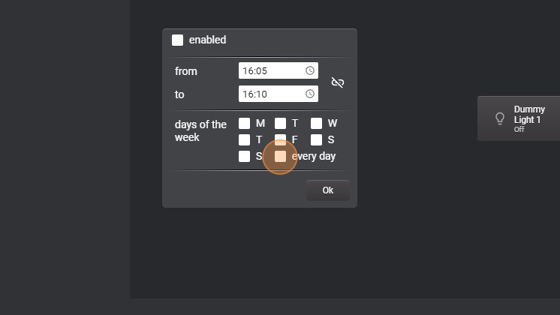
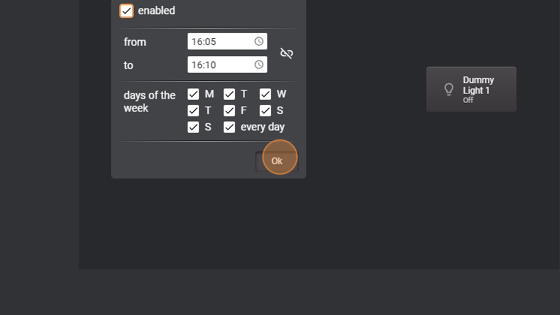
- Click "enabled" to activate it
- Click "Ok" to confirm
- As you can see, when "16:05" ticked, the dummy light turned on
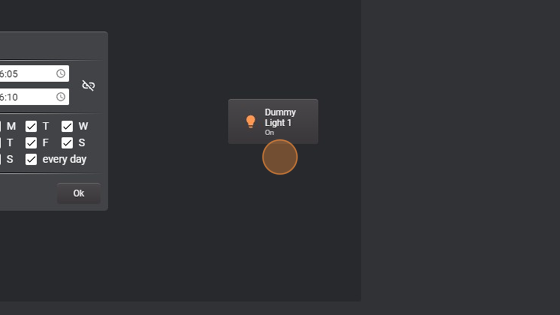
- And then when "16:10" ticked the light turned off