Slider Datapoint Action
-
Navigate to HSYCO Manager
-
Create a new project or open an existing one
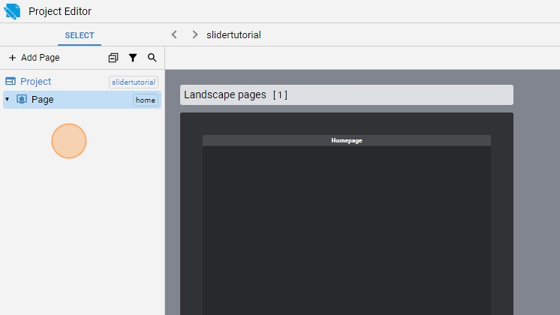
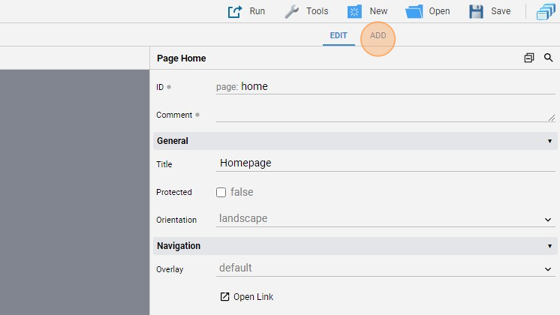
- Go to Home page
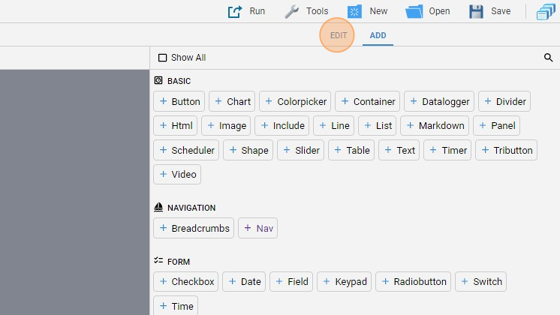
- Click "add"

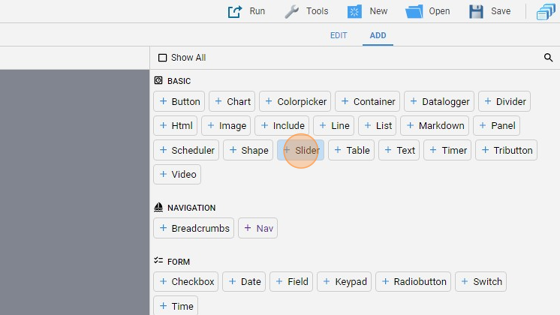
- Add a "Slider" object

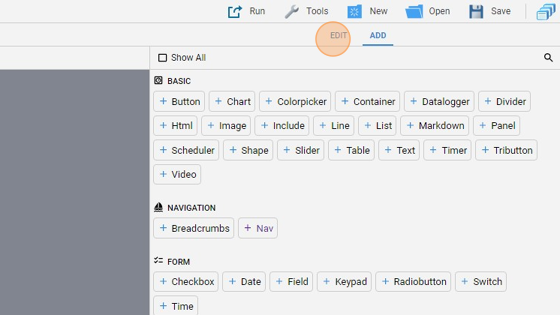
- Go back to "edit" mode
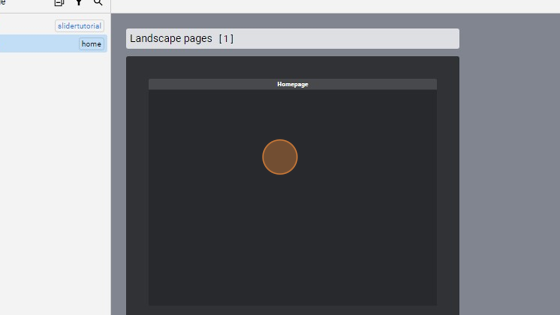
- You can align the object by clicking "Align" and then "Align Vertically" and also by moving it

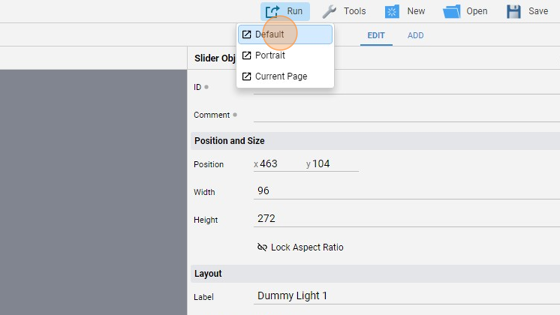
- Change the "Label" to "Dummy Dimmer 1"
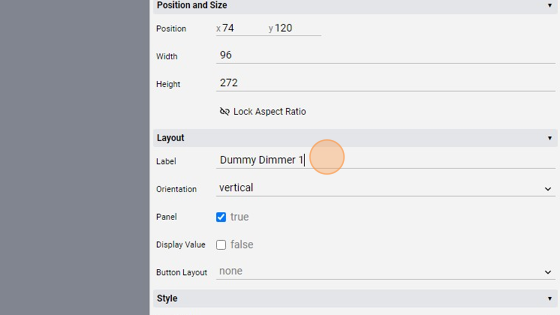
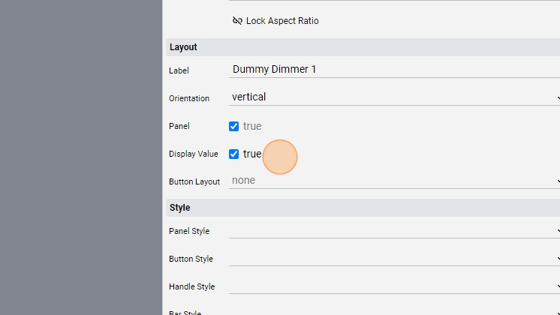
- Check the "Display Value" checkbox so that we can see the specific value for this dimmer light
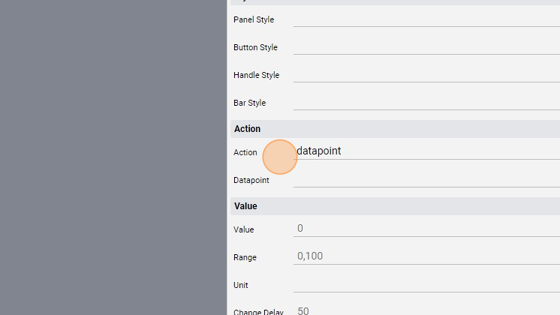
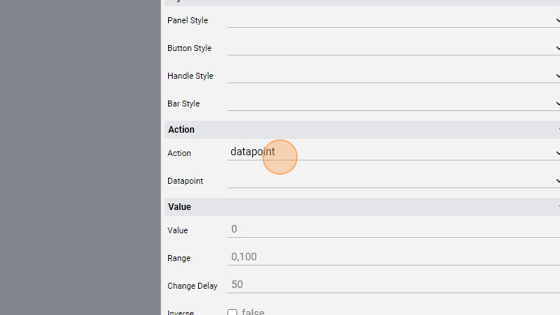
- Change the "Action" to "datapoint"
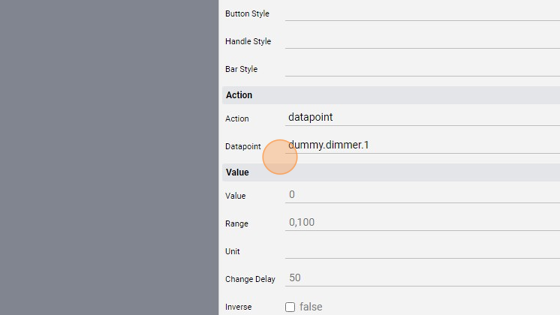
- Change the "Datapoint" to "dummy.dimmer.1"
- Click "add"
- Add a second "Slider"
- Click "edit"
-
Move the object and align it next to the other
-
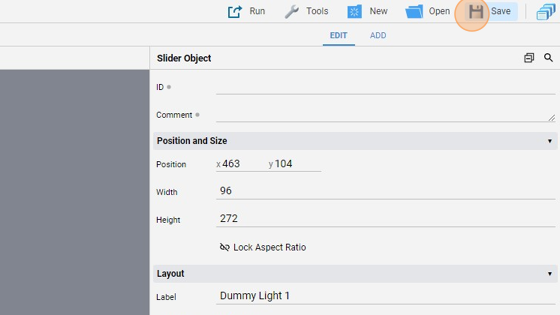
Change the "Label" to "Dummy Light 1"
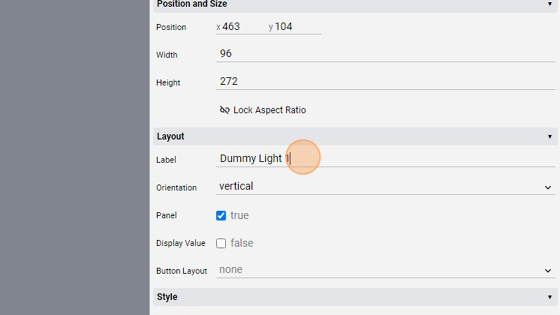
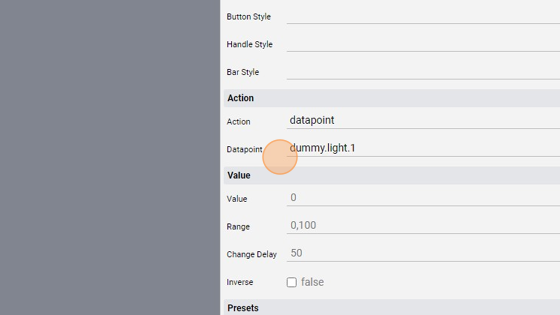
- Change the "Action" to "datapoint"
- Change the "Datapoint" to "dummy.light.1"
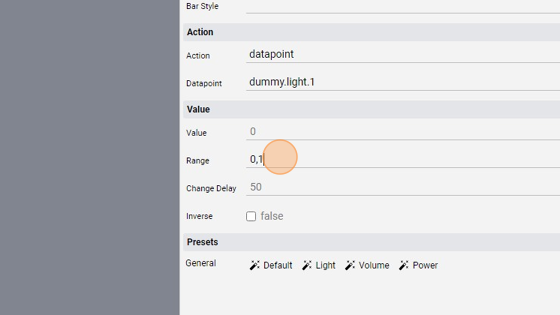
19. Change the "Range" attribute to "0,1". Because this datapoint points to a non-dimmer light, its only values are 0 and 1. By setting the "Range" between 0 and 1 we set a limit to the value of the datapoint
- Click "Save" to save the project
Tip: Now we can try the two sliders
- Click "Run" and then "Default" to launch the application
- The page should look like this:
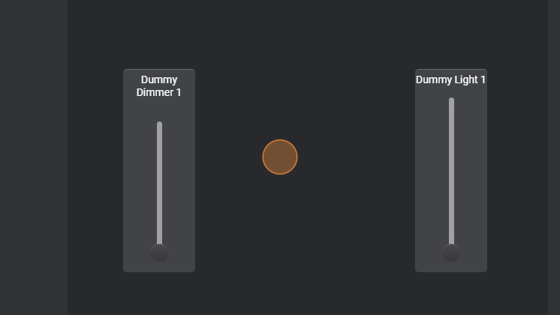
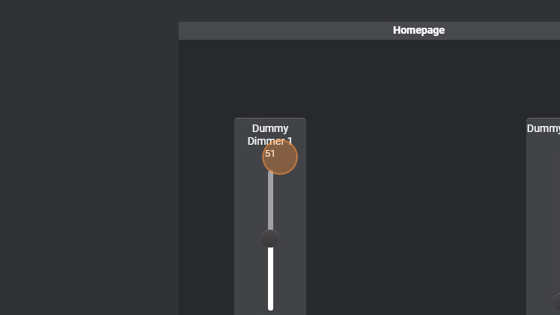
- If we try to use the first slider, which points to a dimmer light, we'll se the actual value of it inside the object
- The second slider can only go up to 1, that is status ON

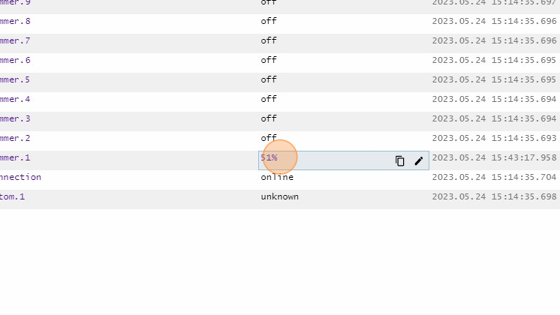
- We can also check the "Status Browser" to see the values of the datapoints
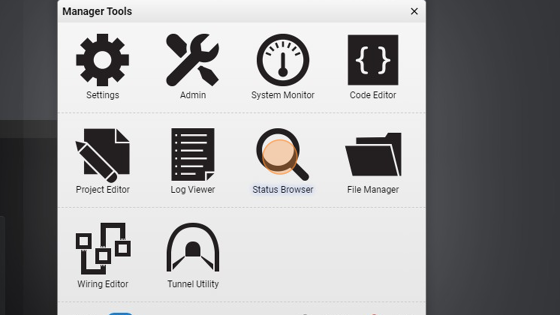
- As you can see, "dummy.light.1" has a value of 1
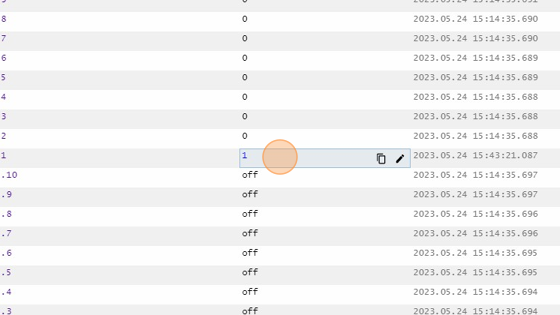
- "dummy.dimmer.1" has a value of "51%", as we set it through the slider