Nav items attribute loaded from file
This is an example of a dynamic nav object with parameters loaded from file. It can be useful both for understanding how HSYCO manages attributes dynamically and for understanding how to work with files.
1. Navigate to https://192.168.1.50/hsycoserver/manager
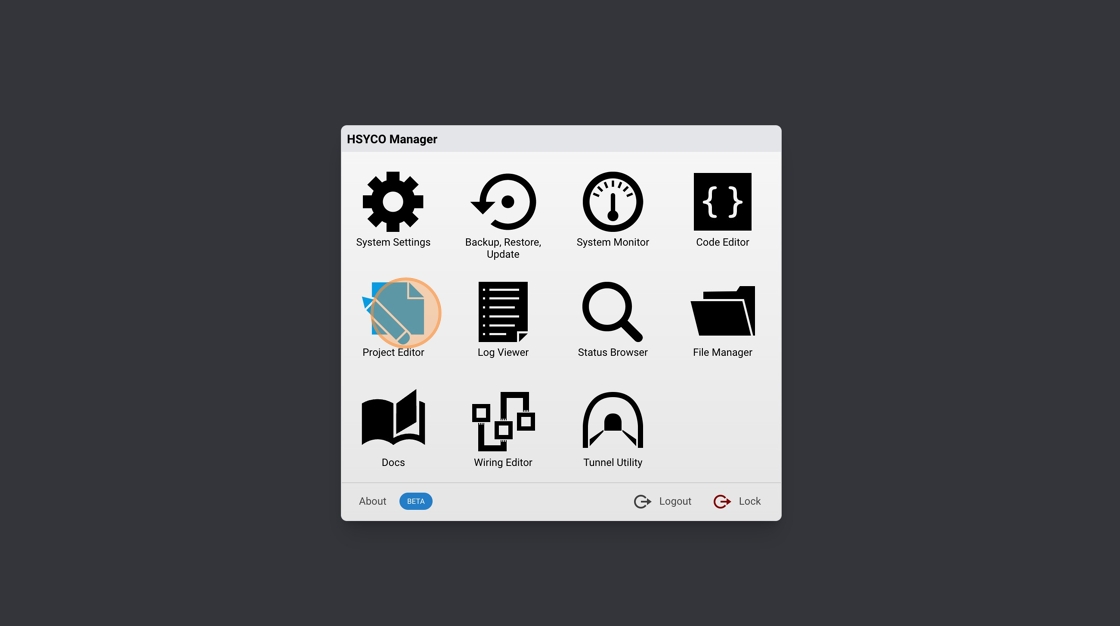
2. Open the Project Editor
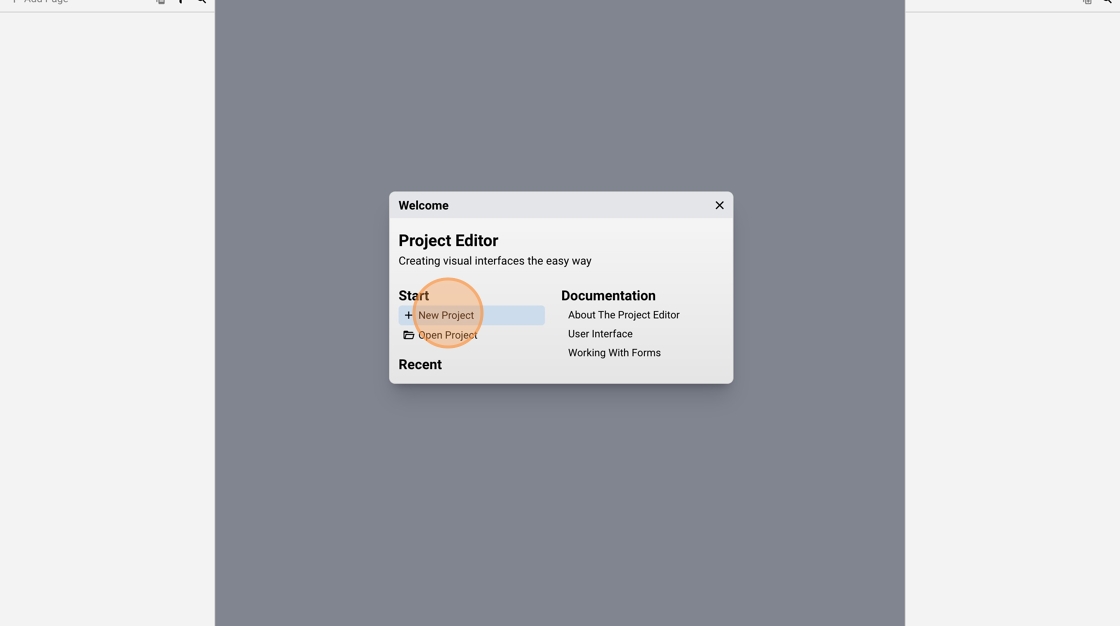
3. Click "New Project"
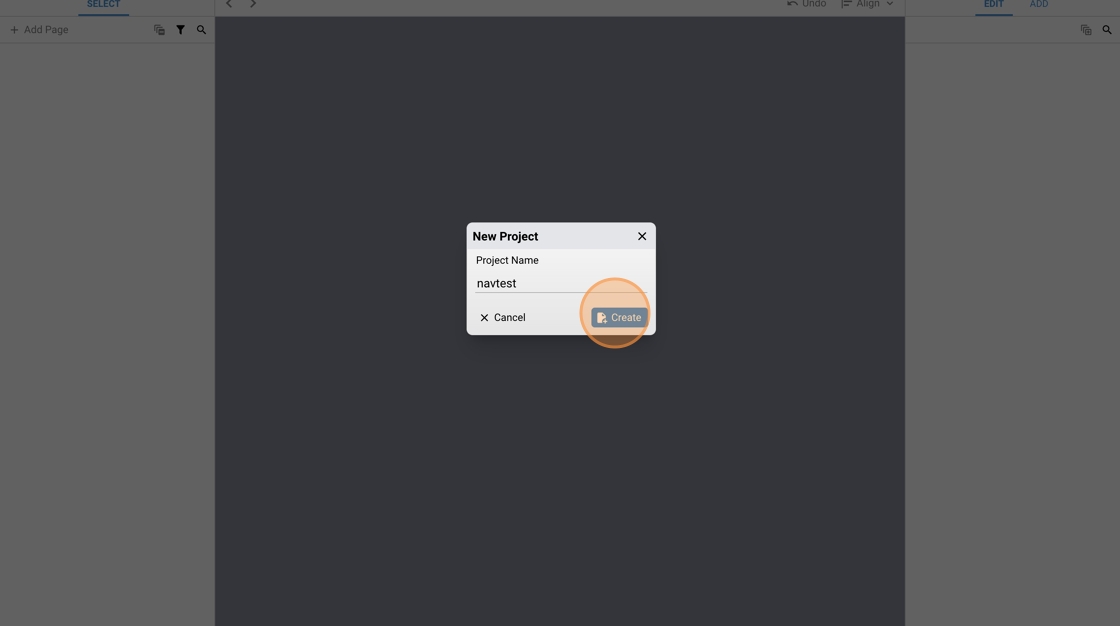
4. Type "navtest"
5. Click "Create"
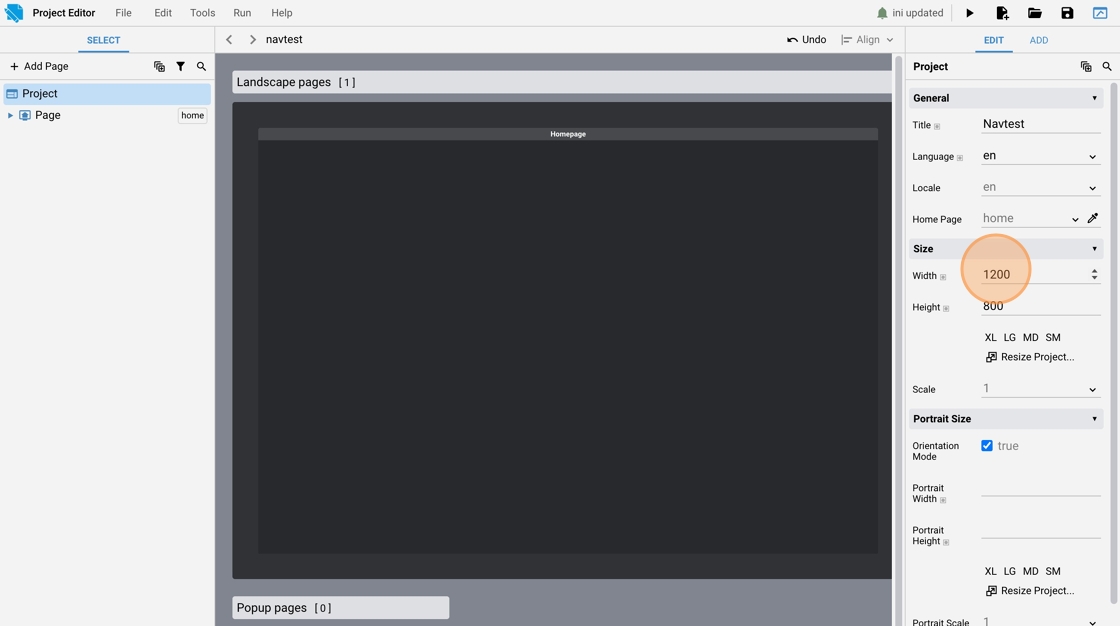
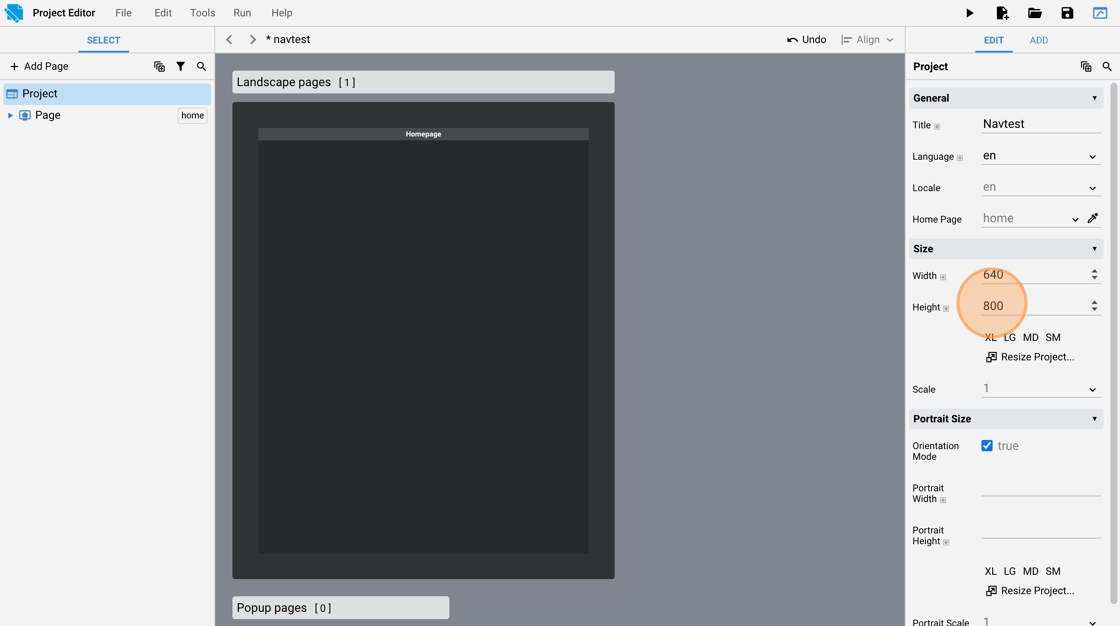
6. Change the project resolution
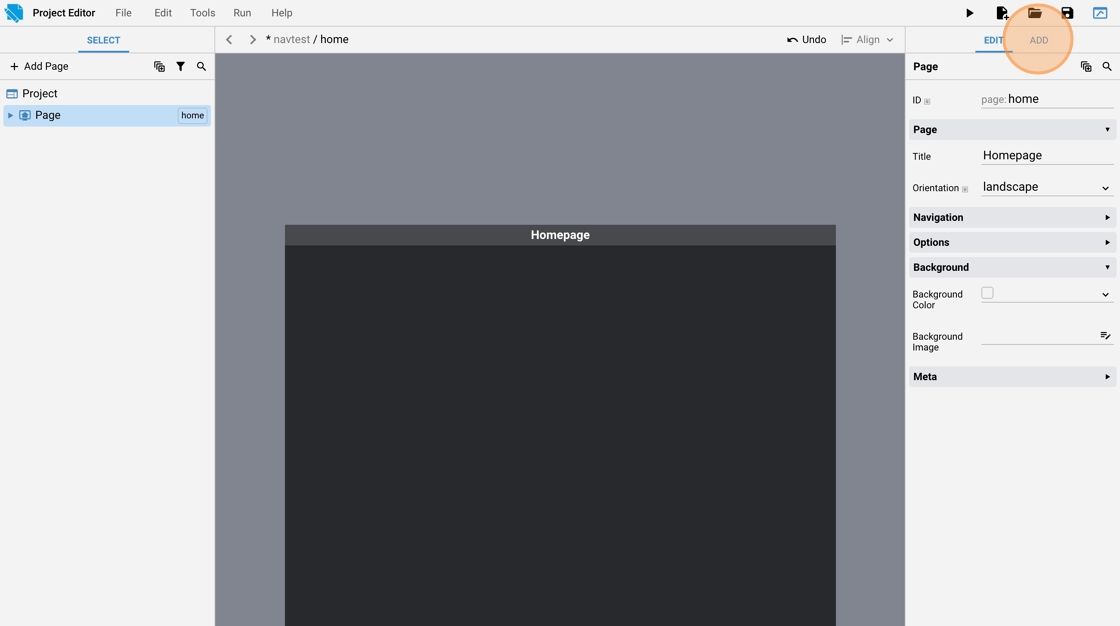
7.
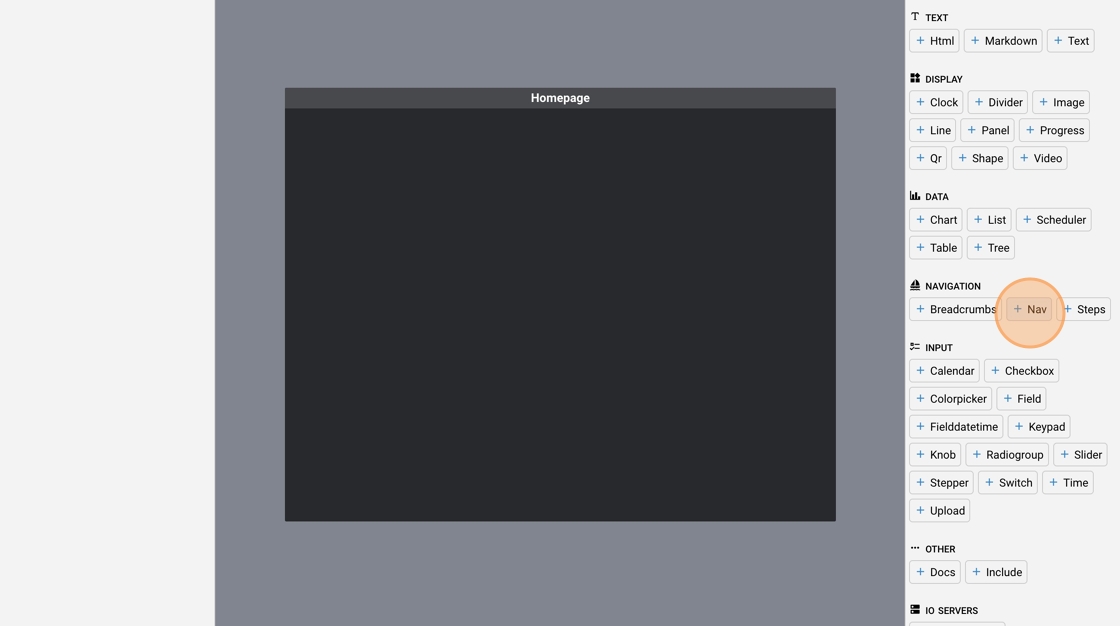
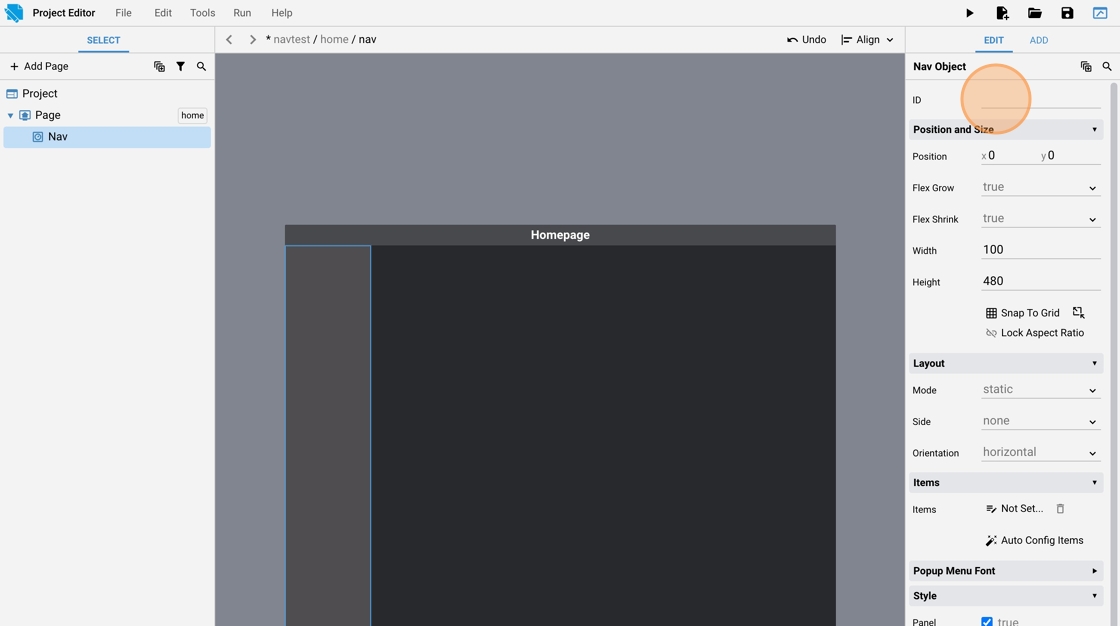
8. Click "add"
9. Click "Nav"
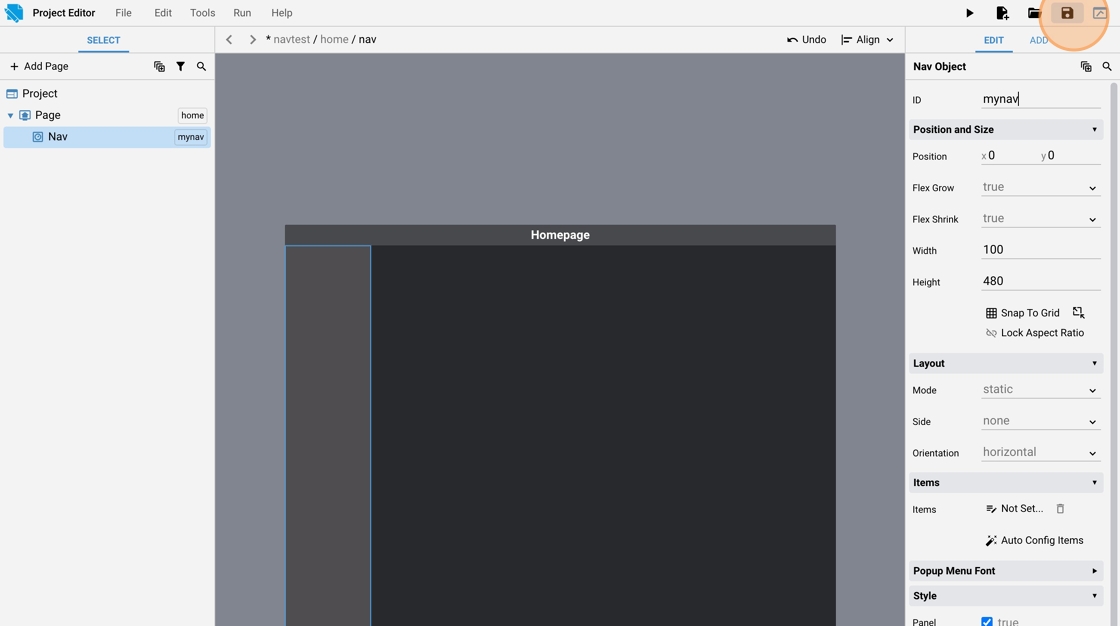
10. Change the id of the nav object
11. Type "mynav"
12. Save the project
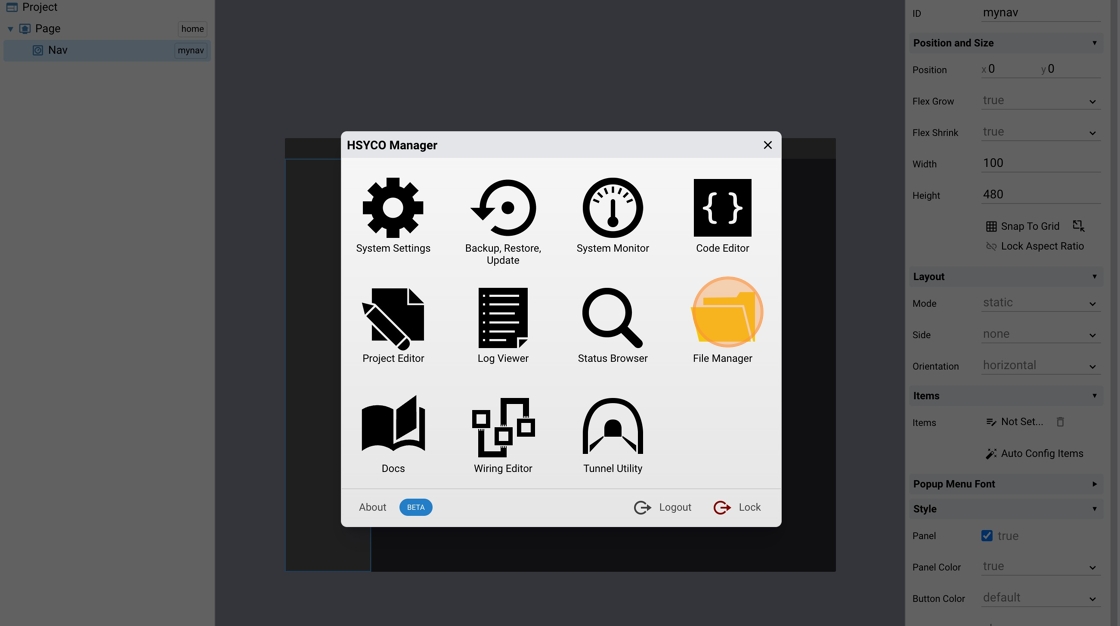
13. Go back to the Manager splash screen
14. Open the File Manager
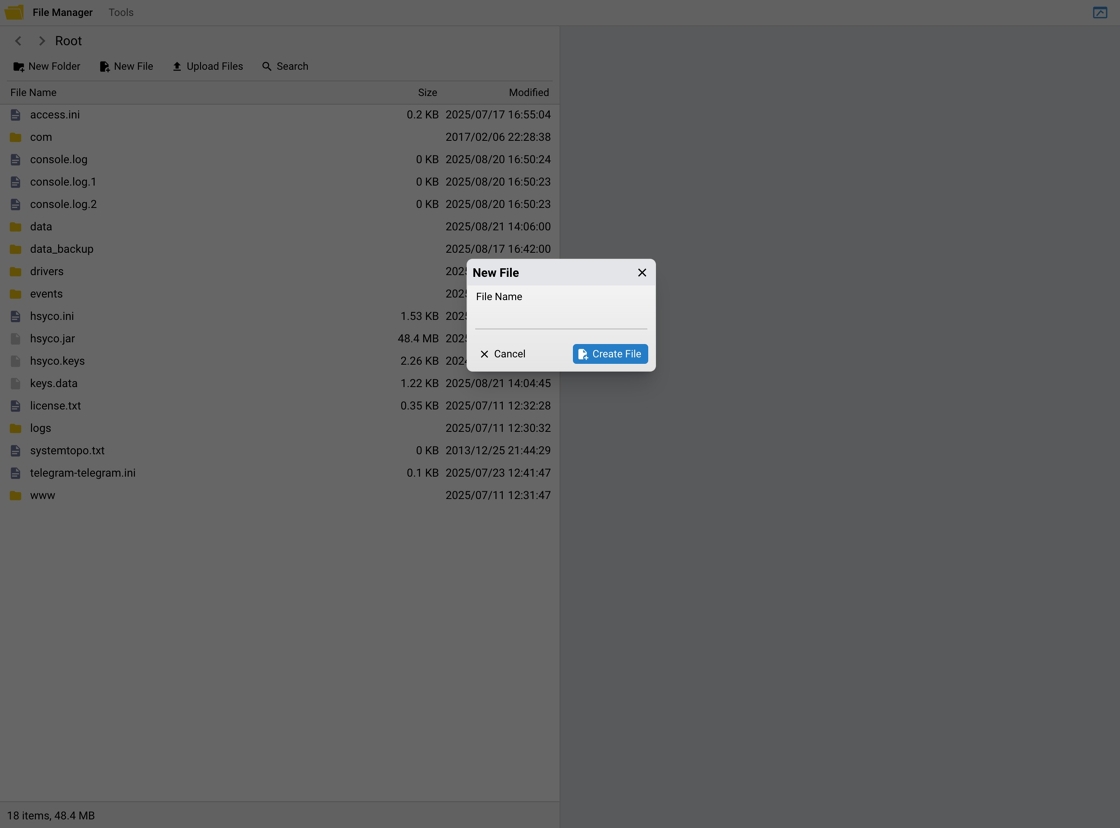
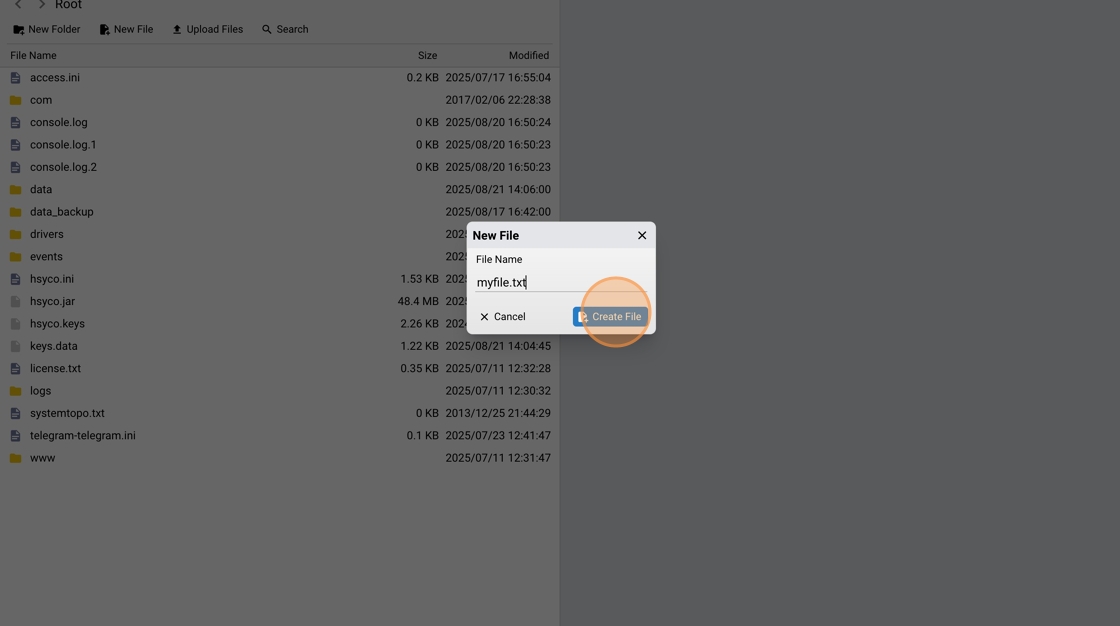
15. Click "new file"
16. Type a name for the file, for example "myfile.txt"
17. Click "Create file"
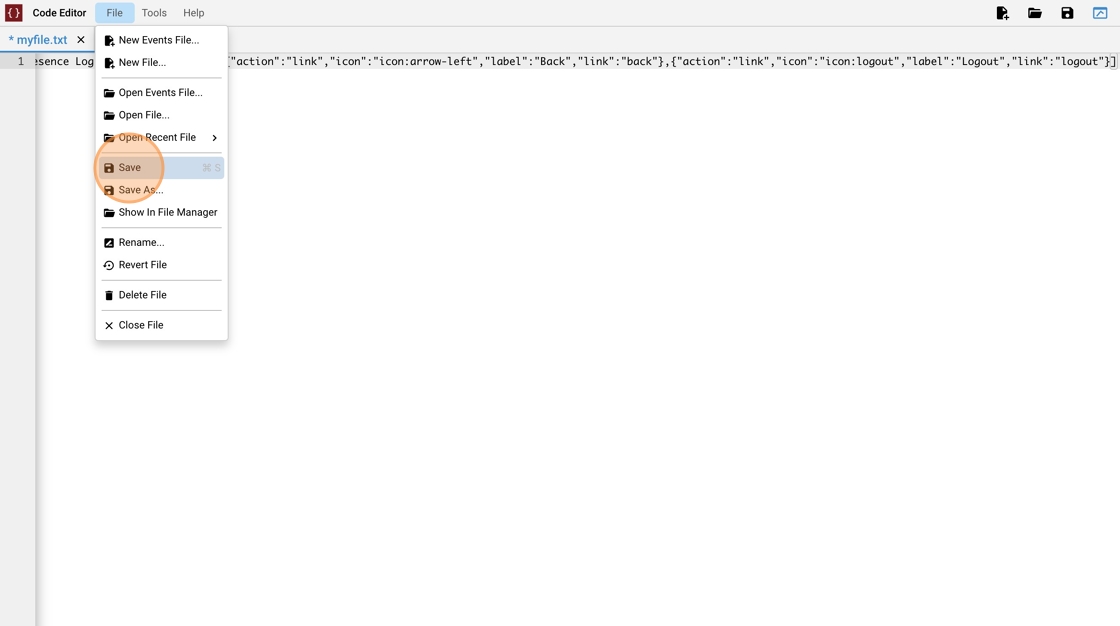
18. Copy the json example
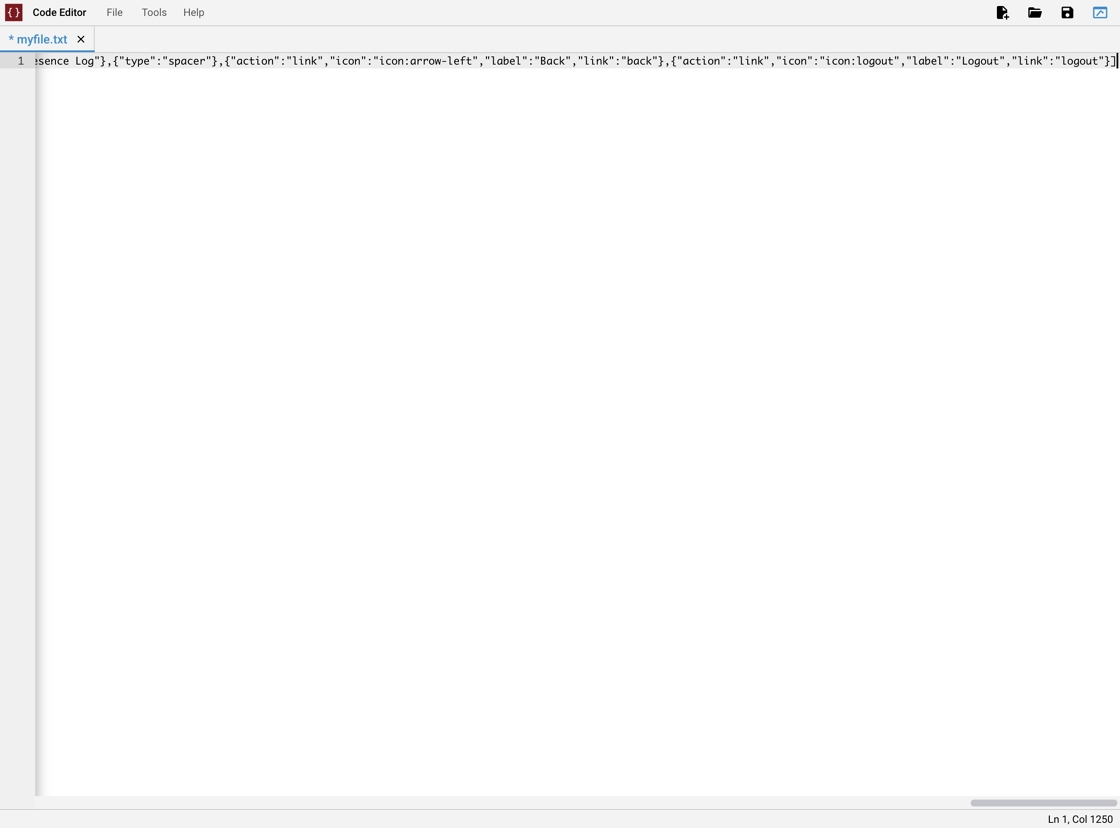
[
  {
    "type": "drawer-button"
  },
  {
    "type": "divider"
  },
  {
    "action": "link",
    "icon": "icon:home",
    "label": "Home",
    "link": "menu"
  },
  {
    "type": "divider"
  },
  {
    "action": "link",
    "icon": "icon:lock",
    "label": "Security",
    "link": "security"
  },
  {
    "type": "divider"
  },
  {
    "action": "link",
    "icon": "icon:cctv",
    "label": "Cameras",
    "link": "cameras"
  },
  {
    "type": "divider"
  },
  {
    "action": "link",
    "icon": "icon:lightning-bolt",
    "label": "Energy",
    "link": "energylandscape"
  },
  {
    "type": "divider"
  },
  {
    "action": "link",
    "icon": "icon:home-thermometer-outline",
    "label": "Temp",
    "link": "temps"
  },
  {
    "type": "divider"
  },
  {
    "action": "link",
    "icon": "icon:printer",
    "label": "Devices",
    "link": "devices",
    "visible": "false"
  },
  {
    "type": "divider",
    "visible": "false"
  },
  {
    "icon": "icon:account",
    "label": "User",
    "type": "group",
    "children": [
      {
        "action": "link",
        "icon": "icon:form-textbox-password",
        "label": "Puk",
        "link": "adminpwd"
      },
      {
        "action": "link",
        "icon": "icon:eyedropper-variant",
        "iconcolor": "rgb(255,255,255)",
        "label": "Color",
        "link": "config"
      },
      {
        "action": "link",
        "icon": "icon:account-group-outline",
        "label": "Users",
        "link": "adminusers"
      }
    ]
  },
  {
    "type": "divider"
  },
  {
    "icon": "icon:badge-account",
    "label": "Presence Log"
  },
  {
    "type": "spacer"
  },
  {
    "action": "link",
    "icon": "icon:arrow-left",
    "label": "Back",
    "link": "back"
  },
  {
    "action": "link",
    "icon": "icon:logout",
    "label": "Logout",
    "link": "logout"
  }
]
19. Click "file"
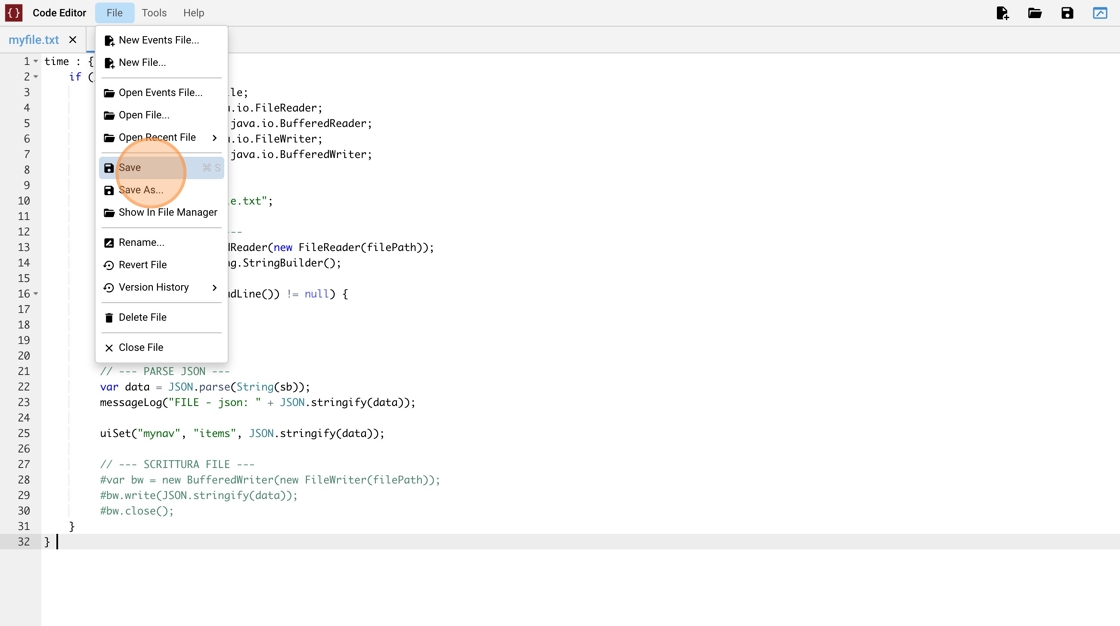
20. Click "Save"
21. Click "file"

22. Click "New Events File..."
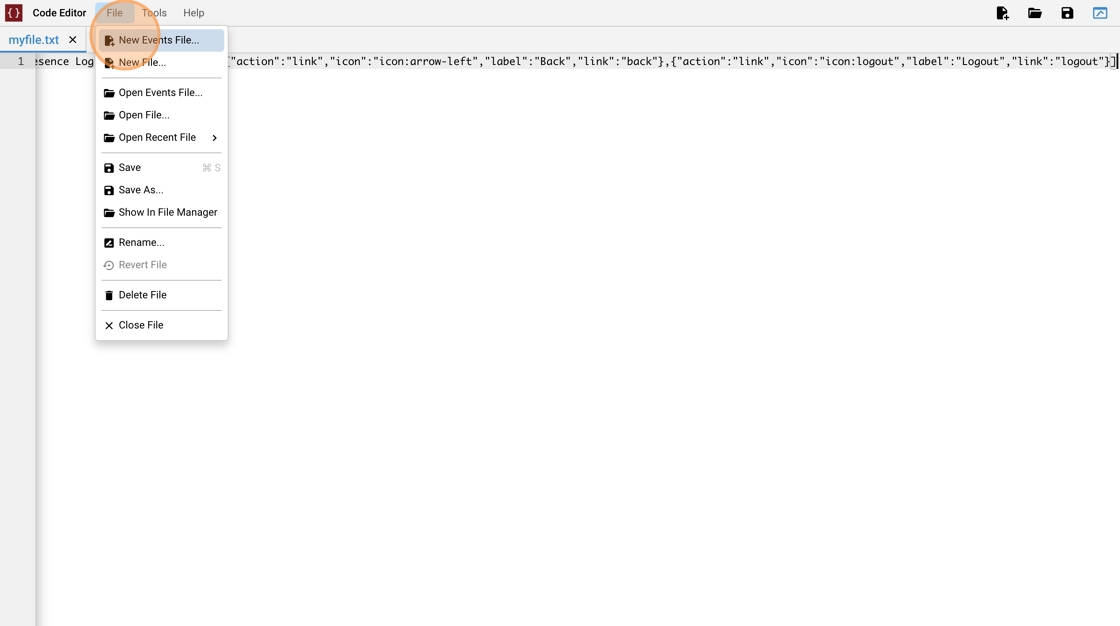
23. Type "navtest.txt"
24. Click "New"

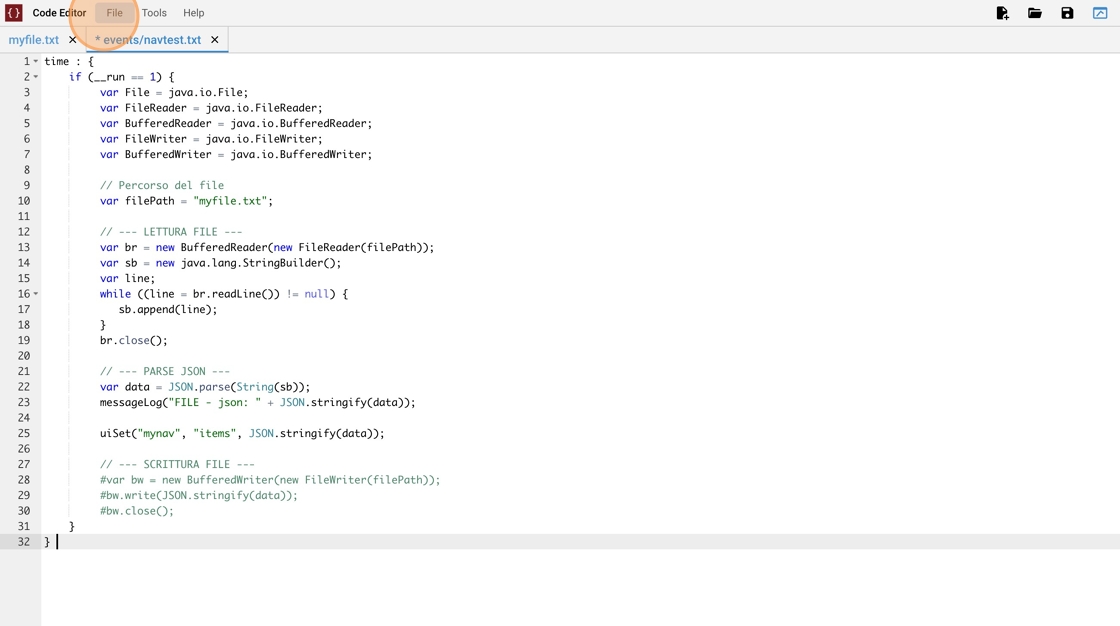
25. Copy and paste the EVENTS code example at the end of this tutorial.
26. Click "Save"
Every minute this script opens the mynav.txt file and load the content of the file in the "items" attribute of the nav object with id "mynav"
time : {
	if (__run == 1) {
		 var File = java.io.File;
		 var FileReader = java.io.FileReader;
		 var BufferedReader = java.io.BufferedReader;
		 var FileWriter = java.io.FileWriter;
		 var BufferedWriter = java.io.BufferedWriter;

		 // Pfile path
		 var filePath = "myfile.txt";

		 // --- LETTURA FILE ---
		 var br = new BufferedReader(new FileReader(filePath));
		 var sb = new java.lang.StringBuilder();
		 var line;
		 while ((line = br.readLine()) != null) {
		    sb.append(line);
		 }
		 br.close();

		 // --- PARSE JSON ---
		 var data = JSON.parse(String(sb));
		 messageLog("FILE - json: " + JSON.stringify(data));

		 uiSet("mynav", "items", JSON.stringify(data));

	}
}