Telegram I/O Server Examples
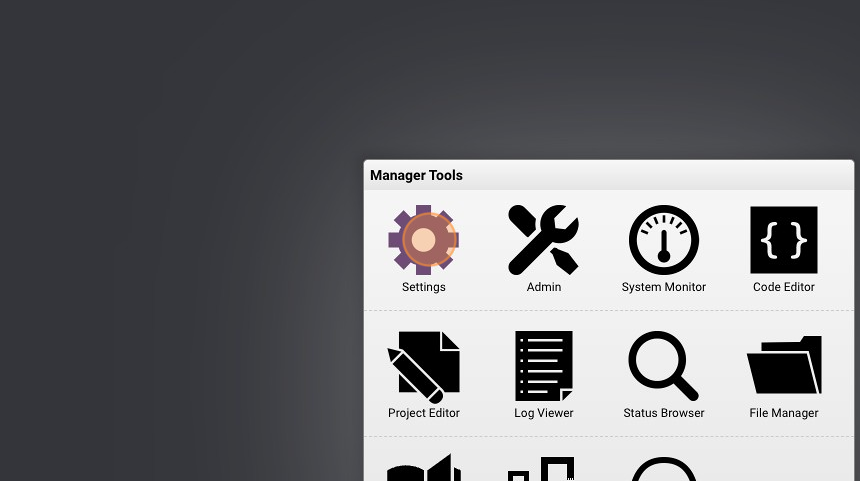
- Navigate to HSYCO Manager
Telegram I/O Server
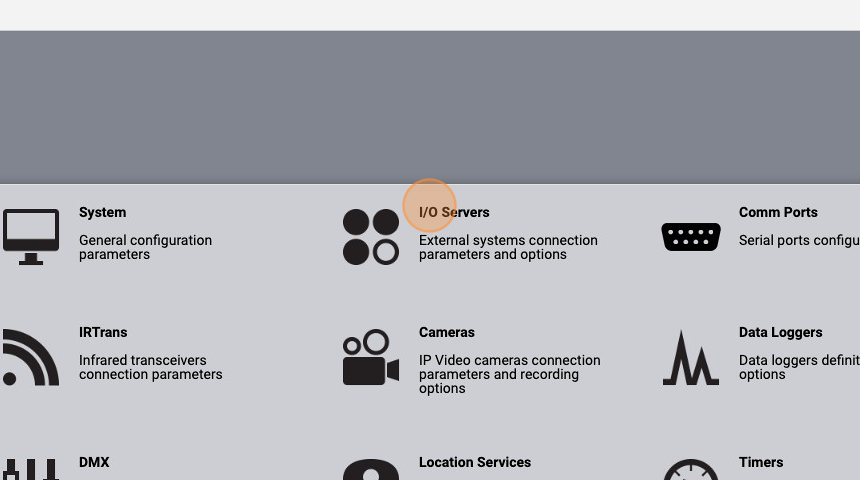
- Go to "Settings"
- Select "I/O Servers"
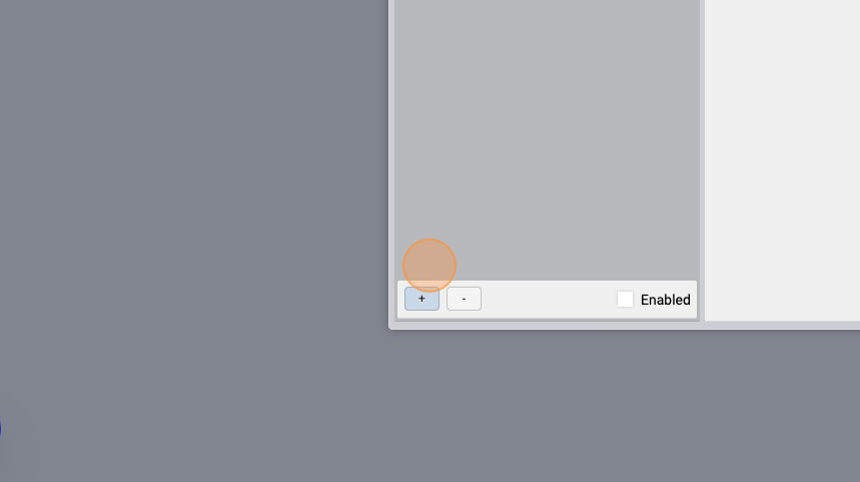
- Click "+" to add a new server
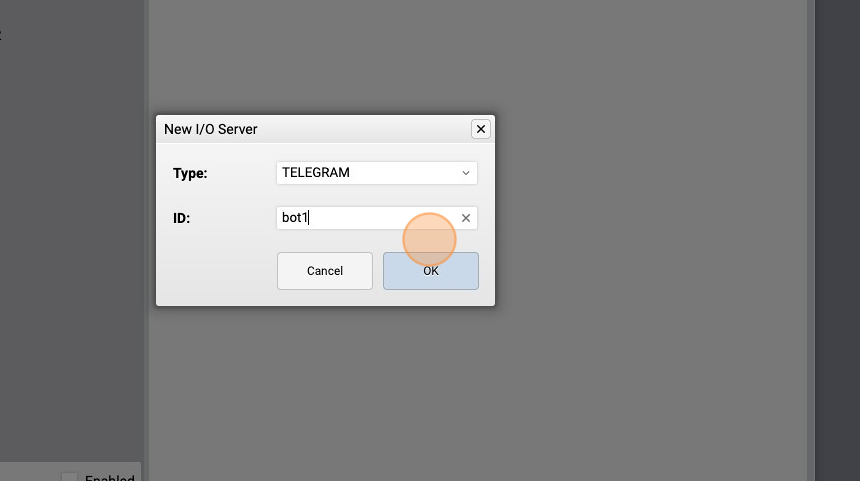
- Select the "TELEGRAM" option from the "Type" list
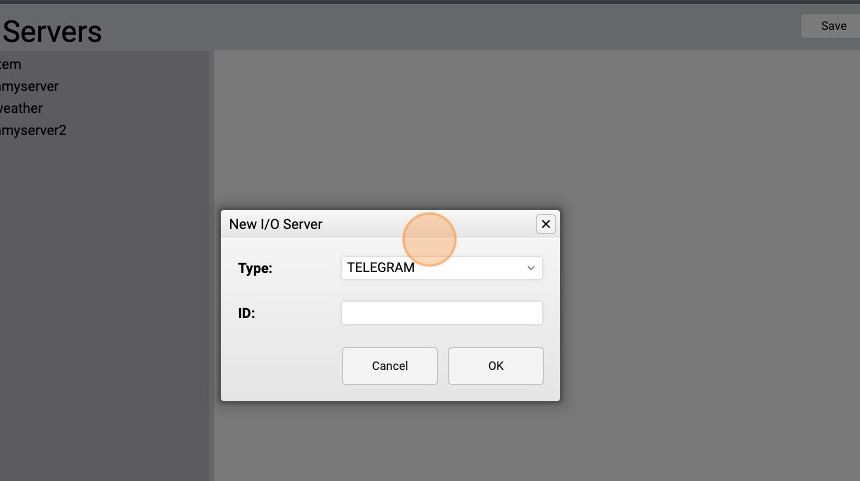
- Give the server a name ("bot1" for example) and click "OK"
- Click "+" to add attributes
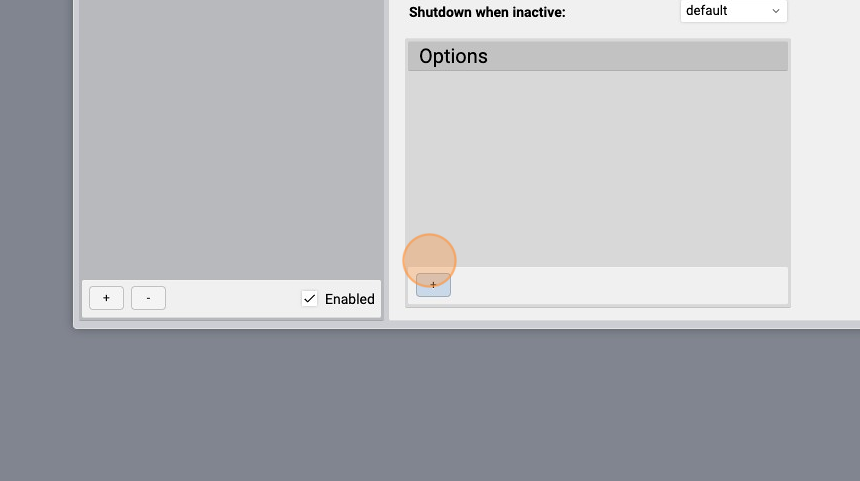
- Select the "Token" option from the "Option" list
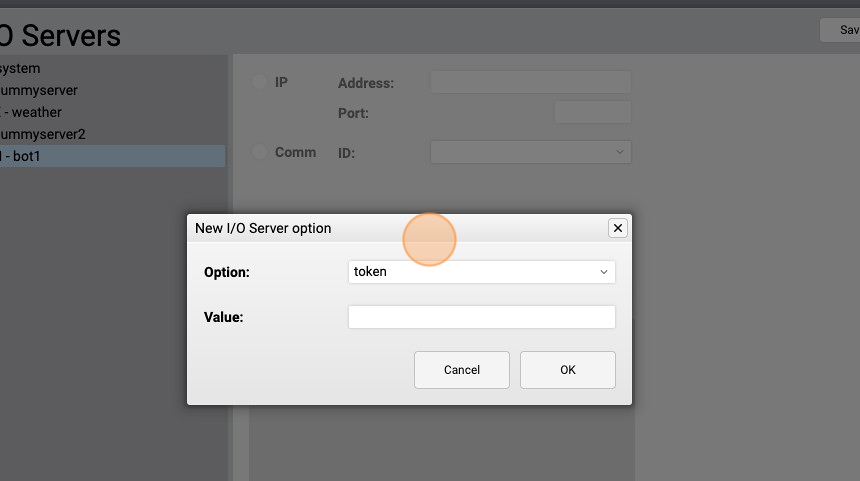
Now you need to get a token for your new bot. Go to https://core.telegram.org/bots/features#botfather and follow the steps to create a new bot and copy the token
- Paste in the "Value" field the copied token and click "OK"

Now we can specify a password for our bot. If you don't set a password, all users will be able to send messages to your Telegram bot, and it will be up to your application logic in HSYCO to filter out unwanted messages. If you set an arbitrary length phrase (spaces between characters are allowed) in the password configuration parameter, when a Telegram message is received from a user that exactly matches the registration phrase, that user is added to the registered users list. Note that the match is case-sensitive, and only leading/trailing spaces are ignored.
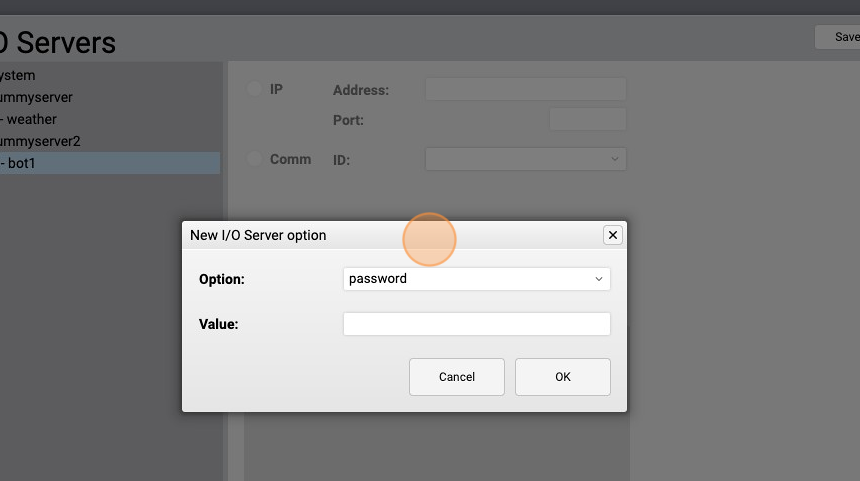
- Click "+" if you want to set a password
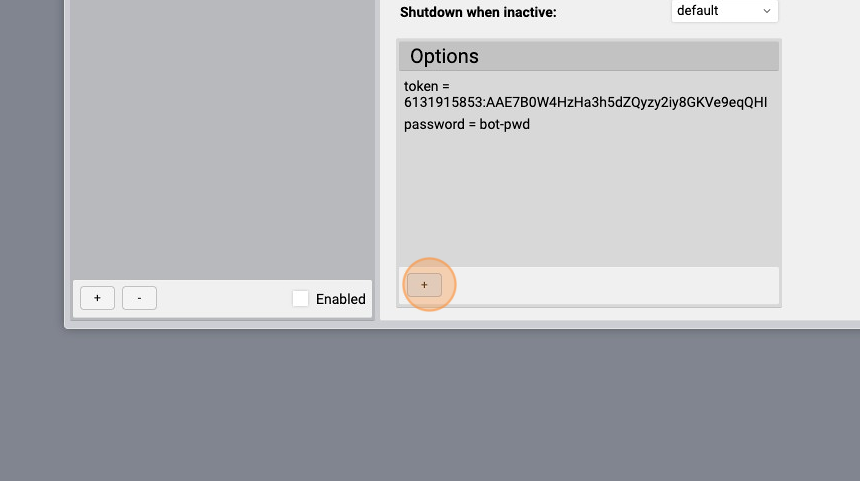
- Select the "password" value from the "Option" list
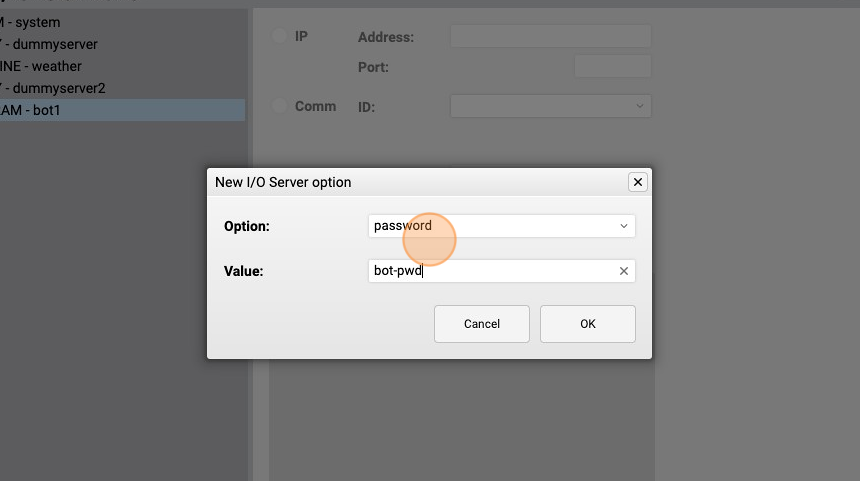
- Write a password in the "Value" field and click "OK"
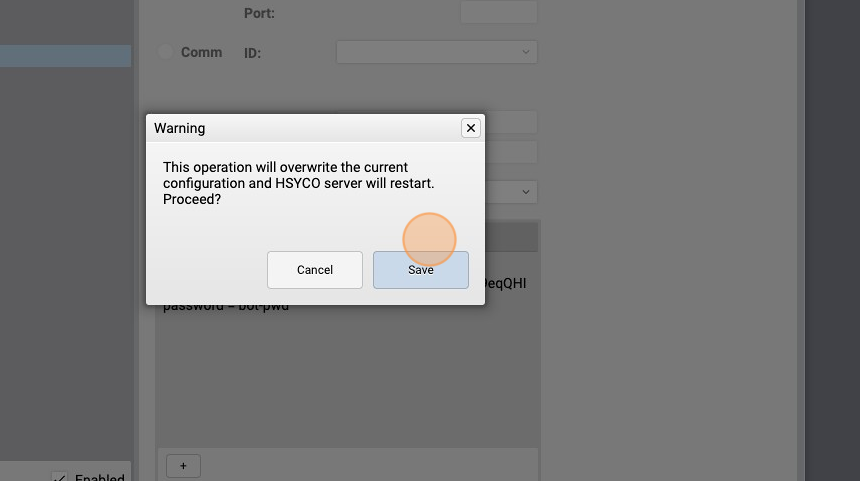
- Click "Save"
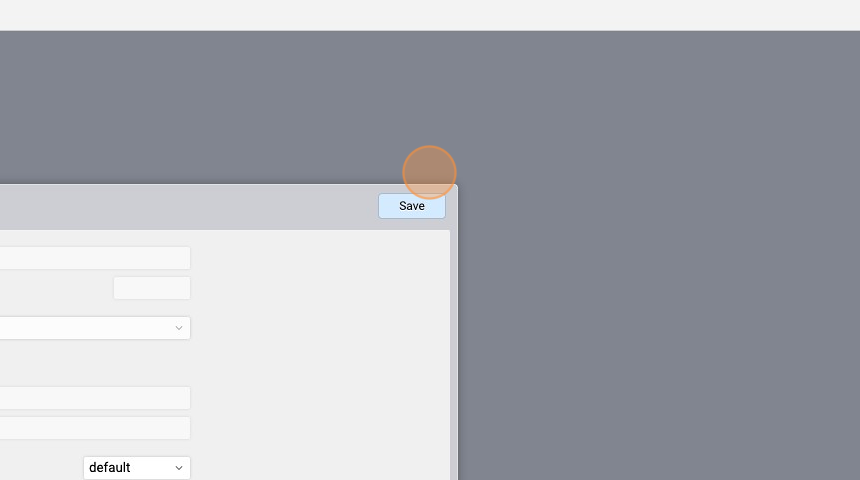
- Click "Save" again and wait for HSYCO to restart
Now we are ready to start our bot on Telegram. Start it and write the password that we set before in the chat.
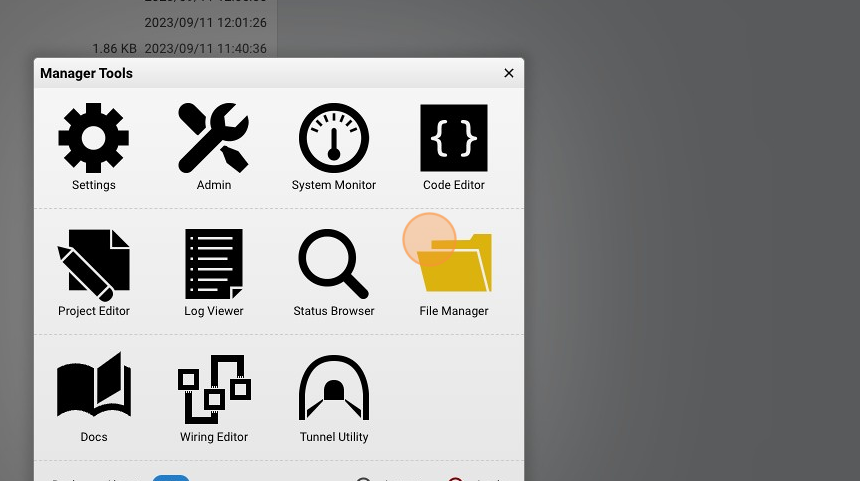
- Go to "File Manager"
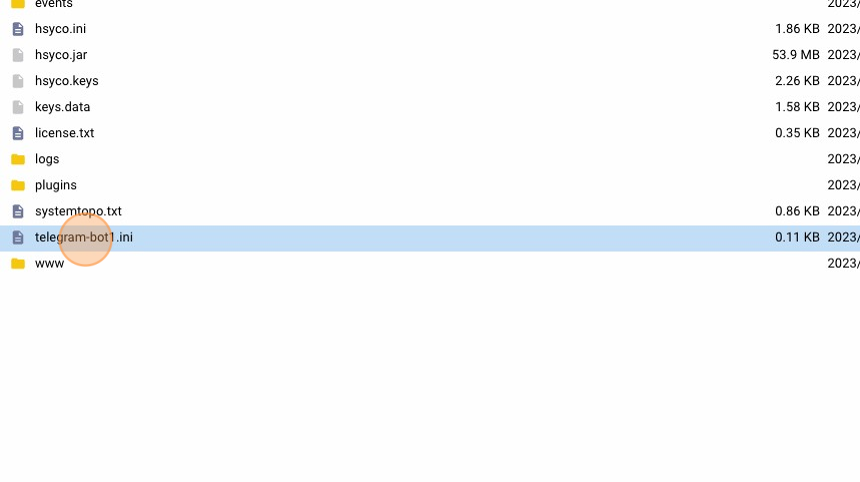
- If the password was correct, HSYCO should have created the "telegram-<bot-name>.ini" file that contains the list of registered users whose messages are accepted and forwarded to HSYCO applications via I/O events
Now we can write some code to send messages
Code to send messages
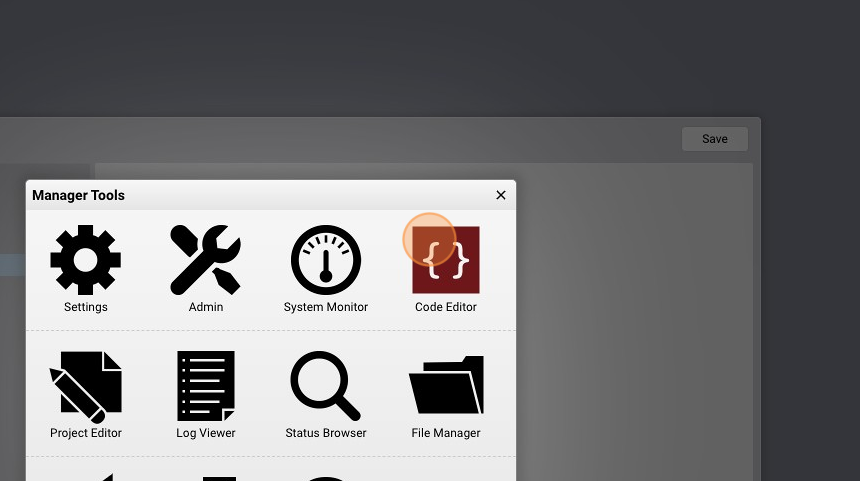
- Go to "Code Editor"
- Click "New Events File"
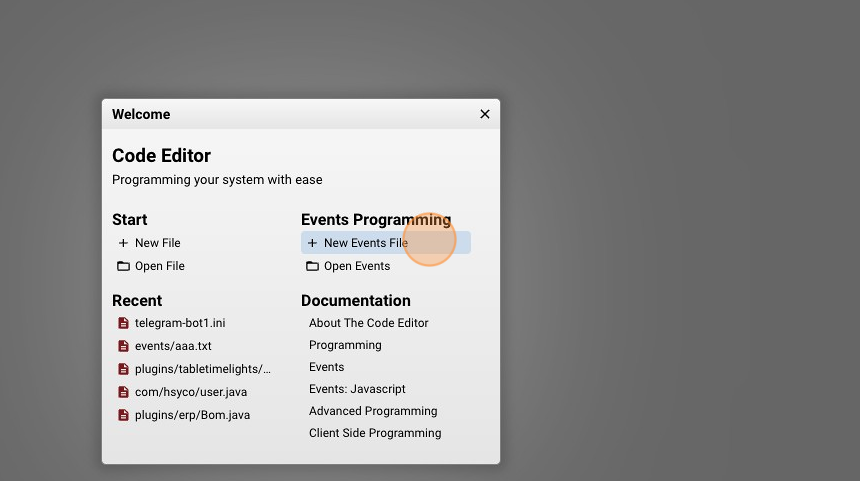
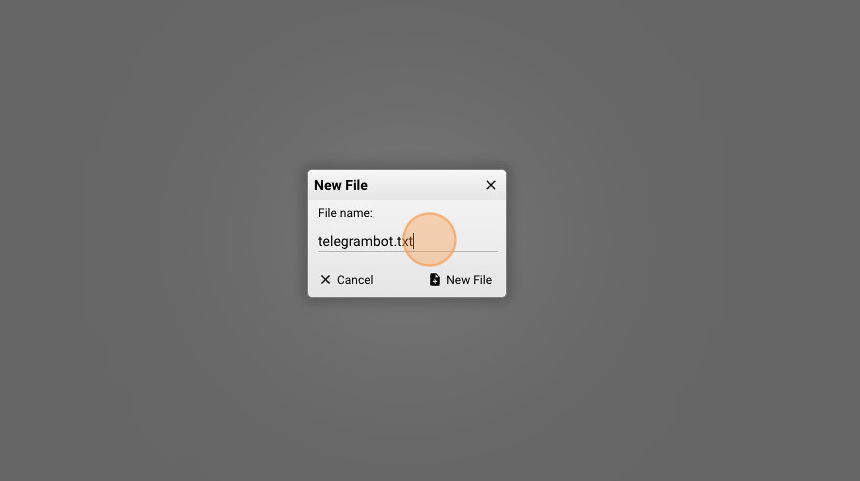
- Give it a name ("telegrambot.txt"for example) and click "New File"
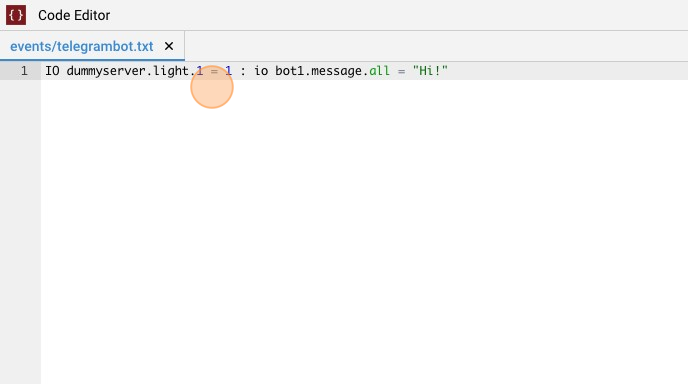
- Copy the following line and save the file:
IO dummyserver.light.1 = 1 : io bot1.message.all = "Hi!"
What this does is it send a message to all users via the telegram bot named "bot1" when the "dummy light 1" is on (or 1) You can also send messages to a specific user using the "bot1.message.<userid>" instruction. The "userid" can be obtained from the config file we saw previously
Code to send images
We can also send images through our bot. To do that, there is a specific instruction similar to the "bot1.message.all" that is "bot1.message.image.all". To send generic image files, use the following format: "file:<file name>". The file path is relative to the HSYCO root directory.
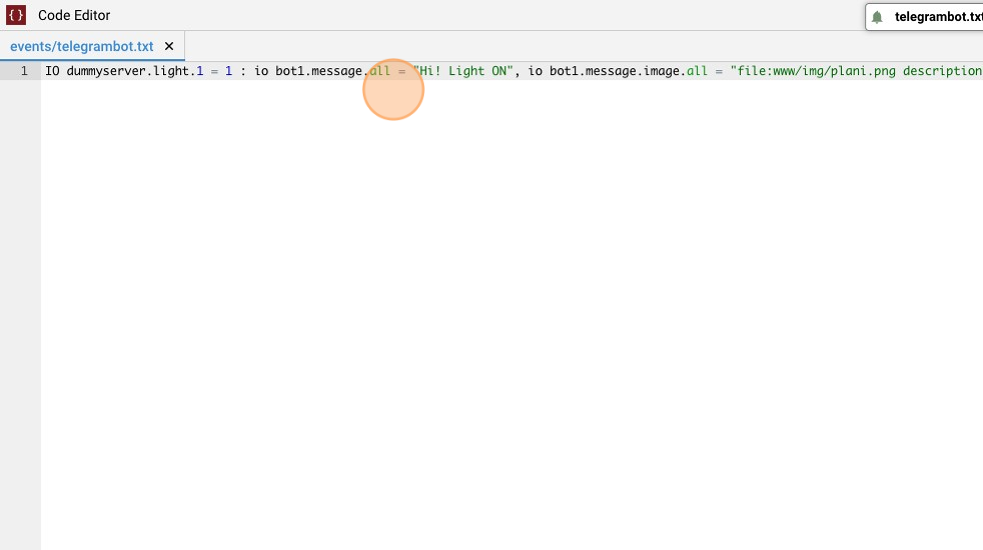
- Add the following line to the previous one preceded by a comma, to concatenate instructions:
io bot1.message.image.all = "file:www/img/plani.png description"
What this does is it sends an image, following its path from HSYCO root, to all registered users. After the file name you can specify a description that will be sent with the image
Code to send custom keyboard
We can also create custom keyboard with predefined reply options. Simply use the following format at the end of the message:
[[r1c1,r1c2...],[r2c1,r2c2...]...]
r1c1 is the text label of the first button of the first row, r1c2 is the second button of the first row, r2c1 is the first button of the second row, etc. You can create keyboards with an arbitrary number of rows and columns, as far as the format makes sense for Telegram. This keyboard format is interpreted as a keyboard only if it is at the very end of the message, otherwise it will be sent unmodified in the text.
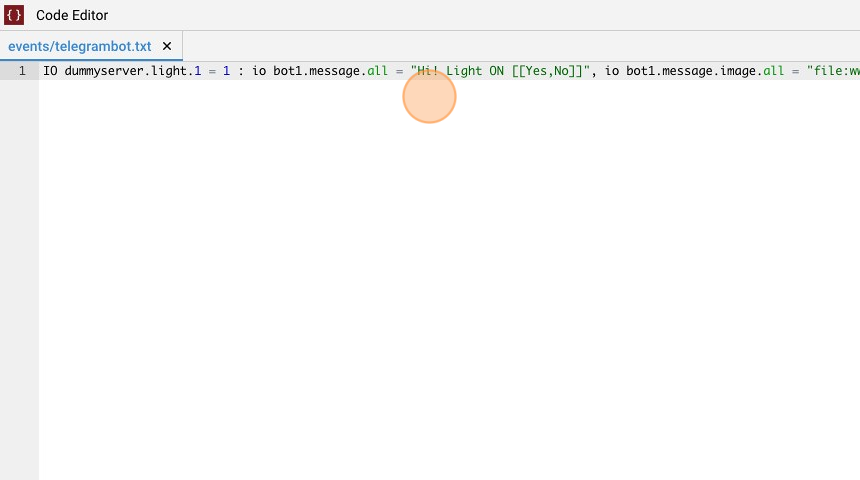
- We can modify the message sent to include a custom keyboard. To do this, just add at the end of the message the reply options. In this case, the options are "Yes" or "No".
io bot1.message.all = "Hi! Light ON [[Yes,No]]"
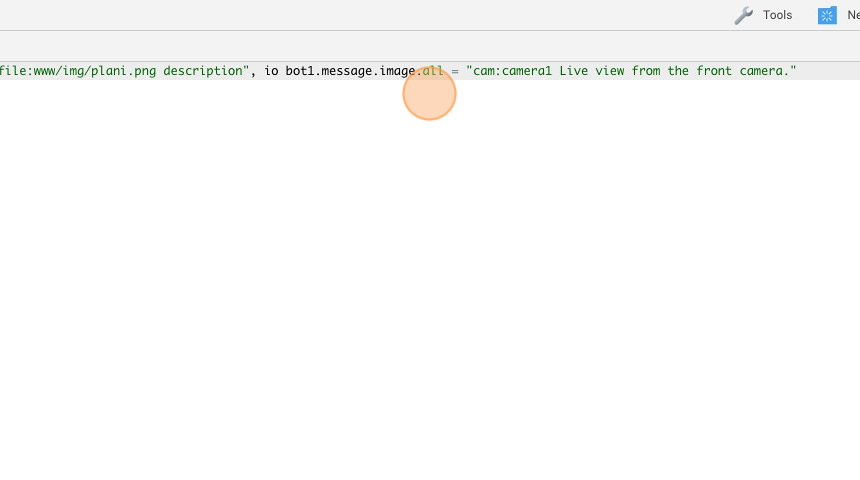
Code to send live frames of cameras
We can also send live frames of one of our cameras.
To send an image from a camera, write a string having this format to the "message.image" data points: cam:cameraname[:seconds_back[:frames_back]].
For example, "cam:door" sends a live frame from the camera called "door"; "cam🚪0" sends the last recorded frame; "cam🚪2" sends a frame that was recorded two seconds before the last recorded frame and "cam🚪2:5" sends a frame that is 5 frames earlier than the one recorded two seconds before the last recording
- Add the following line preceded by a comma:
io bot1.message.image.all = "cam:camera1 Live view from the front camera."
This sends a screenshot of the camera with id "camera1" with a caption to all registered users