MyHome basic tutorial
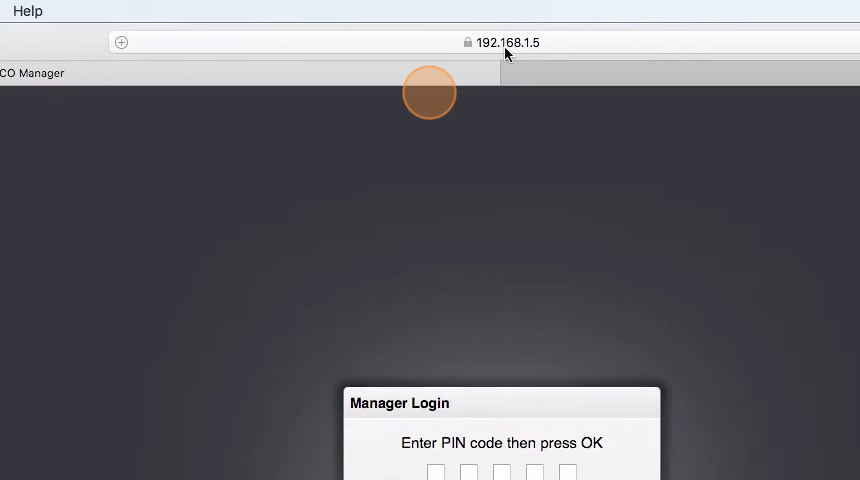
- Navigate to the BTicino Driver Manager
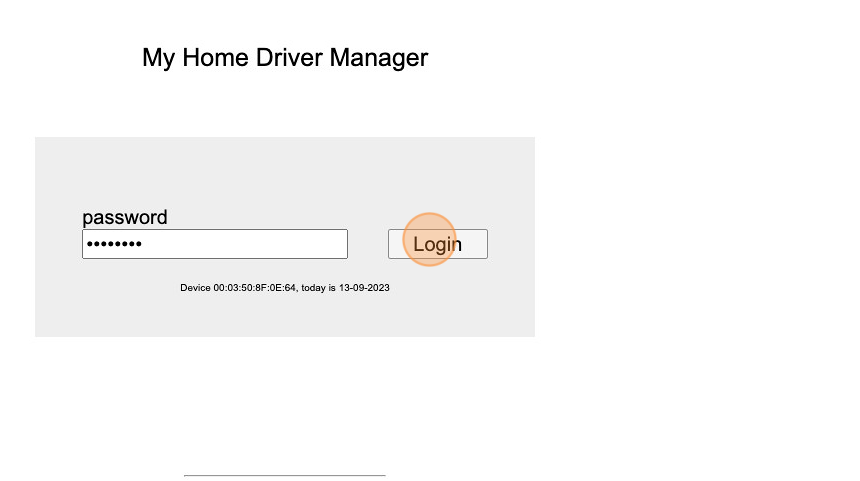
BTicino Driver Manager
- Insert your password and click "Login"
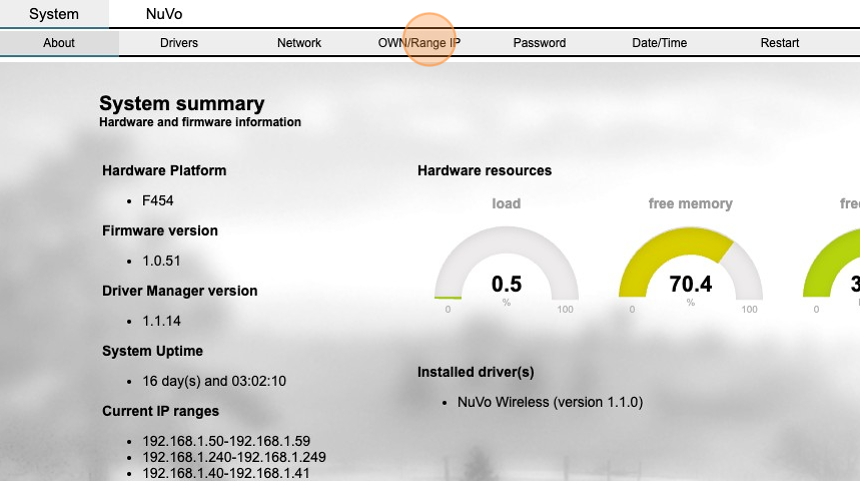
Alert: There are several types of gateway for MyHome BTicino. Some of them require HSYCO to be listed in the trusted IP range. Others simply require an user/password authentication
- Click "OWN/Range IP"
- Make sure that your HSYCO's IP address is included in the list of trusted addresses. If not, add a new rule that includes that IP
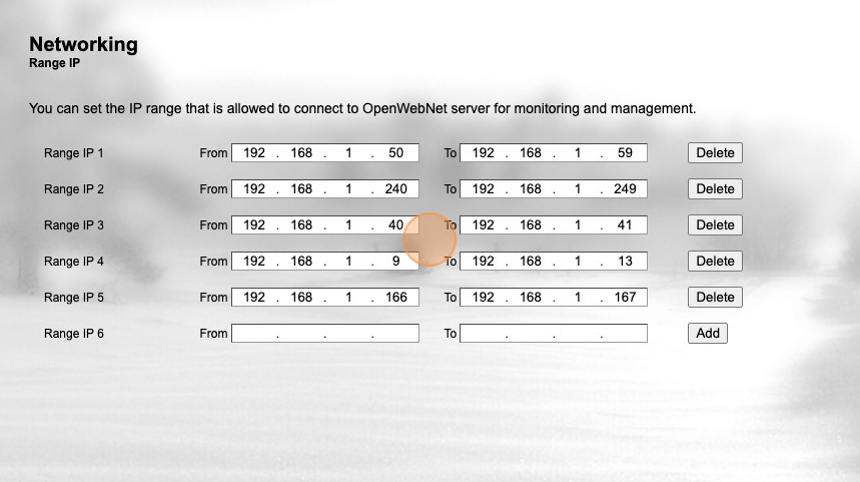
- You can see your HSYCO's IP address in the URL of the browser
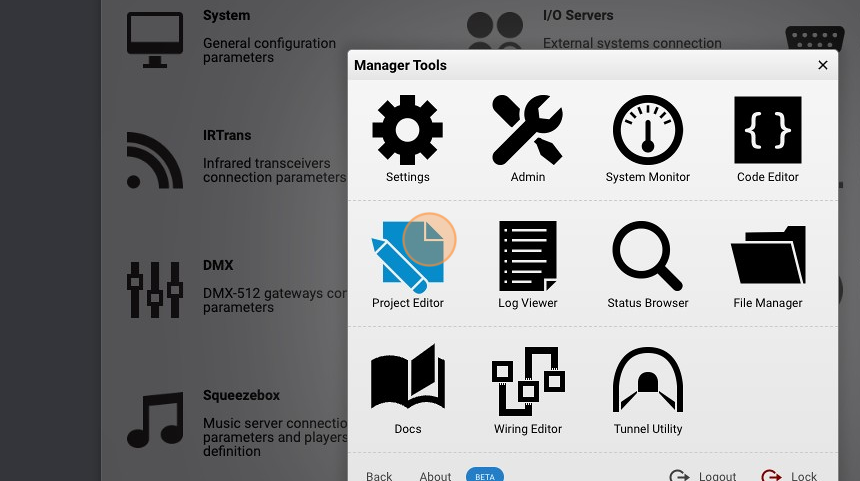
MyHome I/O Server
- Go to "Settings"
- Select "I/O Servers"

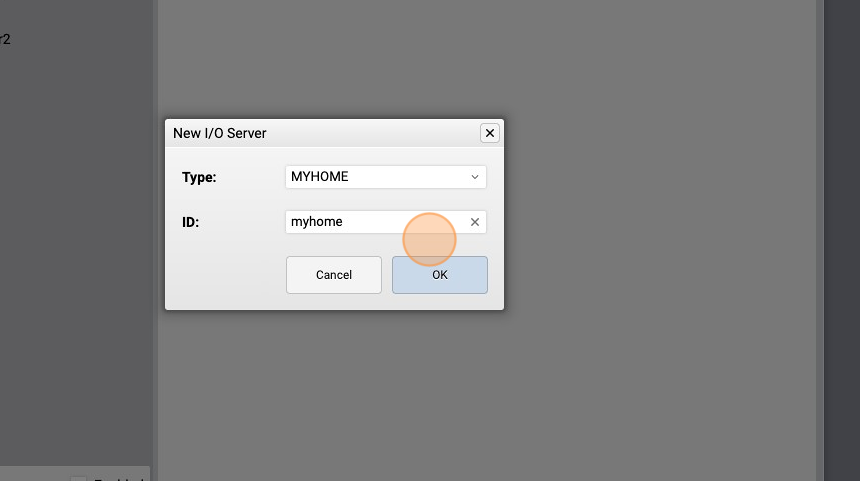
- Click "+" to add a new server

- Select the "MyHome" option from the "Type" menu

- Give it a name ("myhome" for example) and click "OK"
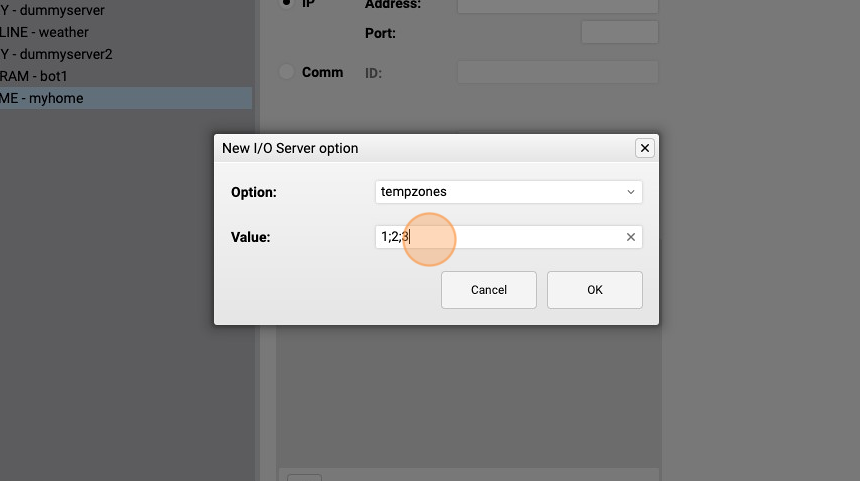
- Click "+" to add attributes
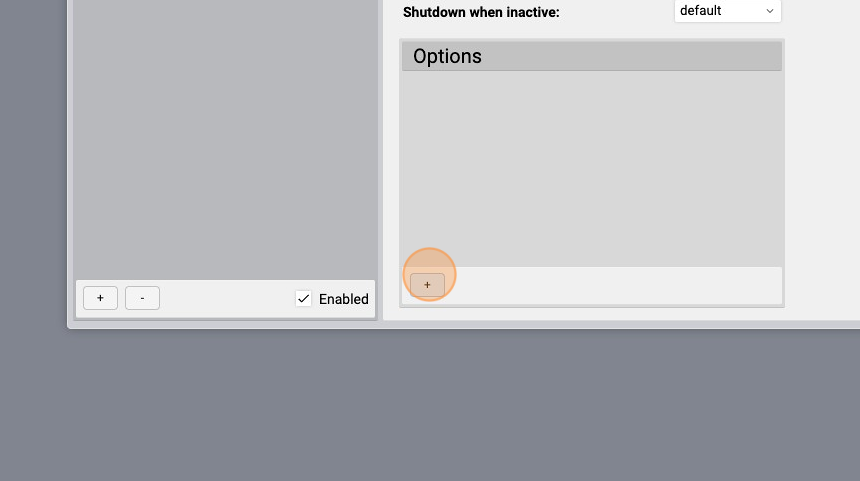
- Select the "tempzones" option
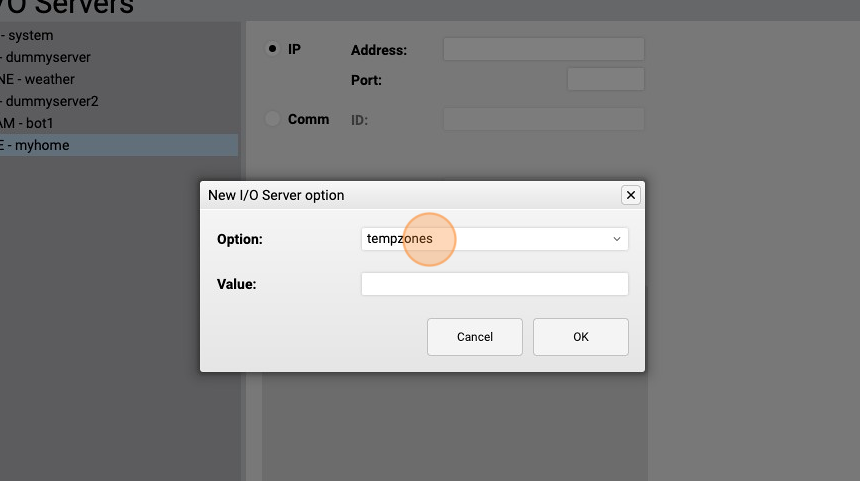
- Give it a value of "1;2;3" and click "OK"
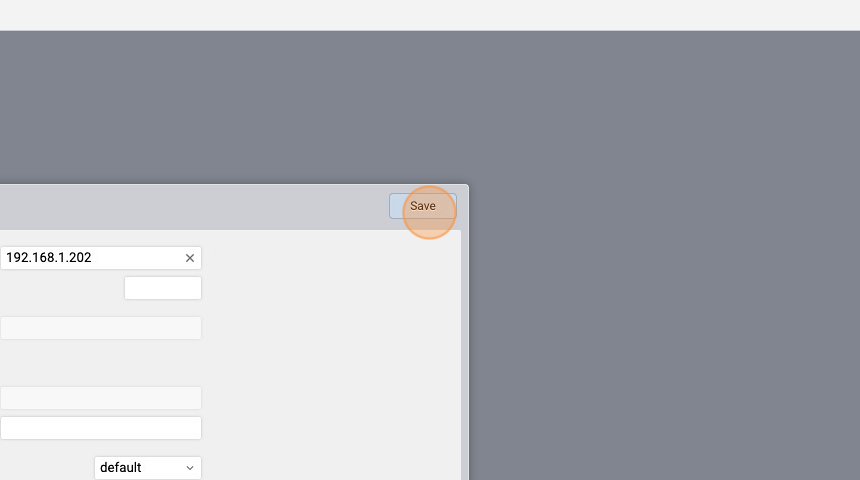
- Write BTicino MyHome gateway's IP address in the "IP" field
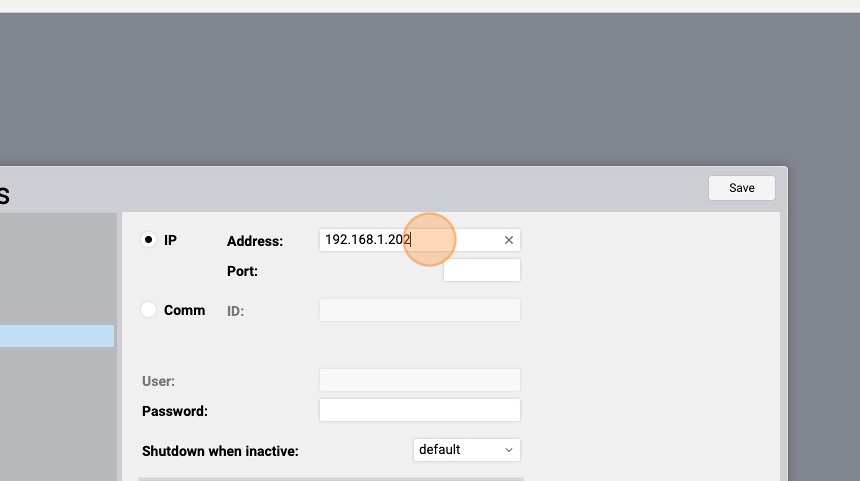
- If your gateway has a password, write it in the "Password" field
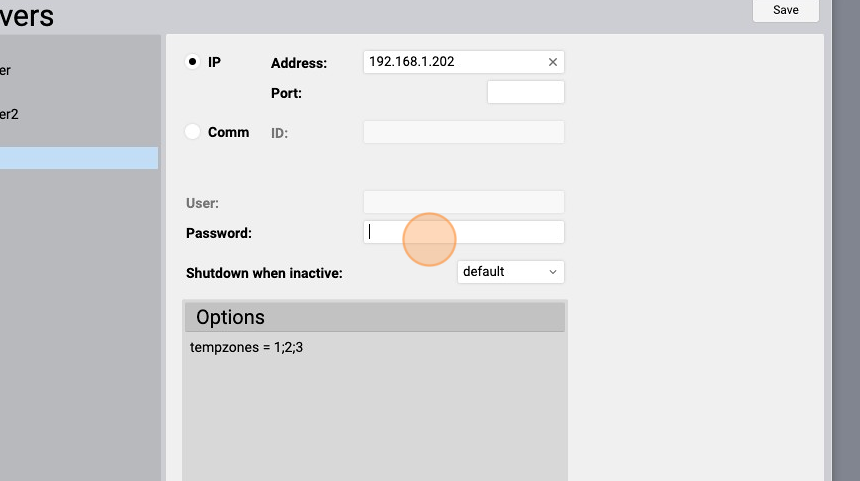
- Click "Save"
- Click "Save" again and wait for HSYCO to restart

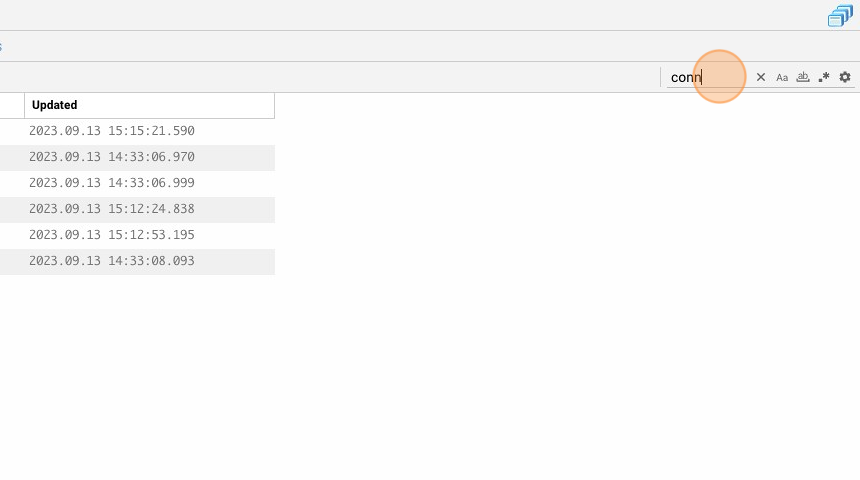
- Go into the "Status Browser"
- Filter out by typing "conn"
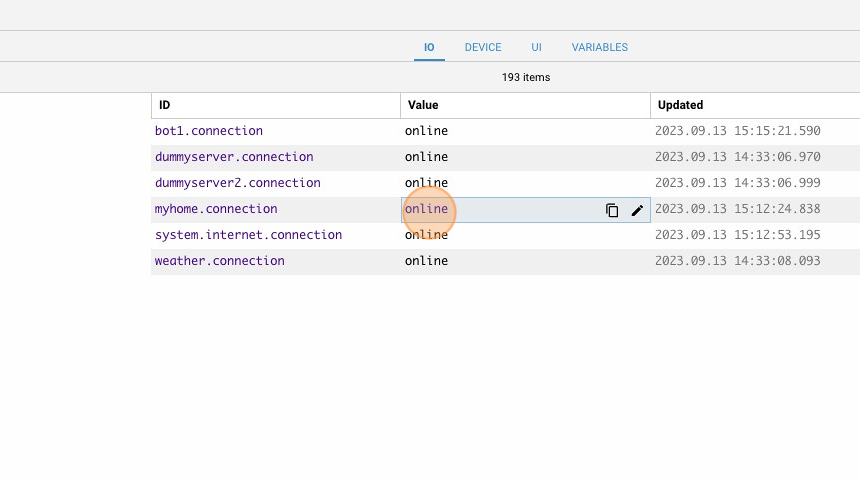
- You should see that the "myhome.connection" datapoint is online
Example 1 - Project with MyHome lights
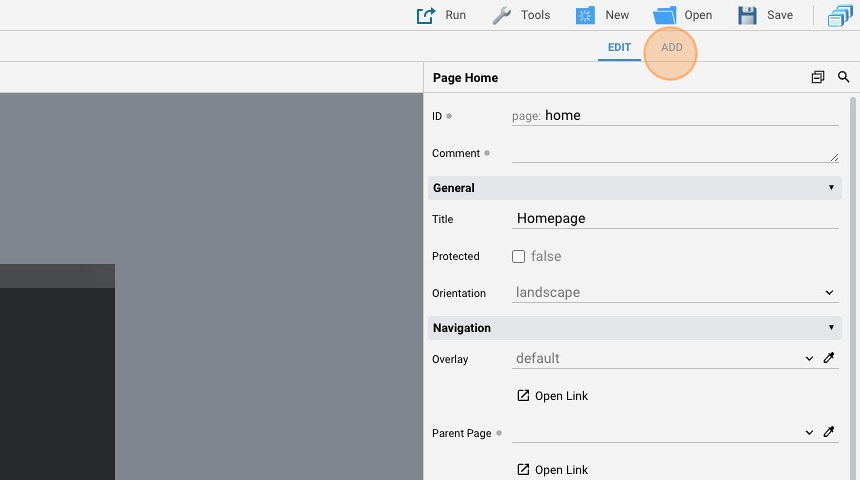
- Go to "Project Editor"
- Click "New Project"
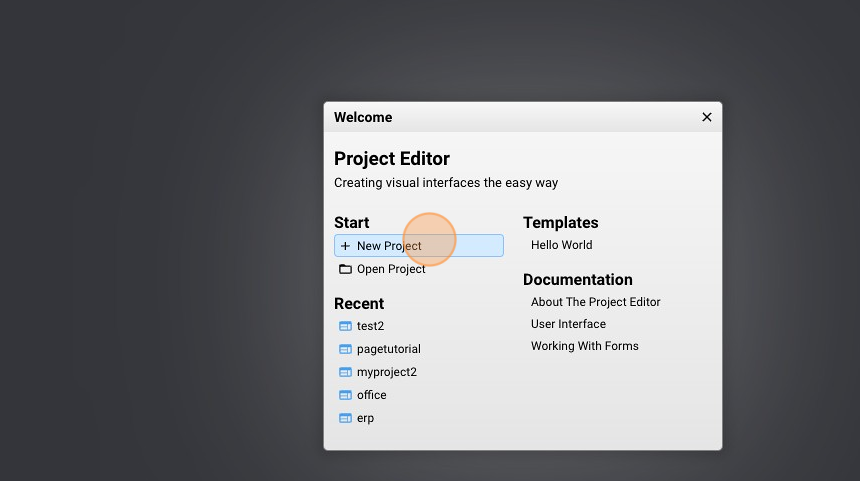
- Give it a name ("myhometutorial" for example) and click "Create"

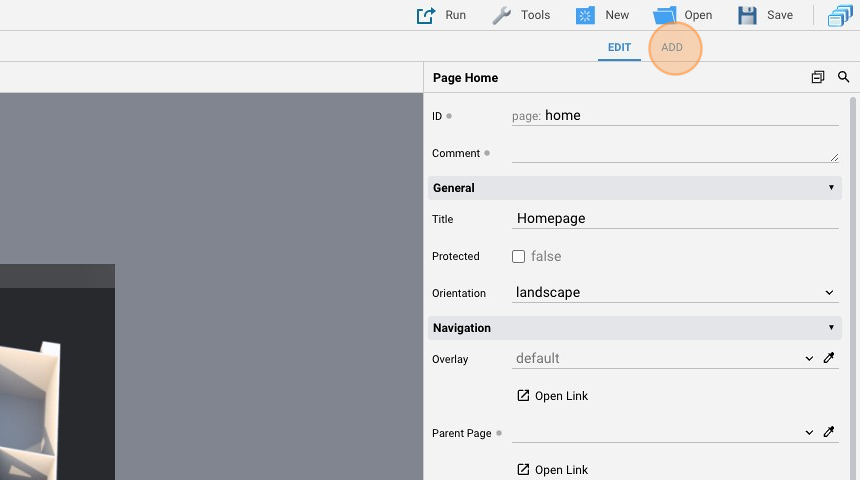
- Go into the "Homepage"
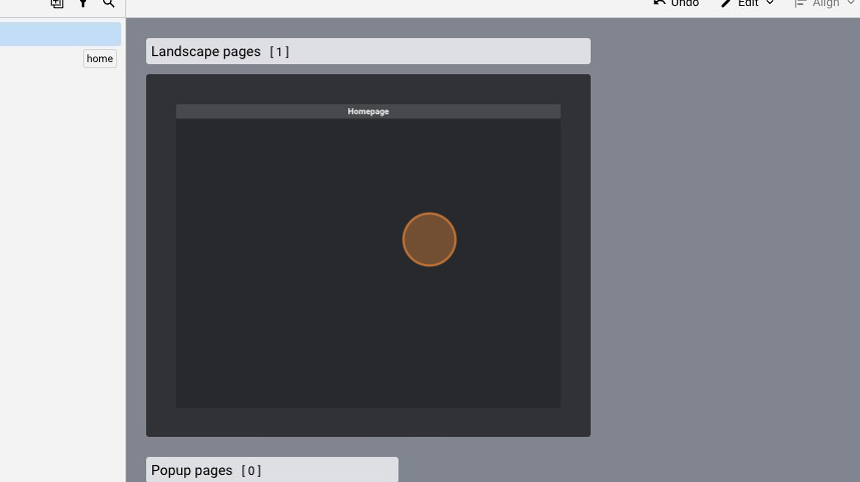
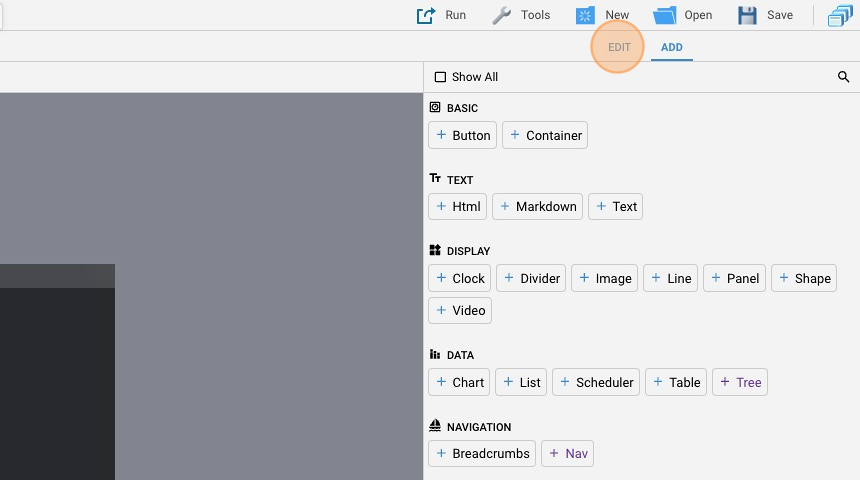
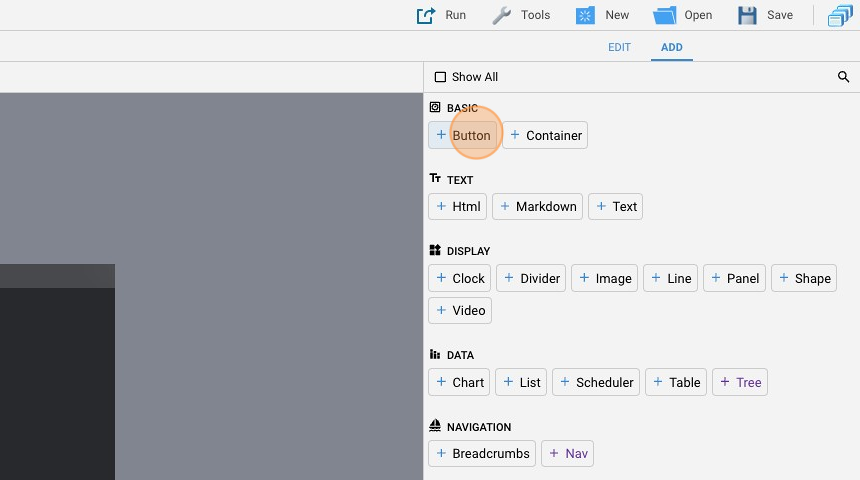
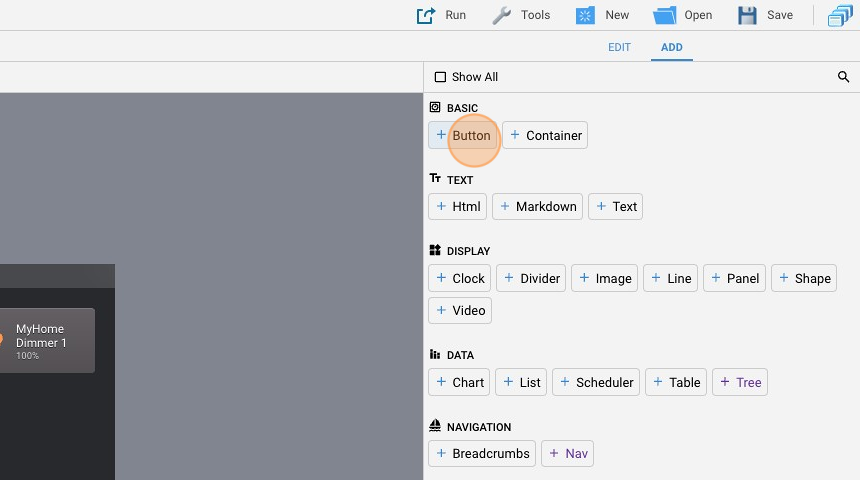
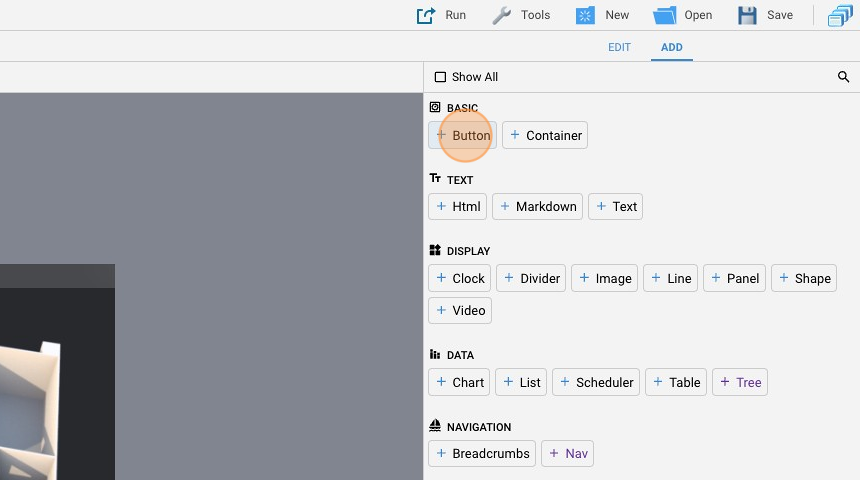
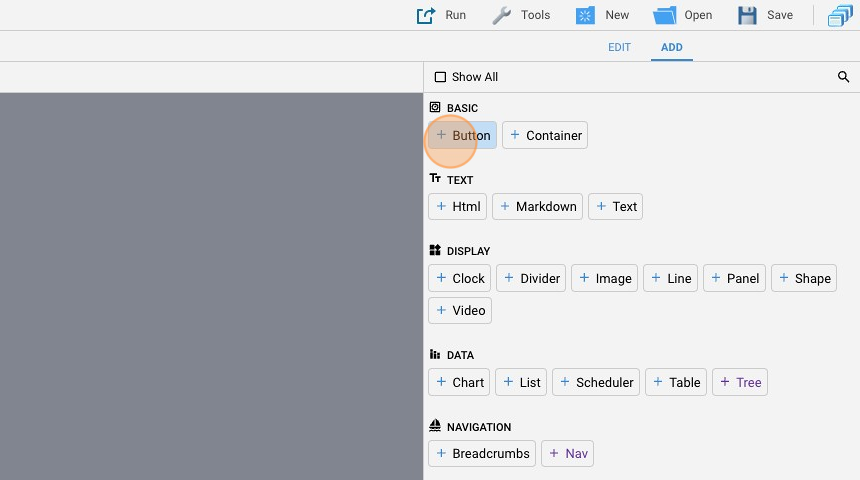
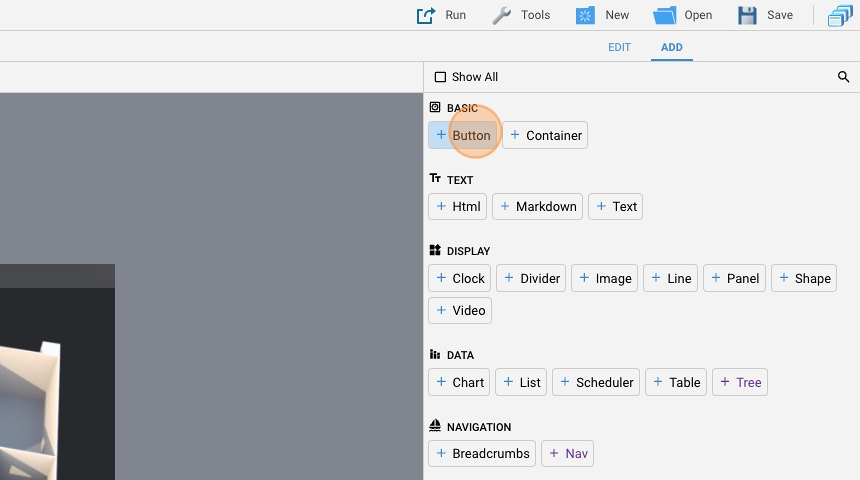
- Click "add"
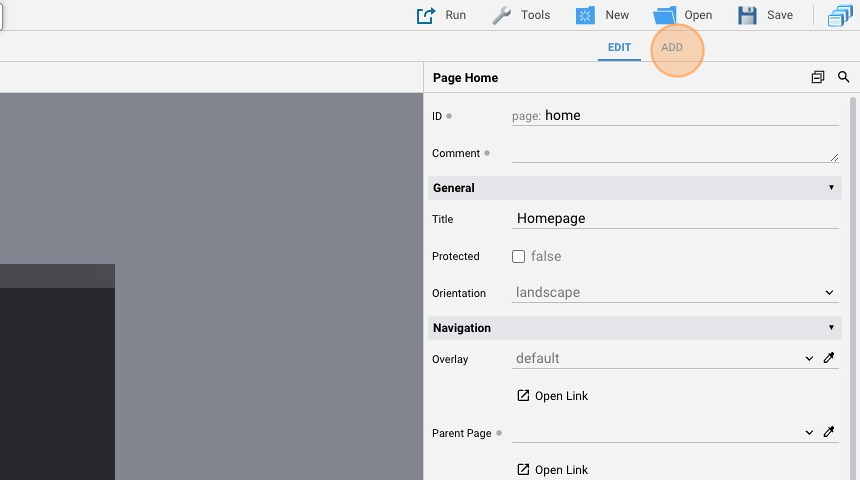
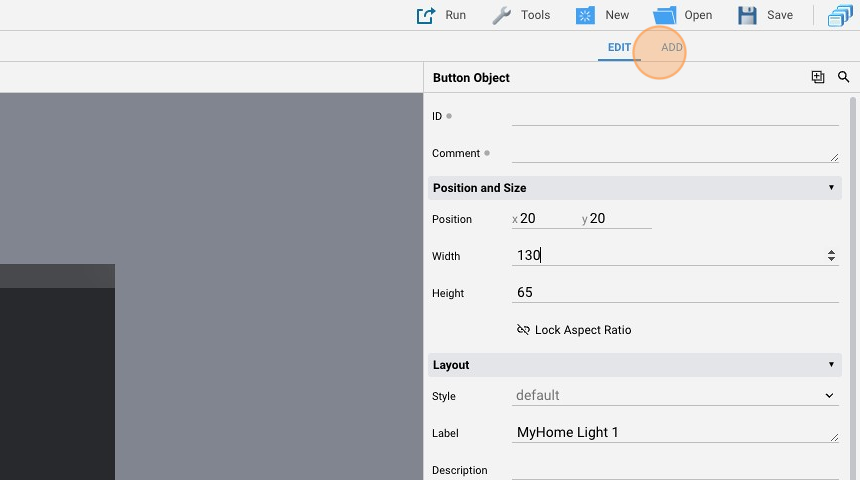
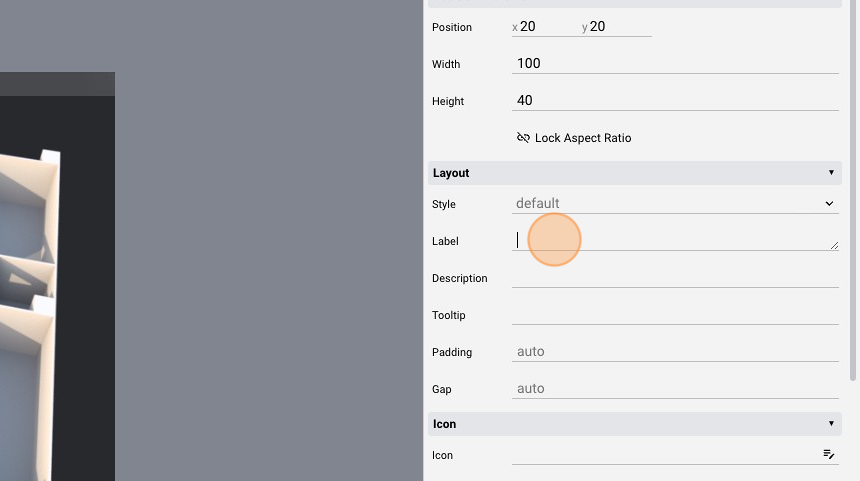
- Add a "Button"

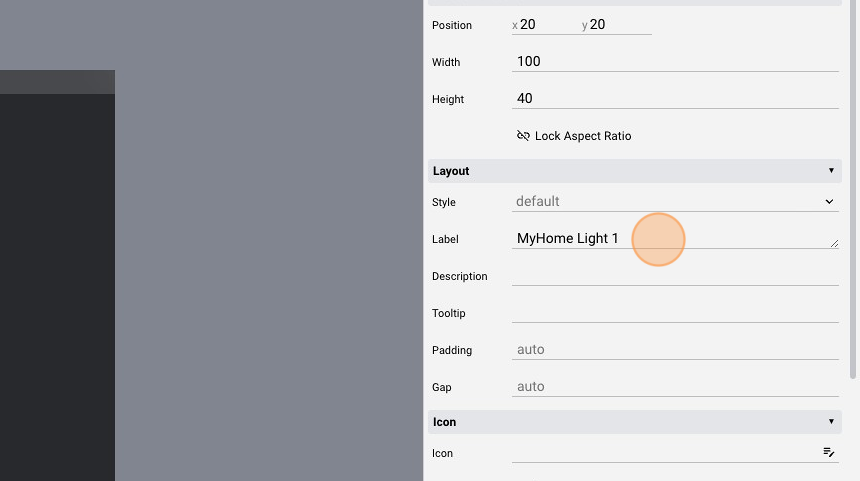
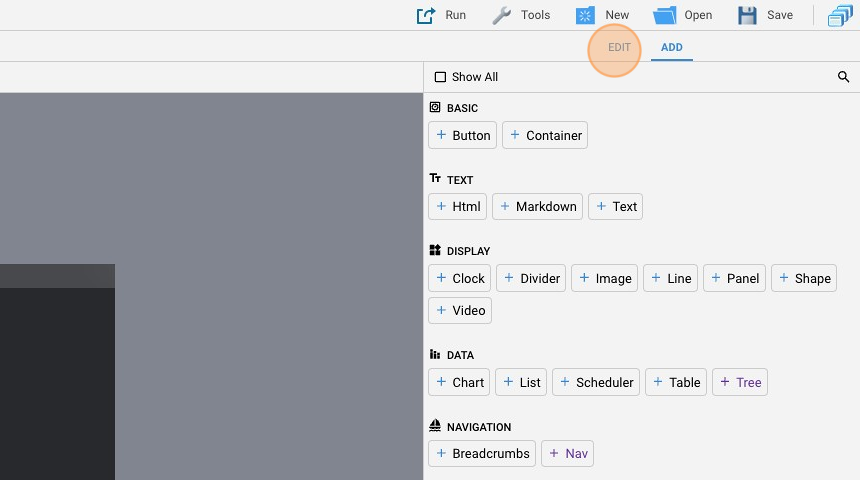
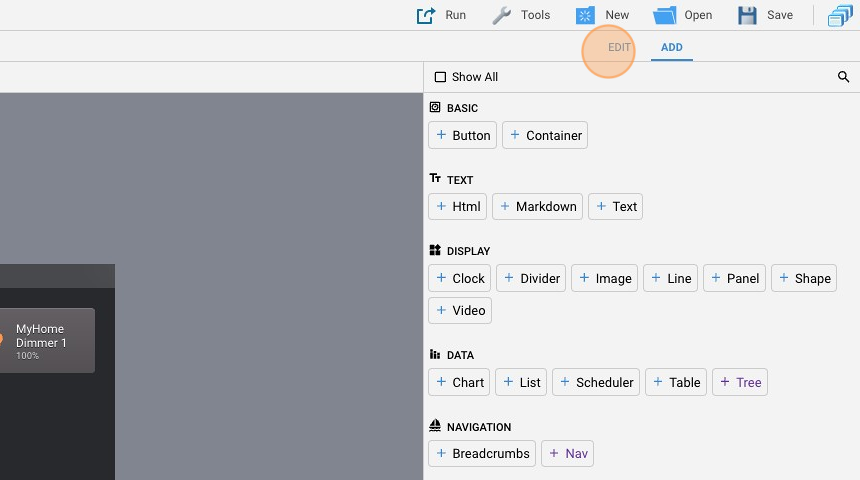
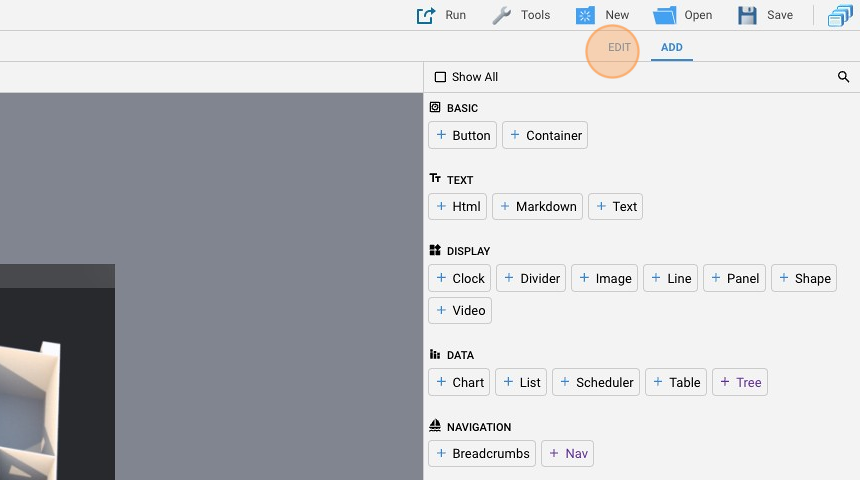
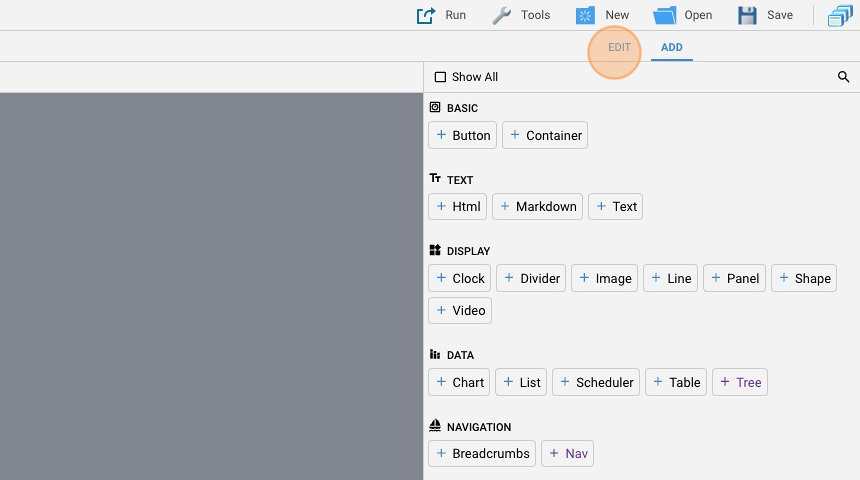
- Go back to "edit" mode
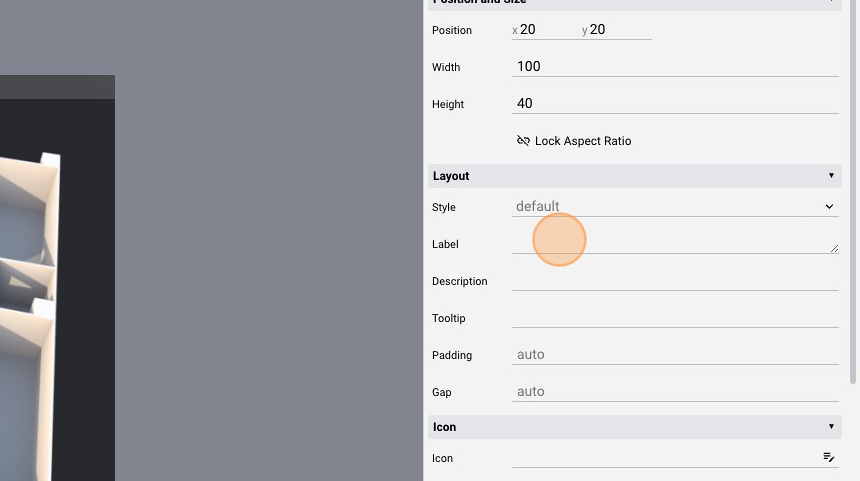
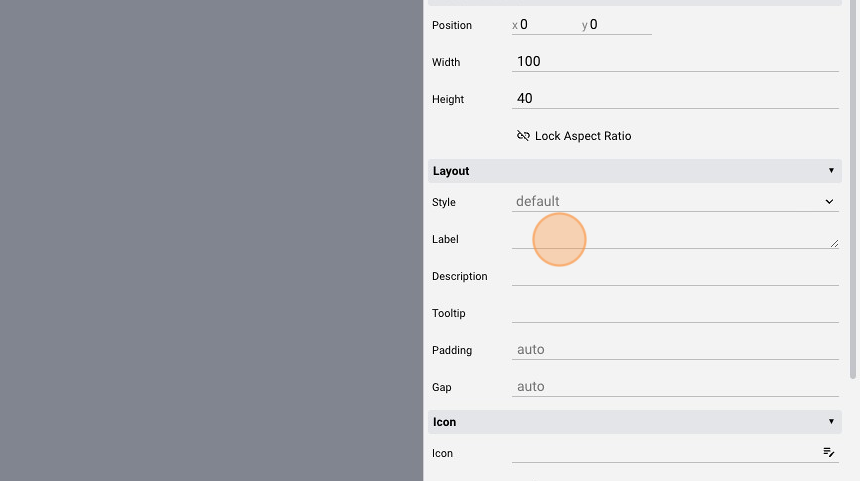
- Change the "Label" to "MyHome Light 1"
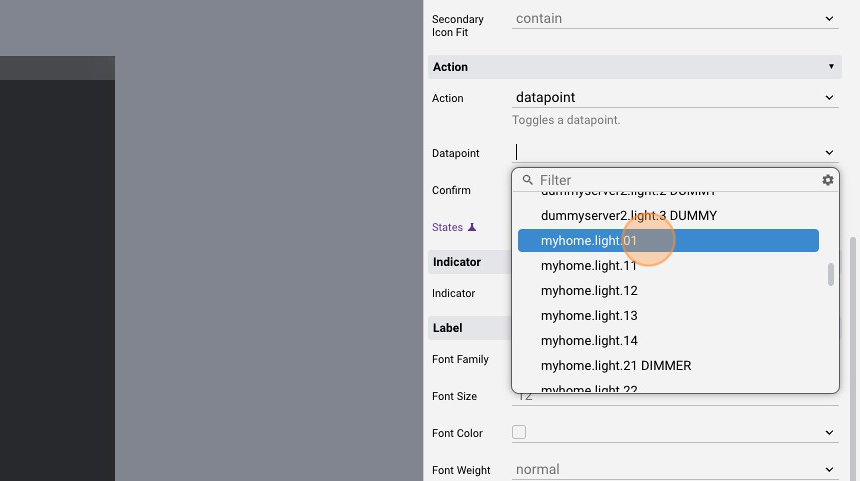
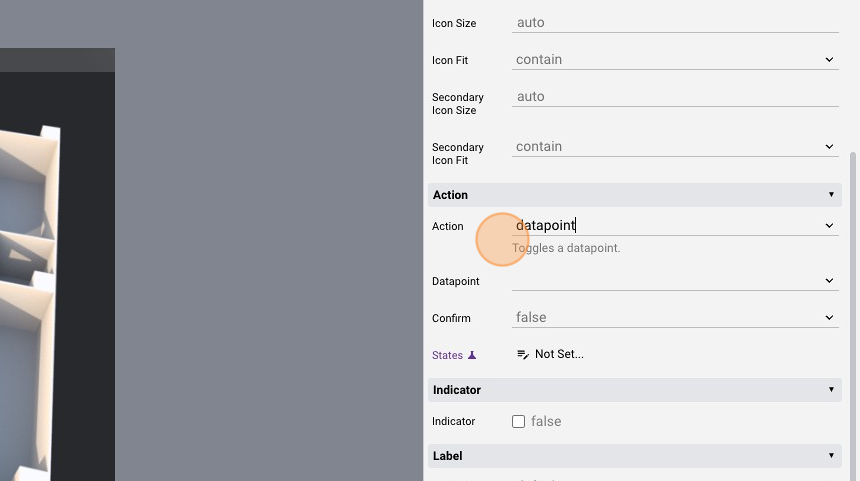
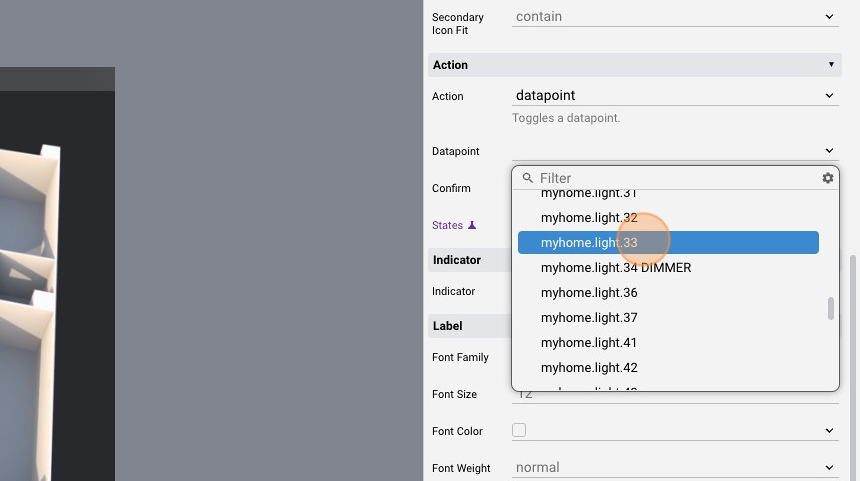
- Change the "Action" to "datapoint"
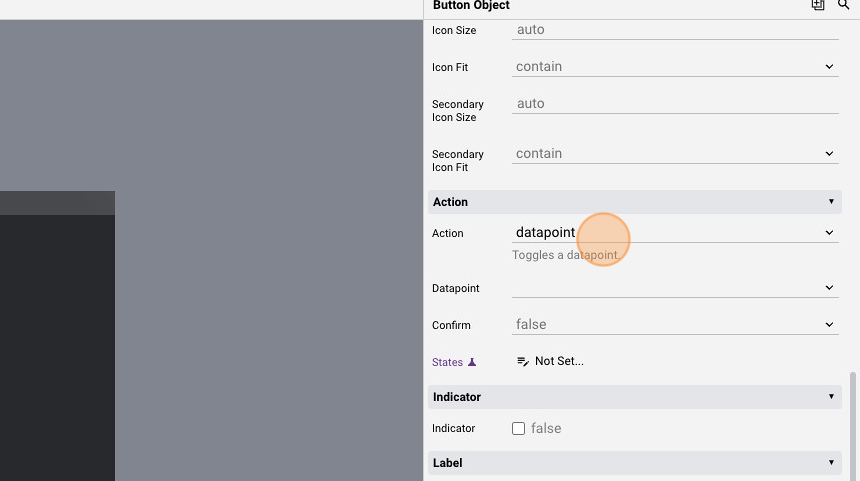
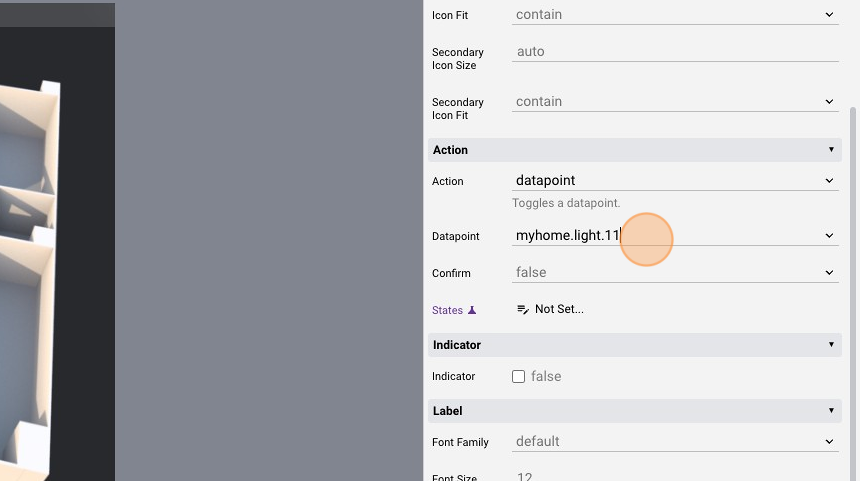
- Select one myhome light from the "Datapoint" list
- Click "add"
- Add another "Button"
- Go back to "edit" mode
- Change the "Label" to "MyHome Dimmer 1"
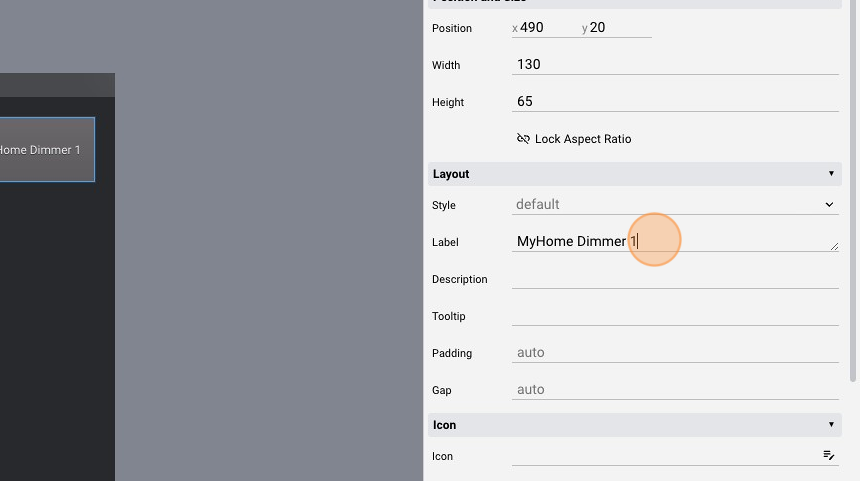
- Change the "Action" to "datapoint"
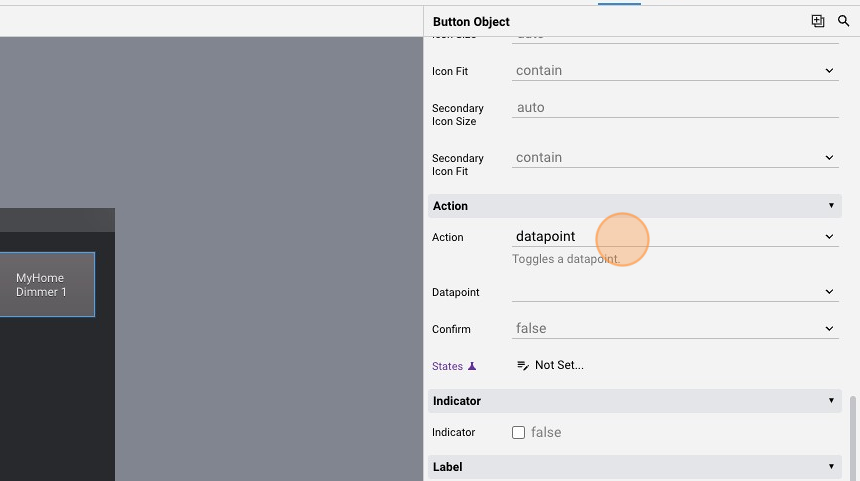
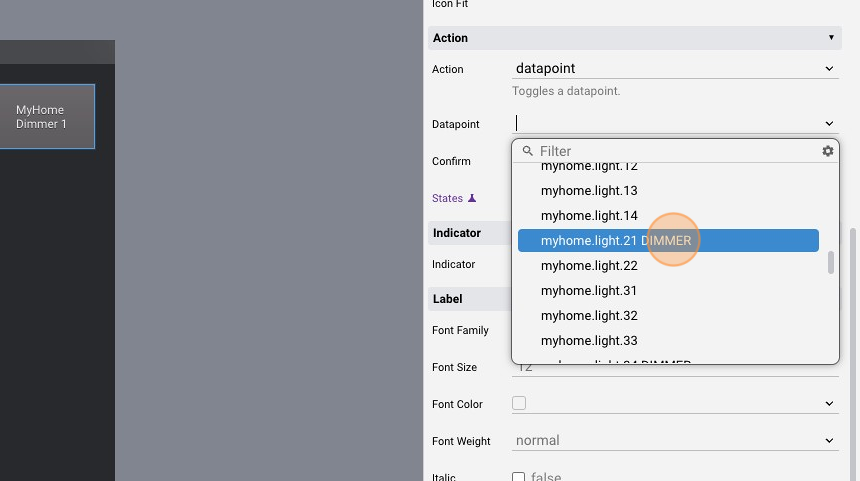
- Select one myhome dimmer from the "Datapoint" list
- Click "add"
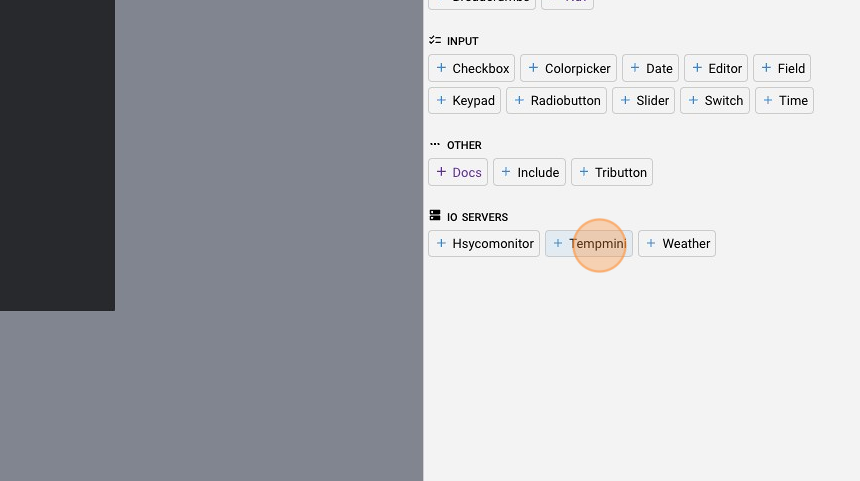
- Add a "Tempmini"
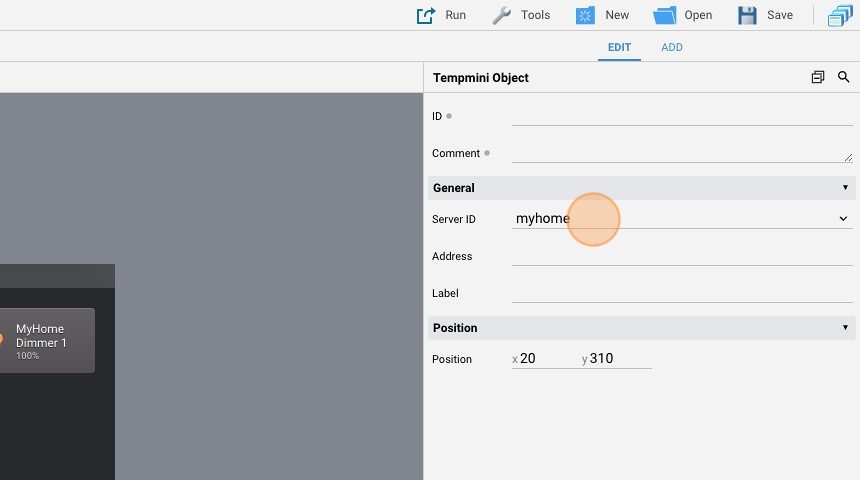
- Click "edit"
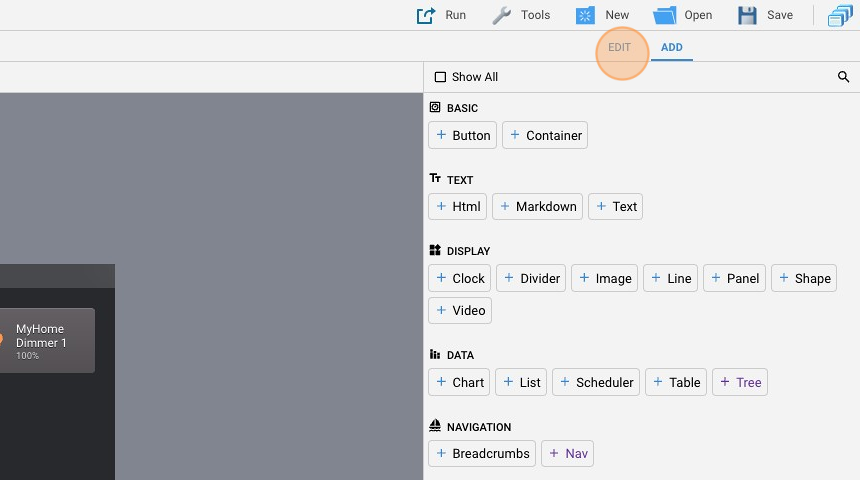
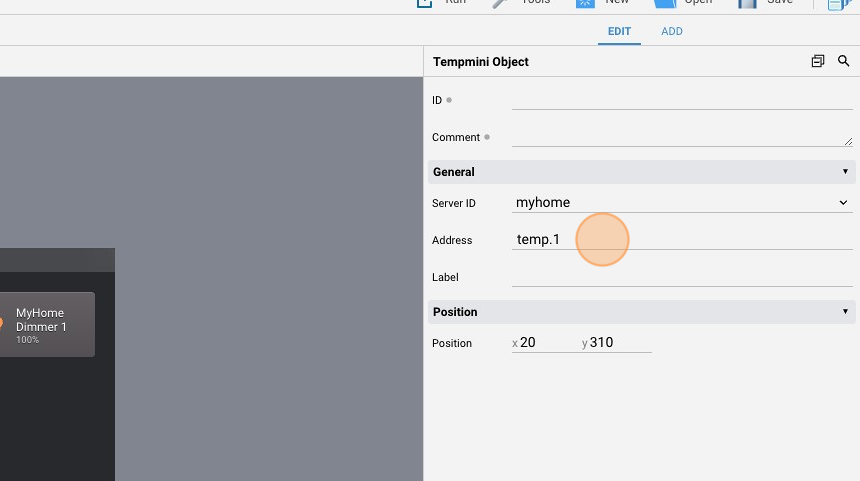
- Select the "myhome" Server ID
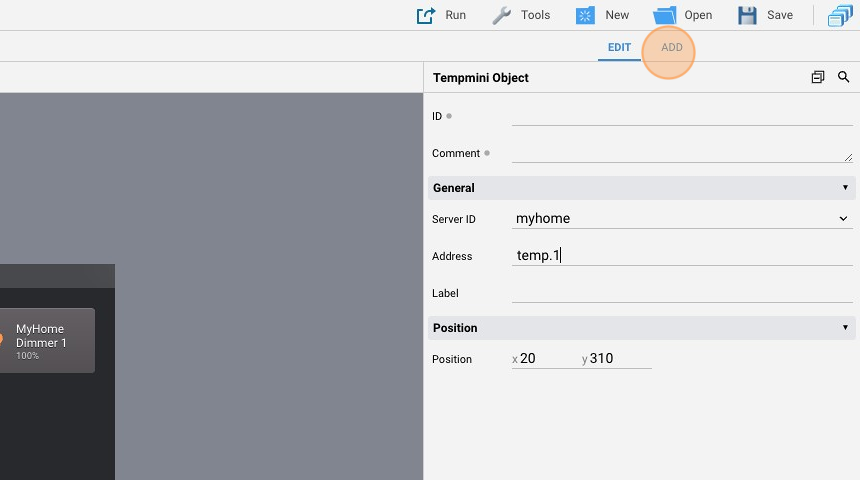
- Type "temp.1" in the "Address" field
- Click "add"
- Add a "Button"
- Click "edit"
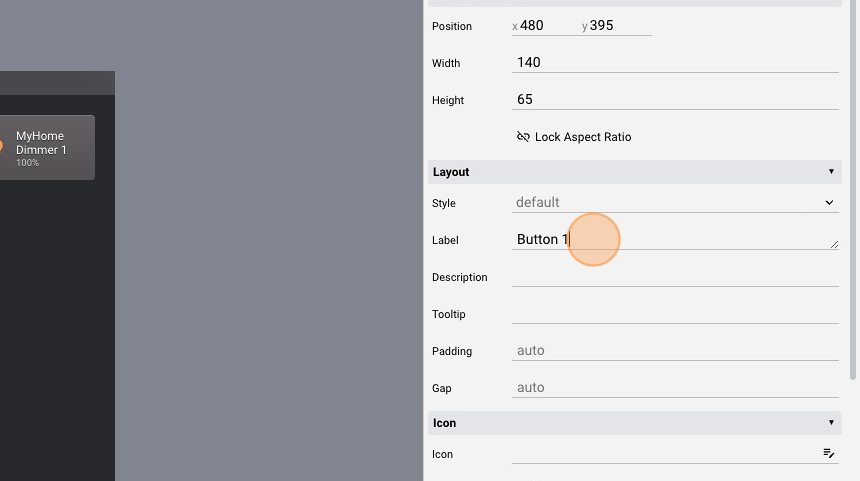
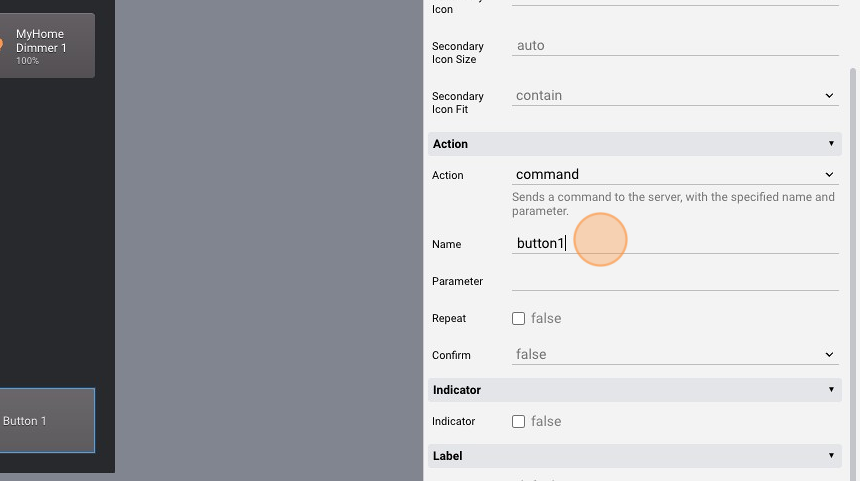
- Change the "Label" to "Button 1"
- Change the "Action" to "command"
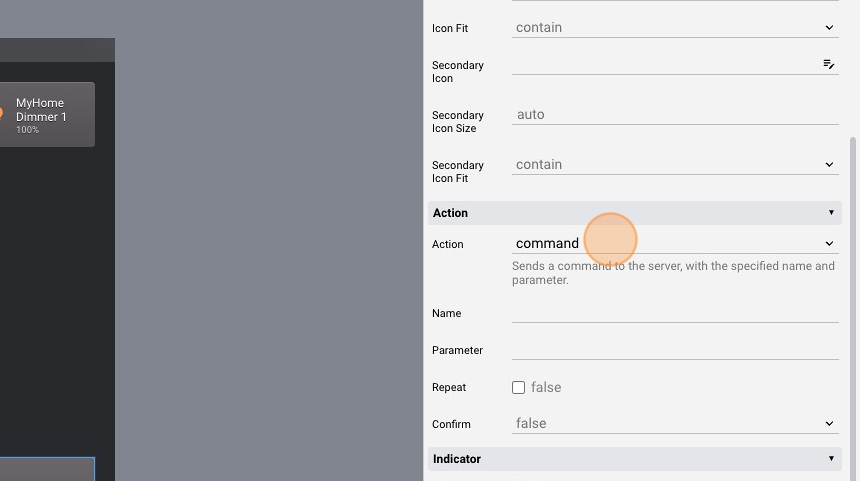
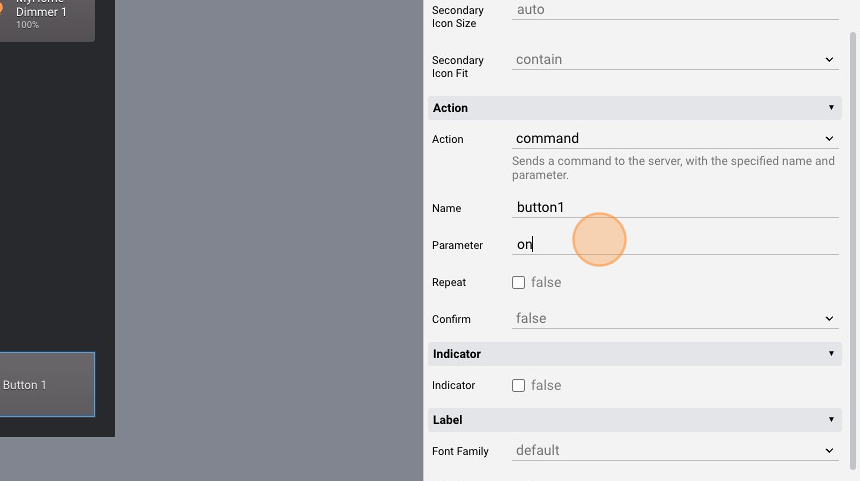
- Change the "Name" to "button1". This is the name of the command launched to the server
- Change the "Parameter" to "on"
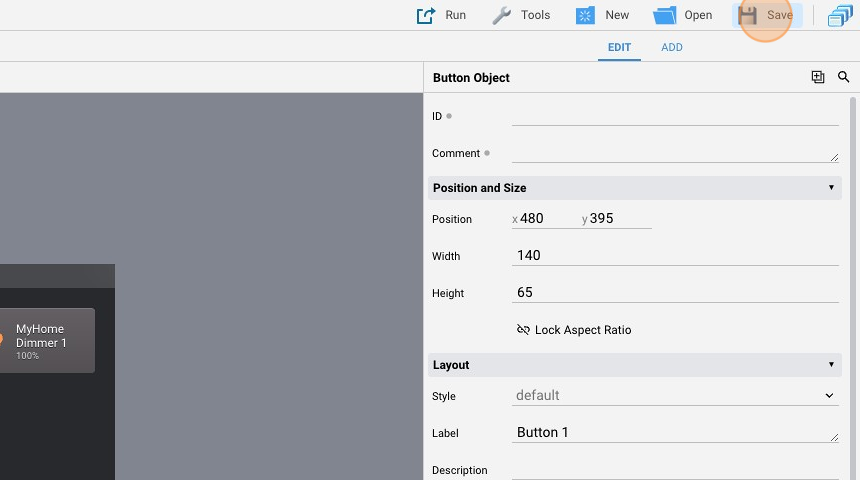
- Click "Save" to save the project
- Go to the "Code Editor"
- Click "New Events File"
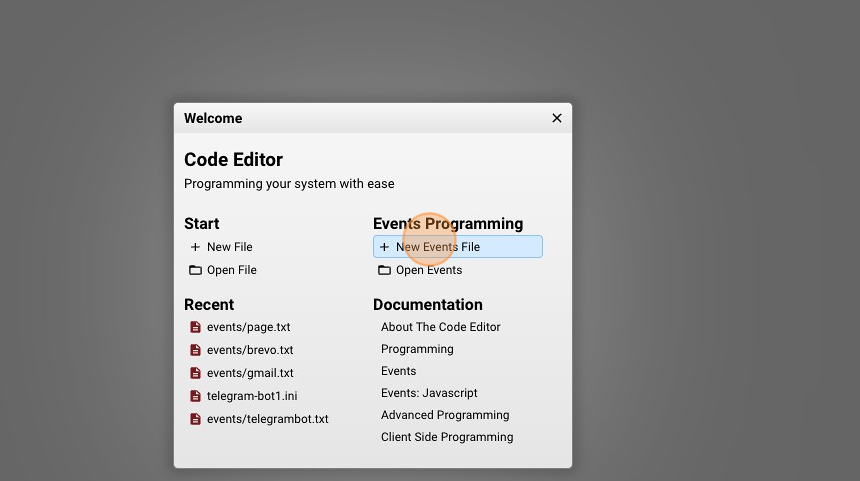
- Give it a name ("myhome.txt" for example) and click "New File"

- Copy the following code to the file and save it:
USER button1 : IO myhome.light.01 = 1, IO myhome.light.21 = 70
This sets the light.01 ON and the light.21 to 70% when the button1 userCommand is received

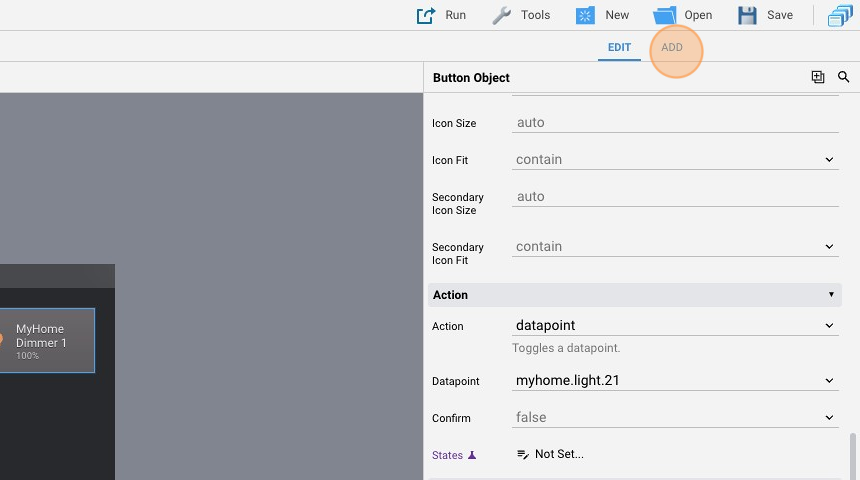
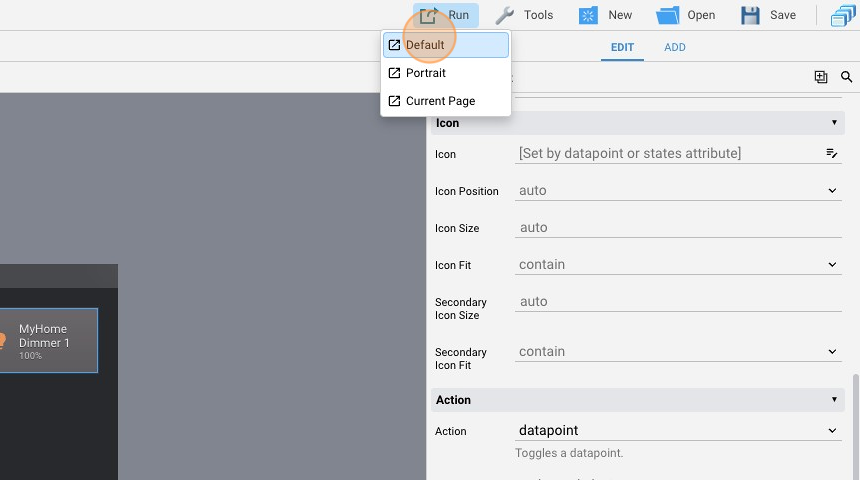
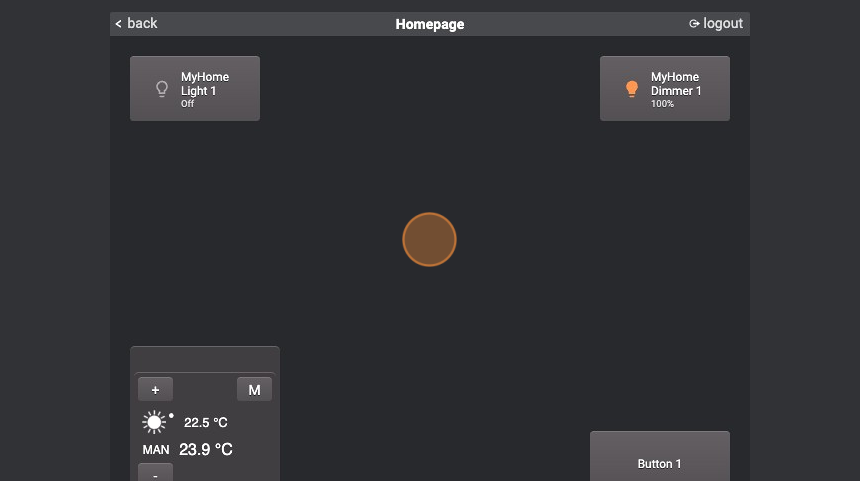
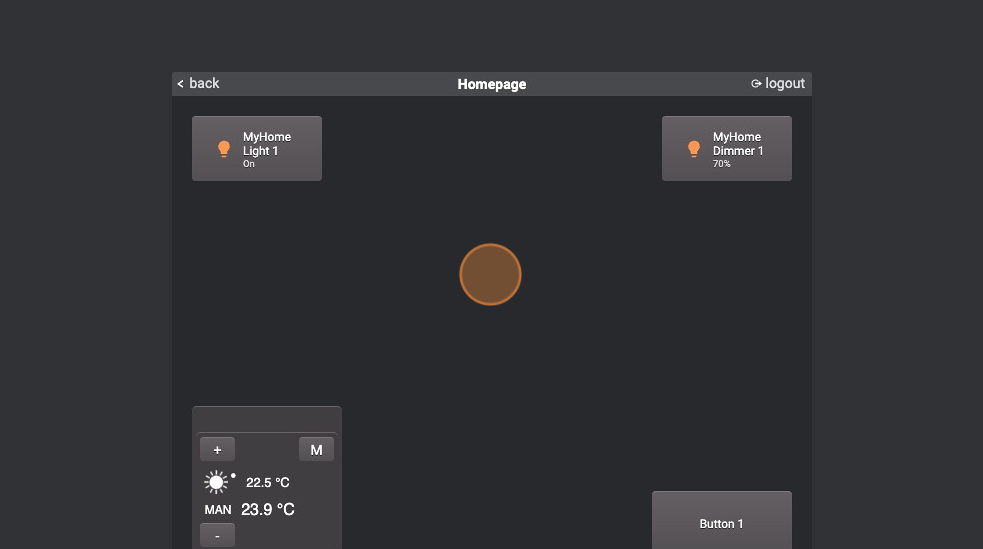
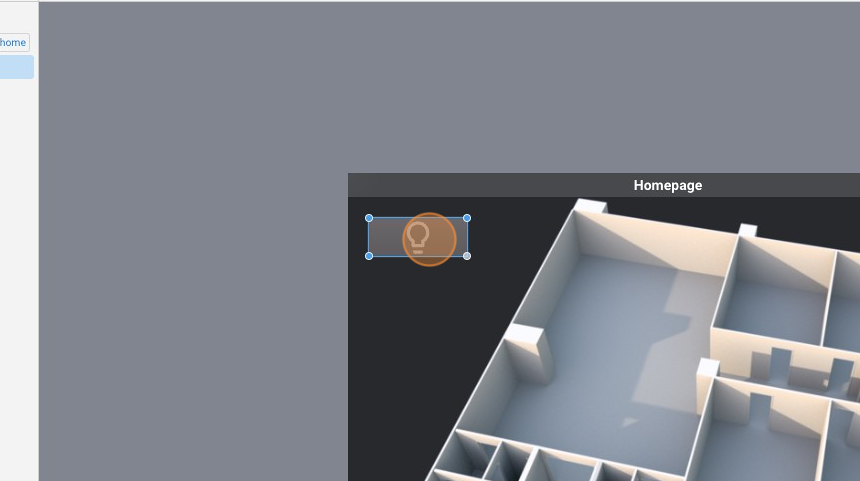
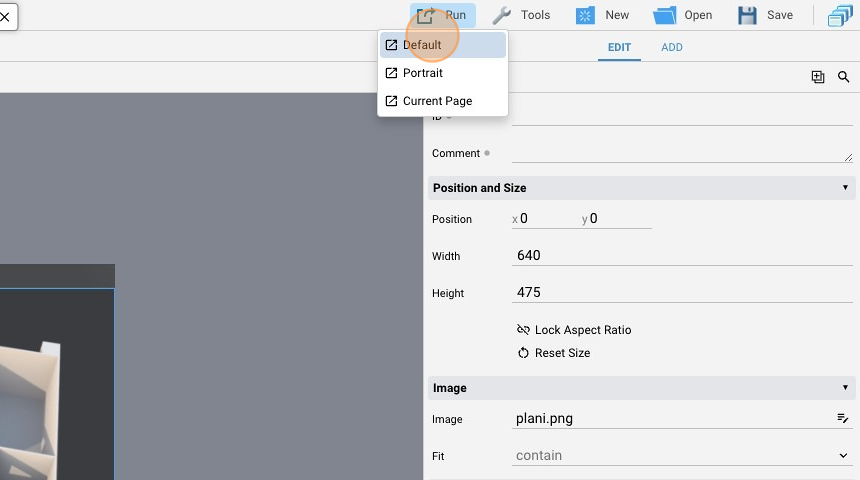
- Go back to the "Project Editor", click "Run" and then "Default" to launch the application
- The page should look like this:
- Click "Button 1"
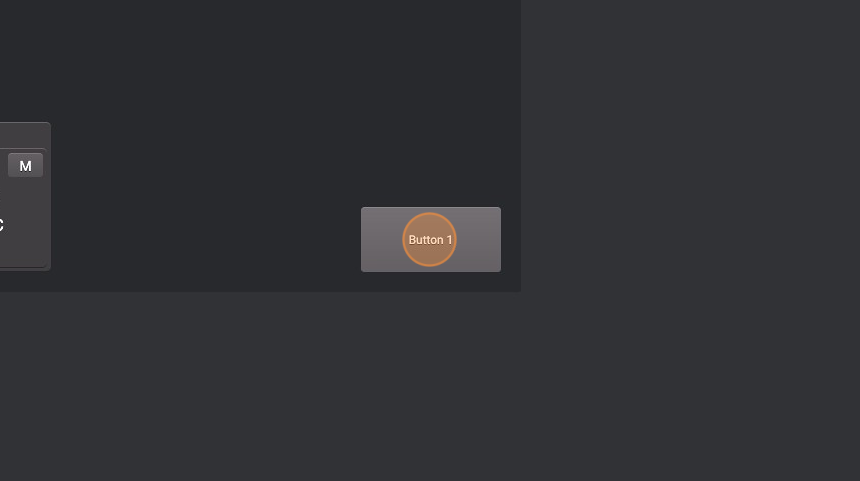
- The lights should be ON (in particular light.01 is ON and light.21 is at 70%)
Example 2 - Project with MyHome lights and an image
-
Create a new project
-
Go into the "Homepage"

- Click "add"
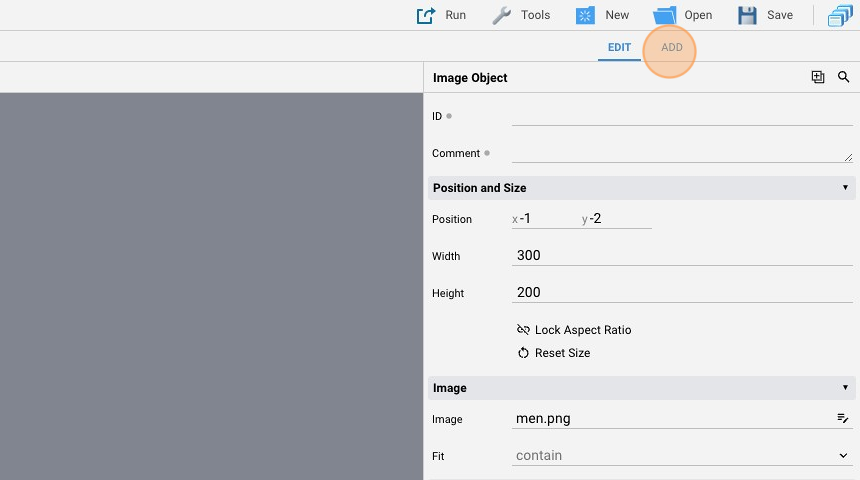
- Add an "Image" object
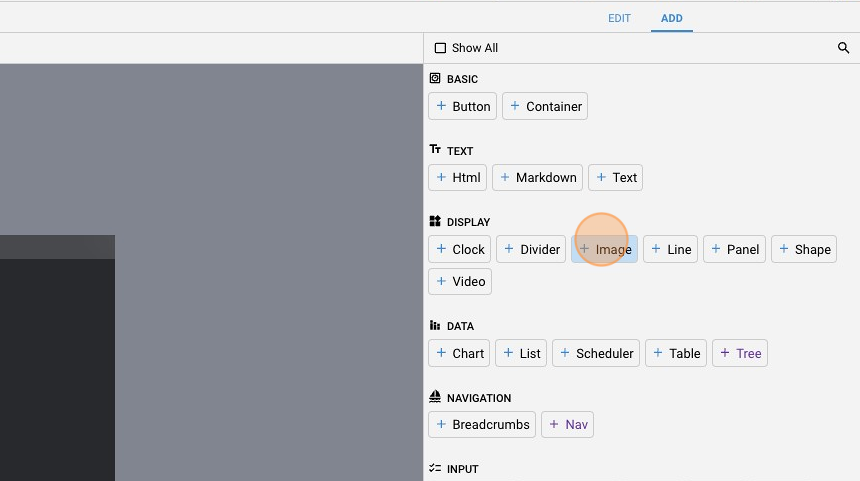
- Stretch it to fit the entire page
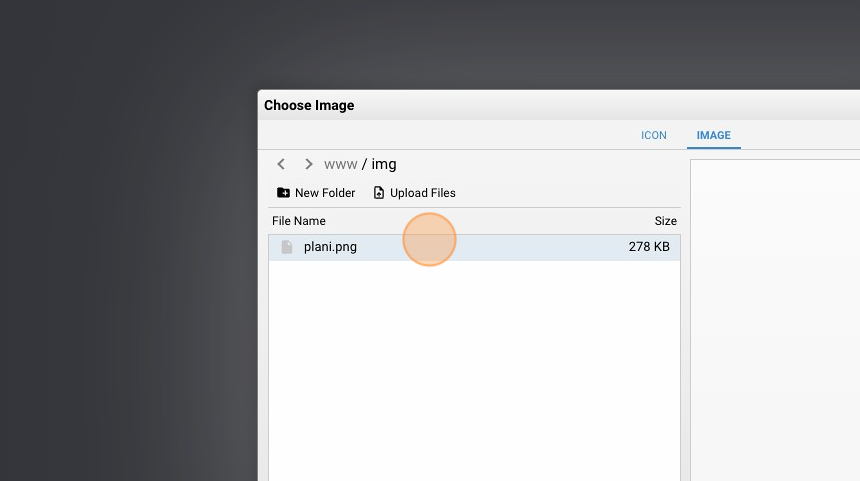
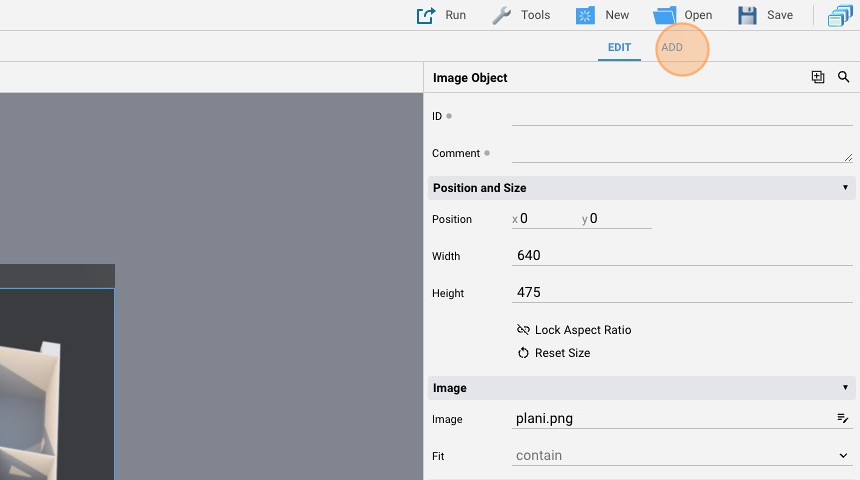
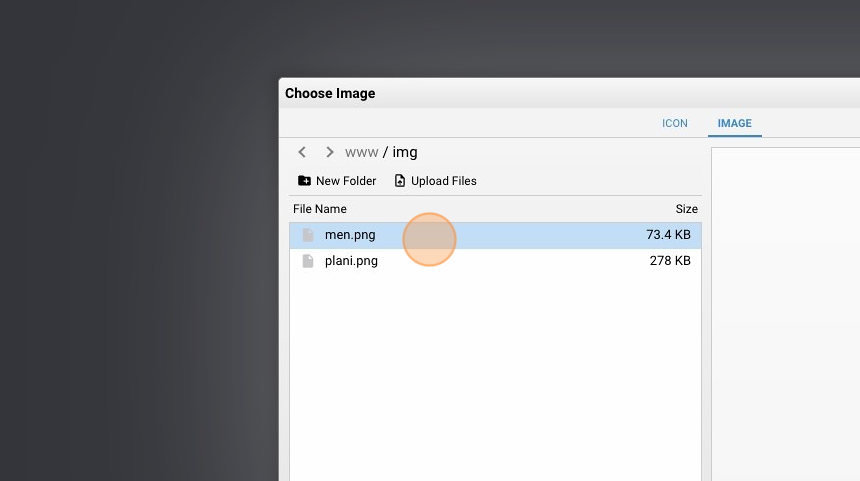
- Change the "Image" field by clicking the corresponding icon
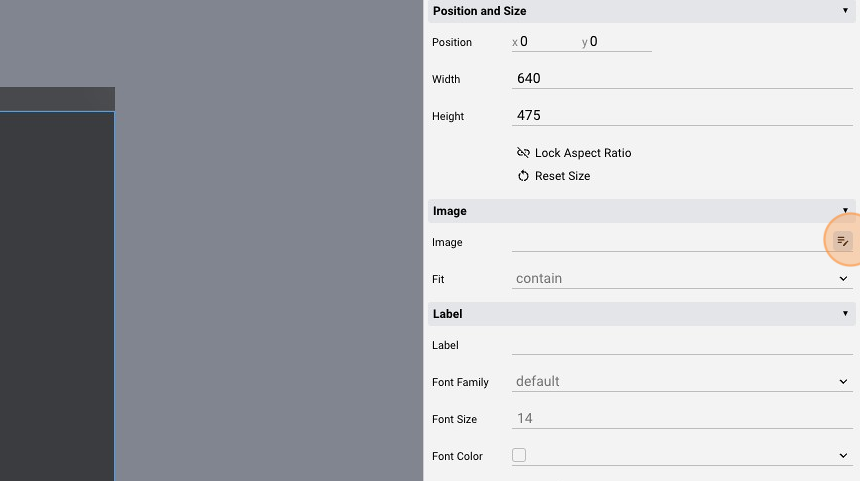
- Select an image and click "Ok"
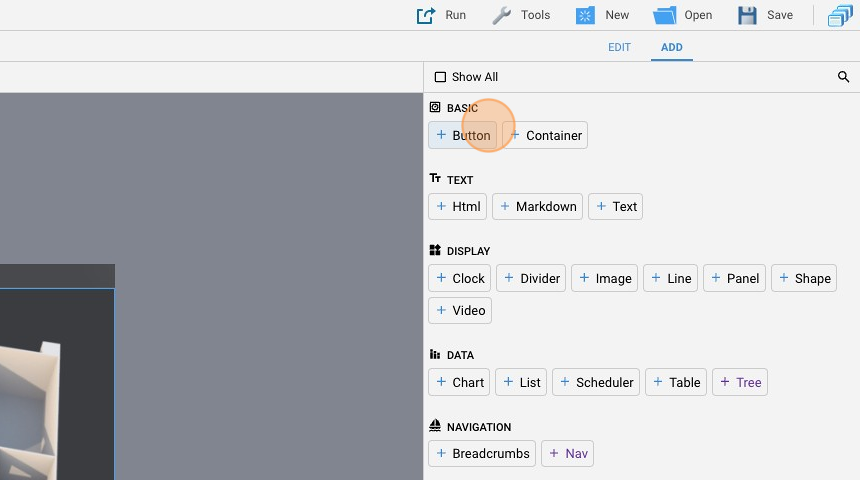
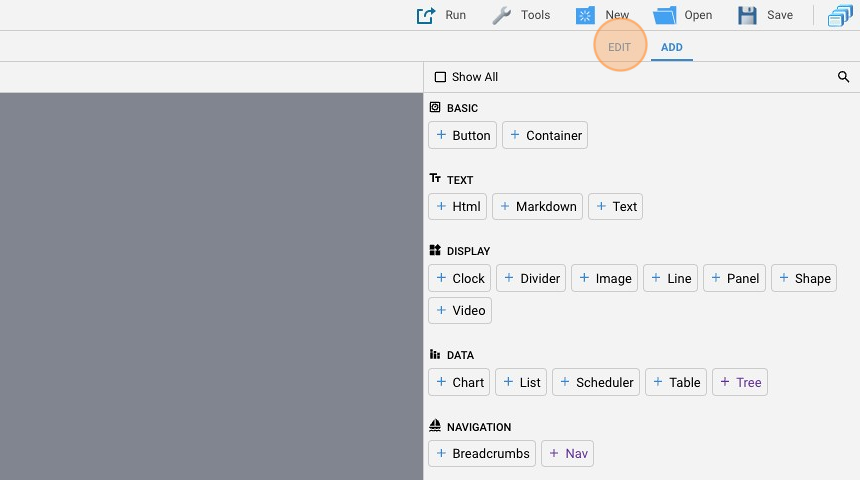
- Click "add"
- Add a "Button"
- Leave the "Label" empty so that the icon takes up the entire object's space
- Change the "Action" to "datapoint"
- Select one of the myhome light datapoints
- Move the button over the image
- Click "add"

- Add a second "Button"
- Go back to "edit" mode
- Leave the "Label" empty
- Change the "Action" to "datapoint"

- Select another myhome light datapoint
- Move it over the image
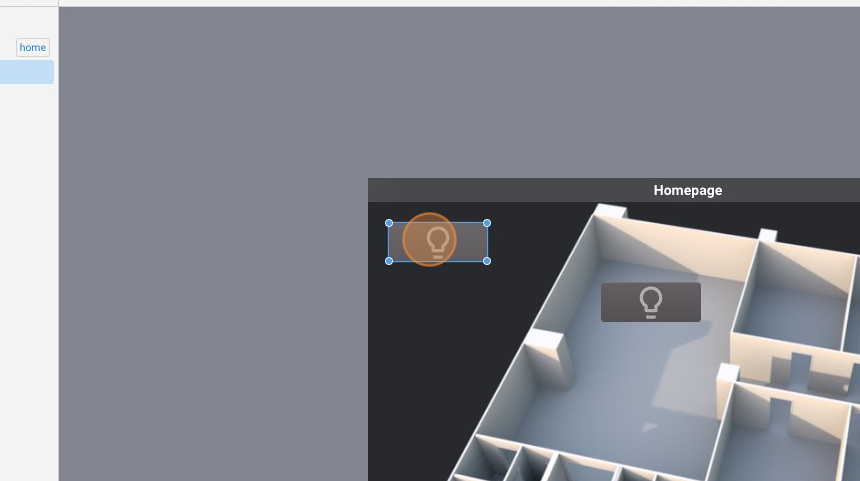
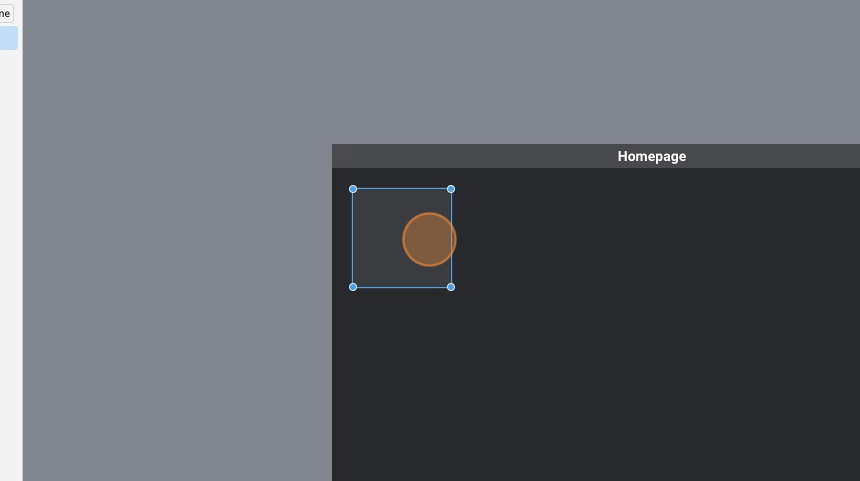
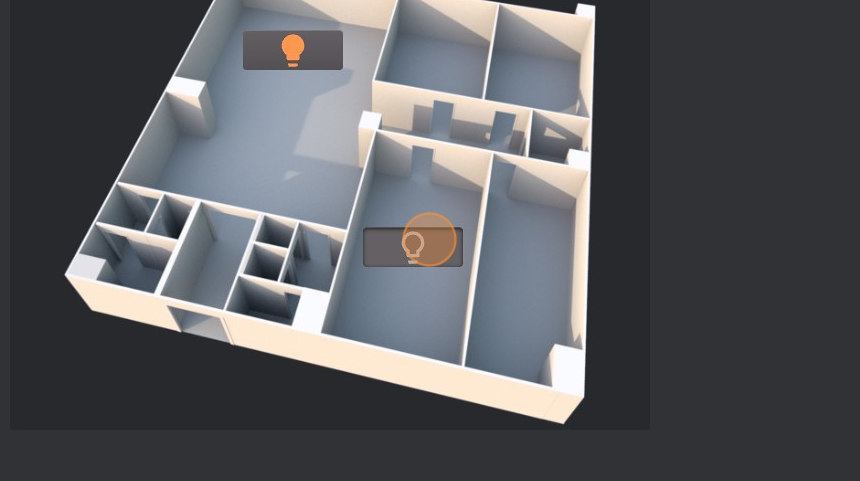
- The page should look like this:
- Click "Save"
- Run the project
- You can turn on the lights by clicking the buttons
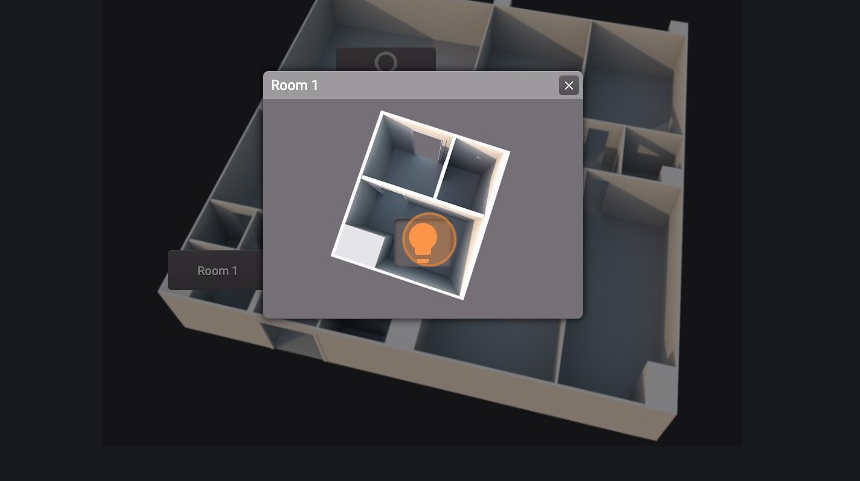
Example 3 - Another project with lights and popup
-
Reopen the previous project
-
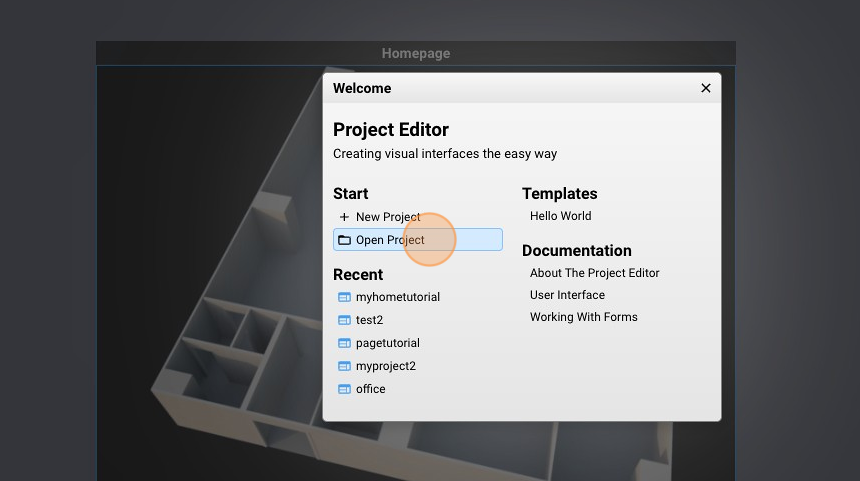
Click "Open Project"
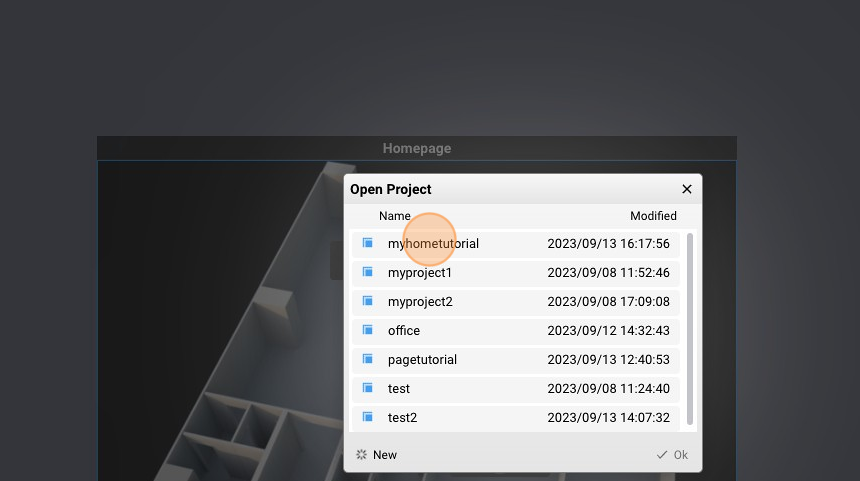
- Select "myhometutorial" and click "Ok"
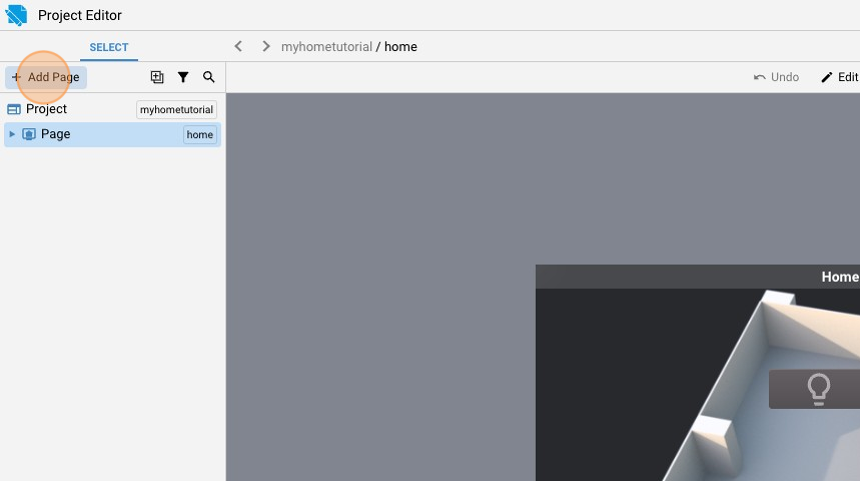
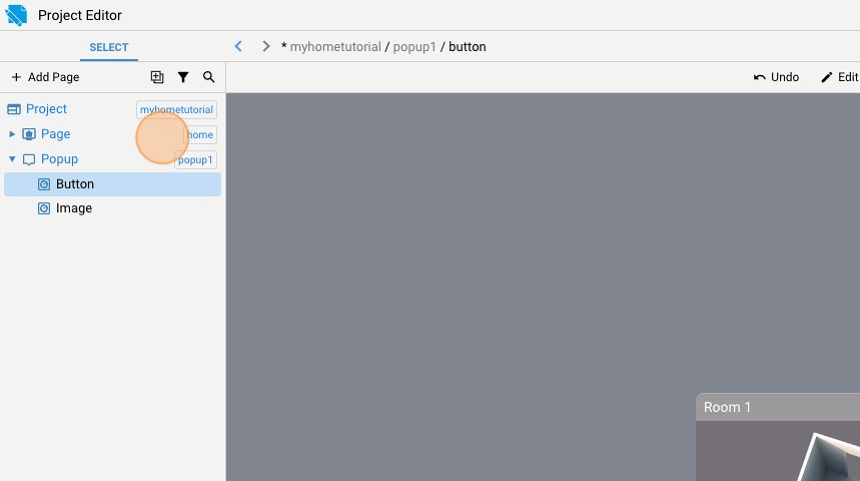
- Click "Add Page"
- Add a "Popup"
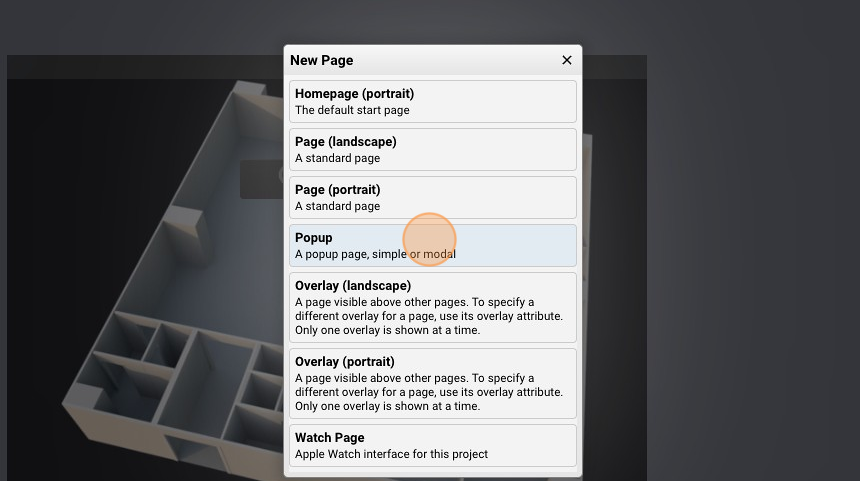
- Change the "Type" to "modal"
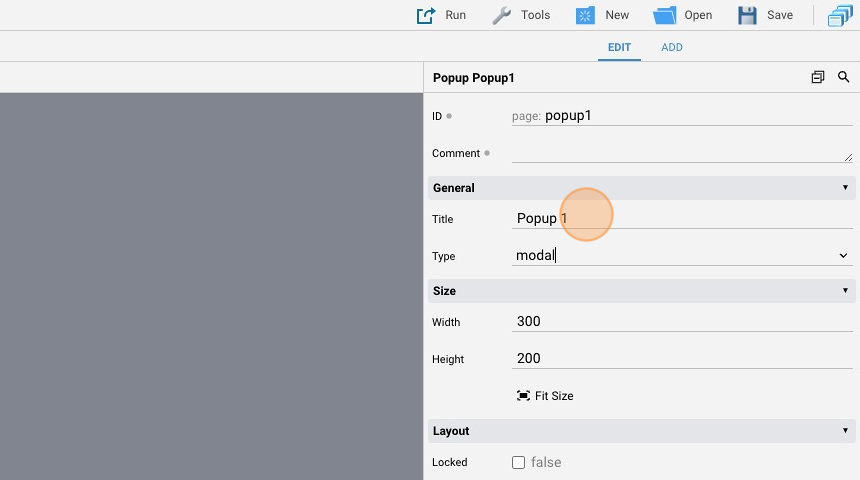
- Change the "Title" to "Room 1"

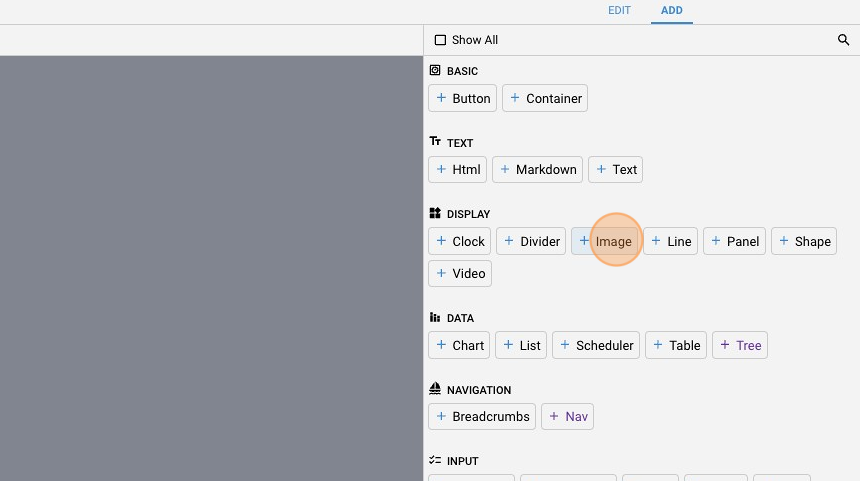
- Click "add"
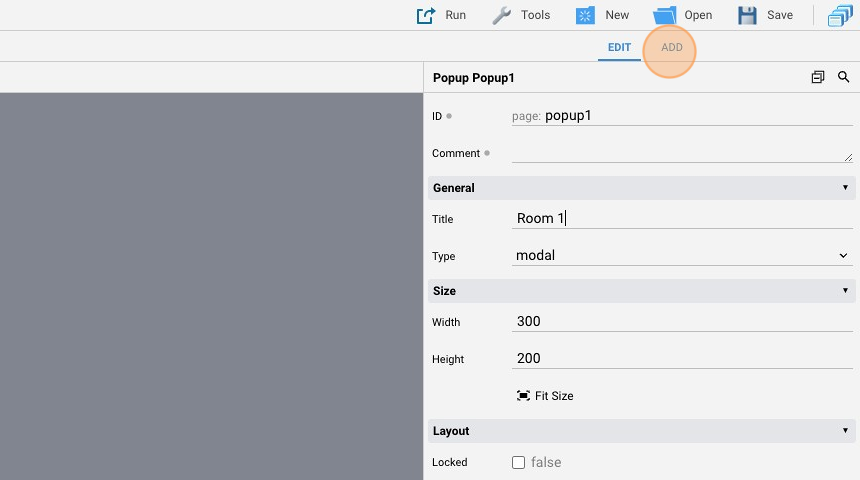
- Add an "Image"
- Go back to "edit" mode
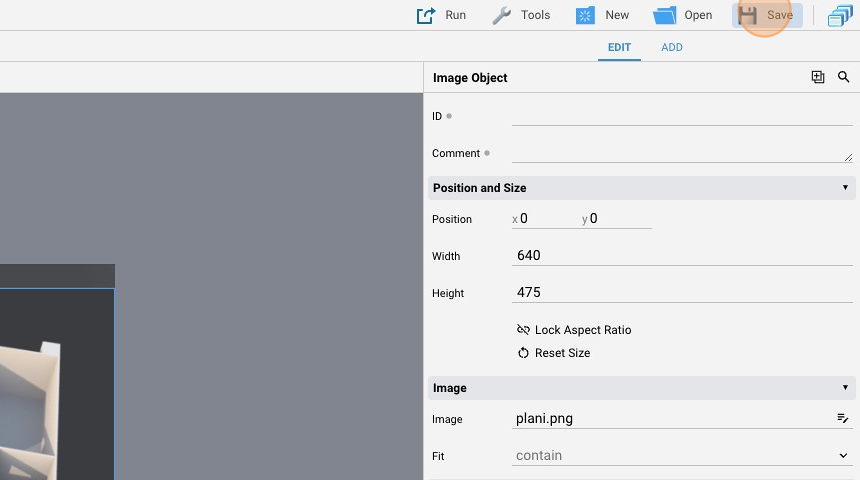
- Enlarge the image to make it fit the entire object's space
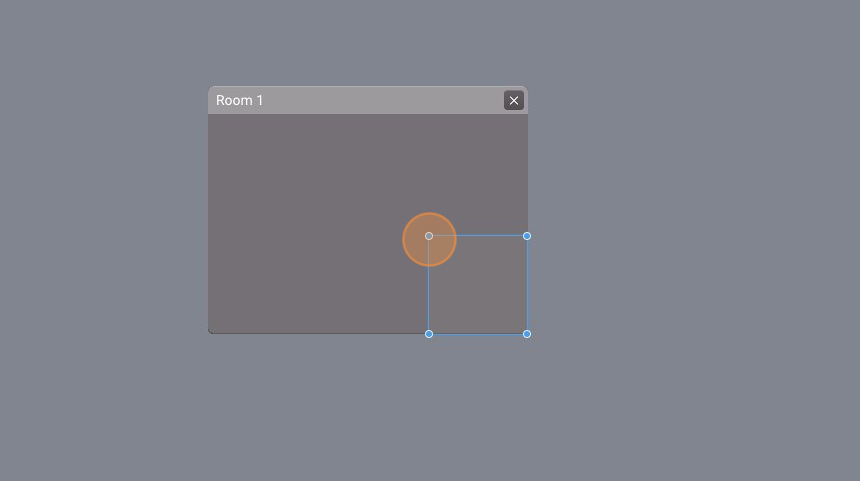
- Click this icon to select the image
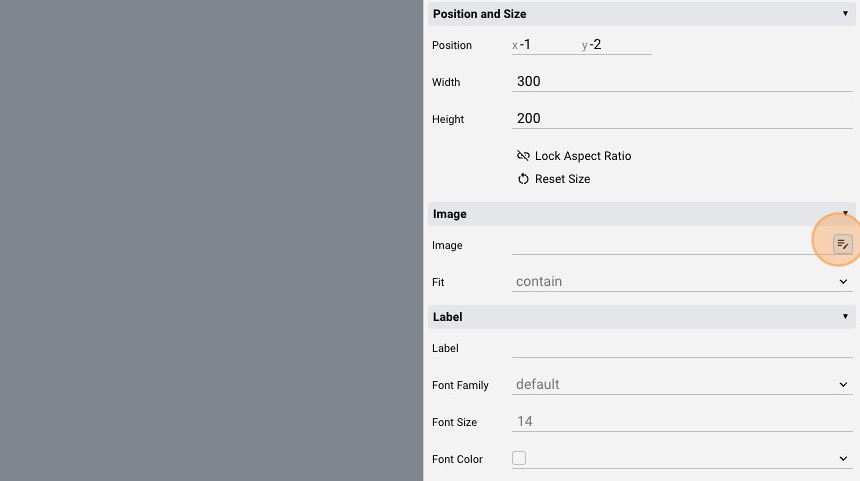
- Select the image and click "Ok"
- Click "add"
- Add a "Button"
- Go back to "edit" mode
- Leave the "Label" empty
- Change the "Action" to "datapoint"
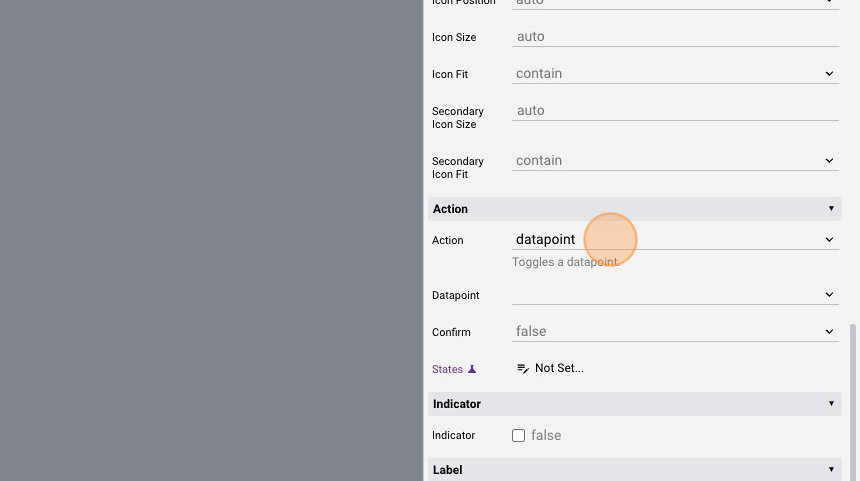
- Select one of the myhome light datapoints

- Place it over the image
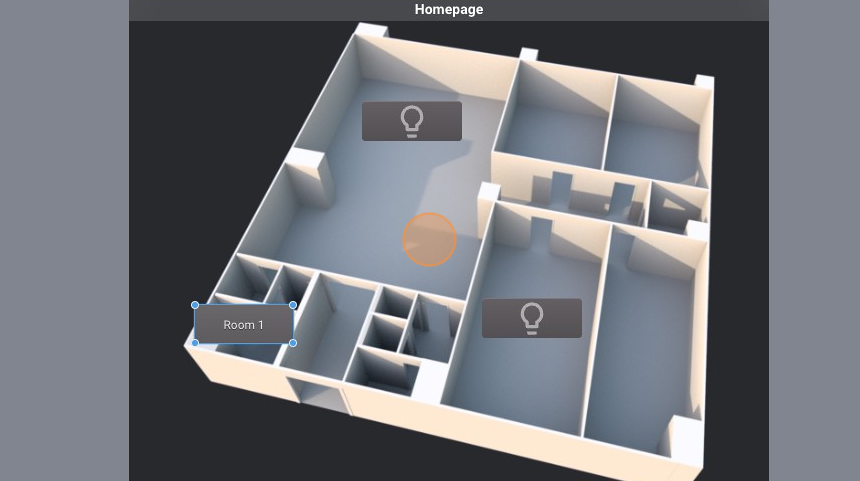
- Select the "Homepage"
- Click "add"
- Add a "Button"
- Go back to "edit" mode

- Change the "Label" to "Room 1"
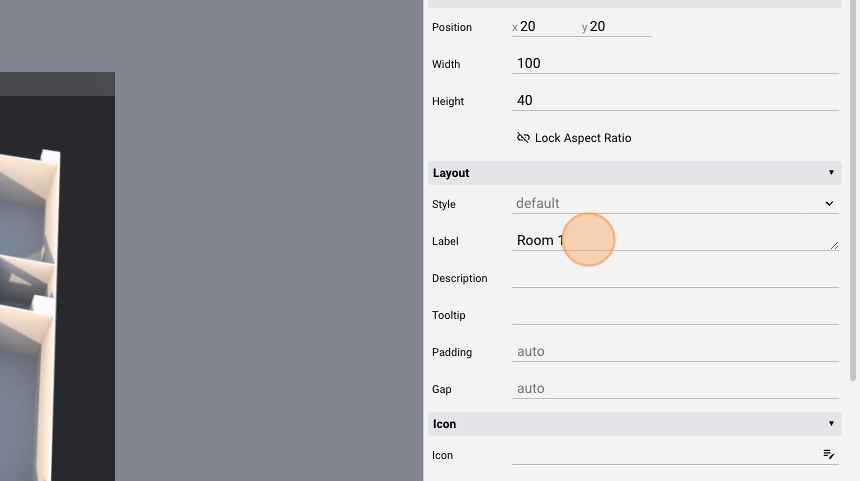
- Change the "Action" to "link"
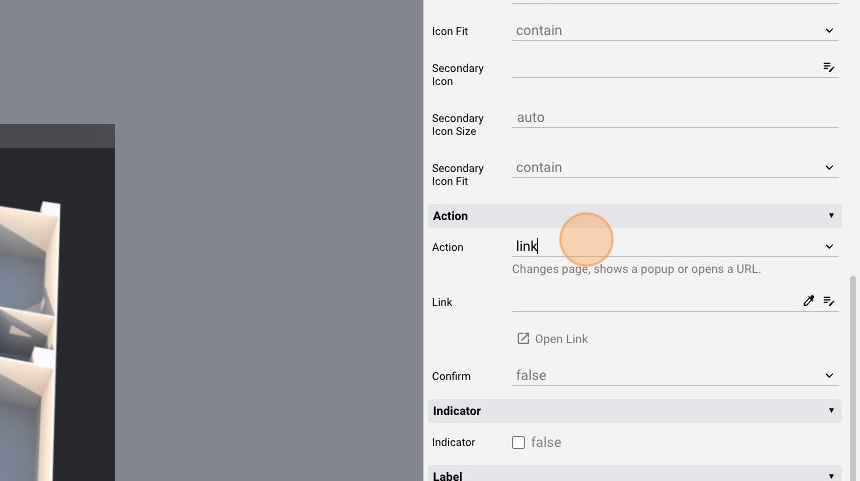
- Select "popup1" from the "Link" attribute menu

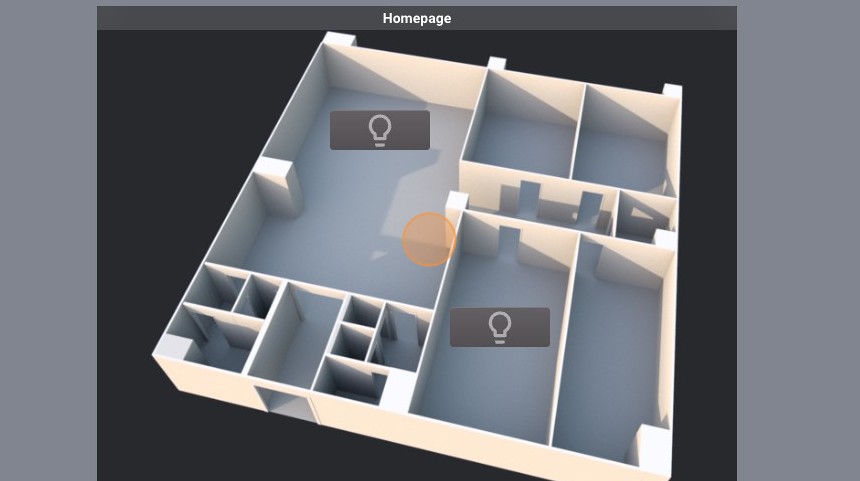
- Move it over the image
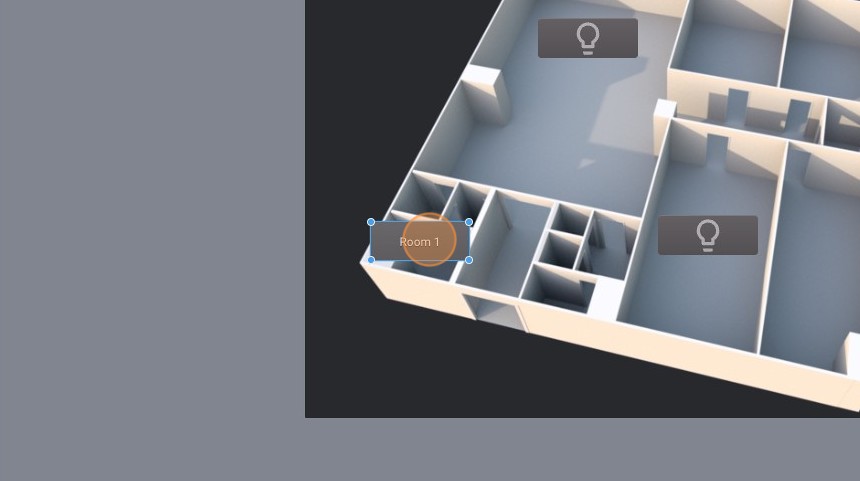
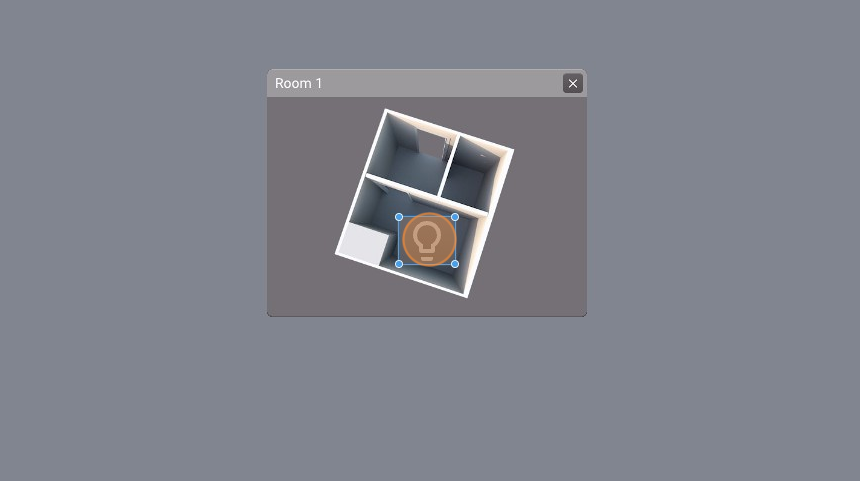
- The page should look like this:
-
Launch the project
-
Click "Room 1"
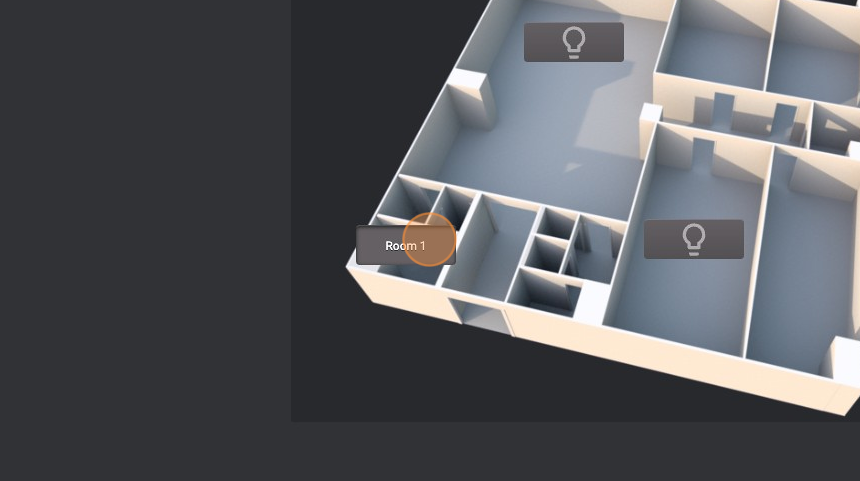
- The popup shows with the image and the button icon