Camera Object Examples
-
Navigate to HSYCO Manager
-
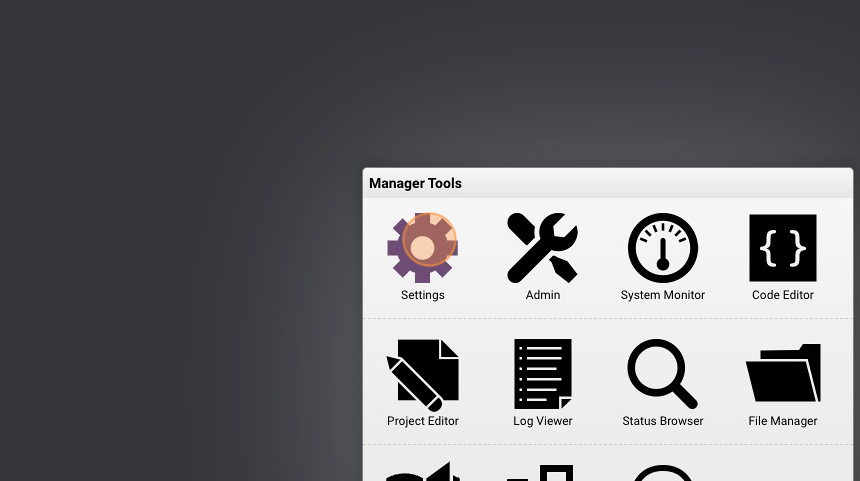
Open the "Settings"
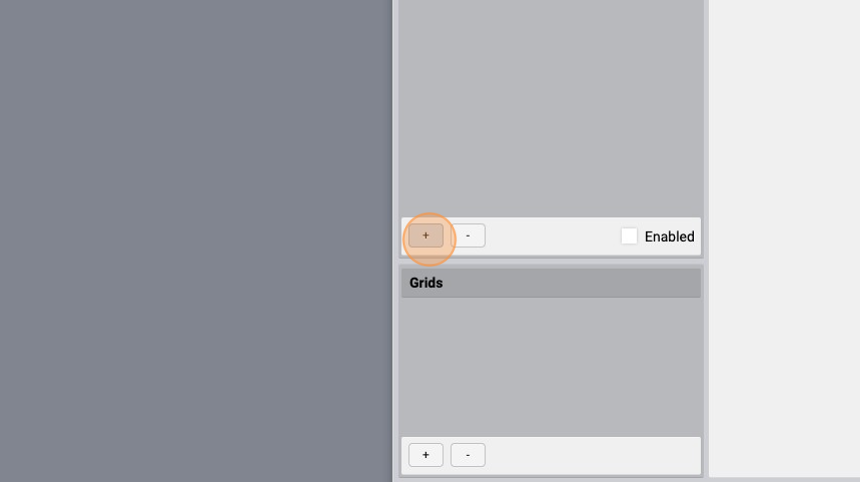
- Select "Cameras"

- Click "+" to add a new camera
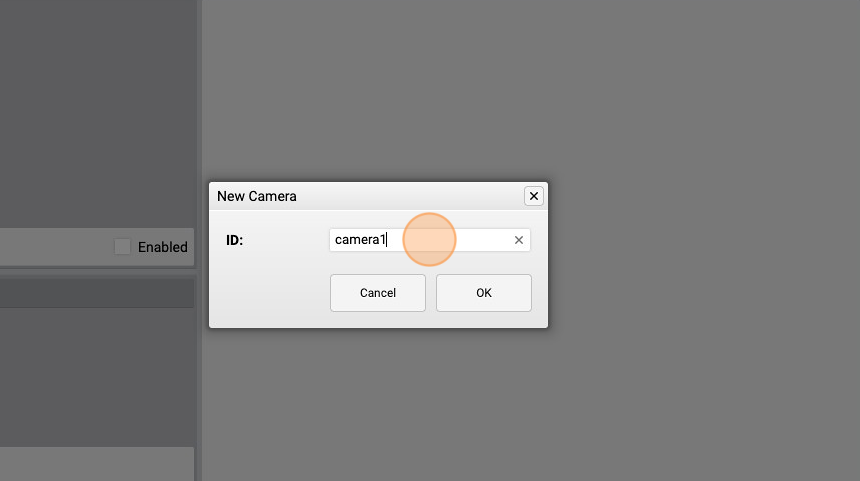
- Give it an "ID" and click "OK"
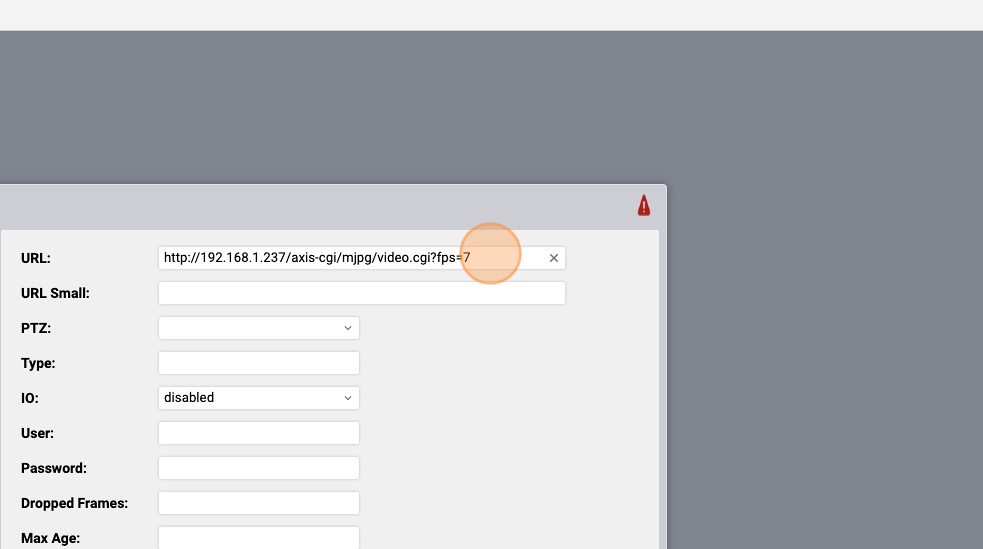
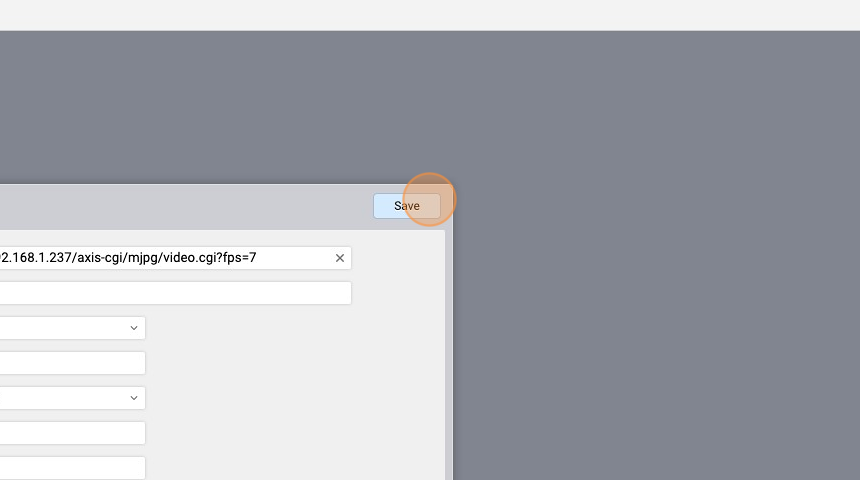
- Give the camera a complete URL. This is used to acquire single frames in JPEG format, or MJPEG streams, in the desired resolution. it is mandatory for each camera.
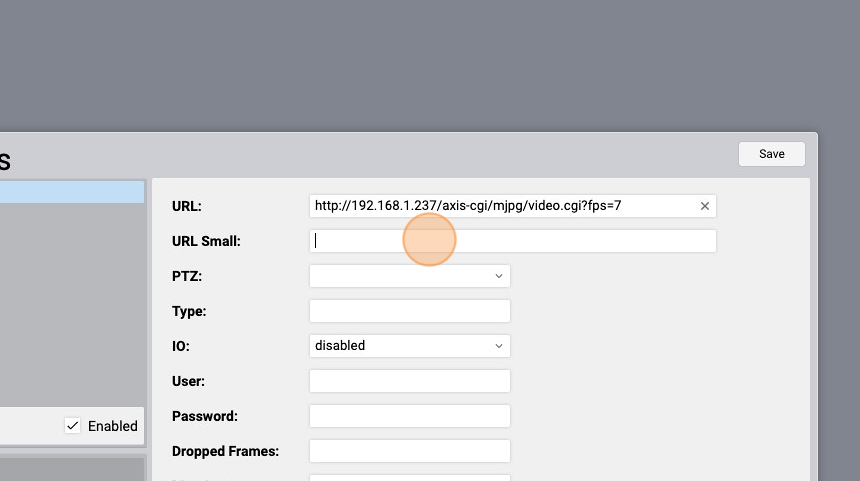
- Give it a "URL Small" (it's optional). In order to optimize camera processing performance, the URL fetches frames at a lower resolution. When serving frames to the Web interface, HSYCO will automatically choose the most appropriate frame resolution to use, based on the size of the frame in the Web interface.
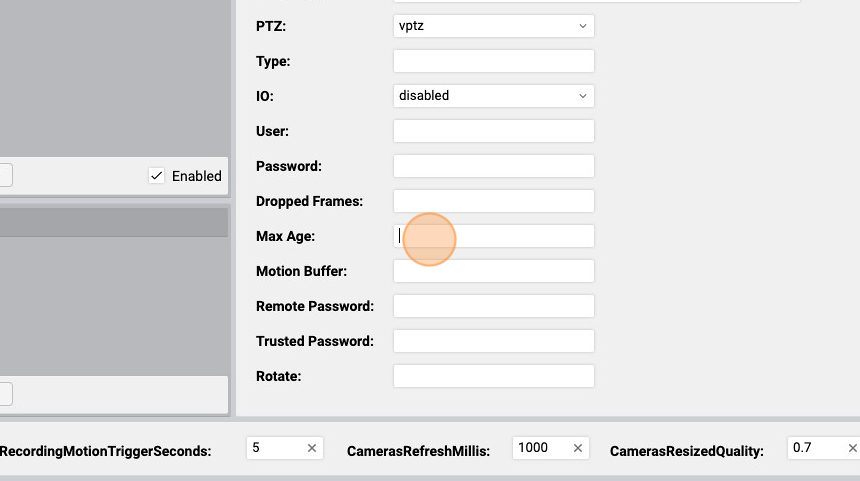
- Select the "vptz" from the "PTZ" dropdown menu. This is the Virtual PTZ. This defines the PTZ features of a camera and family of PTZ driver. The PTZ control of a camera is automatically added to the Web interface. You can click on the edges of the camera image to control the camera: up, down, right, left, zoom and focus.

- Set, if you want, the "Max Age". It is a positive integer number followed by "d" character, for days, "h" for hours or "m" for minutes. (30d for example). This is the period of time, from when each frame acquired by the camera corresponding is recorded, during which the frames remain on HSYCO’s hard disk. When this time expires the frames are automatically deleted from the HSYCO motion directory.
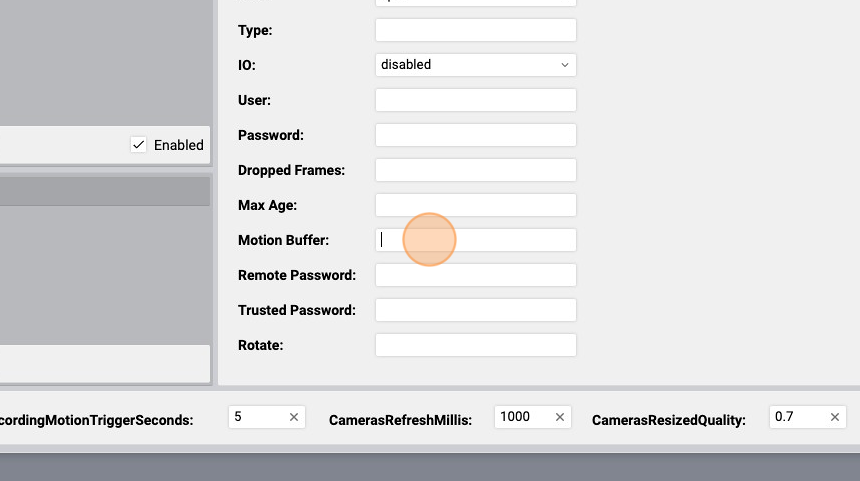
- Set, if you want, the "Motion Buffer". Recording normally starts exactly when a recording trigger or command is issued. Using this parameter you can have HSYCO start recording some time ahead of the recording command. This is particularly important to capture video a few seconds before an event happens. When this parameter is set, HSYCO constantly acquires images from the camera, not only when necessary to display or record video. Moreover, the temporary recording of this buffer requires memory resources, and it is therefore convenient not to use high values (values included between 10 and 20, with an acquisition rate of about 400 milliseconds, can be considered normal)
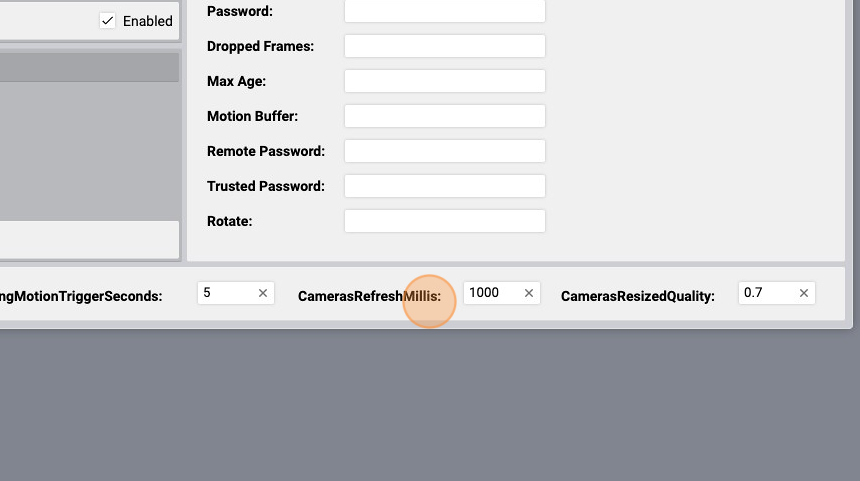
- The "CamerasRefreshMillis" is the camera frames acquisition interval, in milliseconds. For example, for a frequency of 4 frames a second, set the value to 250. A low value corresponds to a higher number of frames acquired and recorded in the time unit, with a heavier load in terms of CPU resources and disk space. This parameter does not apply to static cameras, which have manual refresh control.
- Click "Save"
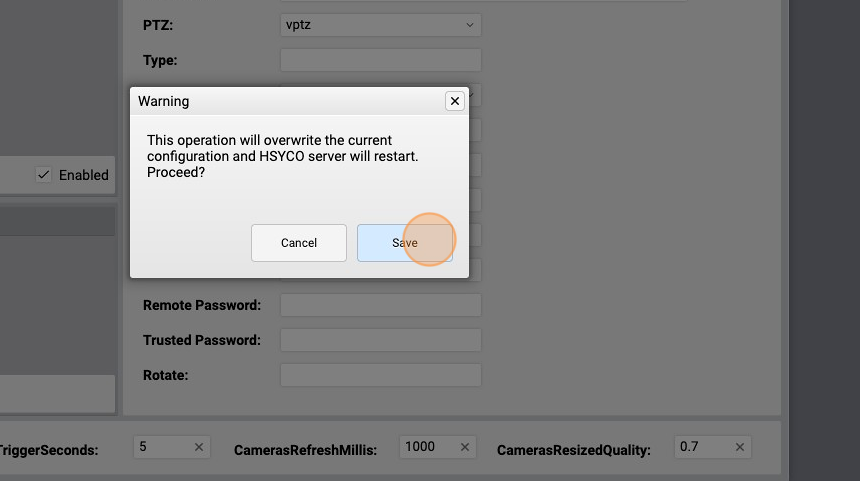
- Click "Save" again and wait for HSYCO to restart
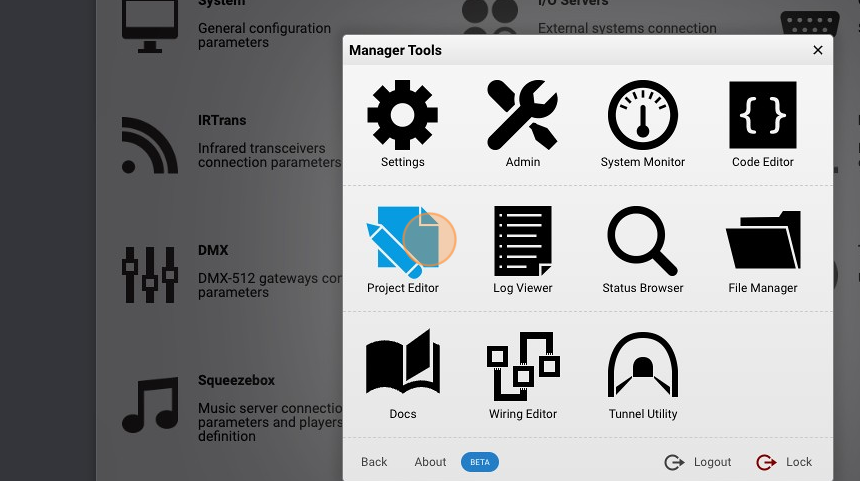
- Go into the "Project Editor"
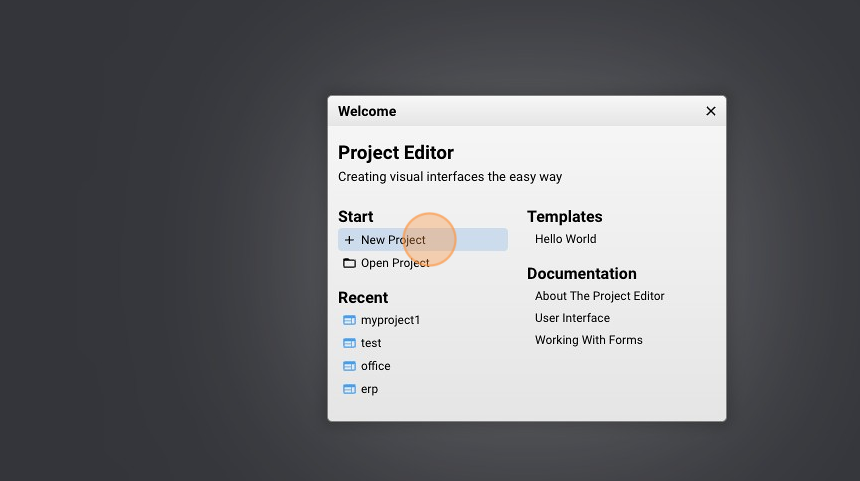
- Click "New Project"
- Give it a name ("myproject2" for example) and click "Create"

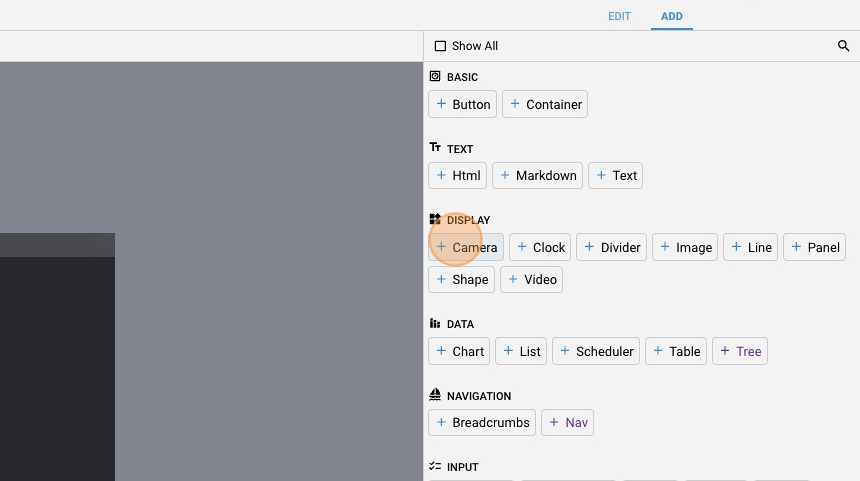
- Click "add"
- Add a "Camera"
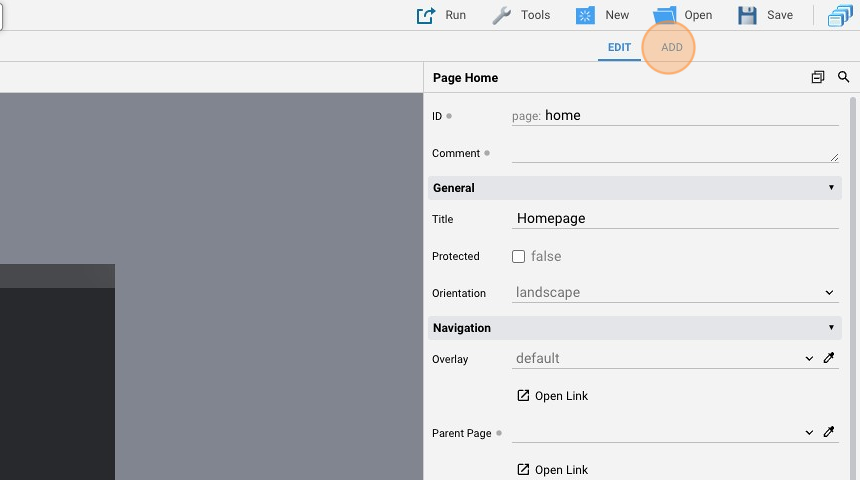
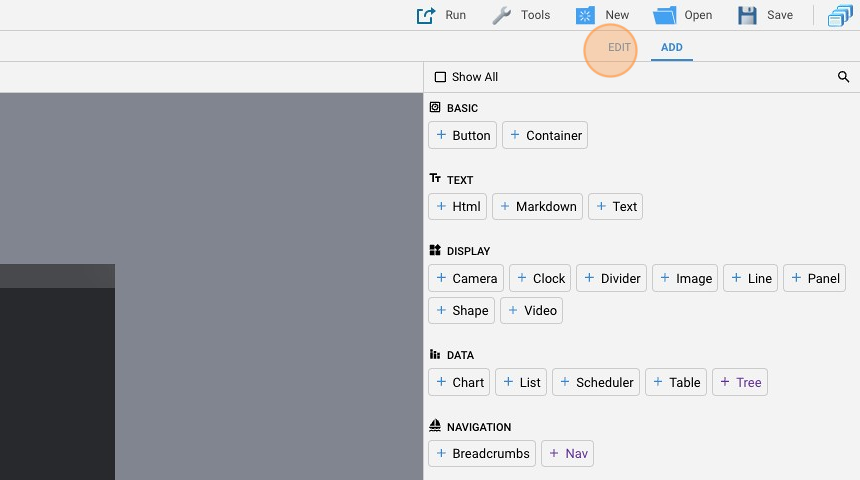
- Go back to "edit" mode
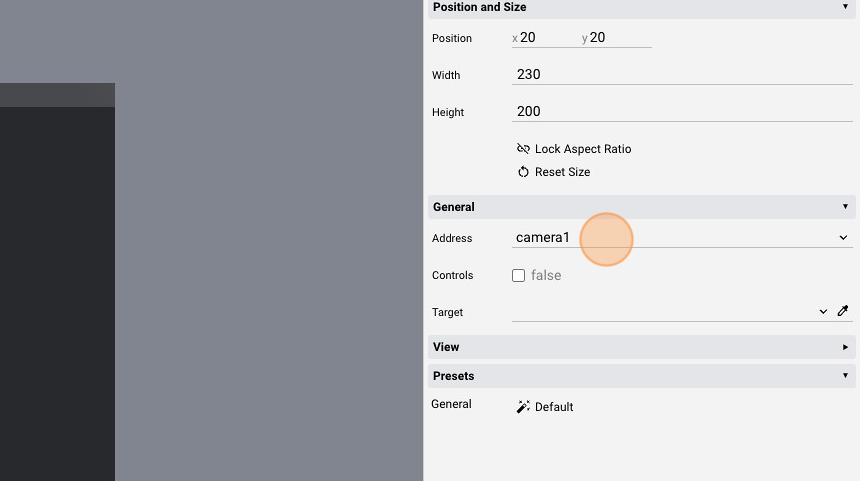
- Change the "Address" to "camera1"
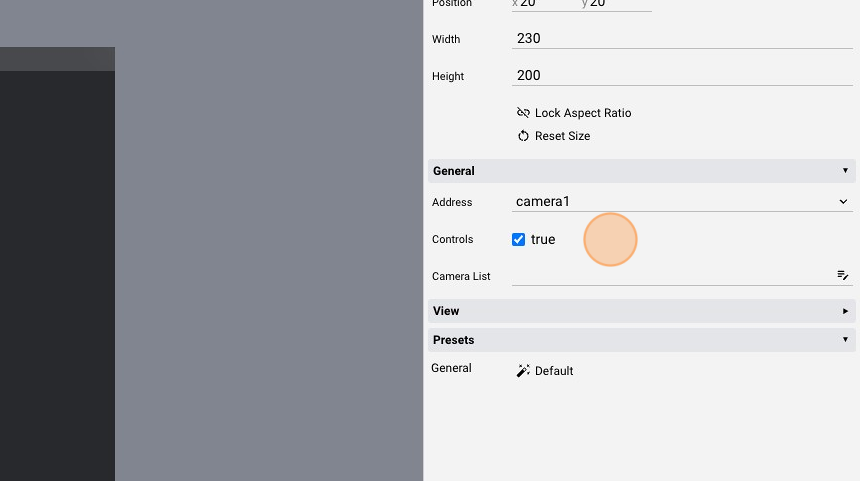
- Tick the "Controls" checkbox
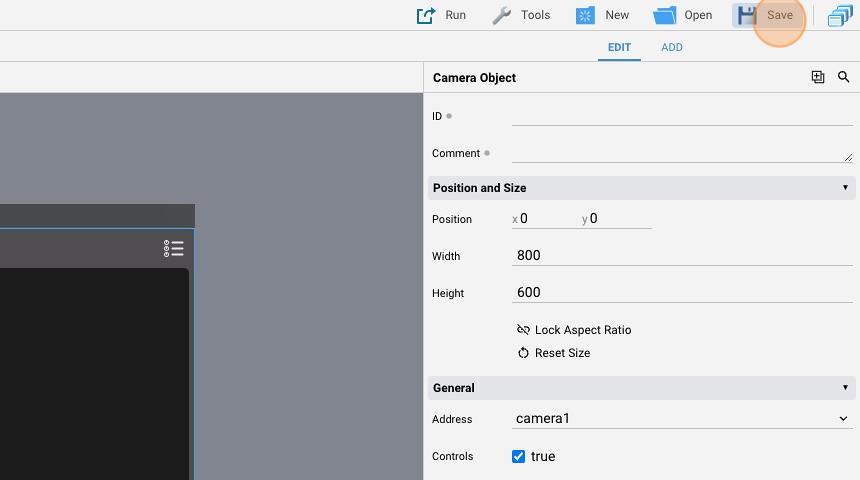
- Click "Save" to save the project
- Click "Run" and then "Default" to launch the application
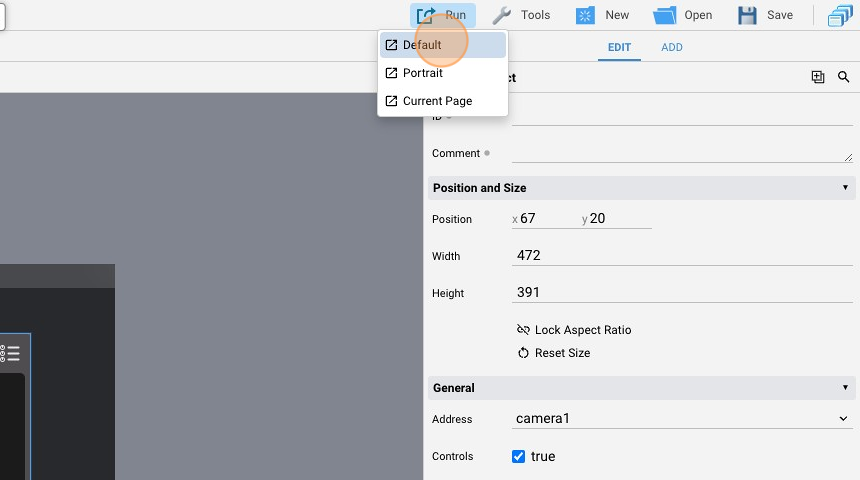
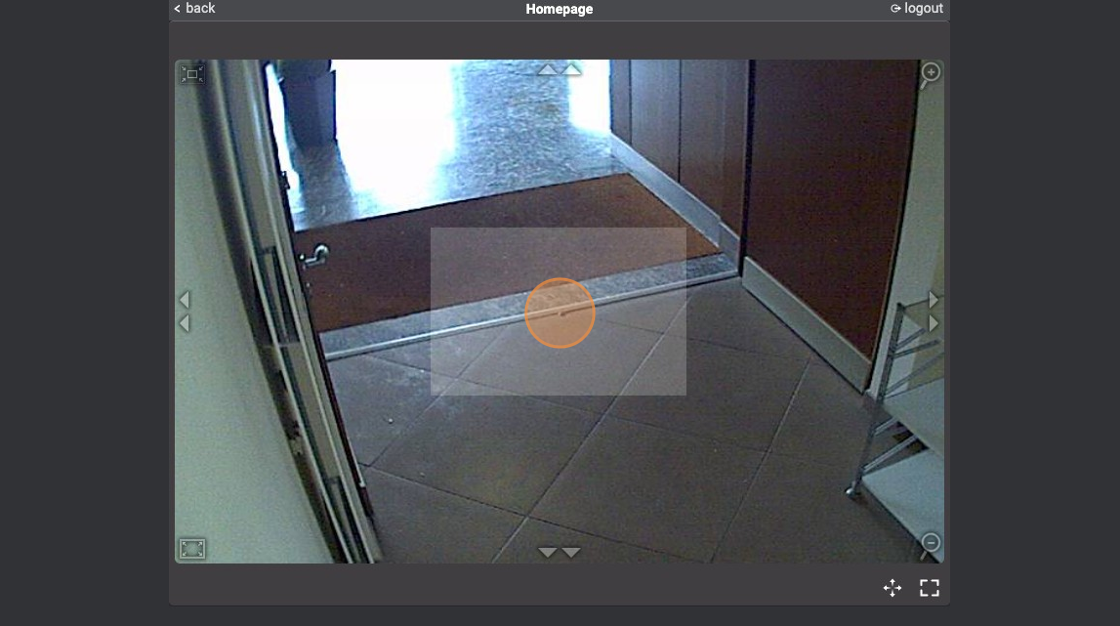
- As you can see, the camera is displayed with the virtual controls