Modbus TCP Client / Security panel gateway
This tutorial will guide you in setting up HSYCO as a gateway to enable communication between Modbus TCP and one of the security panels integrated into HSYCO. HSYCO will act as a Modbus TCP client.
To access HSYCO Manager open a browser and type the URL:
https://192.168.1.50/hsycoserver/manager
The IP address and the URLKey written above are the default ones
Add a security control panel I/O Server
Follow these steps of this tutorial:
Add a Modbus Tcp client I/O Server
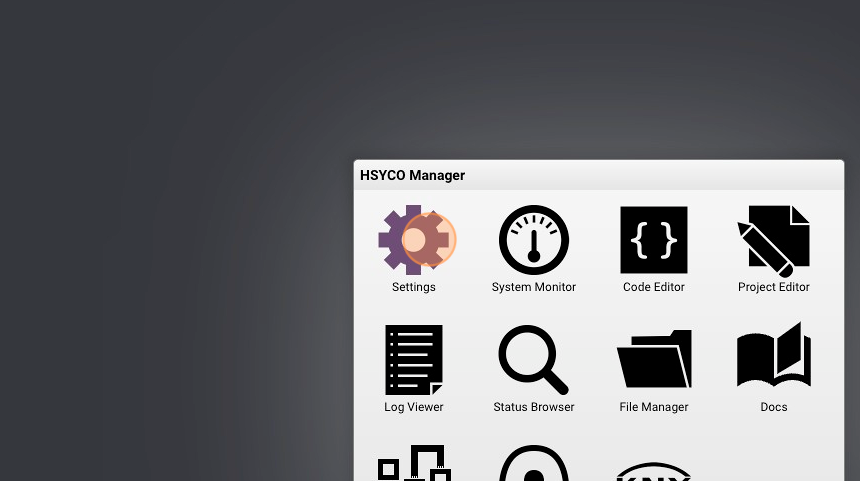
1. From the Manager splash screen click on Settings.
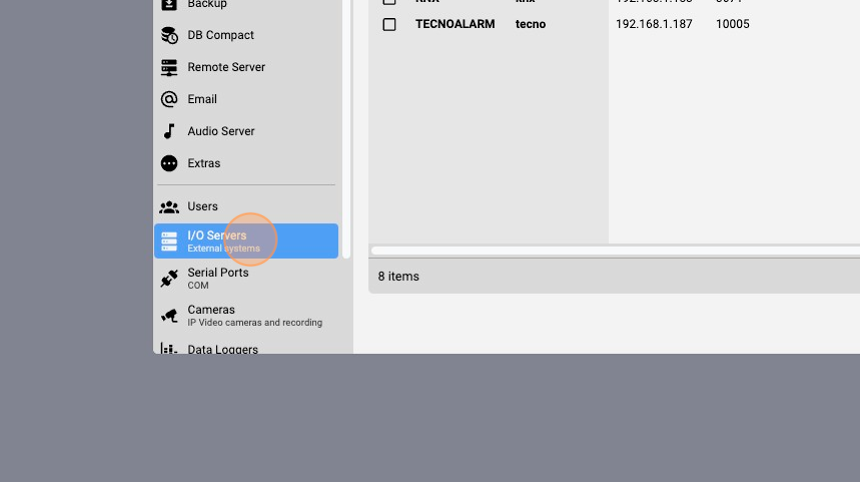
2. Click "I/O Servers"
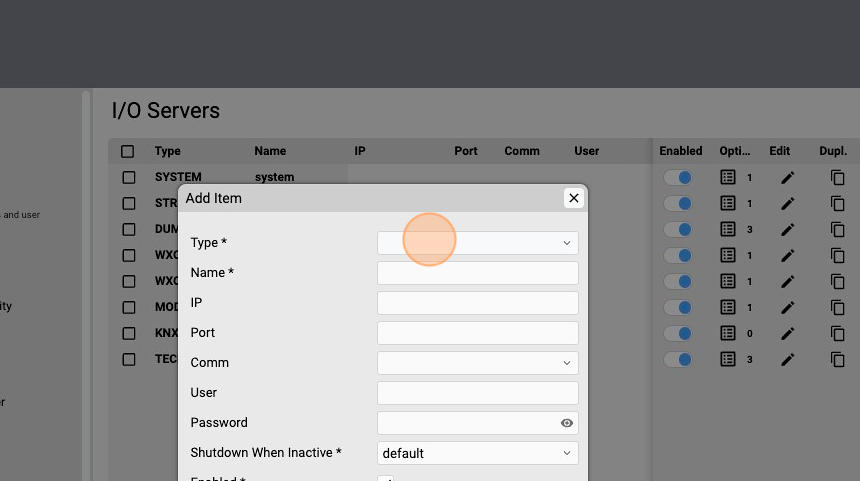
3. Add an I/O server.

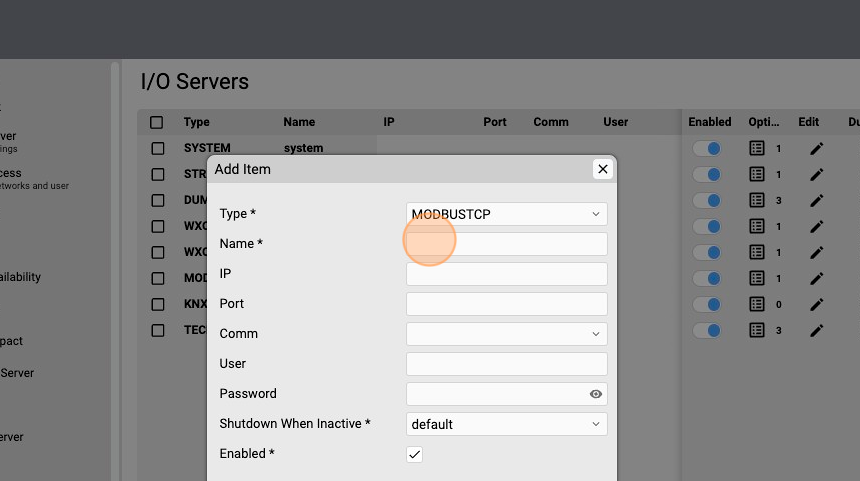
4. Select the type field.
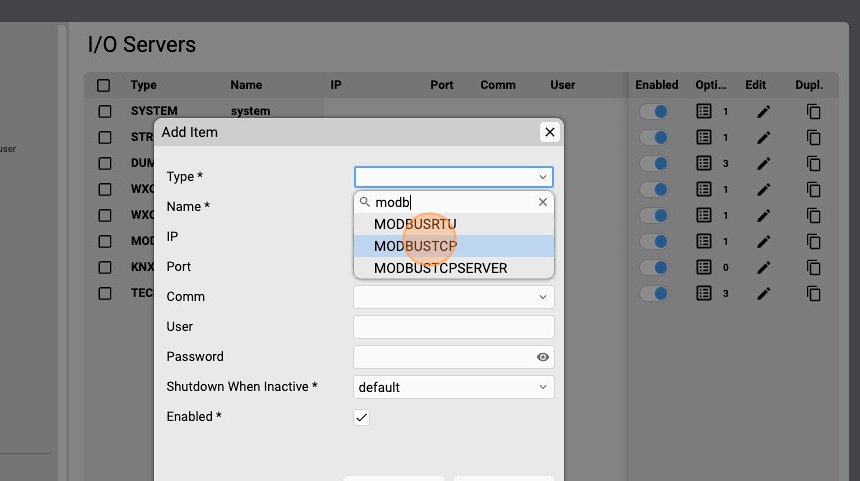
5. Type "modb"
6. Select MODBUSTCP.
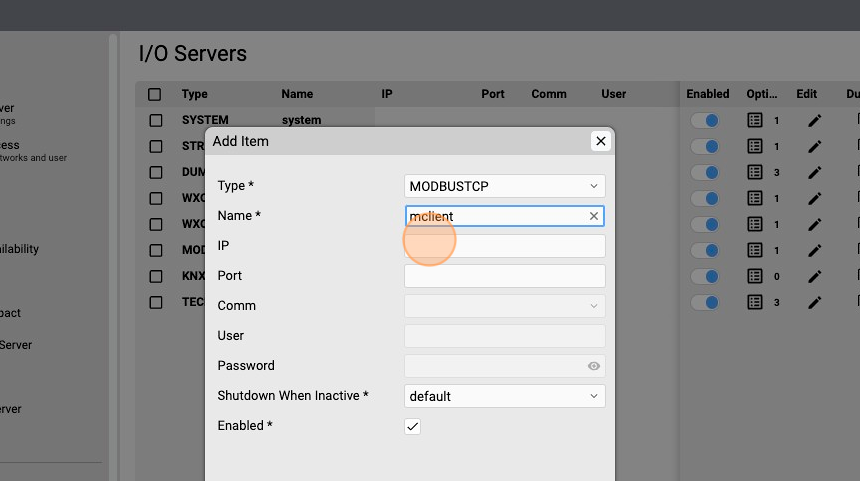
7. Click the name field.
8. Assign a unique id, for example "mclient"
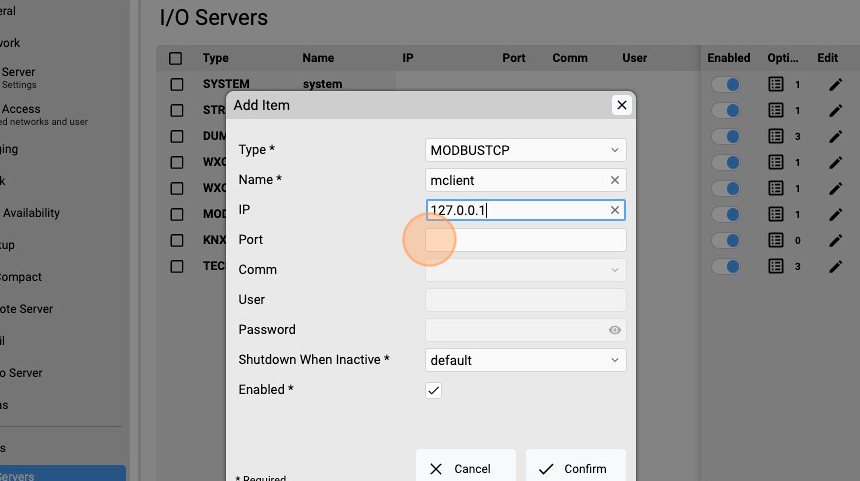
9. Click this IP field.
10. Specify the IP address of the Modbus Tcp Server device you want to communicate with. In this case on the localhost "127.0.0.1" there is a Modbus Tcp Server emulator for test purpose.
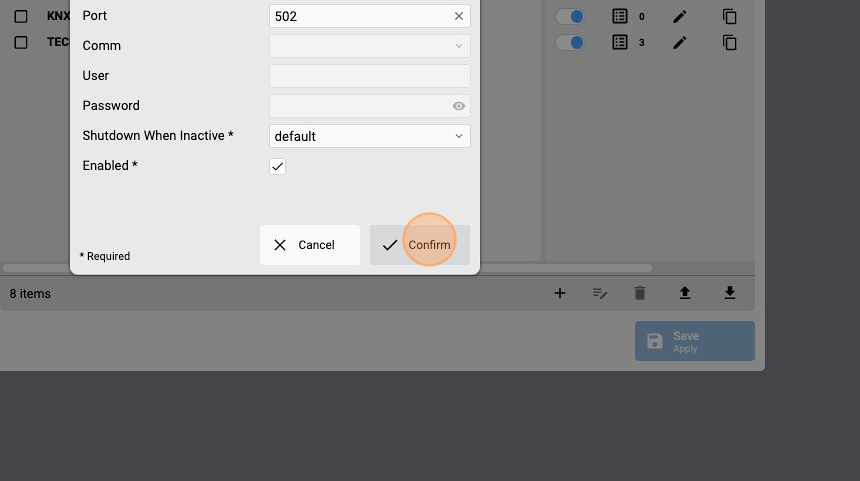
11. Click the port field.
12. Type "502", default Modbus TCP port.
13. Click "Confirm"
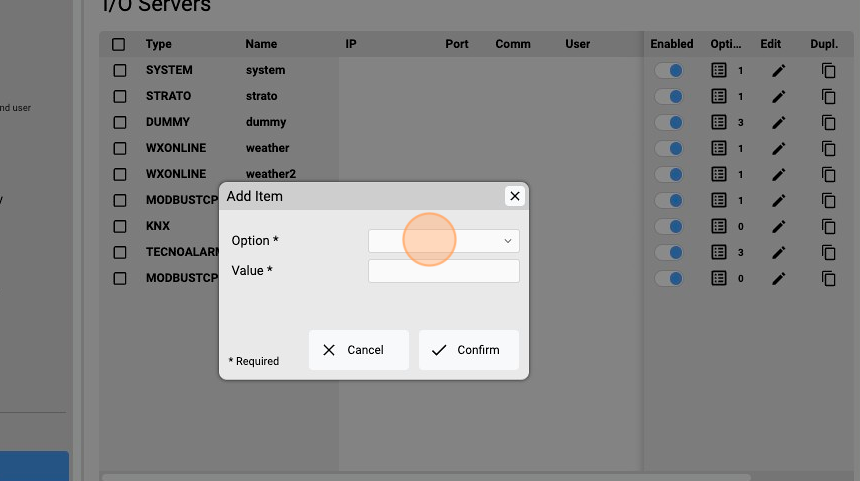
14. Open the Options popup.

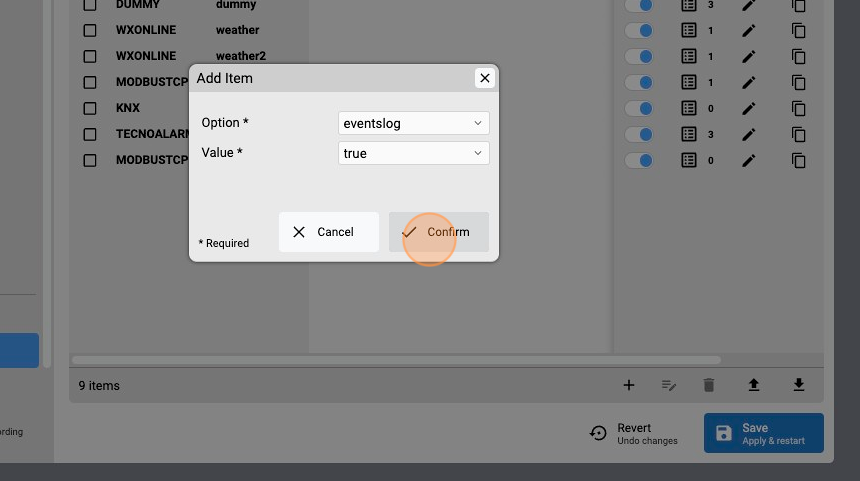
15. Add a new option.

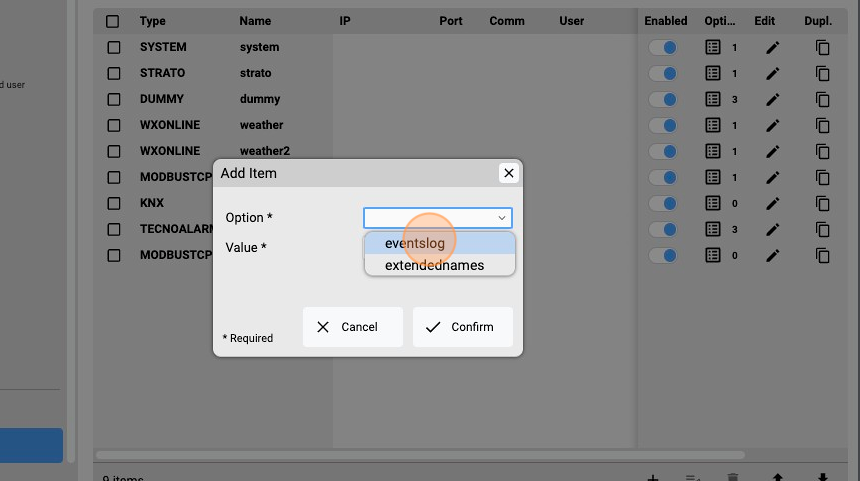
16. Click the Options field.
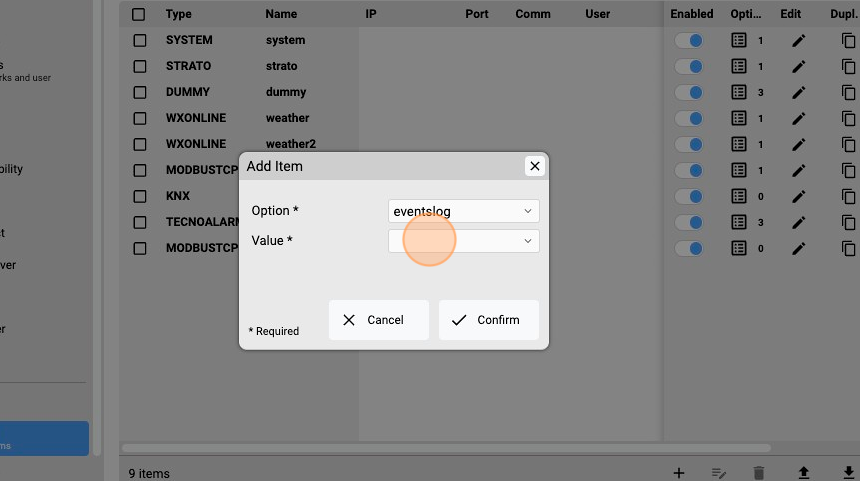
17. Select "eventslog".
18. Click the Value field.
19. Select "true" to enable the logging of the datapoints generated by this I/O server.
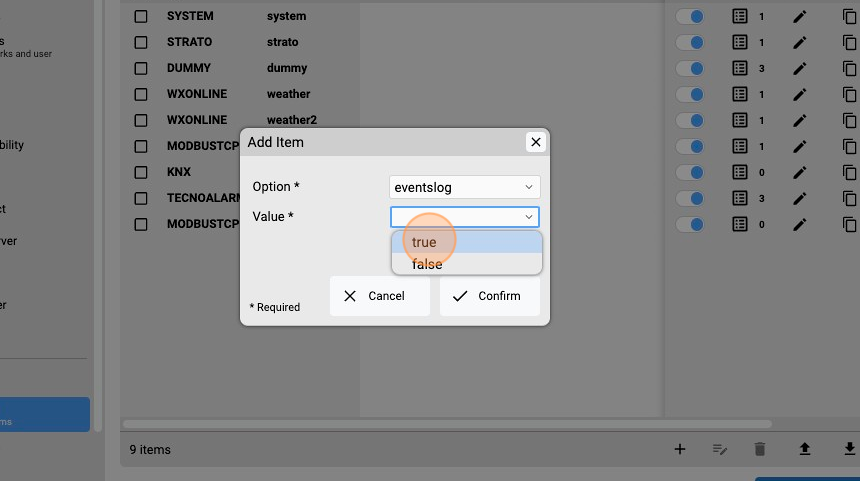
20. Click Confirm.
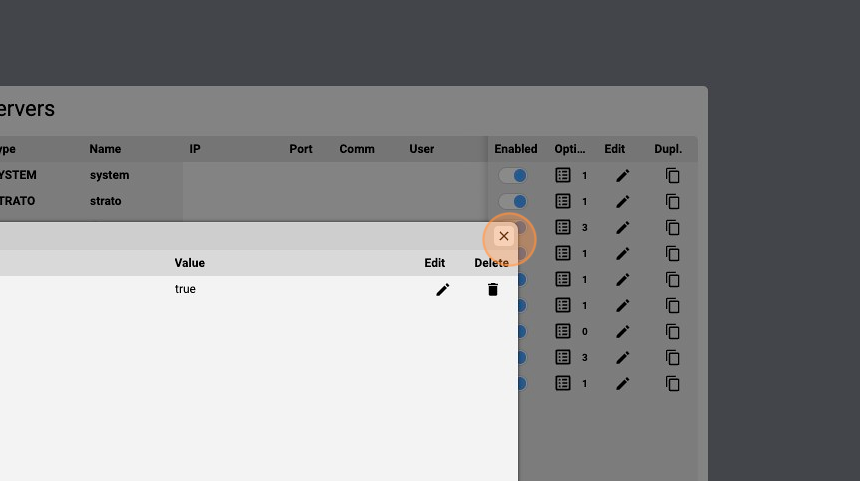
21. Close the Options popup.
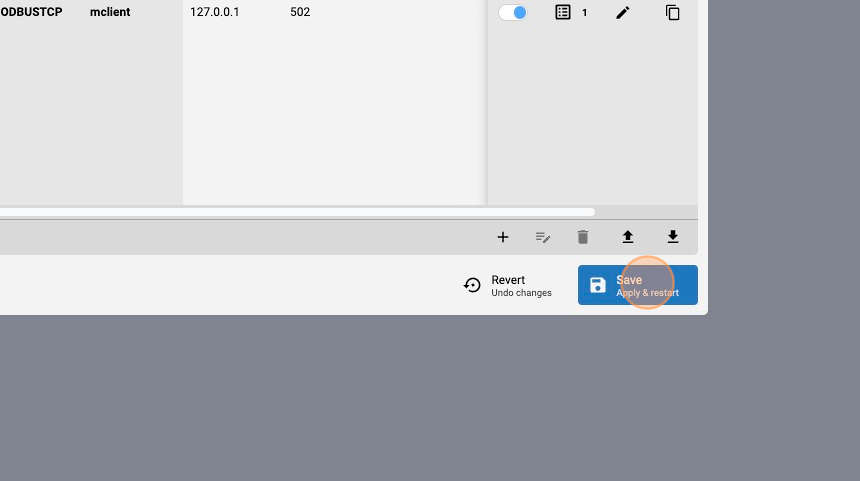
22. Click Save.
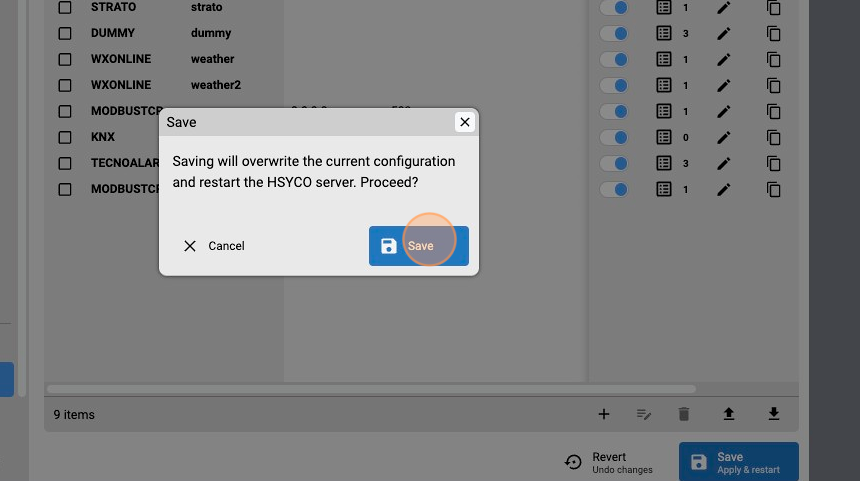
23. Click "Save" again to confirm.
Check the connection status
1. Let’s now check the connection status of the I/O Servers we just added. Go back to the Manager splash screen and click on Status Browser.
2. Click the "Filter" field to search for the connection datapoint.
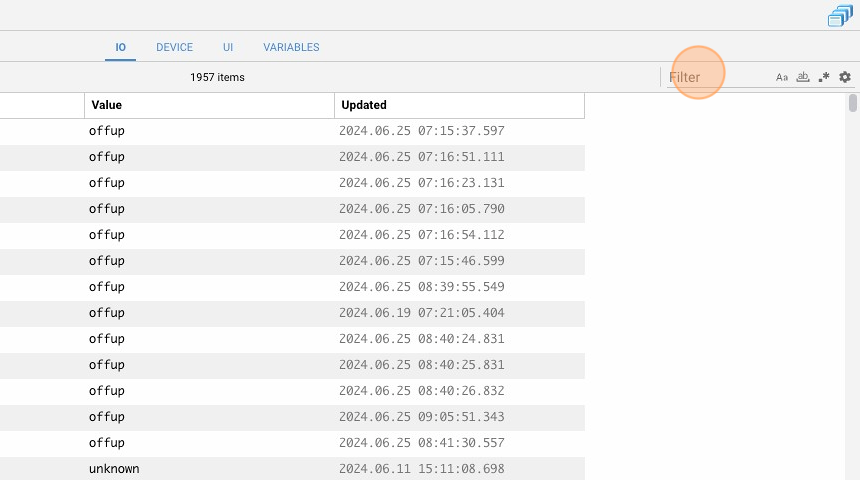
3. Type " tecno.conn"
4. If the datapoint ‘tecno.connection’ is equal to ‘online,’ this means that the Tecnoalarm I/O server is successfully connected to HSYCO.
Modbus Utility
The Modbus Utility is an application that allows you to easily setup repetitive polling read requests and monitor the performance and status of each request.
Let's use it to read the values of 5 unsigned short registers.
1. From the Managager splash screen
2. Click on Modbus Utility.
3. Click on the "+" button to add a new read instruction.
4. Click on datapoint name and specify from which Modbus I/O server we would like to read.
5. Type "mclient.1.1", which means: read from the I/O server mclient, Modbus unit id 1, starting from address 1
6. Select the Modbus function.
7. For example Read Holding Registers
8. Select the data type.
9. For example "ushort"
10. Select the input field that specifies how many registers to read, starting from the one specified earlier.
11. Type "5"
12. Click on the description field.
13. Type "test read"
14. Click on the inteval field.
15. Type "1". Each read request is defined with a repeat interval in seconds. The Modbus Utility internal scheduler will try to repeat the execution of each request as close as possible to the preset interval.
16. Click on the Error Tolerance input field. The optional "Error Tolerance" parameter is used to set the number of consecutive errors accepted before the Modbus error data point is set to report an error condition.
17. Type "5"
18. Click on the Error SkiP Interval input field.
19. Type "30". The optional "Error Skip Interval" defines for how long the Modbus Utility should stop executing a Modbus request if an error occurs.
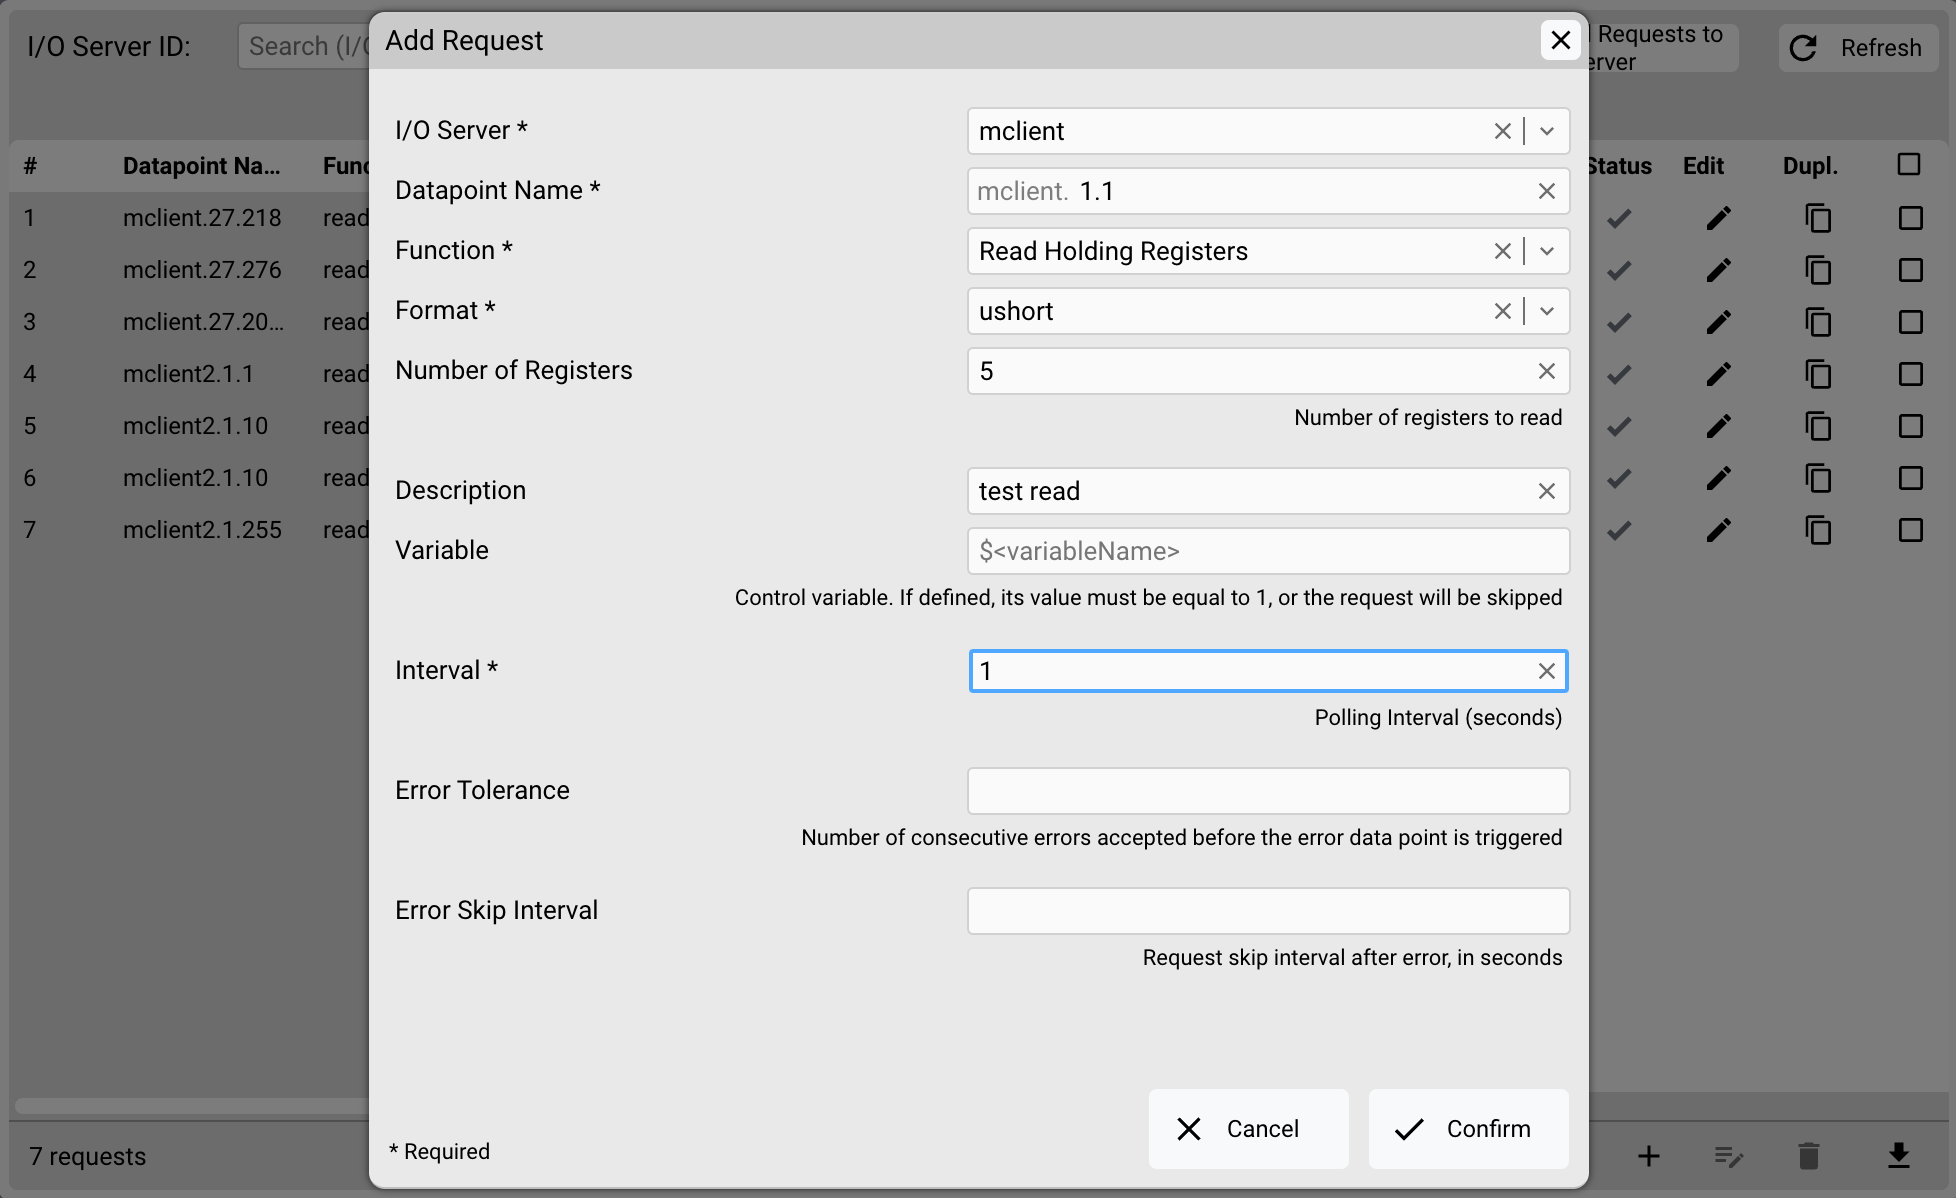
20. Click Save.
After saving, the Modbus Utility immediately processes the read request.
Check the Status Browser to read the values of the datapoints generated by the read request.
EVENTS scripting
1. From the Manager splash screen select Code Editor.
2. Click "New Events File"
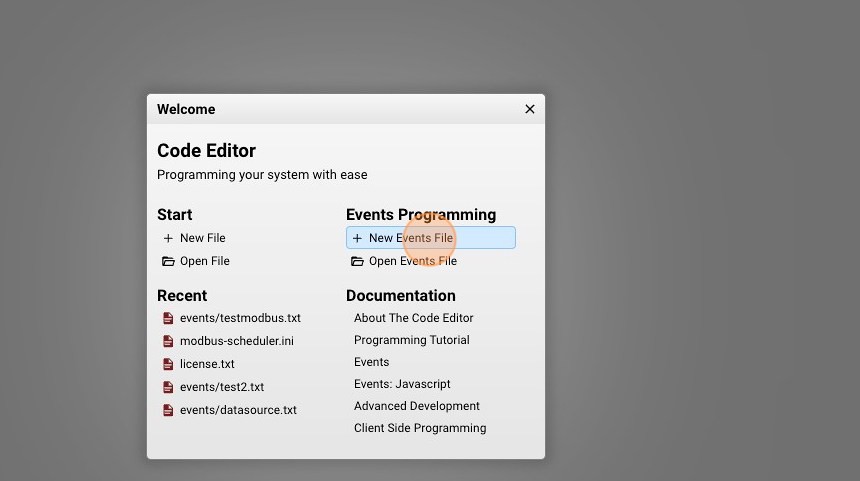
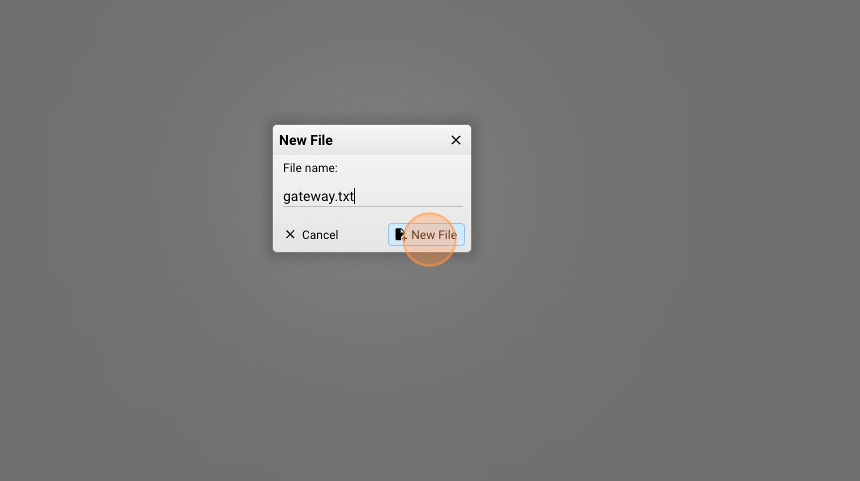
3. Give a name to your script, for example: "gateway.txt"
4. Click "New File"
5. Now it's time to write some lines of code.
For further information about the logic of EVENTS programming, read EVENTS programming quickstart
Let's start with some simple functions:
#when a modbus register value is 1, arm a Tecnoalarm program
io mclient.1.1 = 1 : io tecno.program.1 = arm

#when a modbus register value is 0, arm a Tecnoalarm program
io mclient.1.1 = 0 : io tecno.program.1 = disarm

#when a modbus register value is 5, enable a Tecnoalarm sensor
io mclient.1.1 = 5 : io tecno.zone.1 = enable

#when a modbus register value is 6, disable a Tecnoalarm sensor
io mclient.1.1 = 6 : io tecno.zone.1 = disable

#when a tecnoalarm sensor is in alarmmemory write a modbus register (Mdobus function 06)
io tecno.zone.1.alarmmemory = 1 : io mclient1.2 = ushort:1
io tecno.zone.1.alarmmemory = 0 : io mclient1.2 = ushort:0
Click ‘Save’ in the upper right corner to activate this script.
The complete list of all the datapoints generated by an I/O Server is available in the Integrations section.
You can use Javascript as well:
function IOEvent(name, value) : {
    //copy the alarm status of Tecnoalarm zones to Modbus registers
    //zone 32 --> group 0/0/32
    //zone 56 --> group 0/0/56
    if (name.startsWith("tecno") && name.endsWith(".alarm")){
        //tecno.zone.<n>.alarm = <1,0>
        var register = name.split(".")[2];
        ioSet("mclient.1."+register, "ushort:" + value);
    }
}