KNX / Security panel gateway
This tutorial will guide you in setting up HSYCO as a gateway to enable communication between a KNX bus and one of the security panels integrated into HSYCO.
To access HSYCO Manager open a browser and type the URL:
https://192.168.1.50/hsycoserver/manager
The IP address and the URLKey written above are the default ones
Add a security control panel I/O Server
Add, as an example, a generic I/O Server of an anti-theft panel, such as TecnoAlarm.
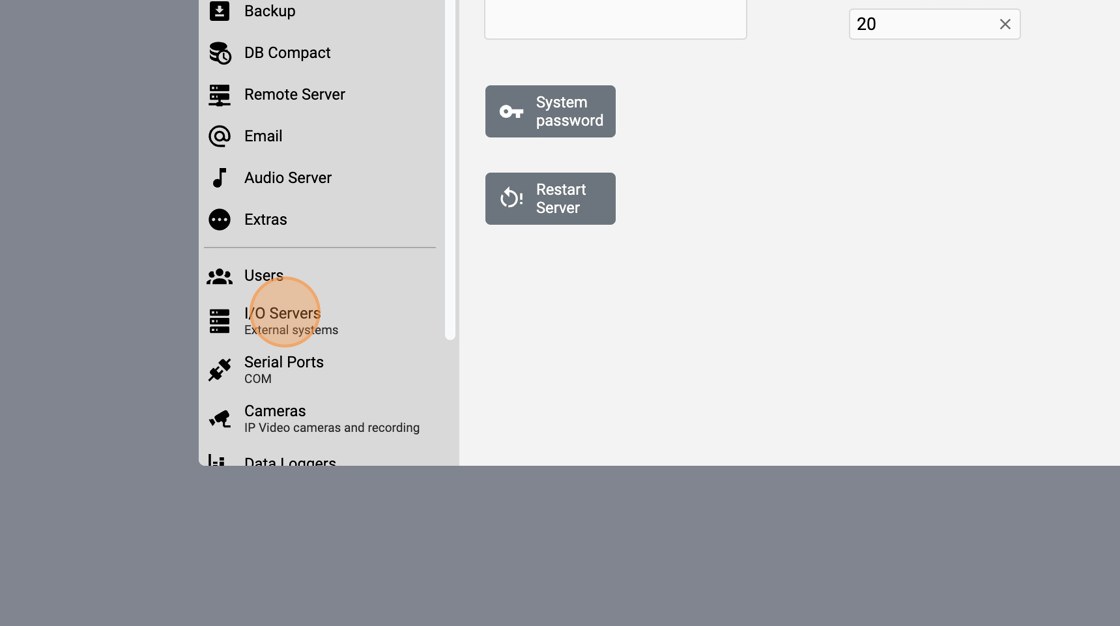
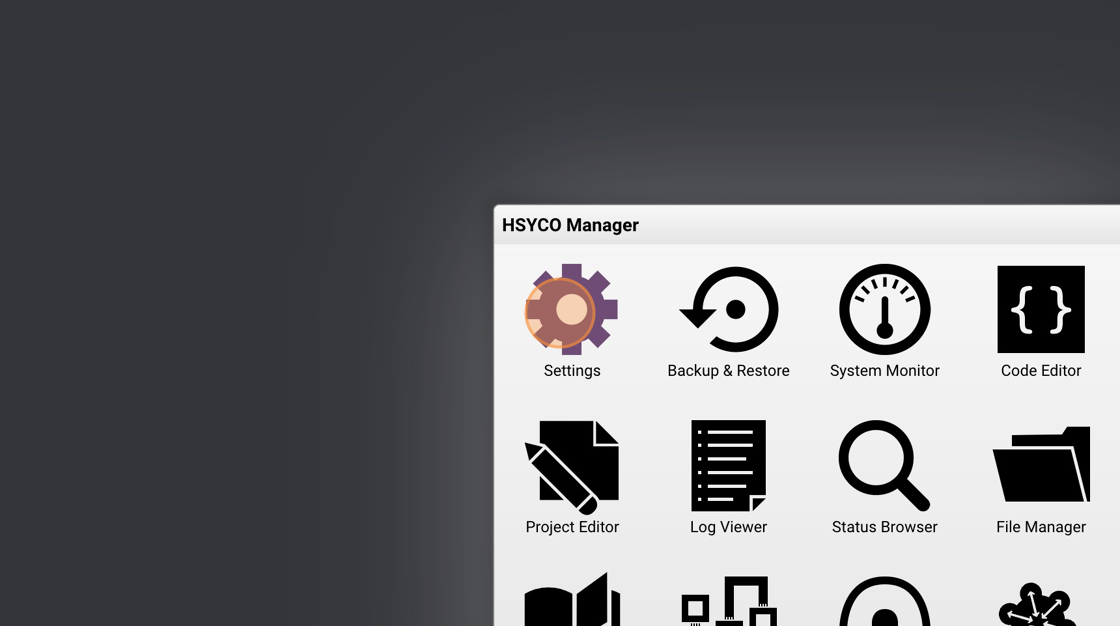
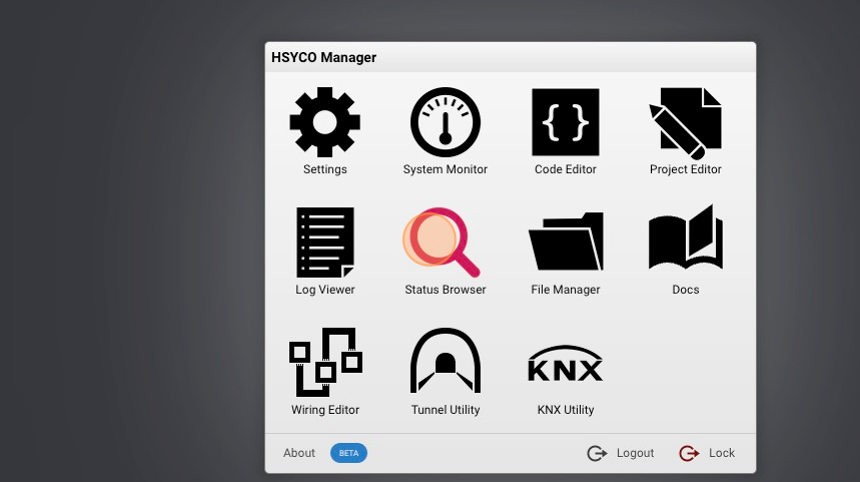
1. Open the HSYCO Manager splash page.
2. Click Settings.

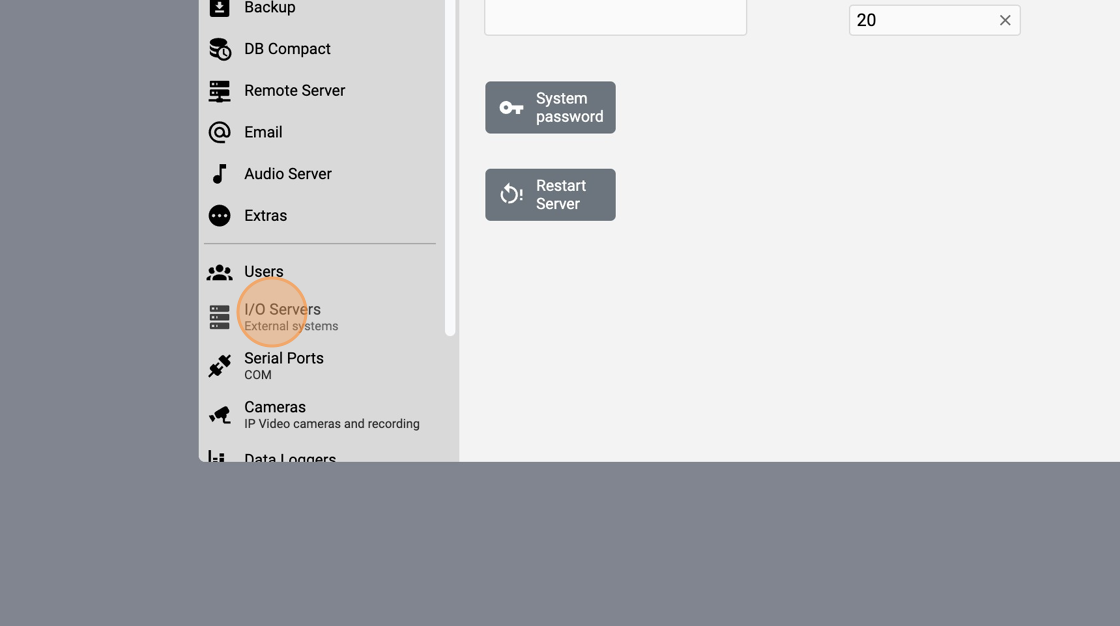
3. Go to I/O Servers
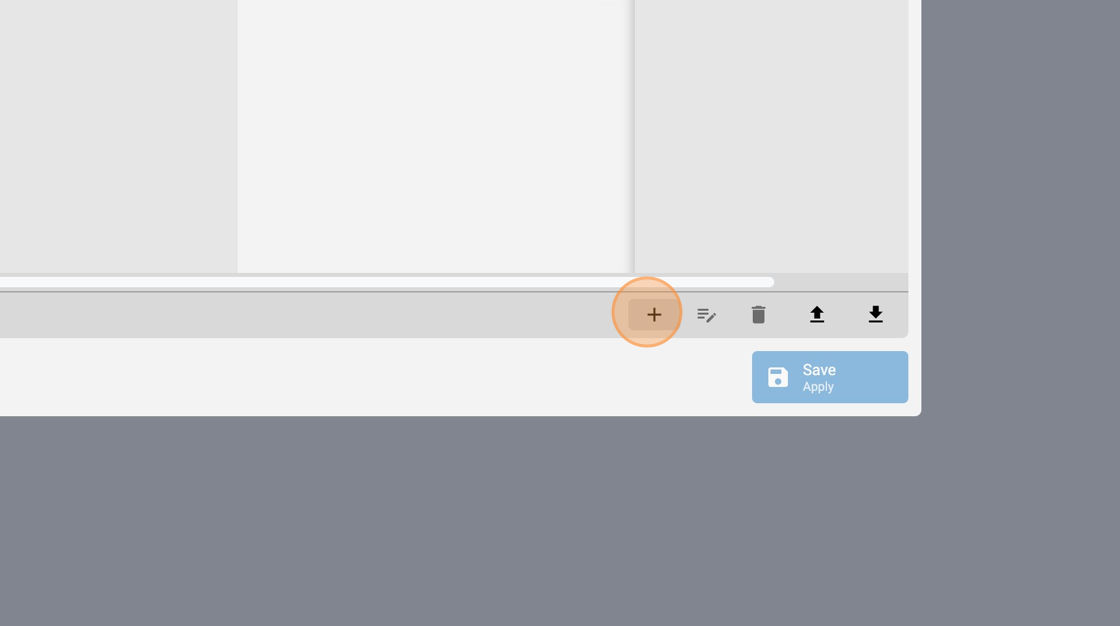
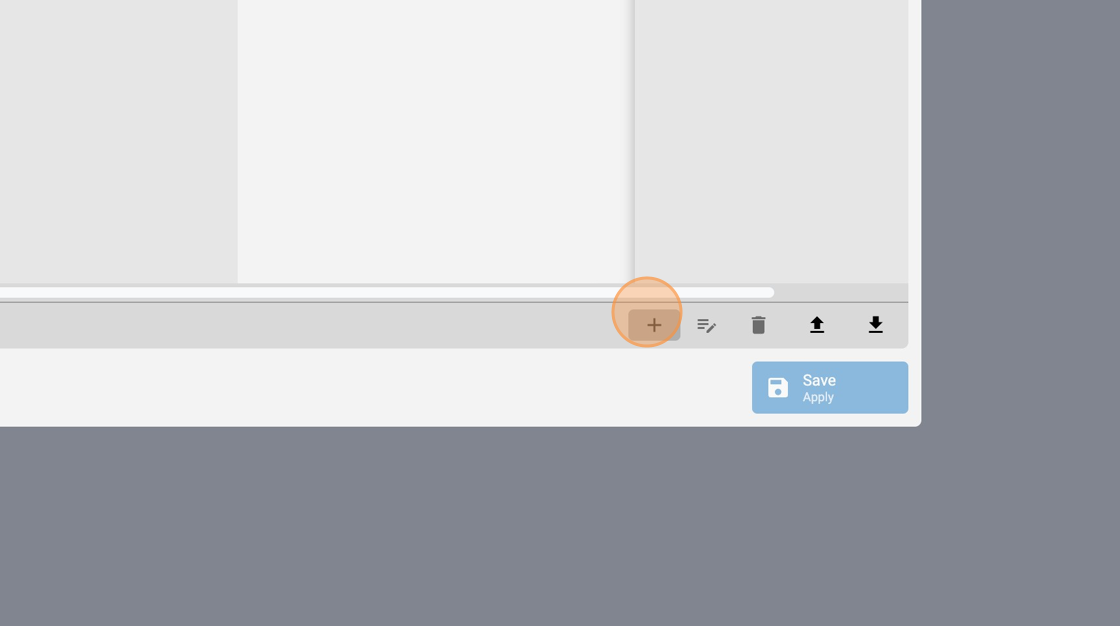
4. Click the "+" icon
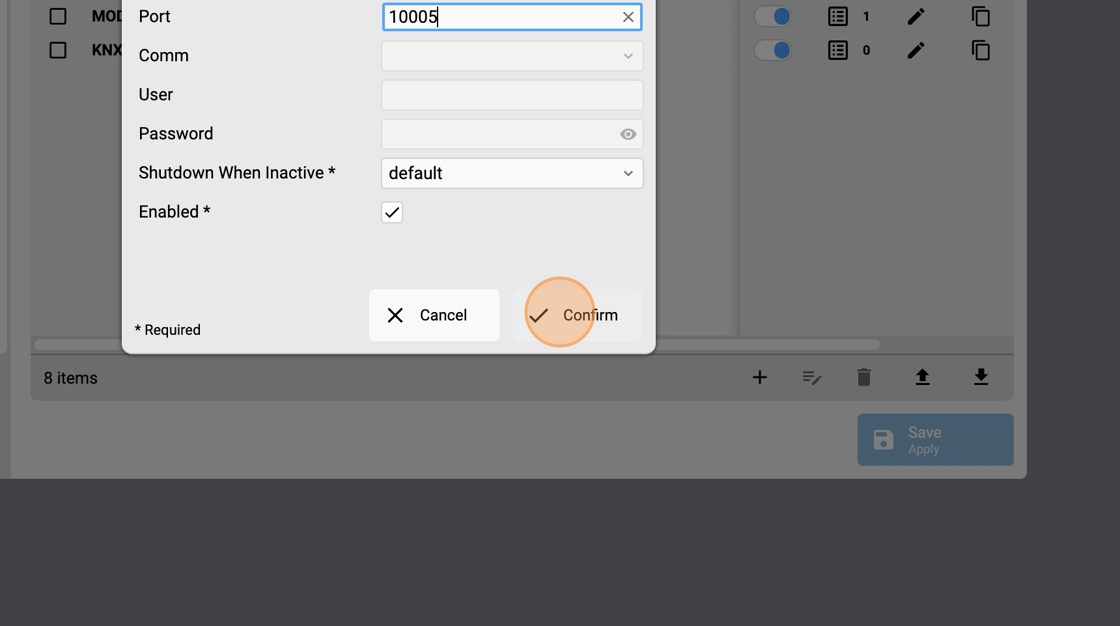
5. Select TECNOALARM type and modify the parameters according to your Tecnoalarm panel configuration
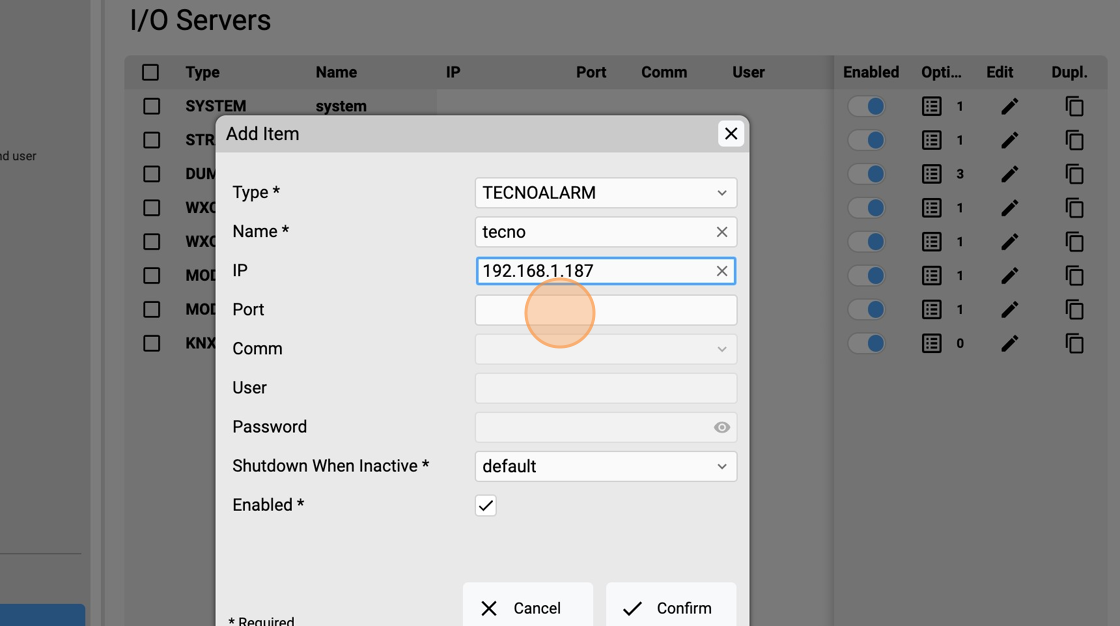
6. For example, change the IP address of the panel and the TCP port of Tecno Out Ethernet protocol. For TP8-88, TP8-88P and TP20-440 panels, the TCP port must be > 10005
7. Click "Confirm"
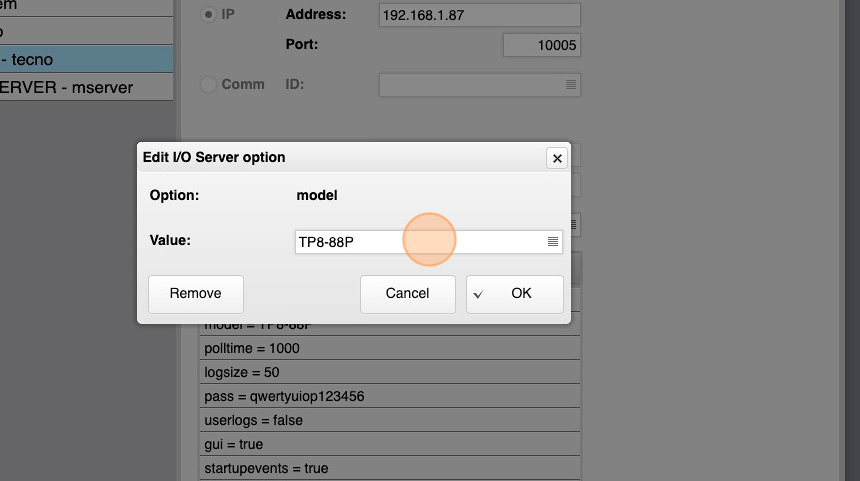
8. Click "Options"
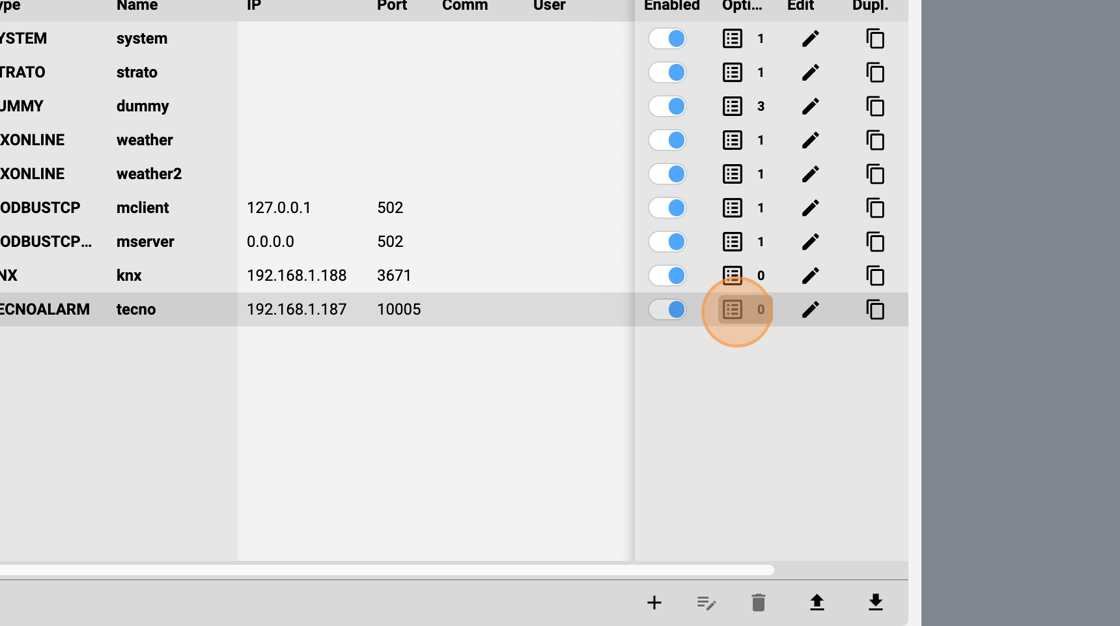
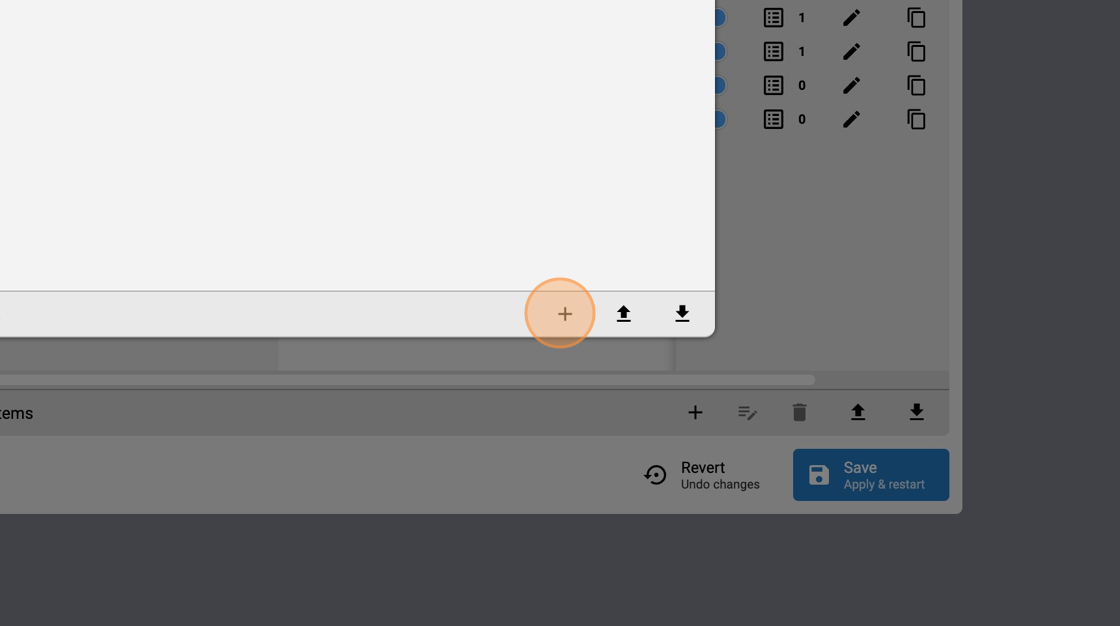
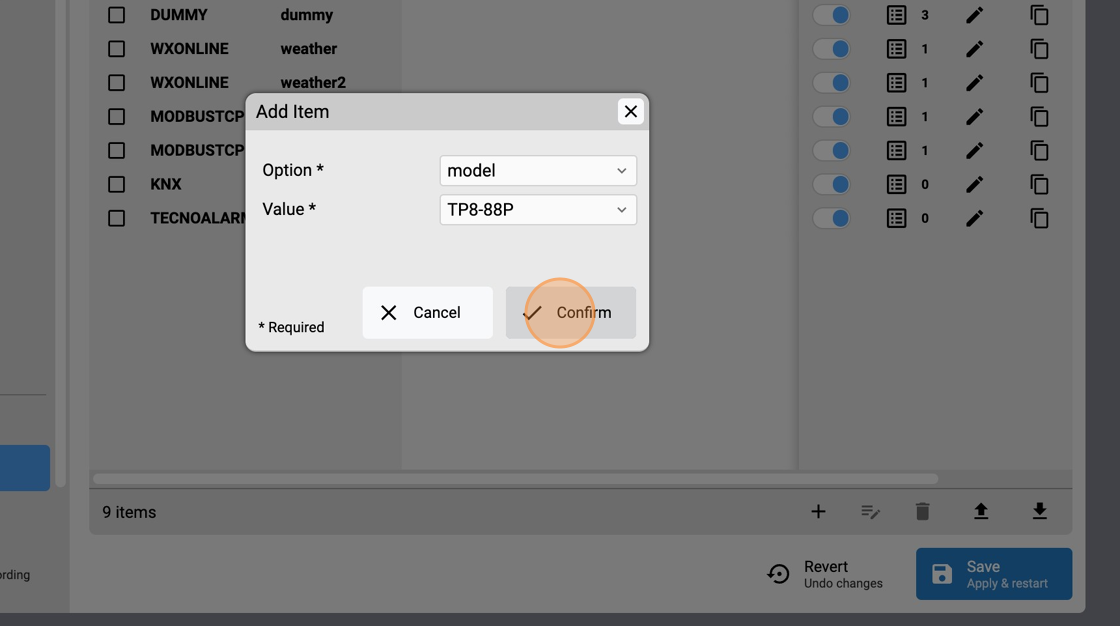
9. Click "+" to add an option.
10. Select the control panel model. TP8-88, TP8-88P and TP20-440 with the latest firmware (> year 2022) support alarm memory and forced arming.
11. Type a valid user CODE that is allowed to arm/disarm the panel.
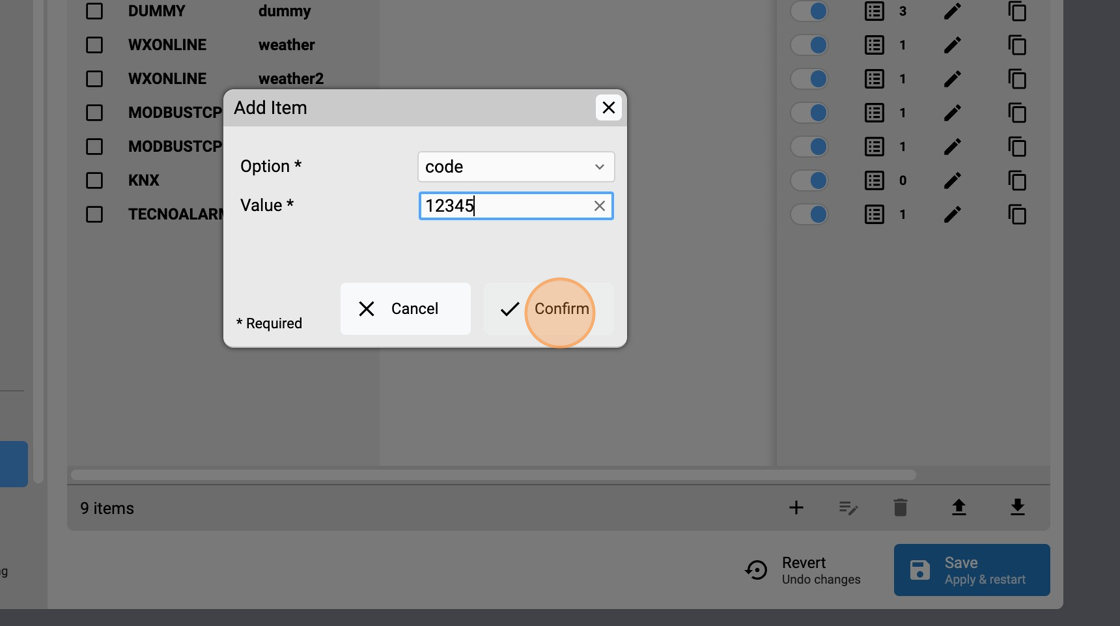
12. You can optionally add a passphrase, if present in your configuration

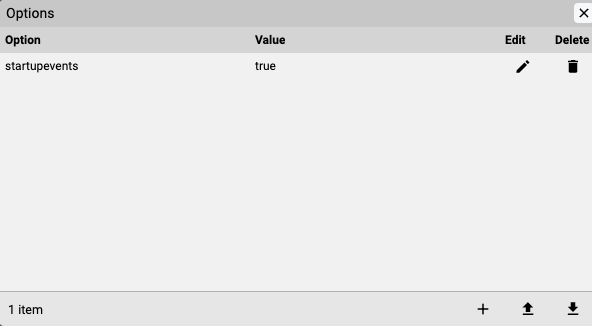
13. Add the option startupevents equals to true. Setting to true means generating IO events also during the driver’s start-up phase.
14. Now it's time to declare a KNX I/O Server, follow the next steps.
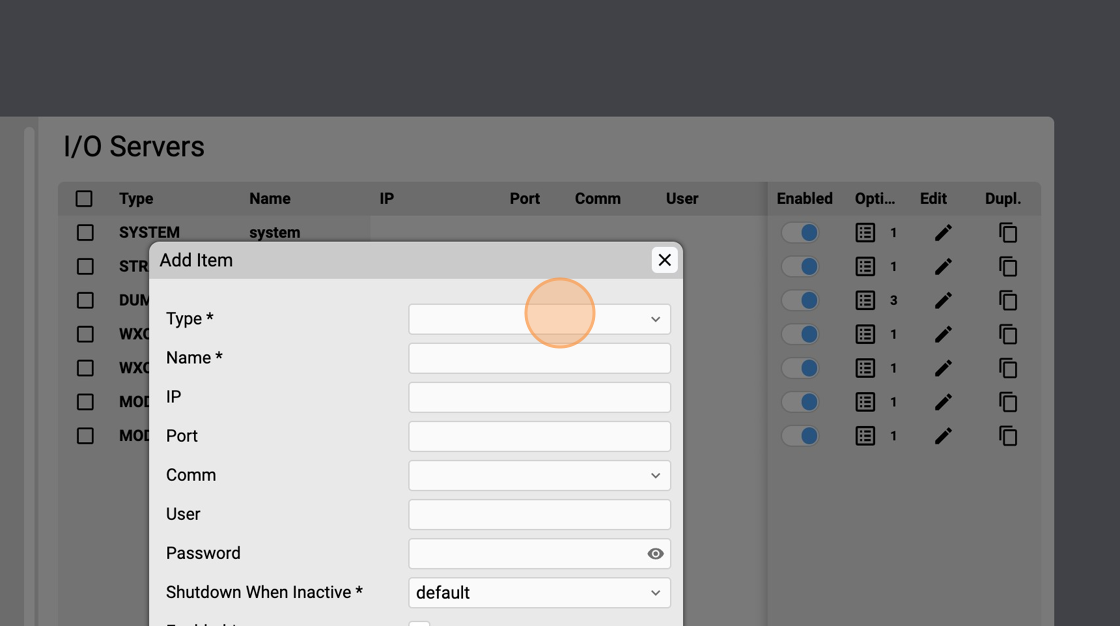
Add a KNX I/O Server
1. Open the HSYCO Manager splash page.
2. Click Settings.
3. Click "I/O Servers"
4. Click the "+" icon.
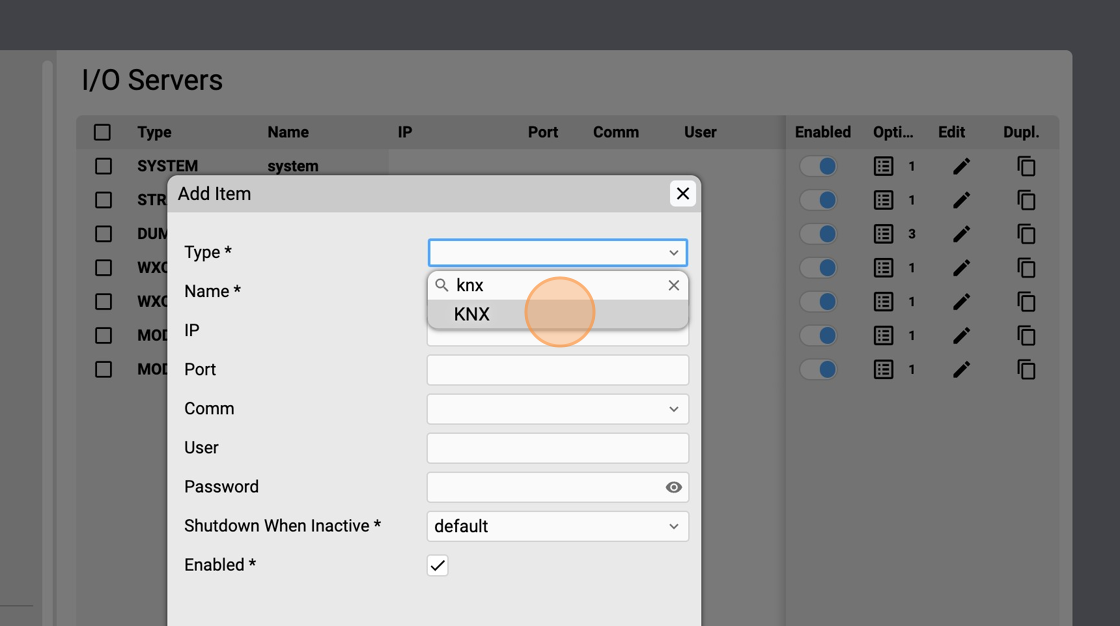
5. Open the the I/O Server selection.
6. Type "knx"
7. Select a KNX type I/O Server.
8. Select the name field.
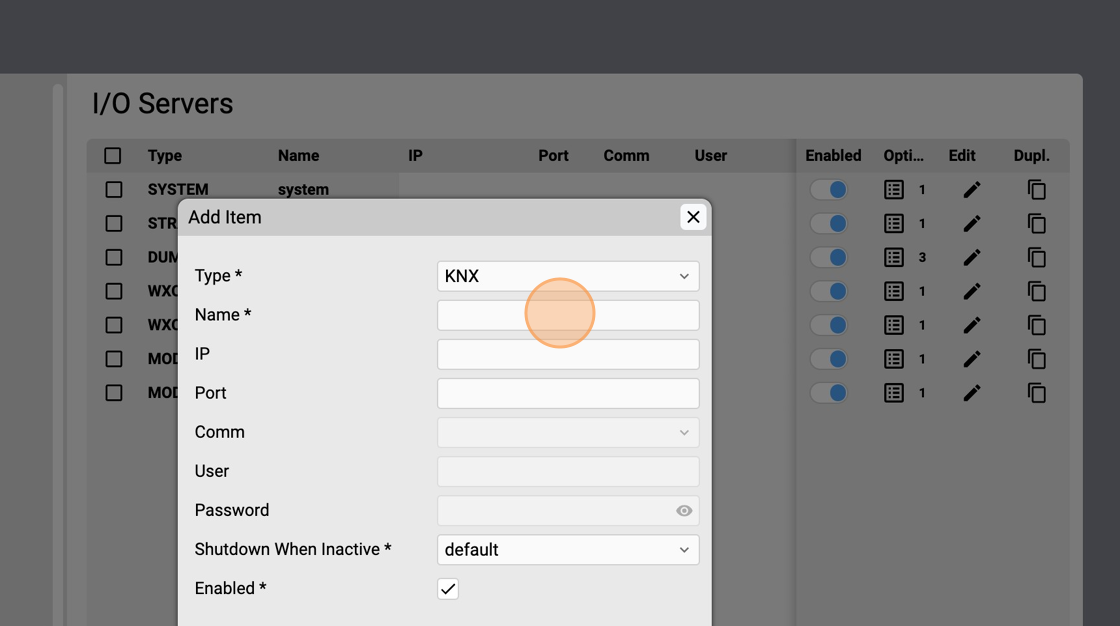
9. Assign a unique name to the I/O Server instance, for example "knx".
10. Select the IP field.
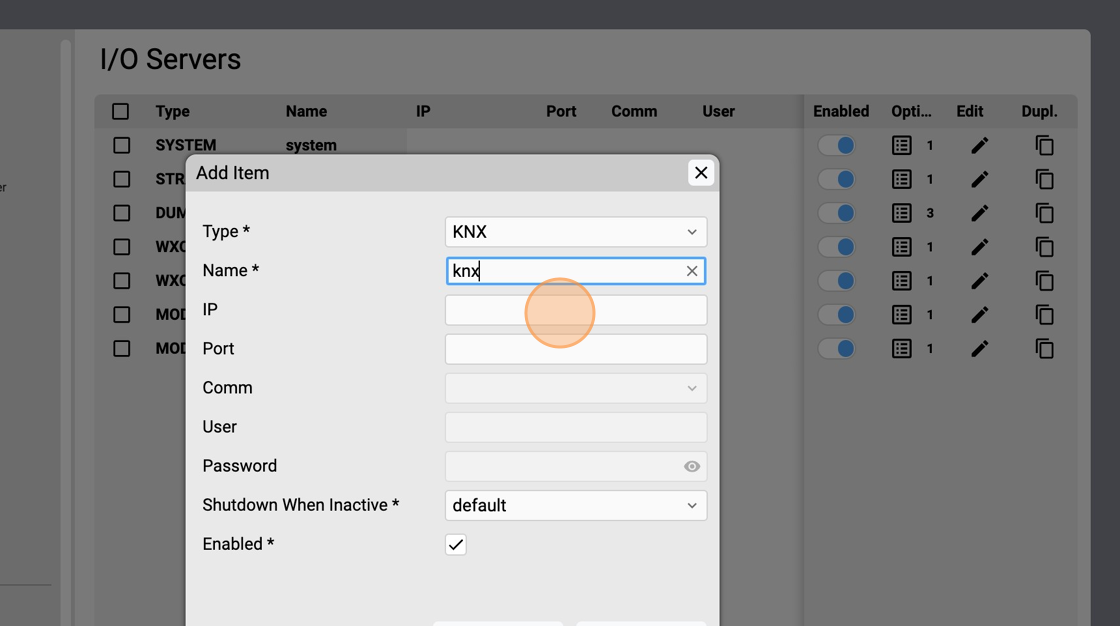
11. Type the IP address of a KNX/IP gateway. For example: "192.168.1.188"
12. Select the port field.
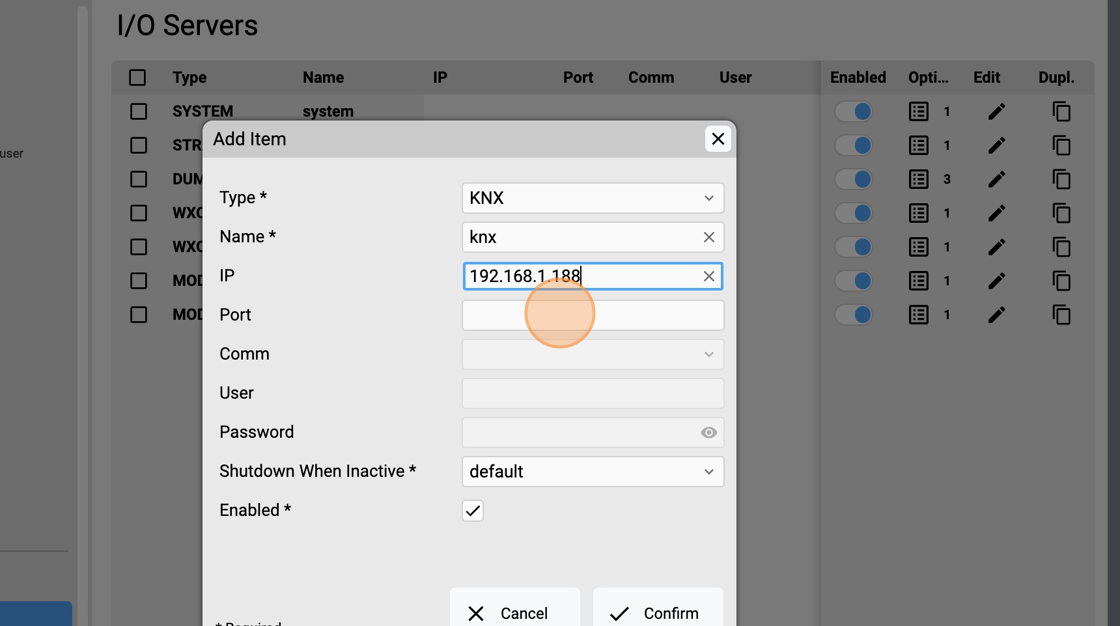
13. Specify the TCP port of KNX, default is "3671"
14. Click "+" to add an add the option startupevents equals to true. Setting to true means generating IO events also during the driver’s start-up phase.
15. Click "Confirm"
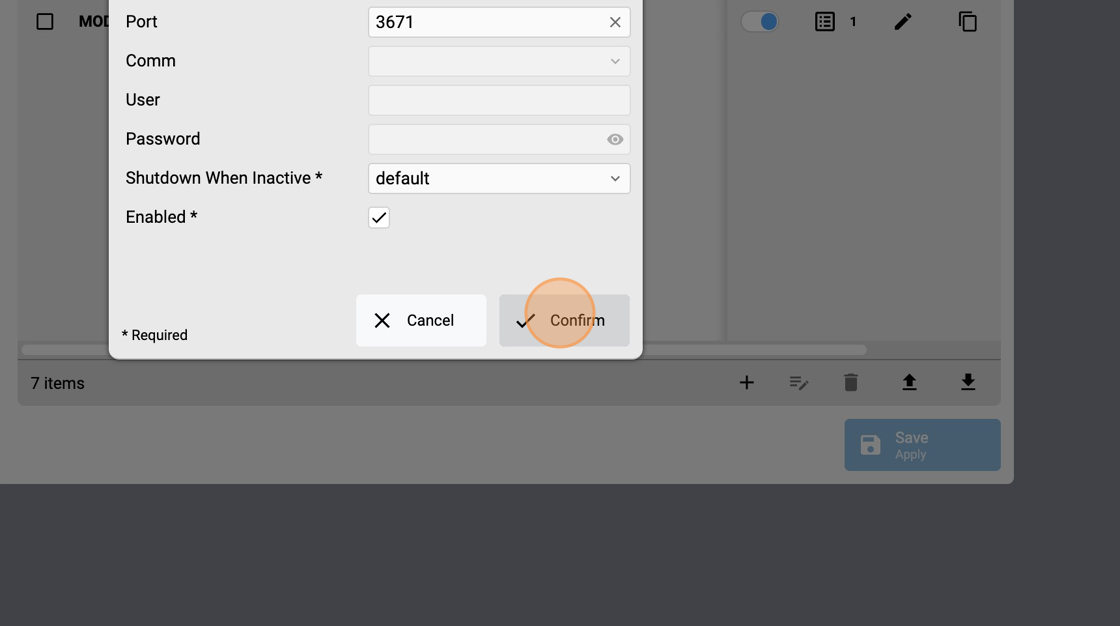
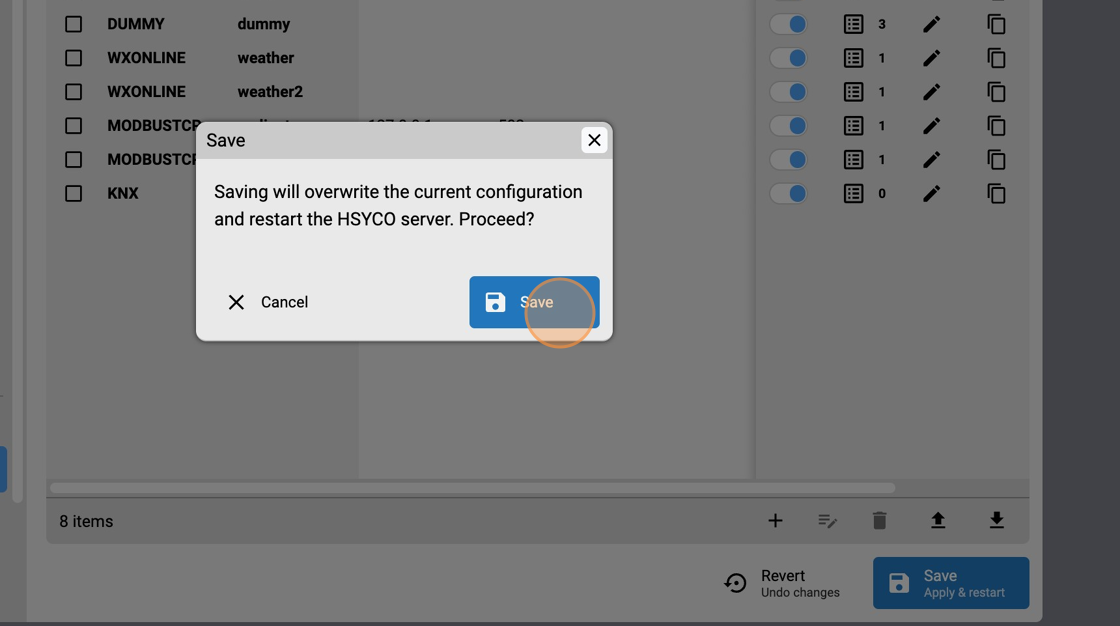
16. Click "Save"
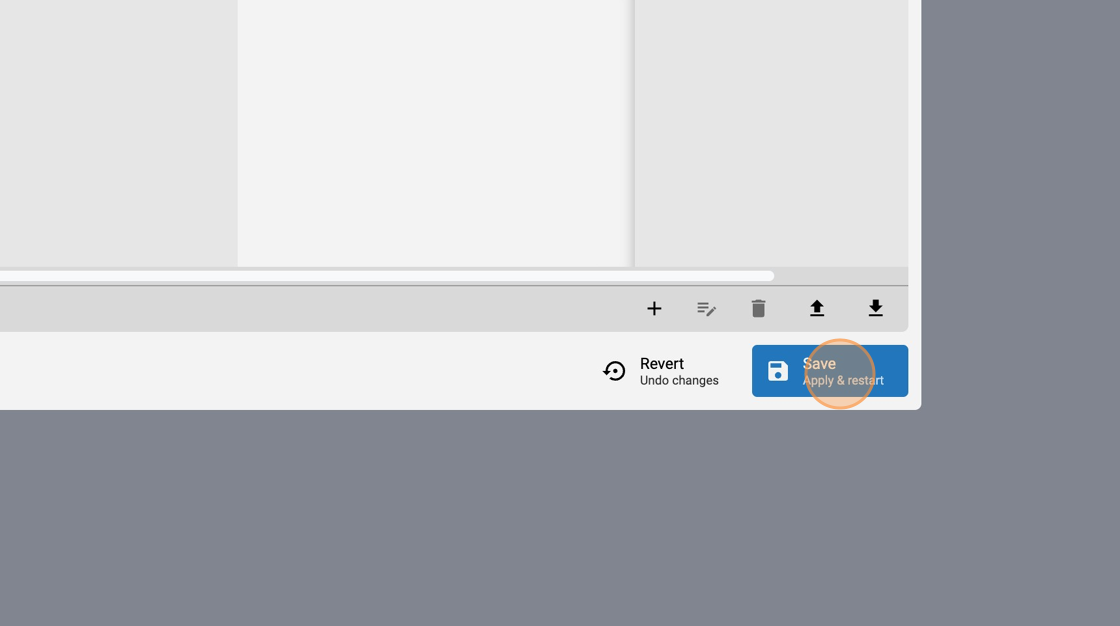
17. Click Save again to confirm.
HSYCO ETS .knxproj file import
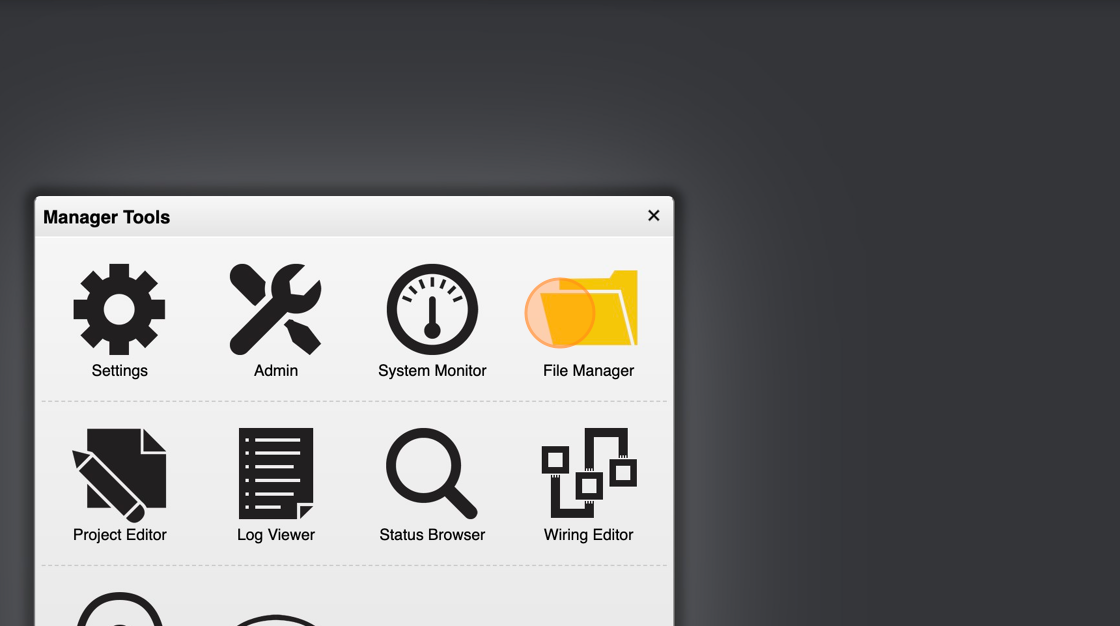
1. Go back to the Manager splash screen
2. Click the File Manager.
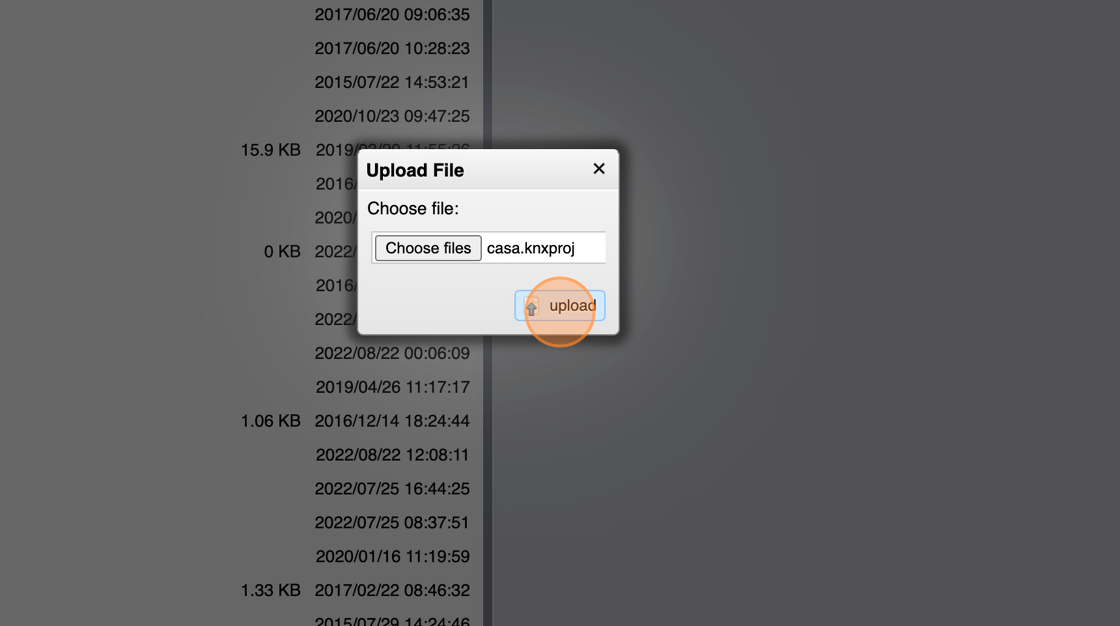
3. Click "upload files"
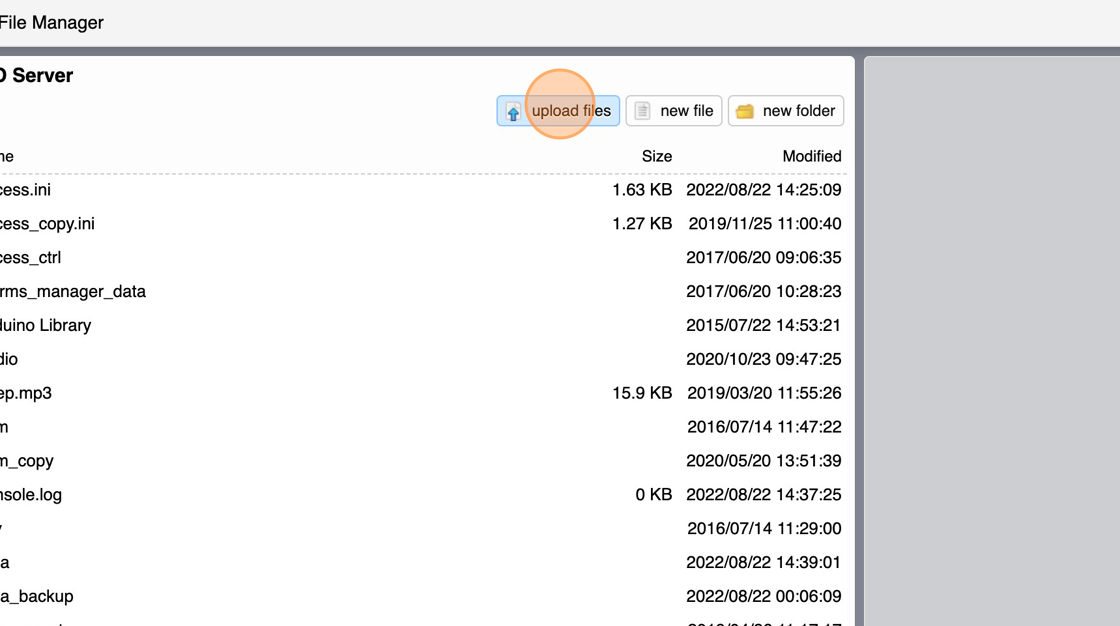
4. Click Choose files.
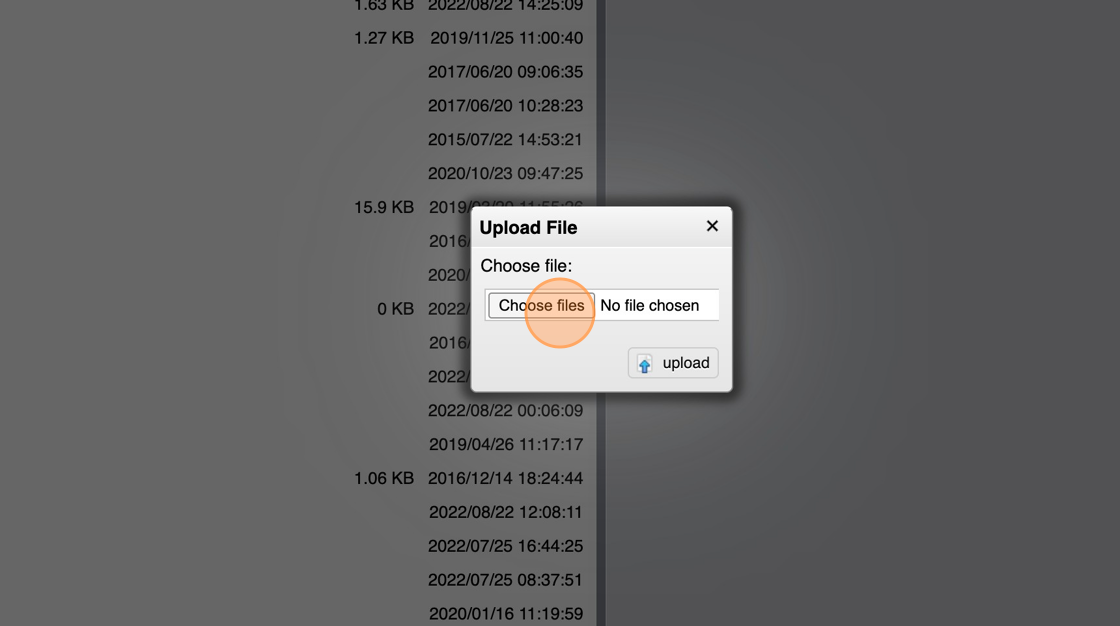
5. Choose your .knxproj file and click "upload"
6. Click the KNX Utility.
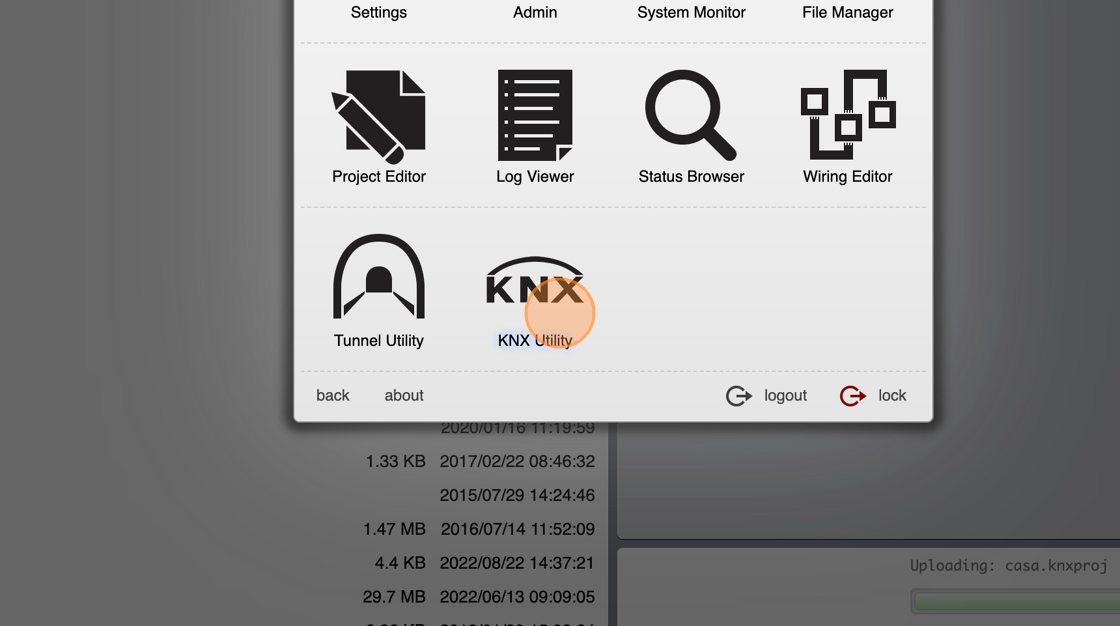
Read the KNX Utility section for more info.
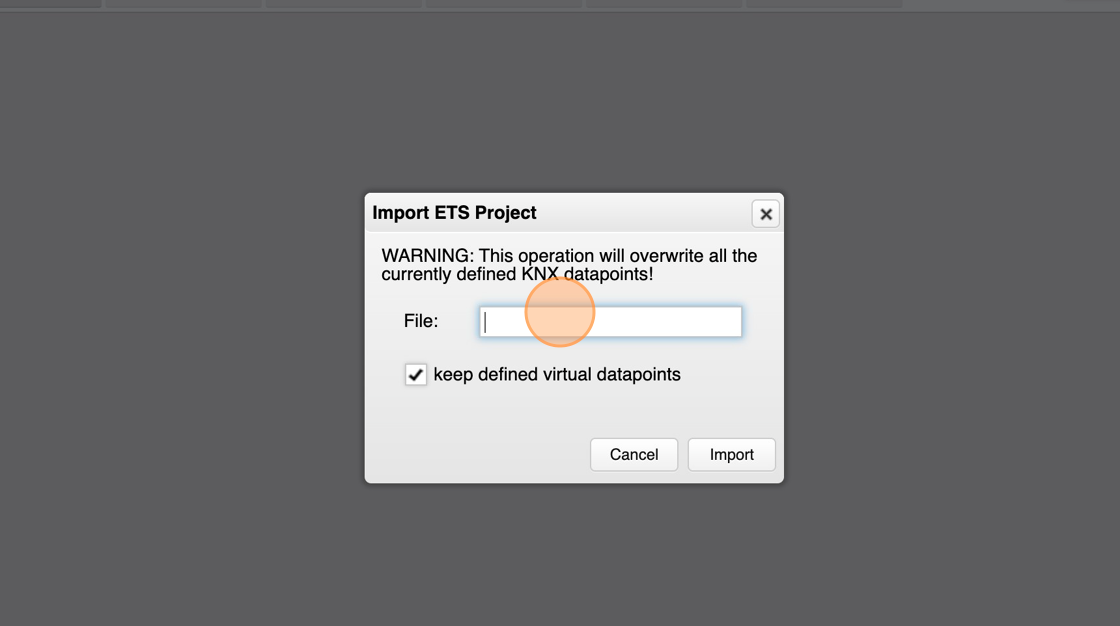
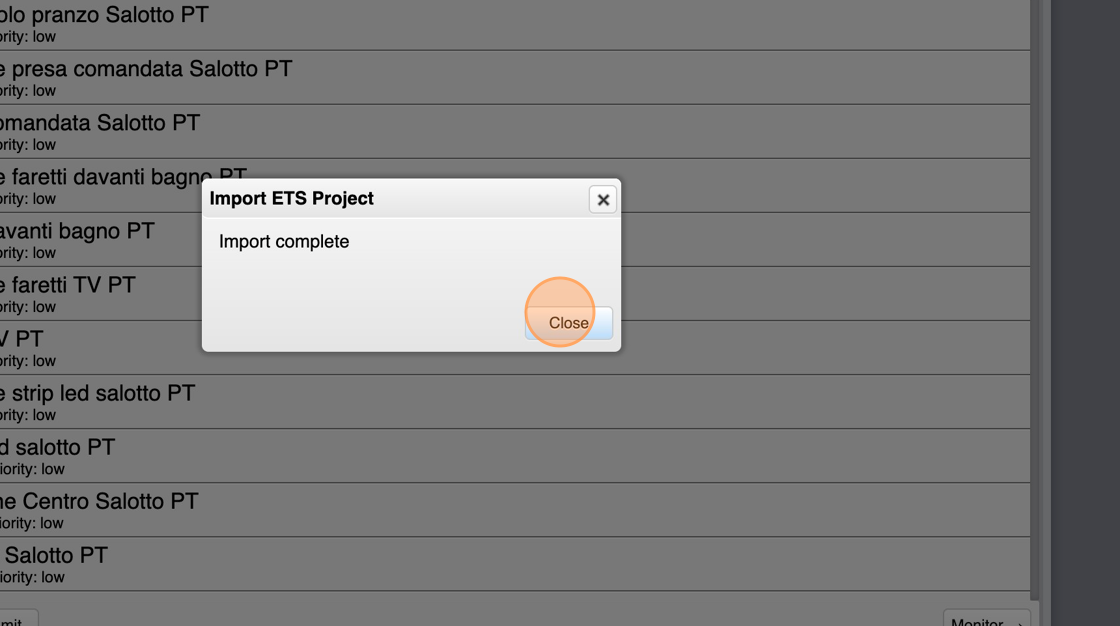
7. Click "Import"

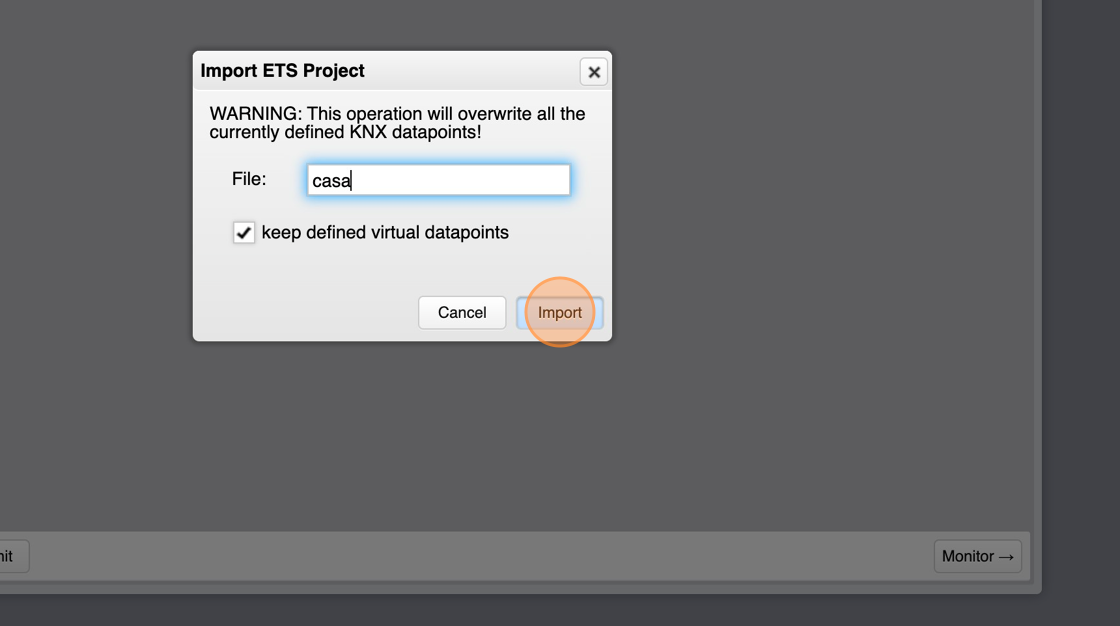
8. Input the name of the .knxproj.
9. Click "Import"
10. Click "Close"
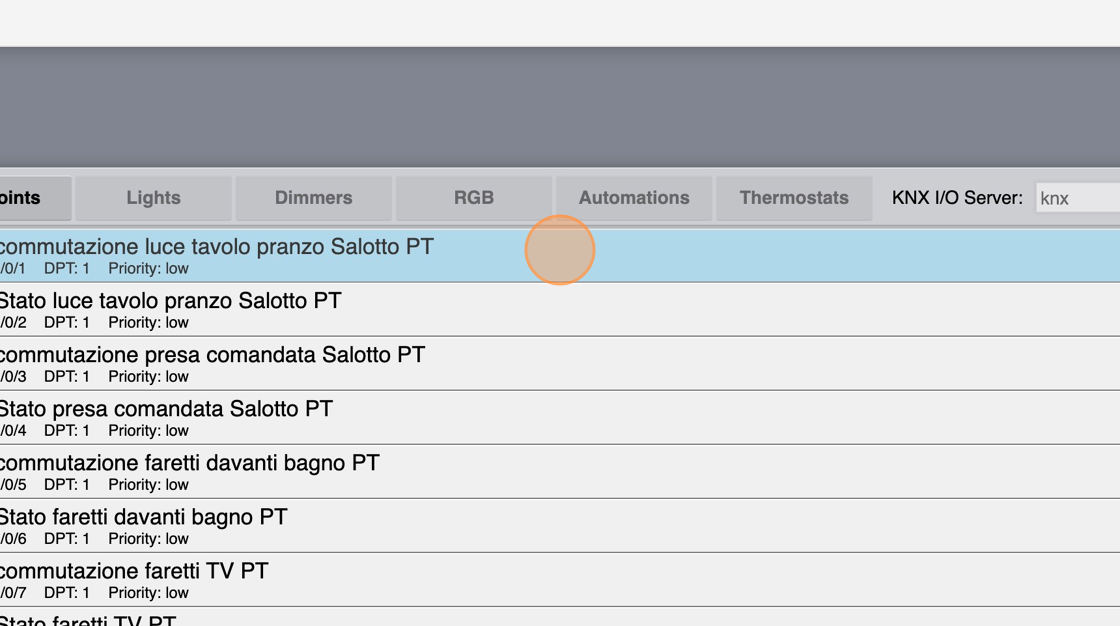
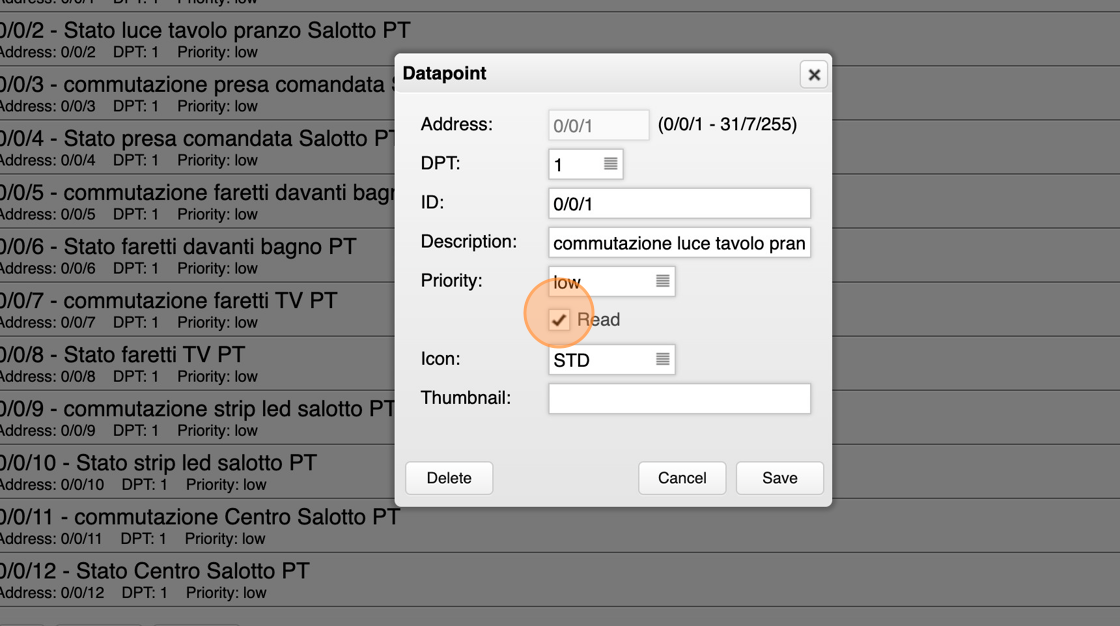
11. Edit all commands to uncheck the read check box whenever a KNX group is set as command only (write mode in ETS).
12. Uncheck the checkbox.
13. Click "Save"
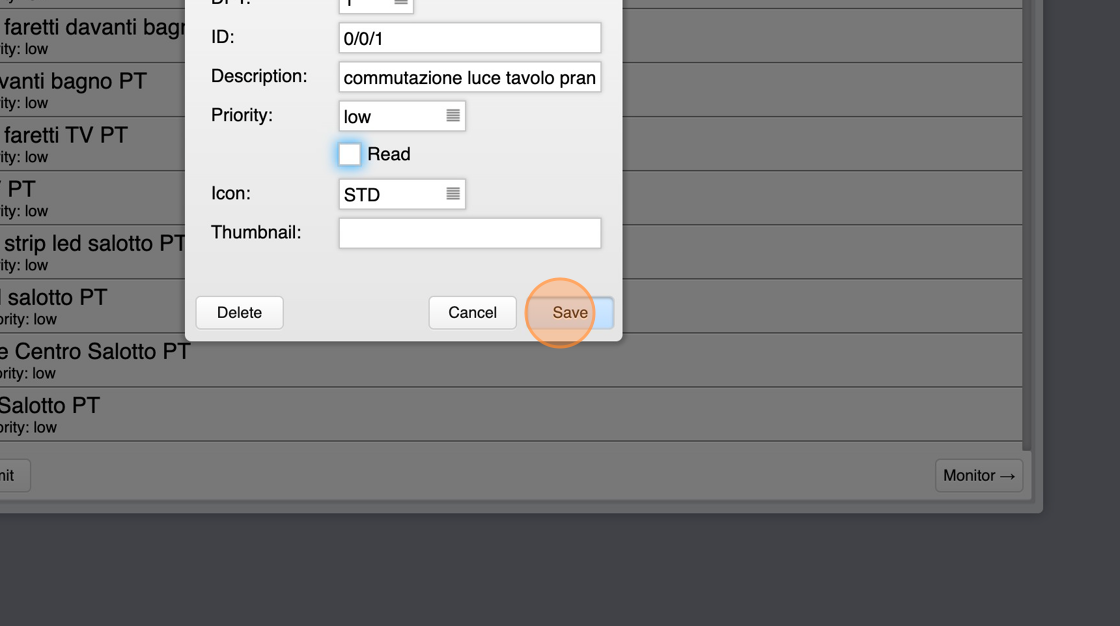
14. Repeat step 11 to 12 for all commands
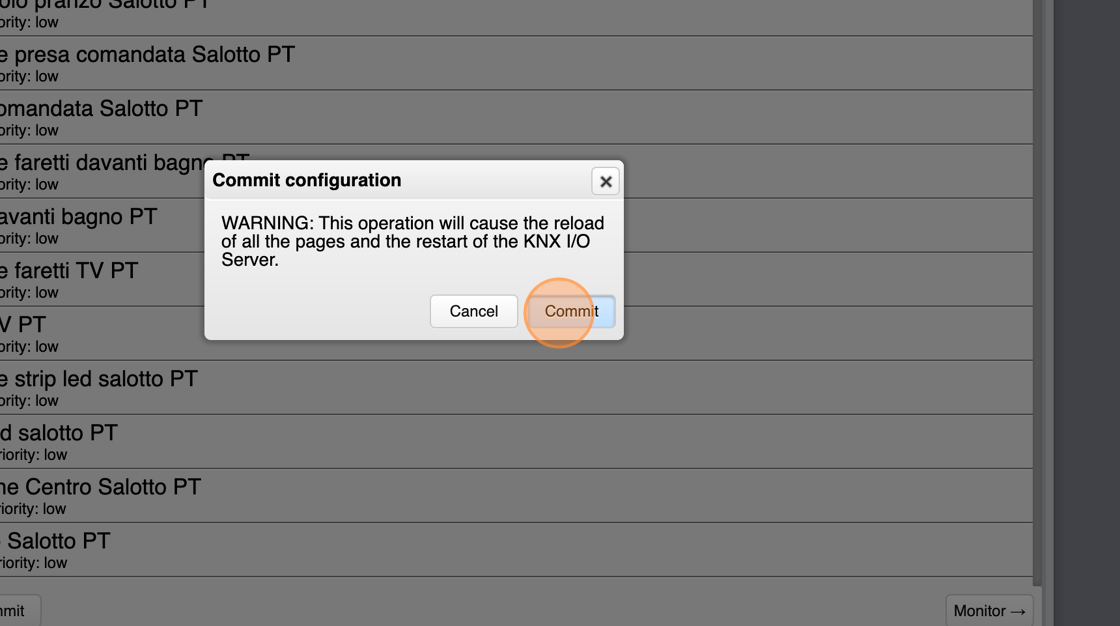
15. Click "Commit"
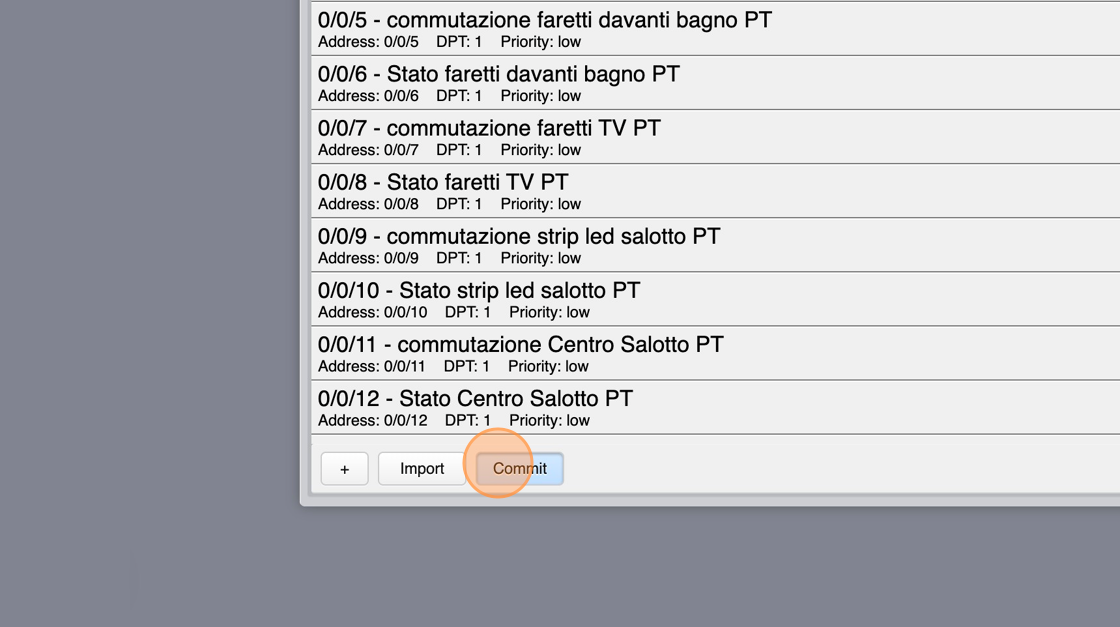
16. Click "Commit" again
Check the connection status
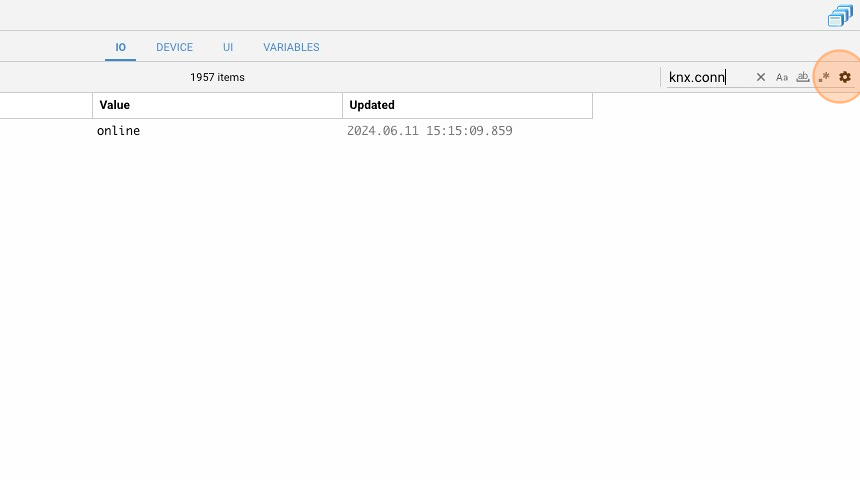
1. Let’s now check the connection status of the I/O Servers we just added. Go back to the Manager splash screen and click on Status Browser.
2. Click the "Filter" field to search for the connection datapoint.
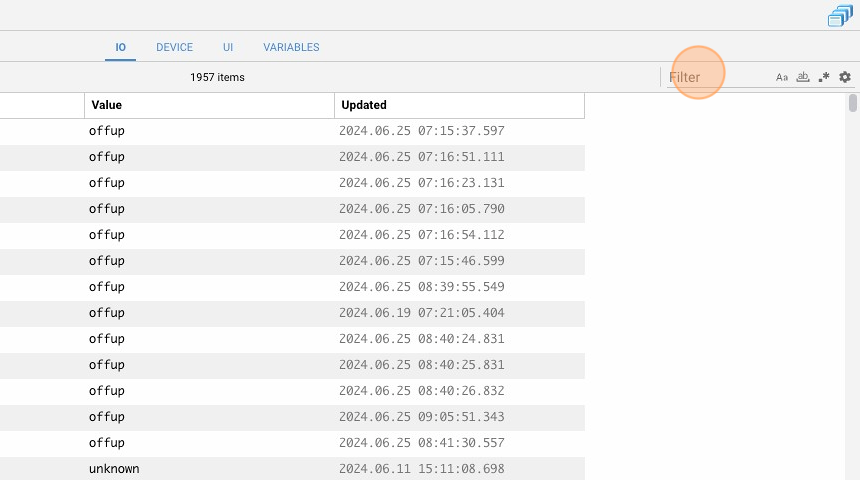
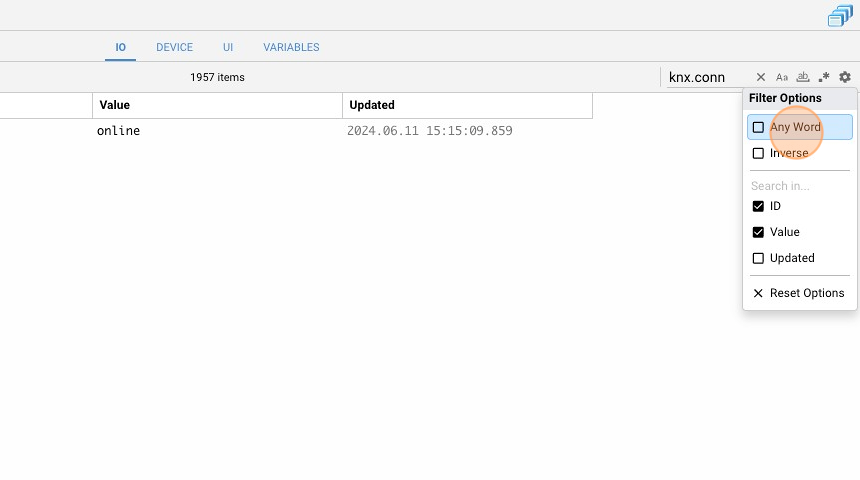
3. Click on the settings icon.
4. Click "Any Word". When using this option, the search will return entries that contain any of the specified words, rather than requiring all of them to be present.
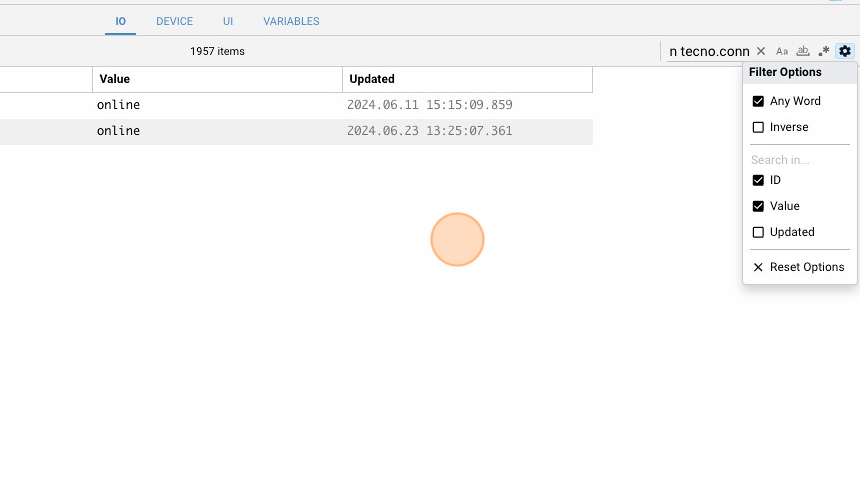
5. Type " tecno.conn" and "knx.conn"
6. If the datapoints ‘tecno.connection’ and ‘knx.connection’ are equal to ‘online,’ this means that both KNX and Tecnoalarm I/O Servers are successfully connected to HSYCO.
EVENTS scripting
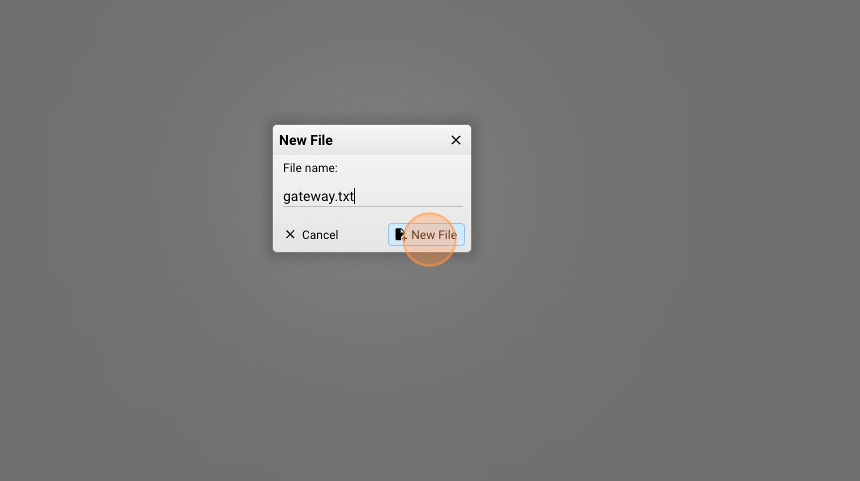
1. From the Manager splash screen select Code Editor.

2. Click "New Events File"
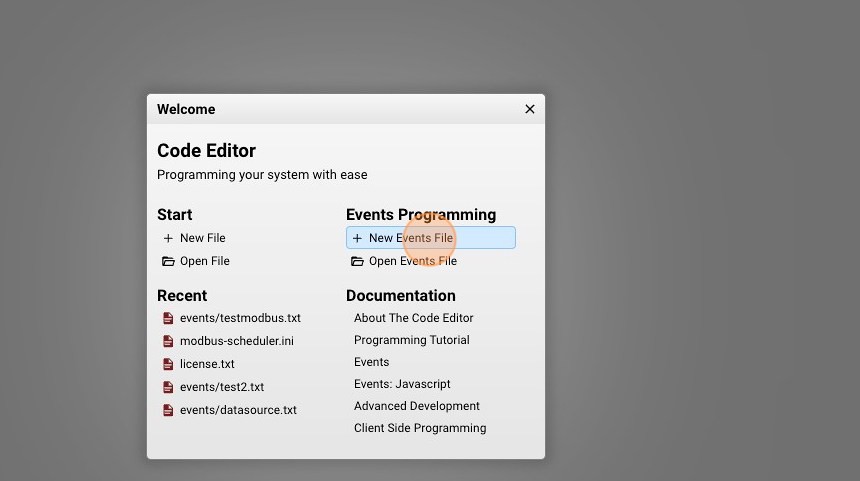
3. Give a name to your script, for example: "gateway.txt"
4. Click "New File"
5. Now it's time to write some lines of code.
For further information about the logic of EVENTS programming, read EVENTS programming quickstart
Let's start with some simple functions:
#when a KNX group is set to 1, arm a Tecnoalarm program
io knx.1/2/3 = 1 : io tecno.program.1 = arm

#when a KNX group is set to 0, disarm a Tecnoalarm program
io knx.1/2/3 = 0 : io tecno.program.1 = disarm

#when a KNX group is set to 1, enable a Tecnoalarm sensor
io knx.4/5/6 = 1 : io tecno.zone.1 = enable

#when a KNX group is set to 0, disable a Tecnoalarm sensor
io knx.4/5/6 = 1 : io tecno.zone.1 = disable

#when a Tecnoalarm zone is in alarm or not set a KNX group at the same value
io tecno.zone.1.alarmmemory : io knx.7/8/9 = io tecno.zone.1.alarmmemory
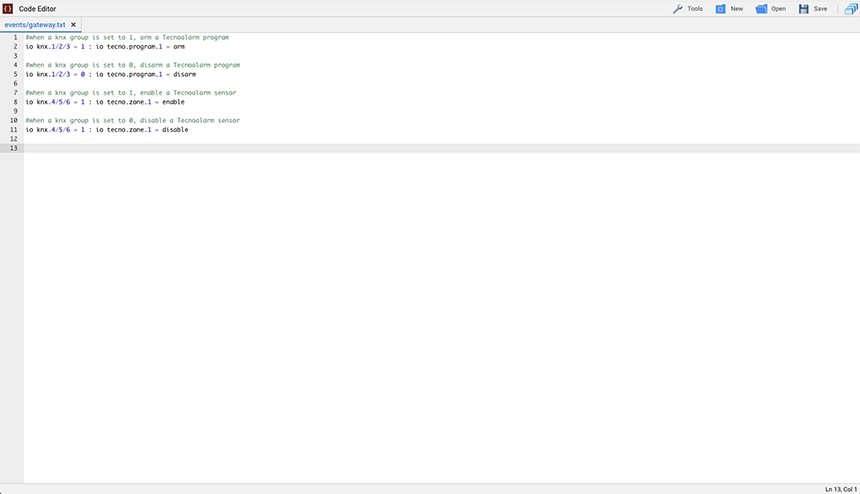
Click ‘Save’ in the upper right corner to activate this script. From this moment, whenever the datapoint knx.1/2/3 or knx.4/5/6 changes status from 0 to 1 or vice versa, the corresponding line of EVENTS code will be triggered.
The complete list of all the datapoints generated by an I/O Server is available in the Integrations section.
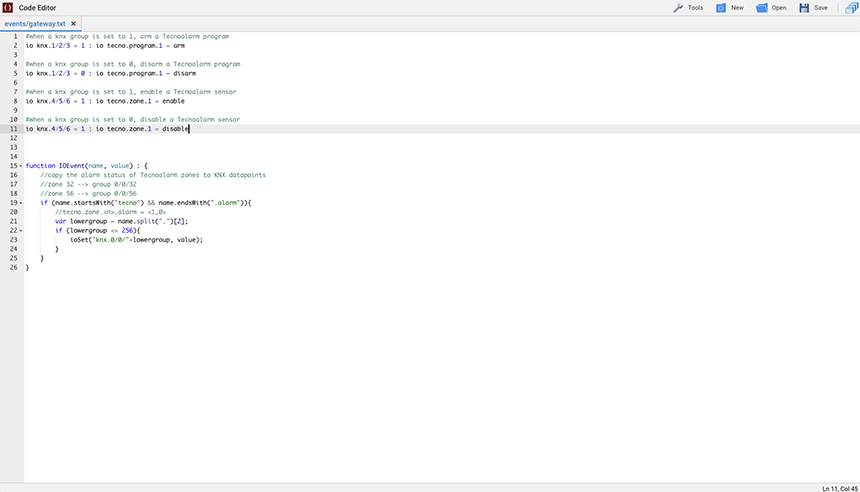
You can use Javascript as well:
function IOEvent(name, value) : {
    //copy the alarm status of Tecnoalarm zones to KNX datapoints
    //zone 32 --> group 0/0/32
    //zone 56 --> group 0/0/56
    if (name.startsWith("tecno") && name.endsWith(".alarm")){
        //tecno.zone.<n>.alarm = <1,0>
        var lowergroup = name.split(".")[2];
        if (lowergroup <= 256){
            ioSet("knx.0/0/"+lowergroup, value);
        }
    }
}
Let’s now explore some examples of more complex logic:
#if 1/2/50 = 1 and knx.1/2/51 is not 0 and it is night then activate a Tecnoalarm output
io knx.1/2/50 = 1 and not io knx.1/2/51 = 0 and NIGHT : io tecno.output.1 = 1

#enable/disable a Tecnoalarm zone at a specified time
TIME 0000 : io tecno.zone.1 = enable
TIME 0600 : io tecno.zone.1 = disable

#every 10 seconds if the zone 2 of Tecnoalarm is in alarm memory, set a KNX group to 1 for 2 seconds
INIT : PROGRAMTIMER every10seconds = REPEAT 10
PROGRAMTIMER every10seconds and io tecno.zone.2.alarmmemory = 1 : io knx.1/2/61 = 1, wait = 2, io knx.1/2/61 = 0