EVENTS programming quickstart
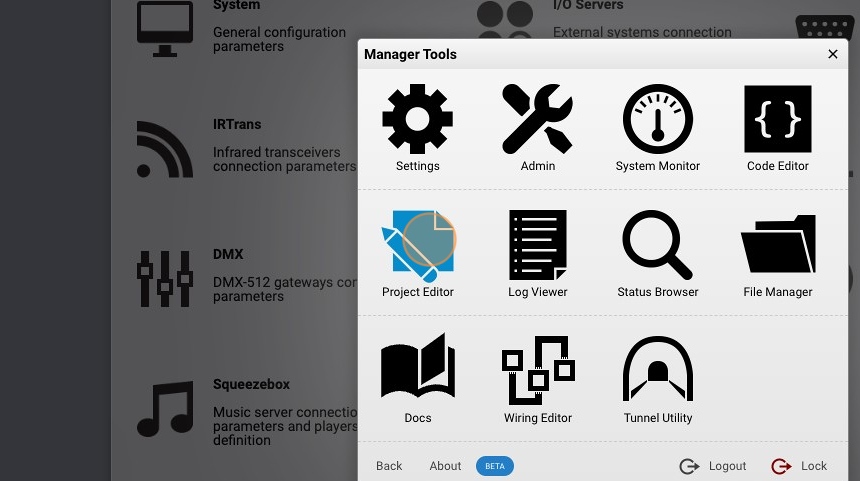
- Navigate to HSYCO Manager
To access HSYCO Manager open a browser and type the URL:
https://192.168.1.50/hsycoserver/manager
note
The IP address and the URLKey written above are the default ones
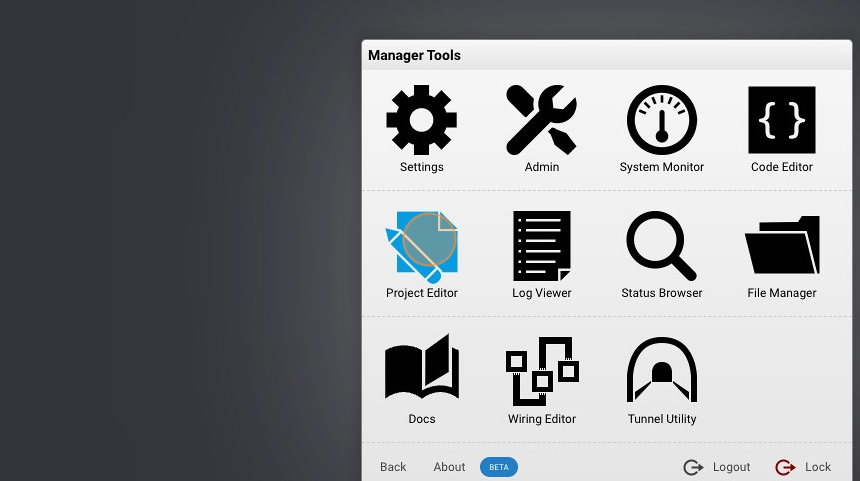
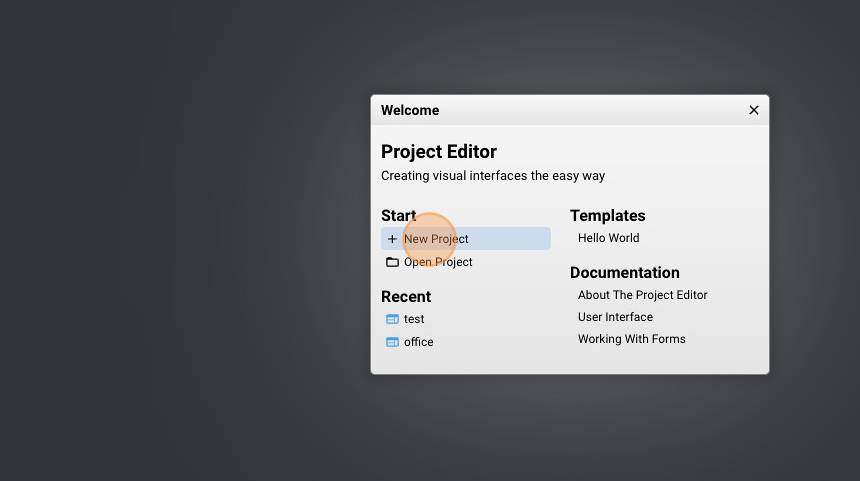
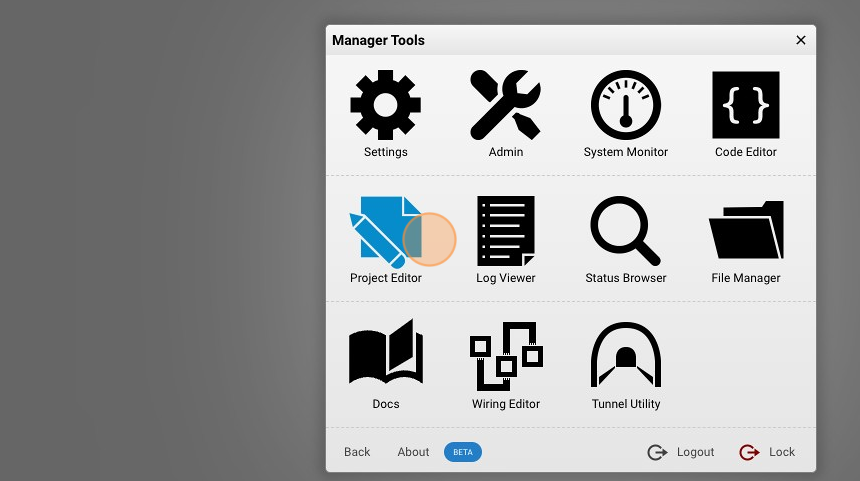
- Open the "Project Editor"
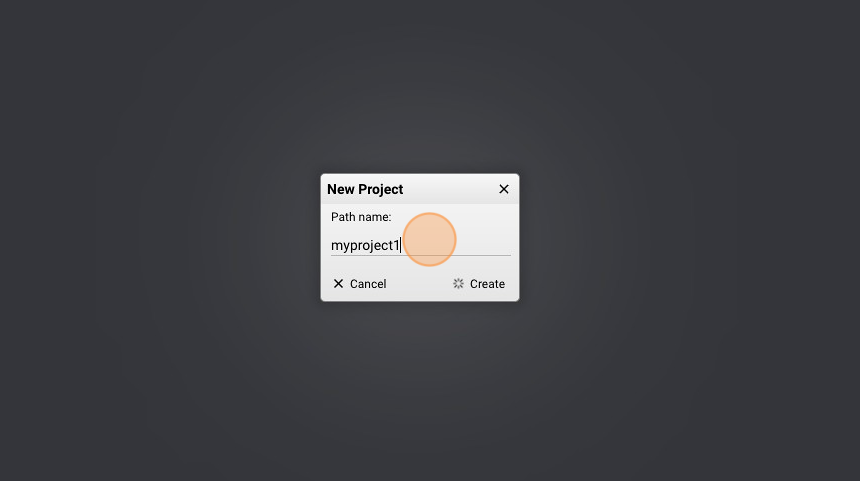
- Create a "New Project"
- Give it a name ("myproject1" for example) and click "Create"
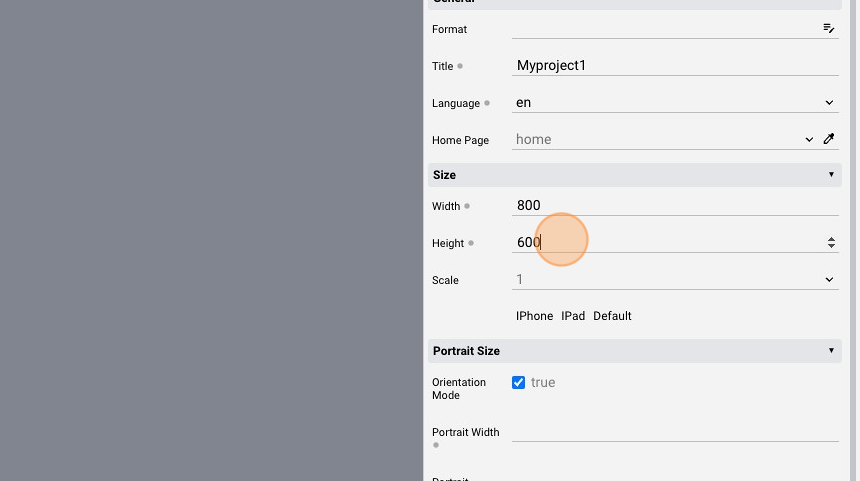
Landscape Project
- Change the "Width" to "800"
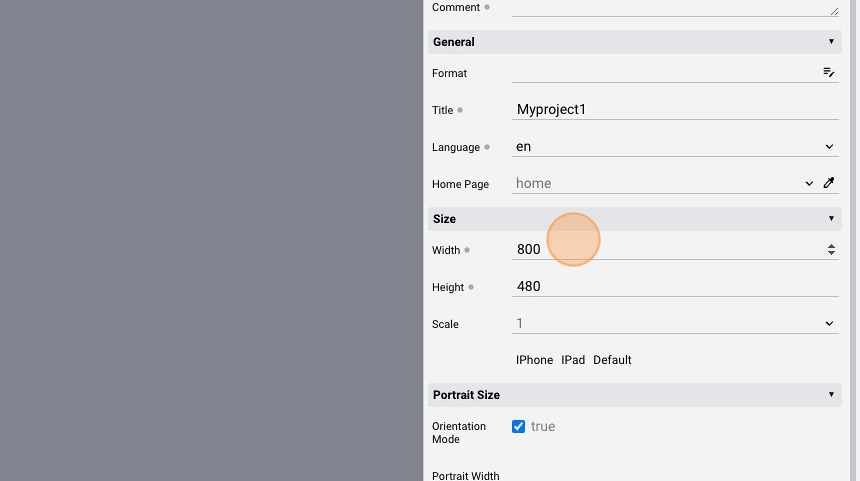
- Change the "Height" to "600"
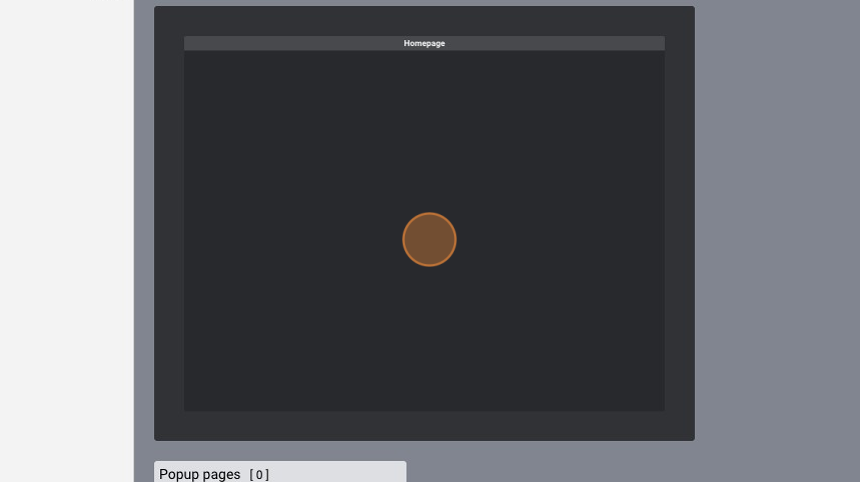
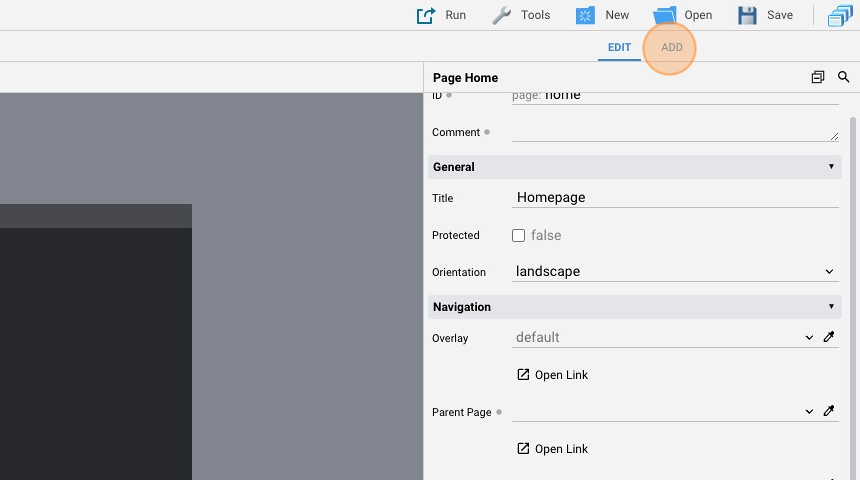
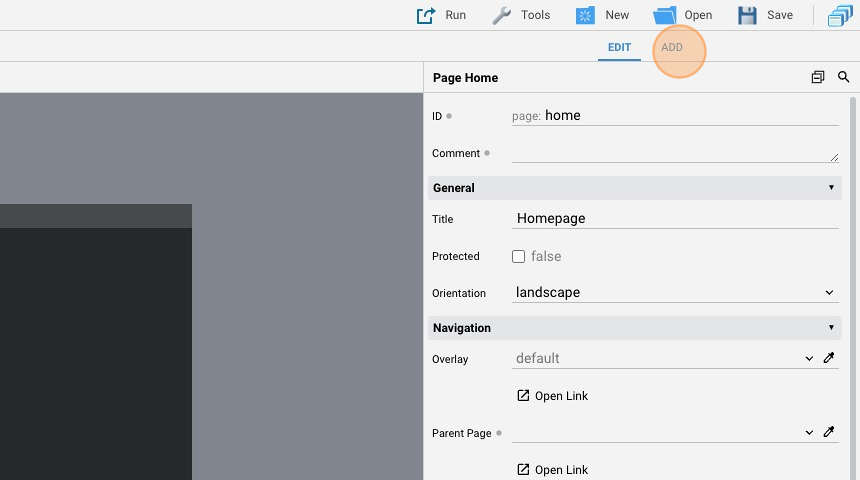
- Open the "home" page
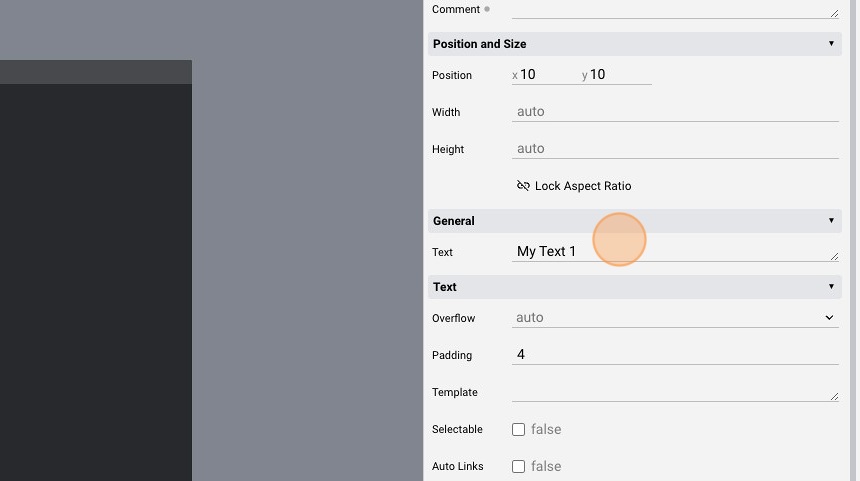
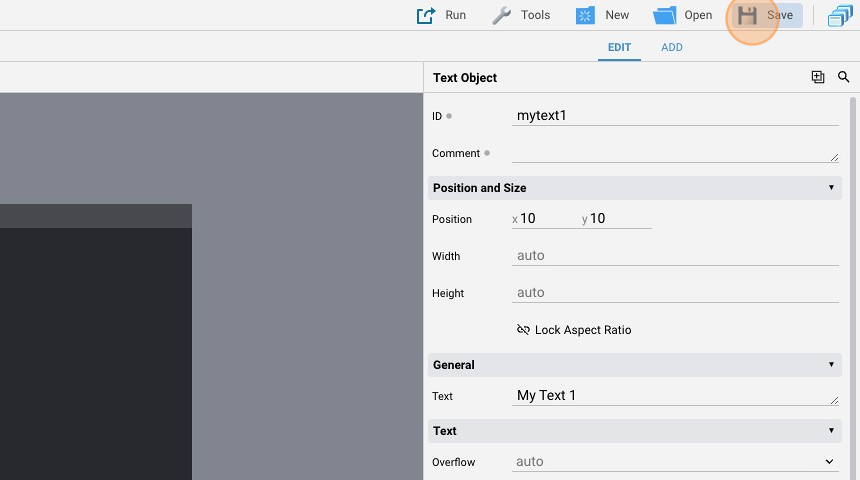
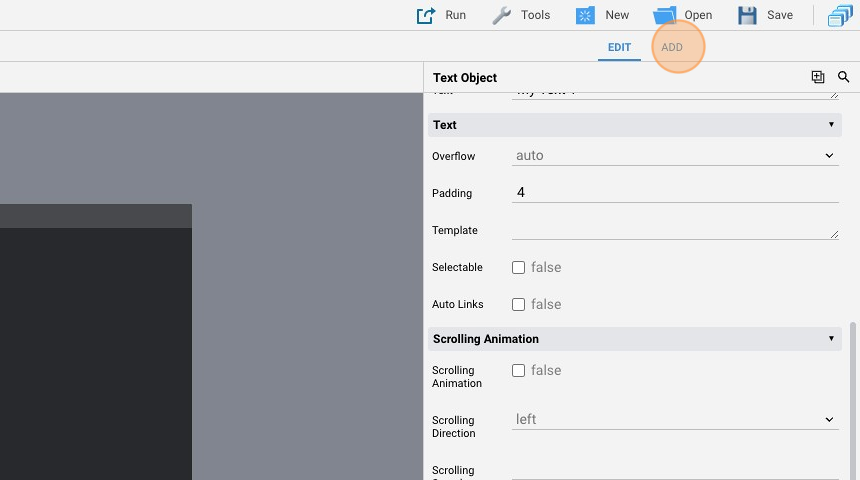
Text Object
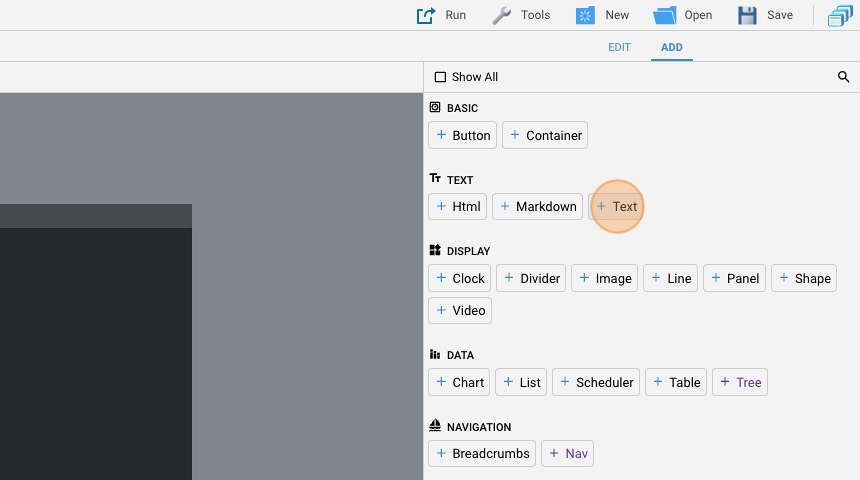
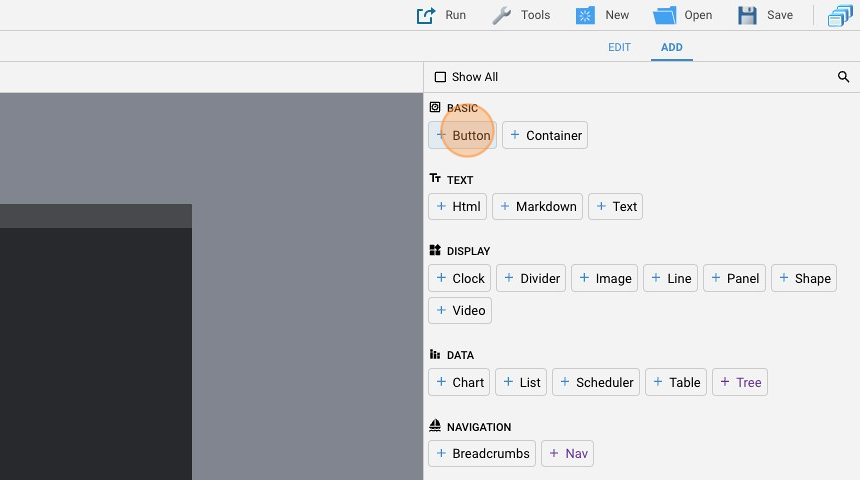
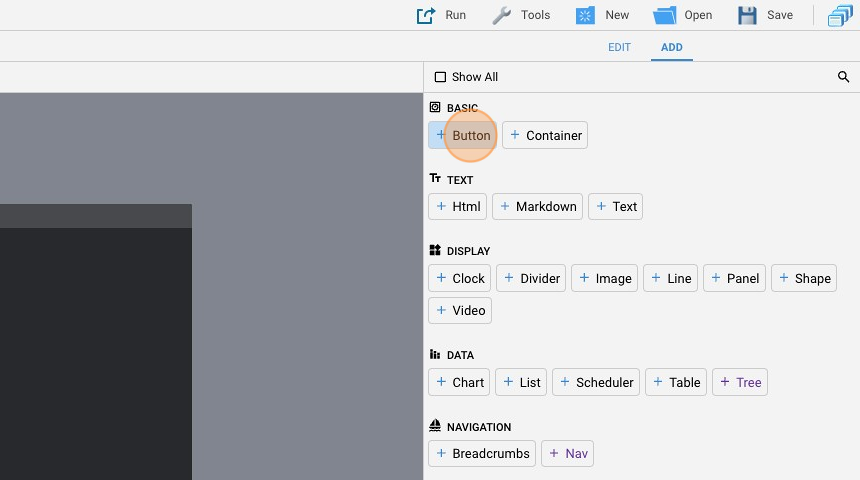
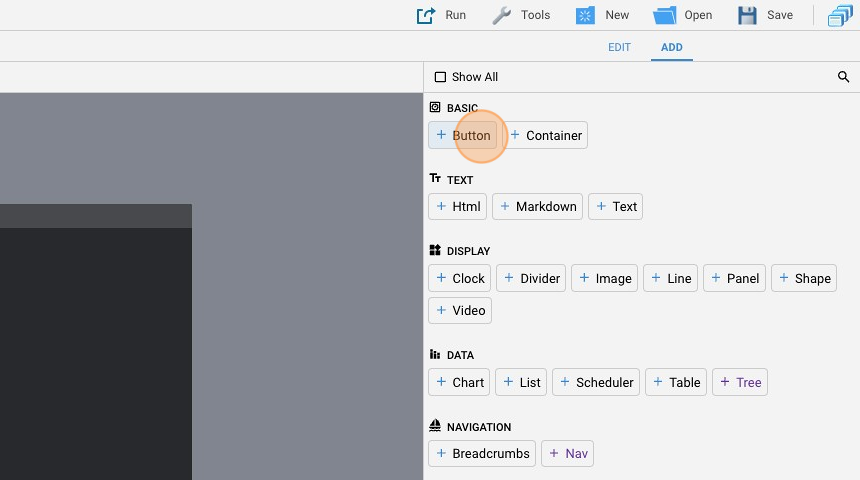
- Click "add"

- Add a simple "Text"
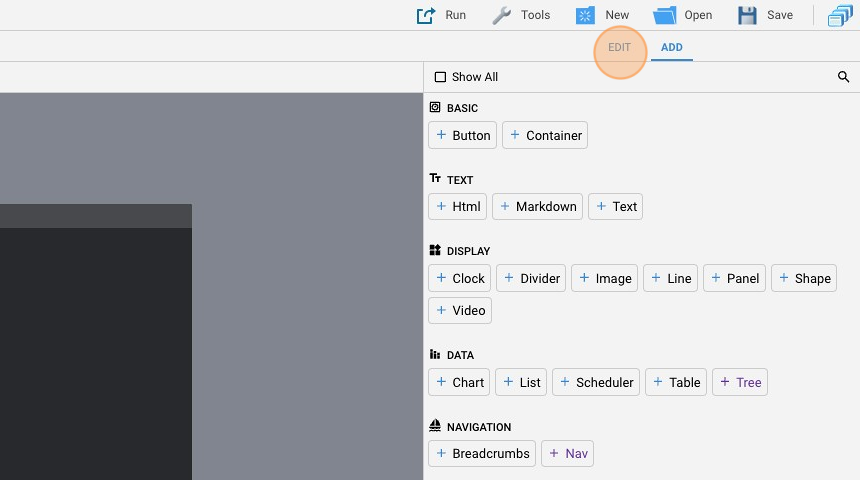
- Go back to "edit" mode
- Change the "ID" to "mytext1"

- Change the "Text" attribute to "My Text 1"
- Click "Save" to save the project
- Click here.
EVENTS code to change font color
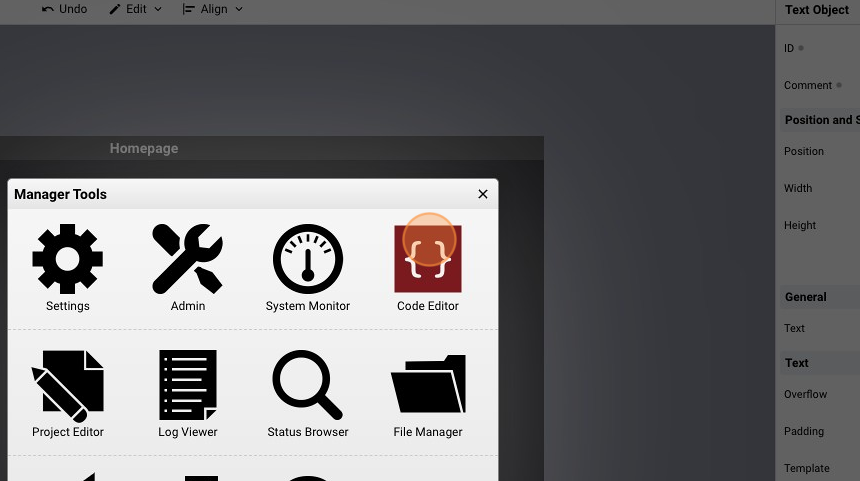
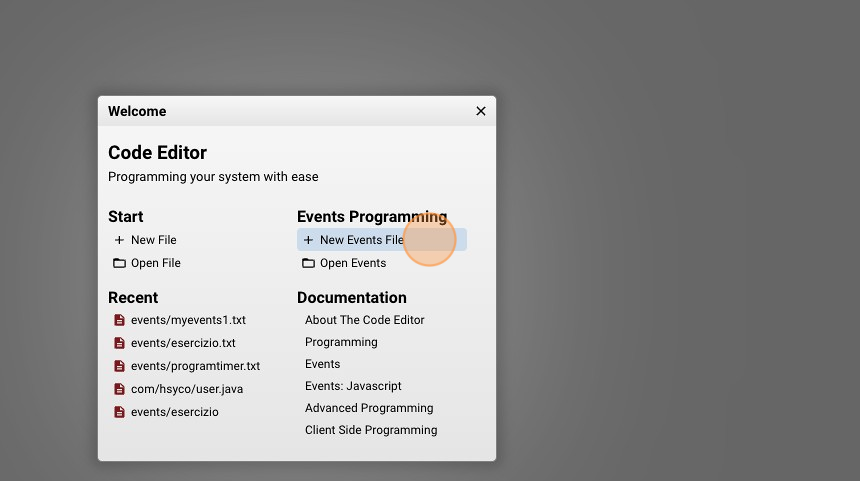
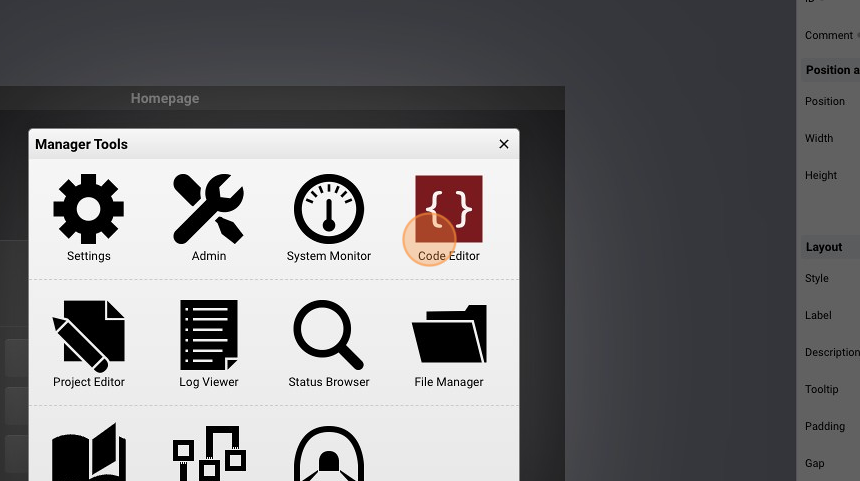
- Open the "Code Editor"
- Click "New Events File" to create a blank EVENTS file
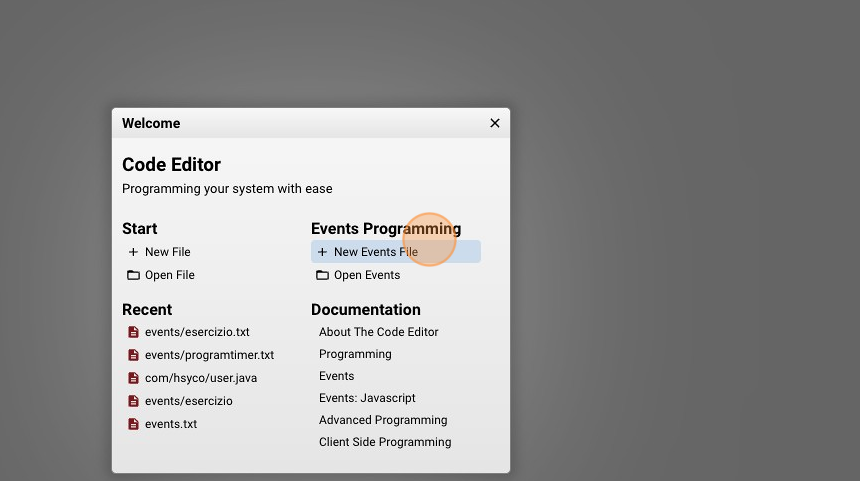
- Give it a name ("myevents1.txt" for example) and click "New File"
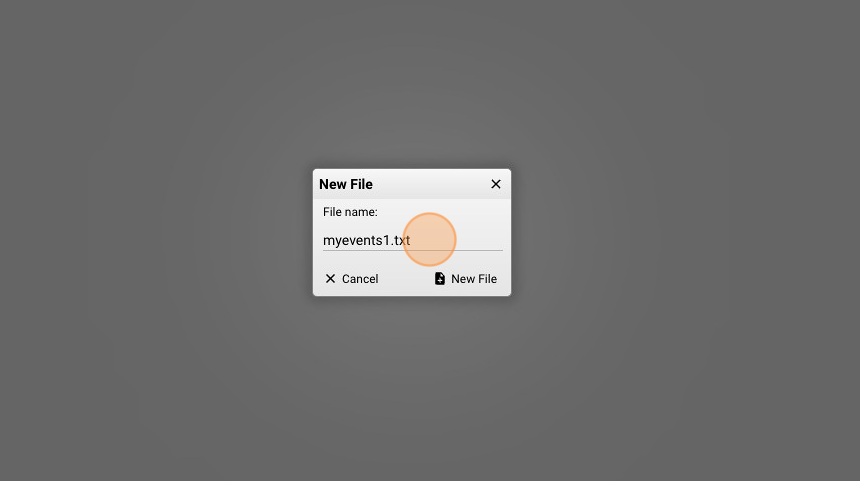
- Copy the following code and save the file:
INIT : UISET mytext1.fontcolor = "red"
This sets the "fontcolor" attribute of the object with id "mytext1" to "red"

- As you can see, the font color is now red

Dummy Server
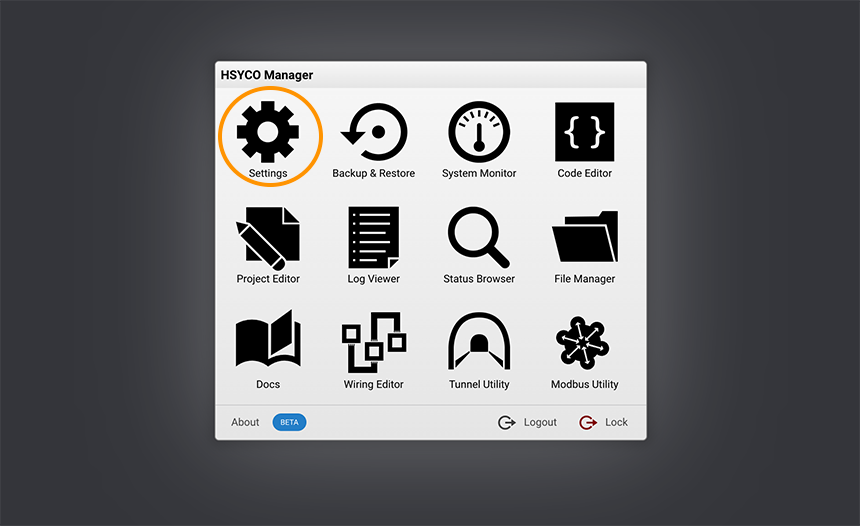
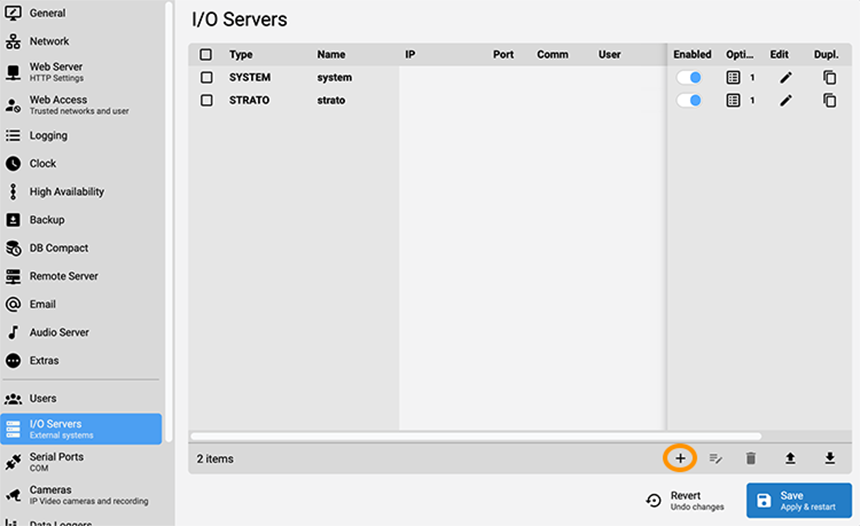
- Open the "Settings"
- Select "I/O Servers"
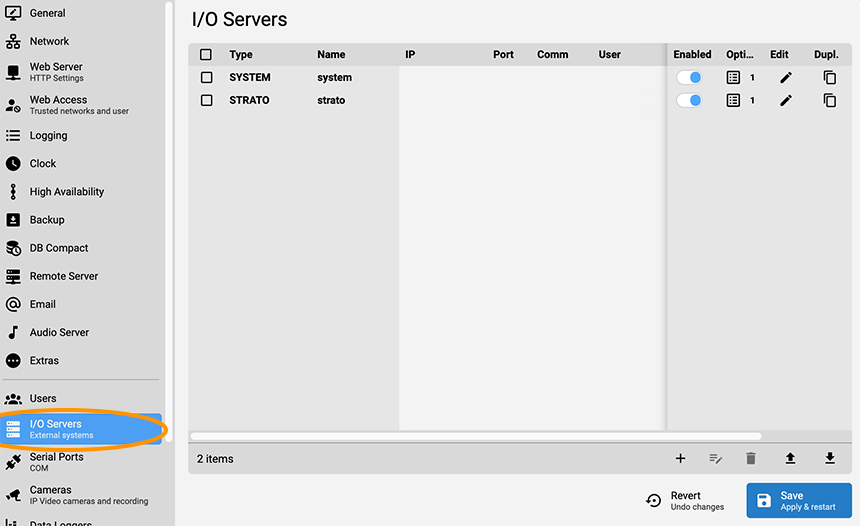
- Click "+" to add a new server
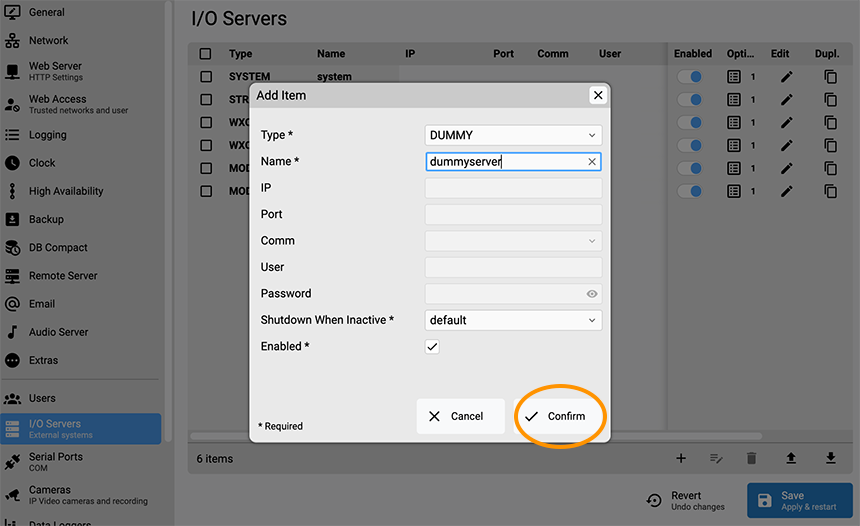
- Select the "DUMMY" type and give the server an "ID" ("dummyserver2" for example). Click "Confirm"
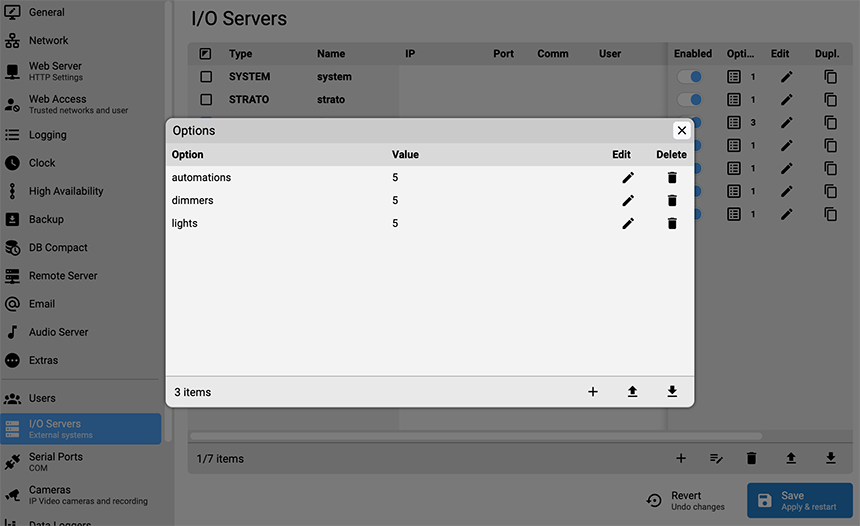
- Edit "Options" to add attributes to the server
-
Select the "dimmers" option and give it a value of 1. Click "OK" to confirm
-
Click "+" again
-
Select the "lights" option, give it a value of 3 and click "OK"
-
Click "Save"
-
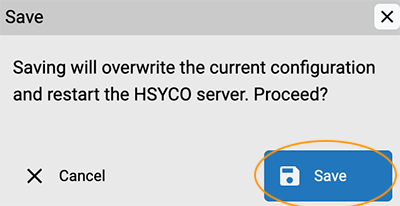
Click "Save" again and wait for HSYCO to restart
Dimmer Button
- Go back to "Project Editor"
- Click "add"
- Add a "Button"
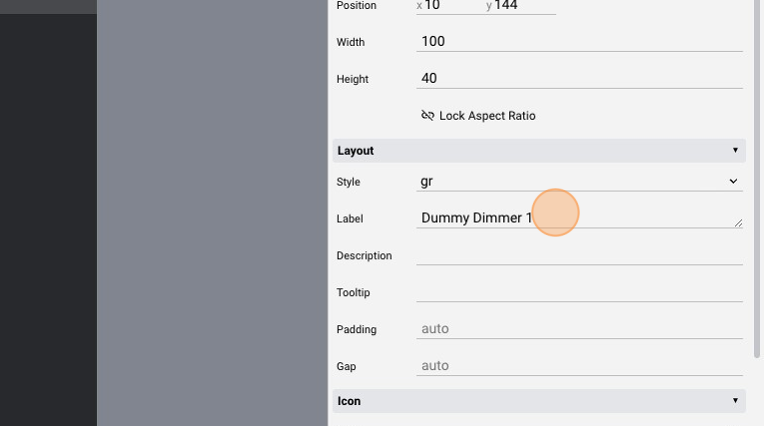
- Change the "ID" to "mydimmer1"
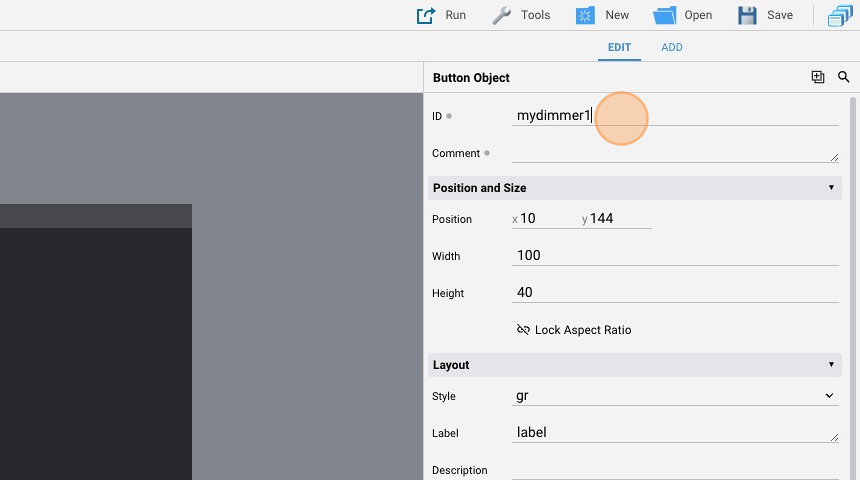
- Change the "Label" to "Dummy Dimmer 1"
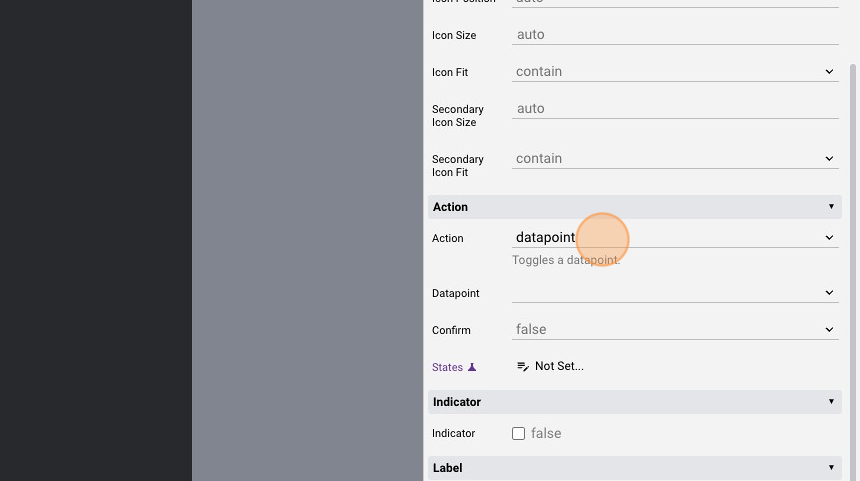
- Change the "Action" to "datapoint"
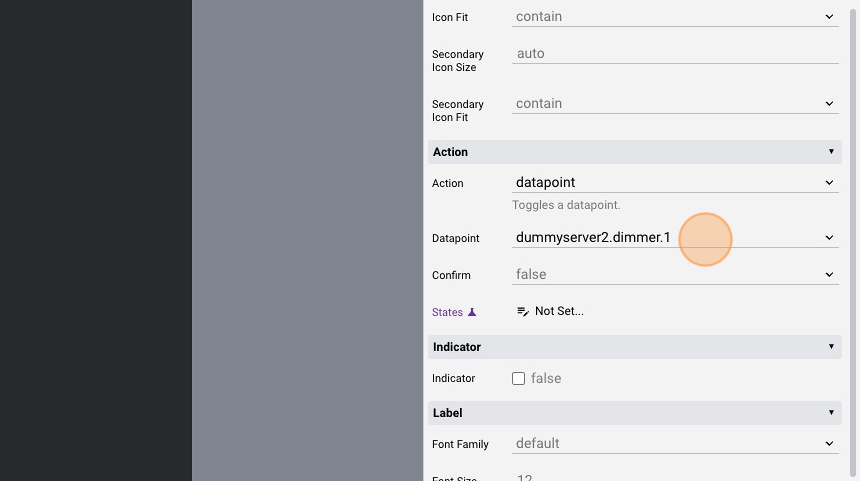
- Change the "Datapoint" to "dummyserver2.dimmer.1"
- Click "Save"

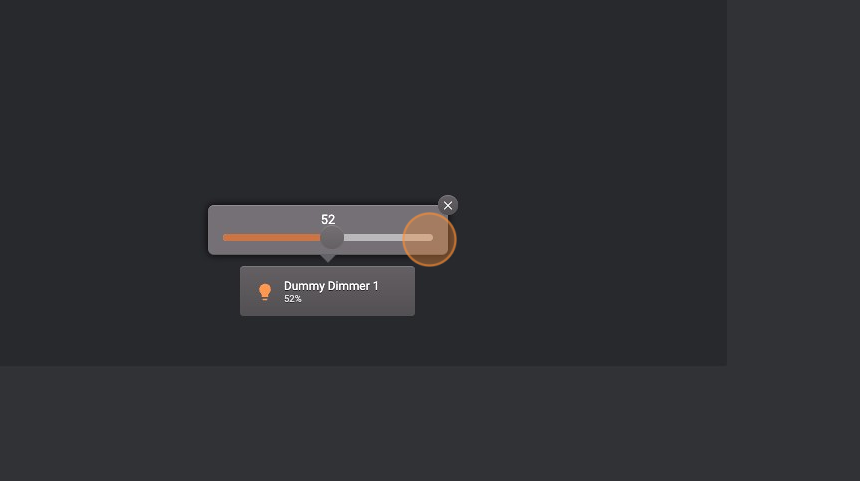
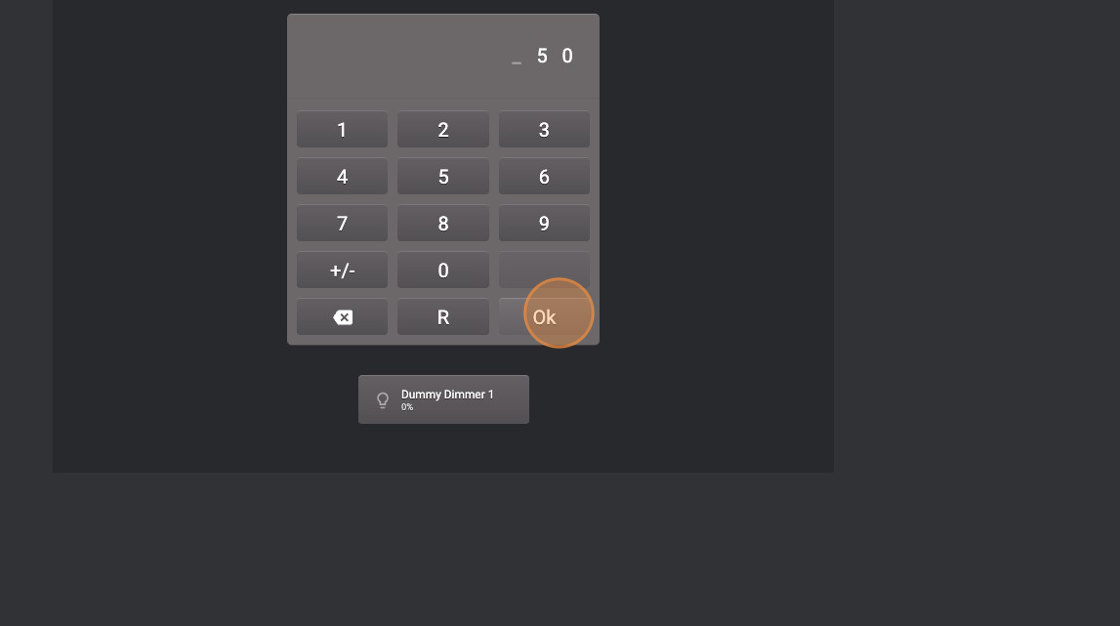
- Normally, pressing a dimmer button will open this popup to select the percentage of the dimmer
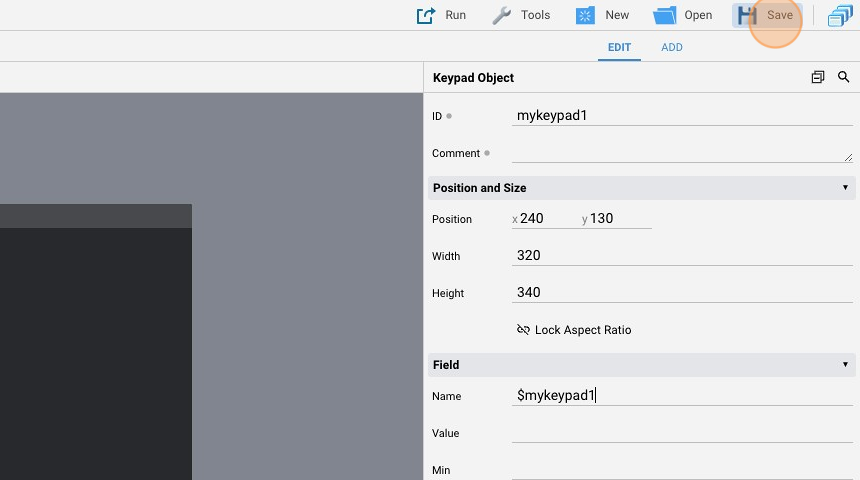
Keypad
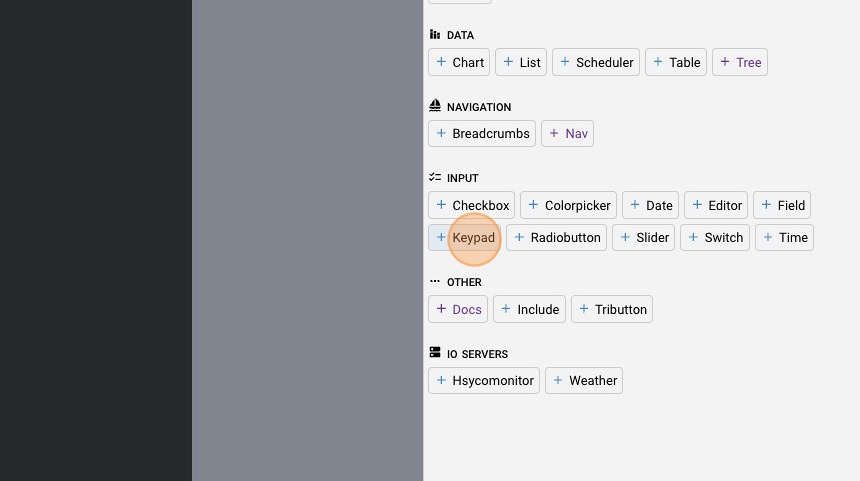
- Click "add"
- Add a "Keypad"
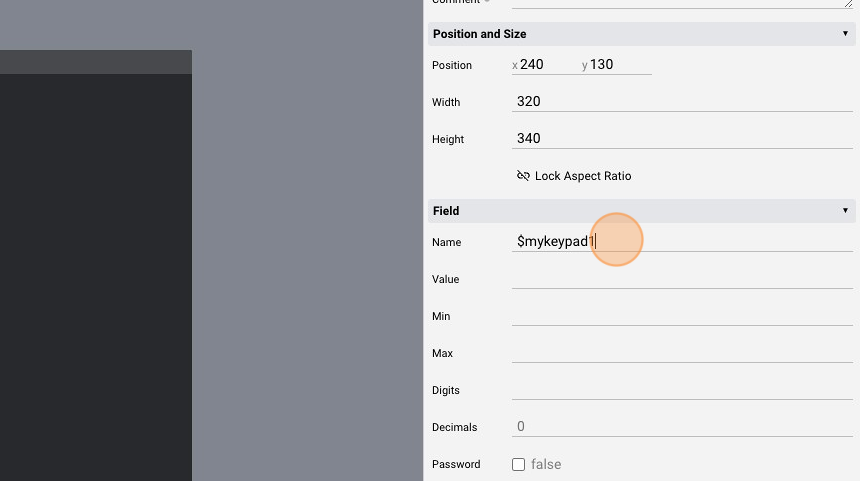
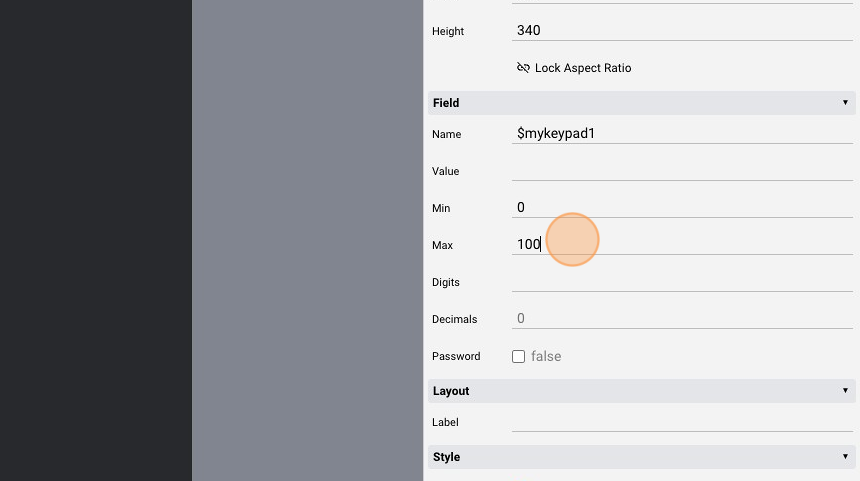
- Change the "ID" to "mykeypad1"

- Change the "Name" to "$mykeypad1"
- Change the "Min" attribute to "0"
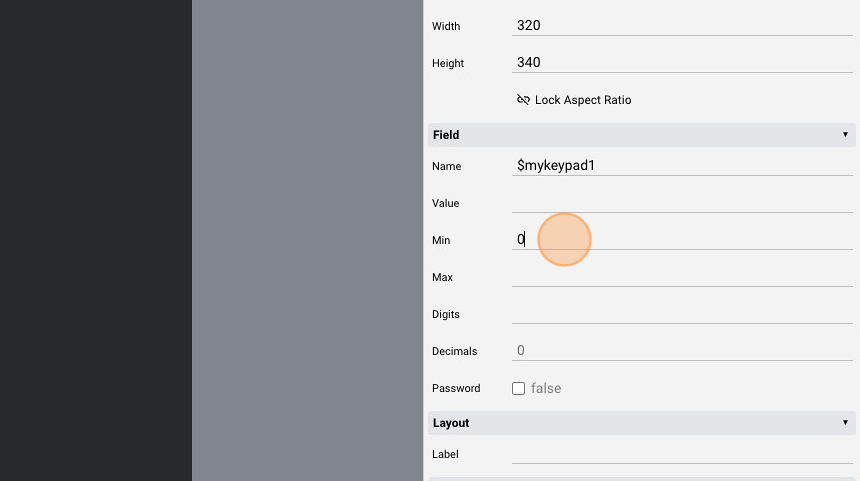
- Change the "Max" attribute to "100". Dimmers lights have values that go from 0 to 100 so setting the minimum and maximum value prevents us from inputting values outside of that range
- Click "Save"
EVENTS code to control dimmer with keypad
- Open the "Code Editor"

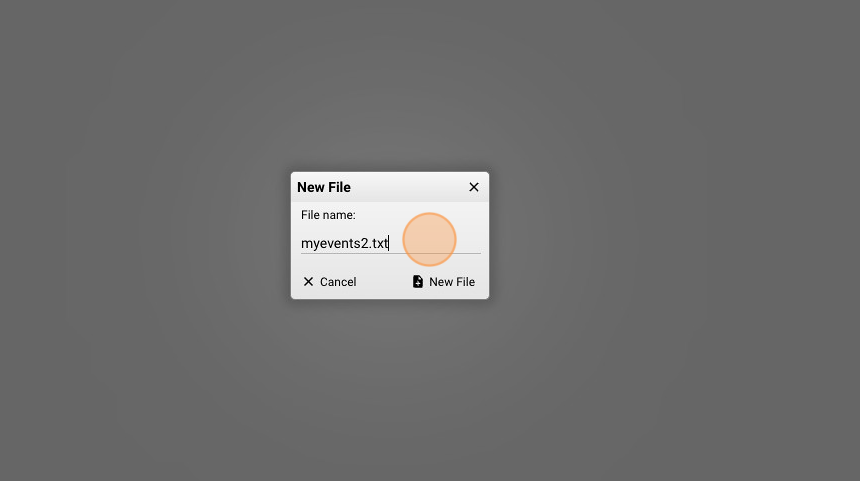
- Click "New Events File". You can create as many events file as you want, as long as they have different names (you can't have two files with the same name and different case) and they all have .txt extension
- Give the file a name ("myevents2.txt" for example) and click "New File"
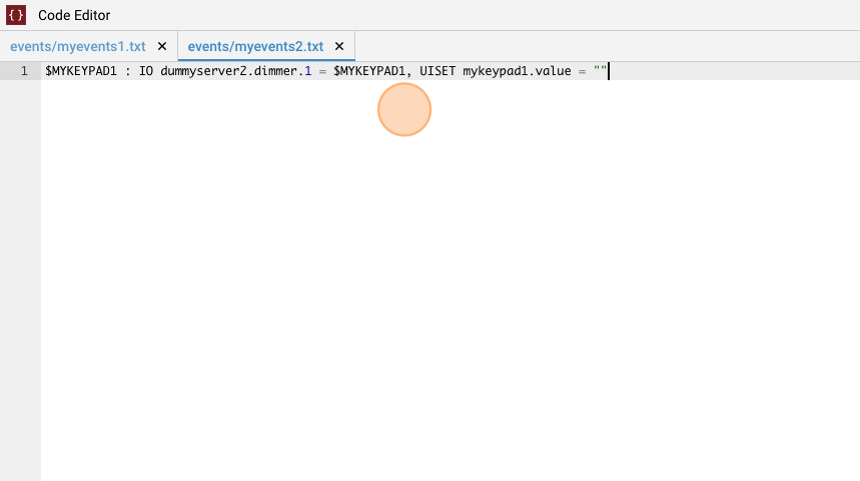
- Copy the following code and save the file:
$MYKEYPAD1 : IO dummyserver2.dimmer.1 = $MYKEYPAD1, UISET mykeypad1.value = ""
What this does is it sets the dummy dimmer value to the value in the "$mykeypad1" variable and then it empties the keypad so that new values can be selected
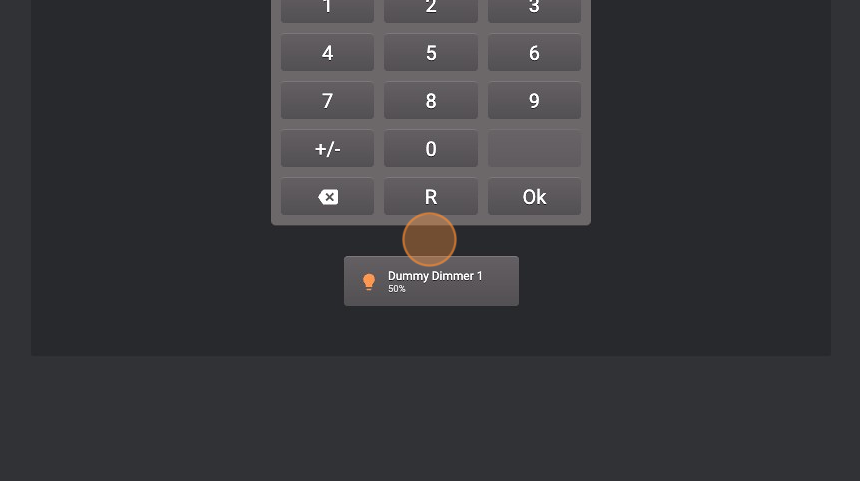
- Insert a value and click "Ok"
- As you can see, the dimmer light has now a percentage of 50%
Lights buttons
- Go back to "Project Editor"
- Click "add"
- Add a "Button"
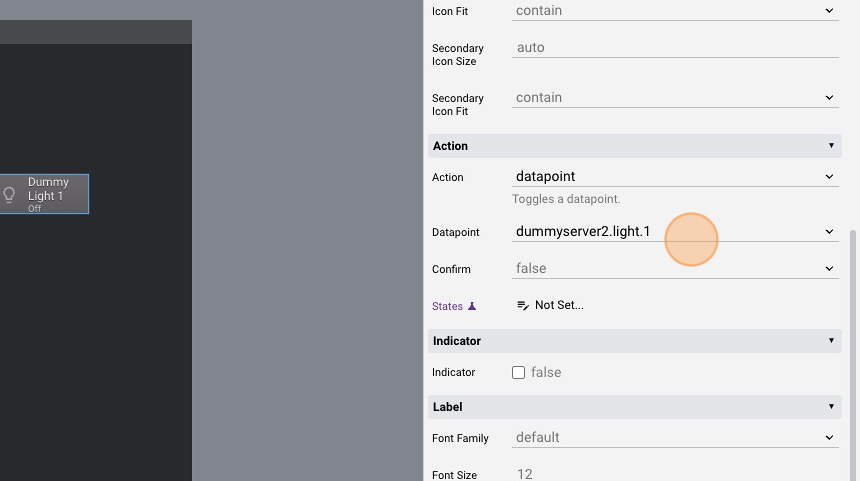
- Change the "Label" to "Dummy Light 1"
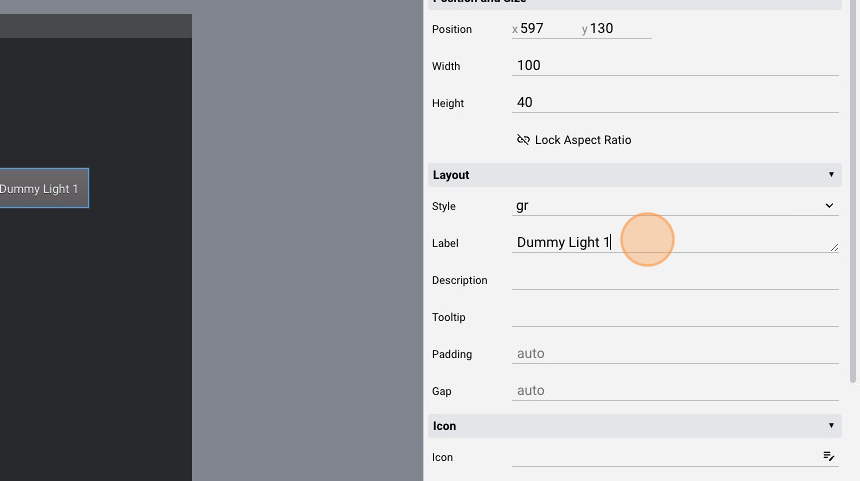
- Change the "Action" to "datapoint"
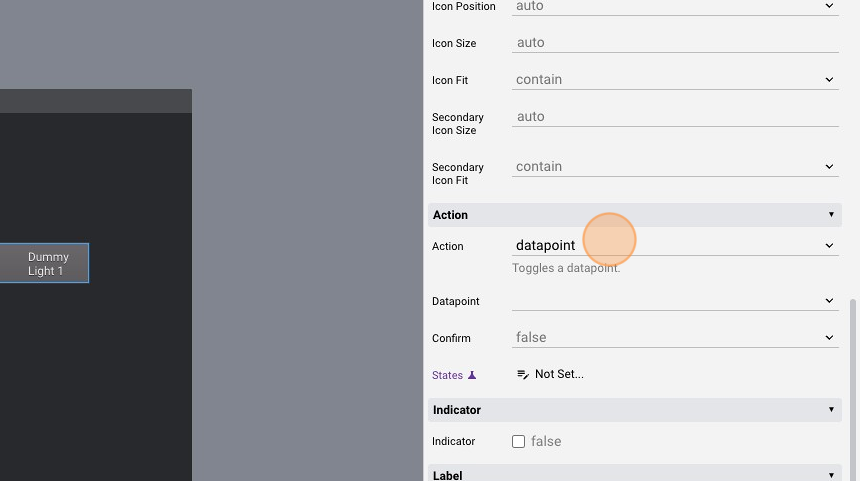
- Change the "Datapoint" to "dummyserver2.light.1"
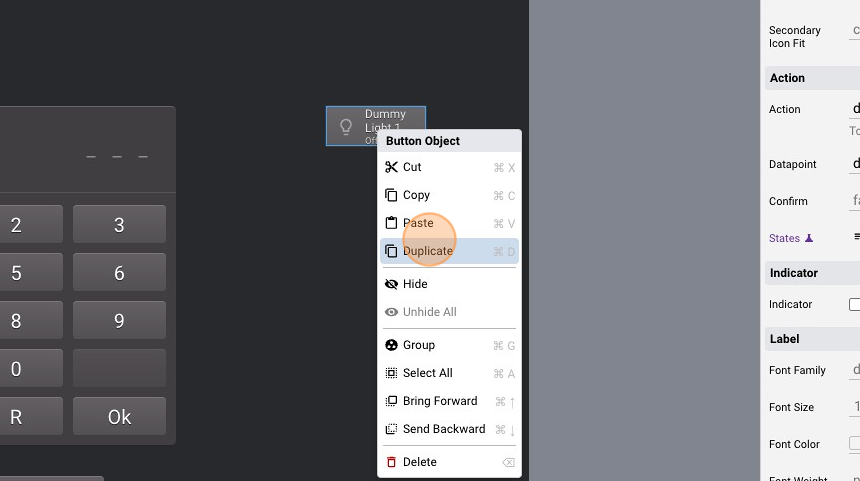
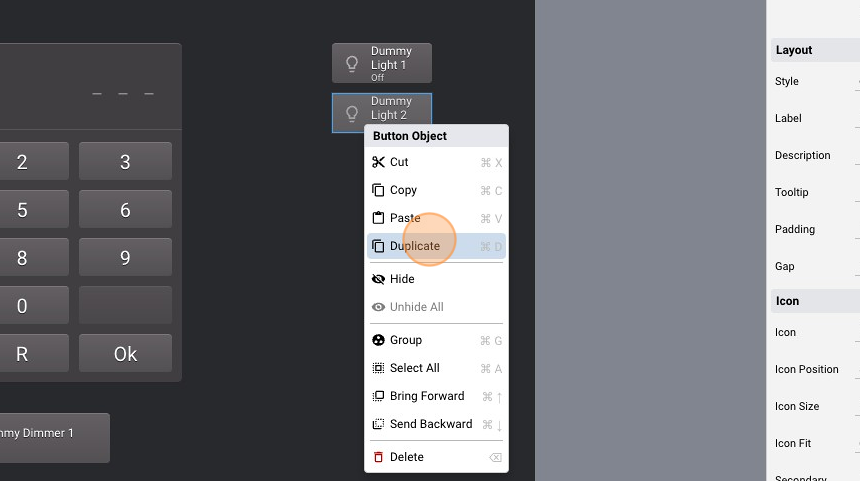
- Right-click the button and select "Duplicate"
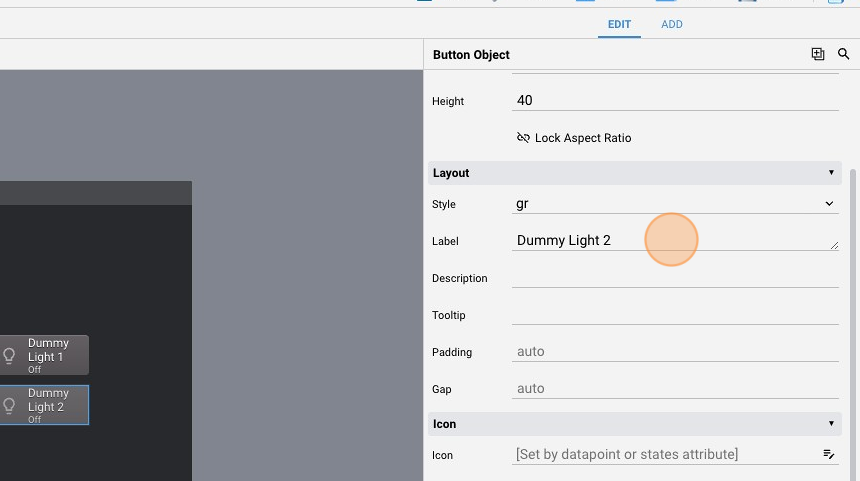
- Change the "Label" of the second button to "Dummy Light 2"
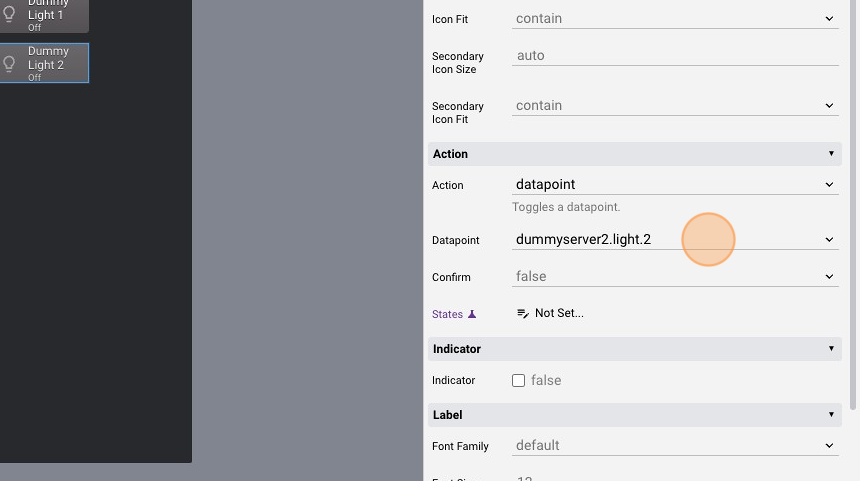
- Change the "Action" to "datapoint" and the "Datapoint" attribute to "dummyserver2.light.2"
- Click "Duplicate" again
- Change the "Label" to "Dummy Light 3"
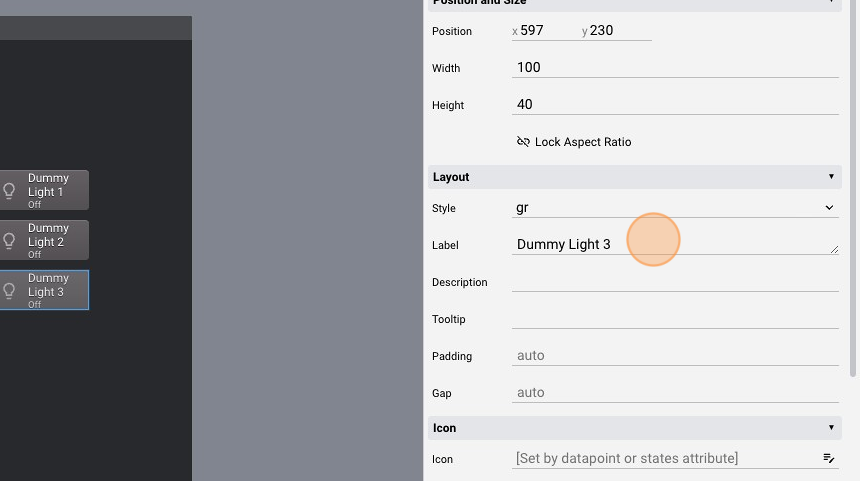
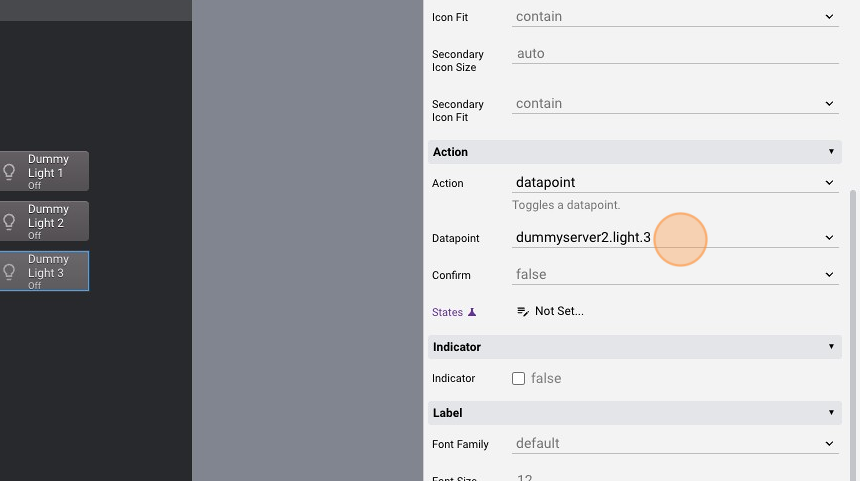
- Change the "Action" to "datapoint" and the "Datapoint" attribute to"dummyserver2.light.3"
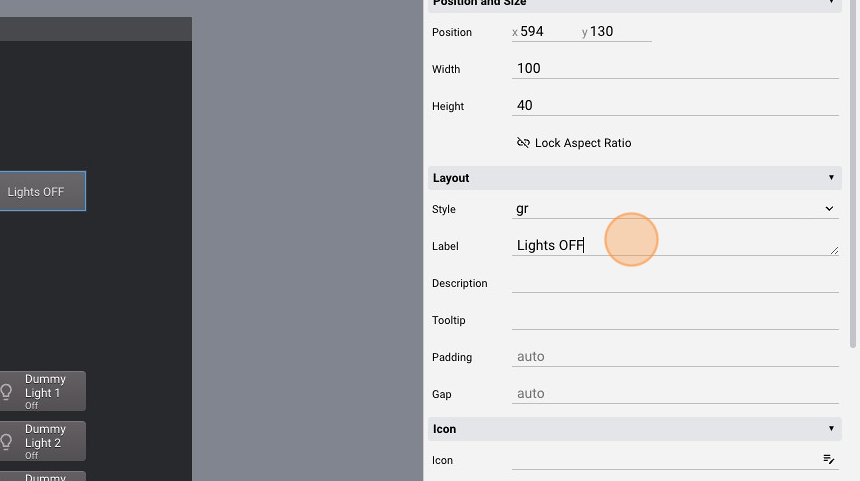
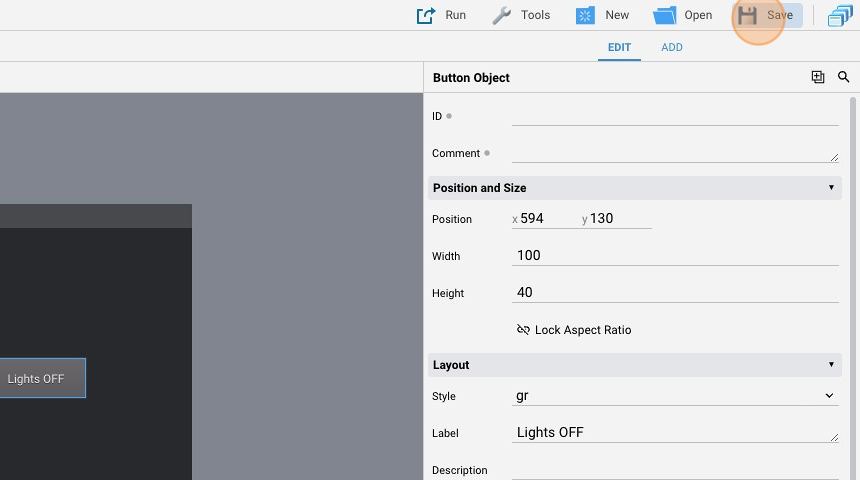
User button
- Click "add"
- Add another "Button"
- Change the "Label" to "Lights OFF"
- Change the "Action" to "command"
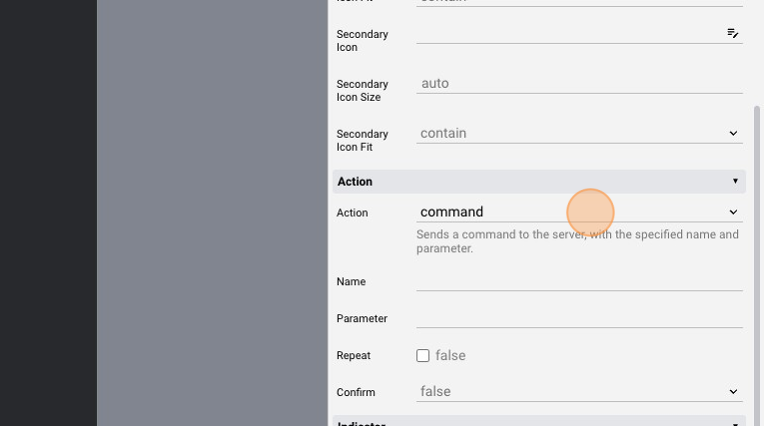
- Change the "Name" to "lights". This is the name of the command passed to the server
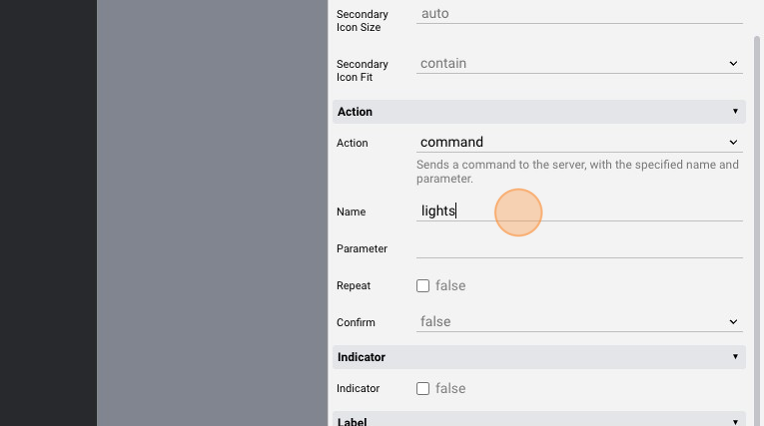
- Change the "Parameter" to "off"
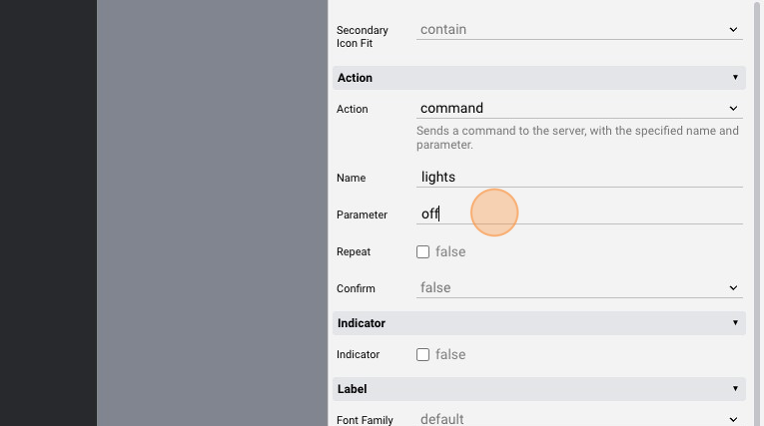
- Click "Save"
EVENTS code to control lights with user button
- Open again the "Code Editor"
- Click "Open Events"
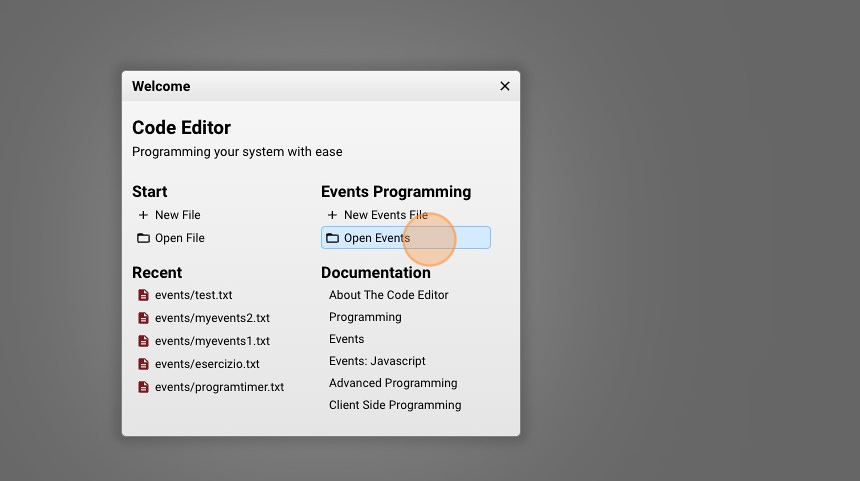
- Click "myevents2.txt" to reopen the previous file

- Add the following lines to the file:
USER lights = "OFF" : IO dummyserver2.light.1 = 0, IO dummyserver2.light.2 = 0, IO dummyserver2.light.3 = 0
IO dummyserver2.dimmer.1 = "100%" : IO dummyserver2.light.1 = 0, IO dummyserver2.light.2 = 0, IO dummyserver2.light.3 = 0
What this does is it sets all three lights to status "0" when the USER command called "lights" is "off". Also, when the dimmer light is at 100%, the three lights will be turned off
