Create your first project with HSYCO
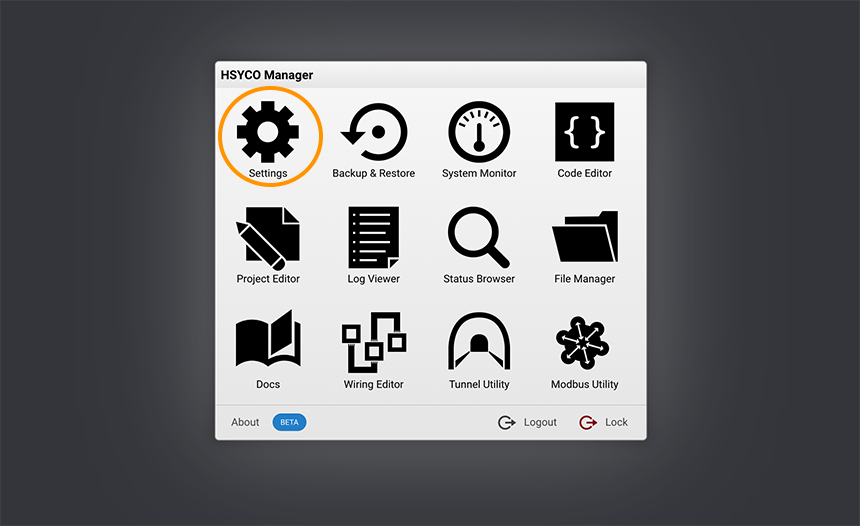
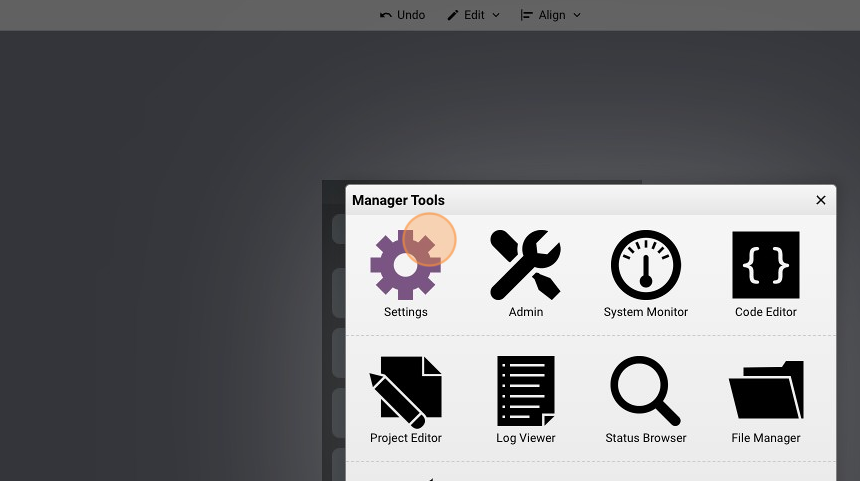
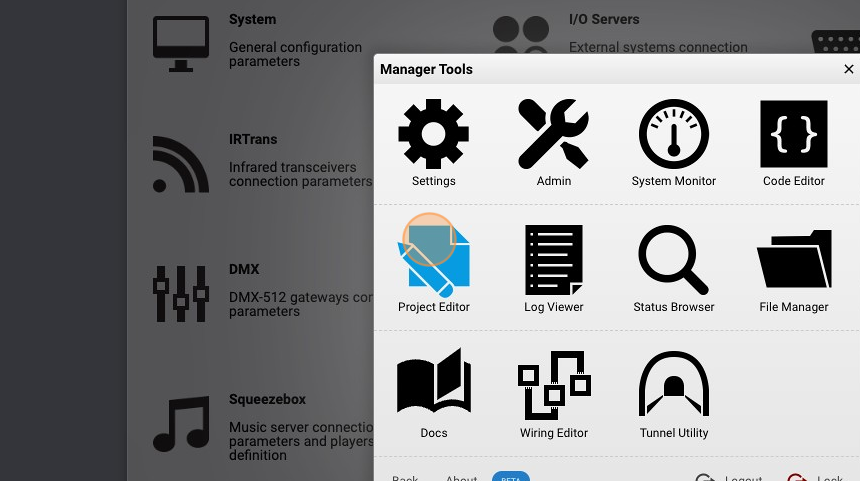
- Navigate to HSYCO Manager
To access HSYCO Manager open a browser and type the URL:
https://192.168.1.50/hsycoserver/manager
The IP address and the URLKey written above are the default ones
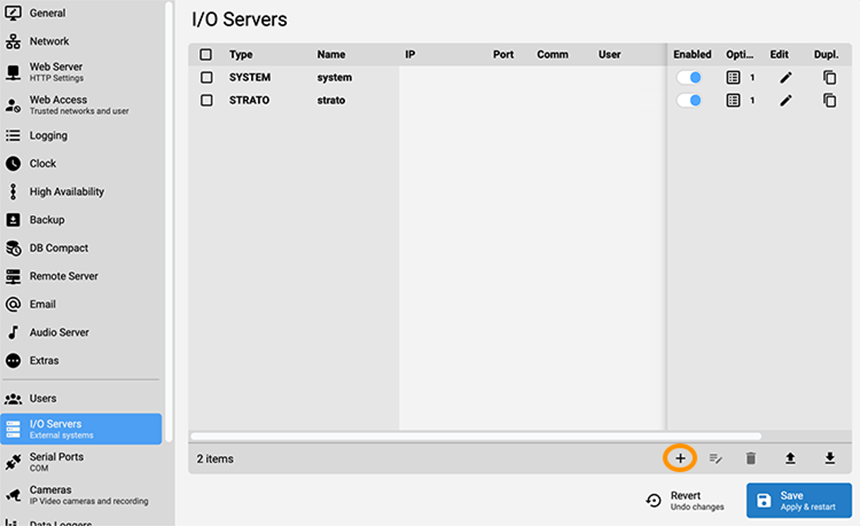
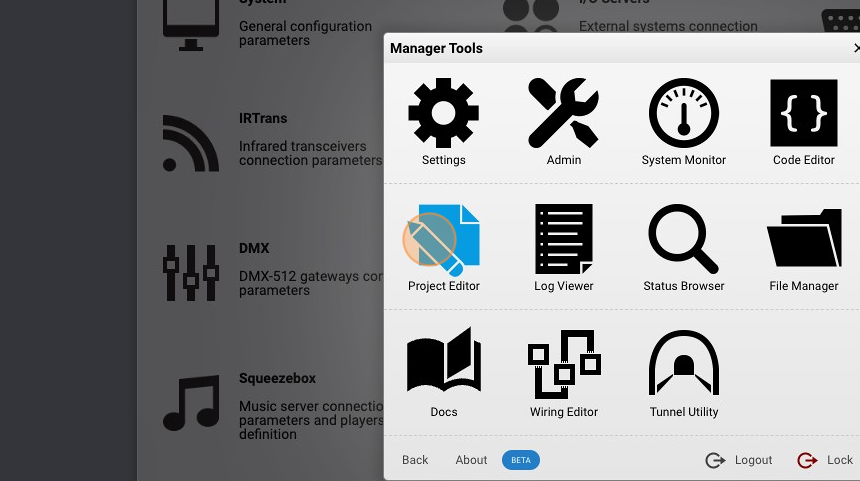
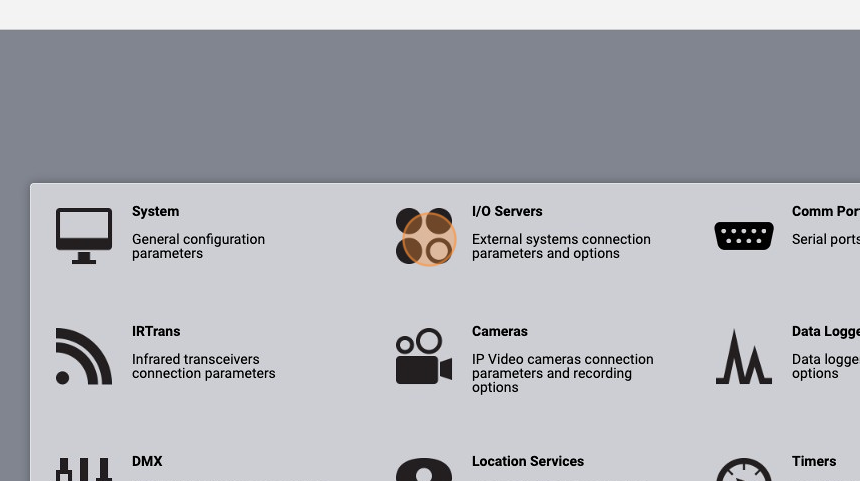
- Go into "Settings"
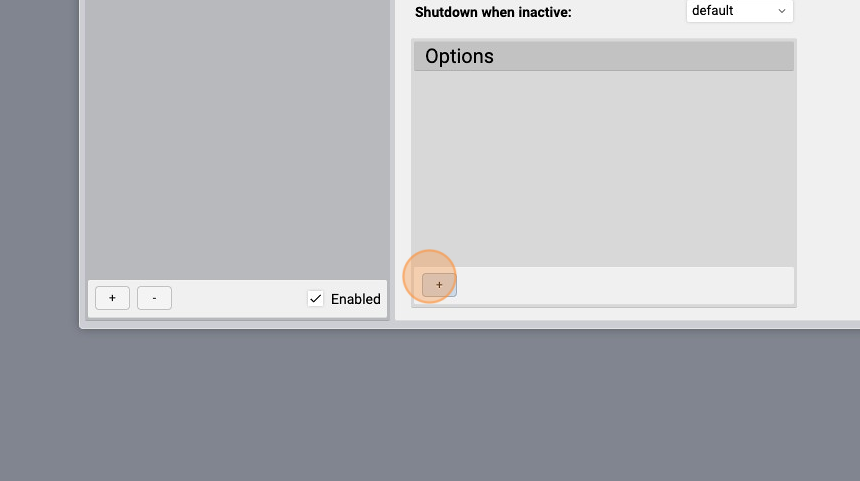
- Select "I/O Servers"

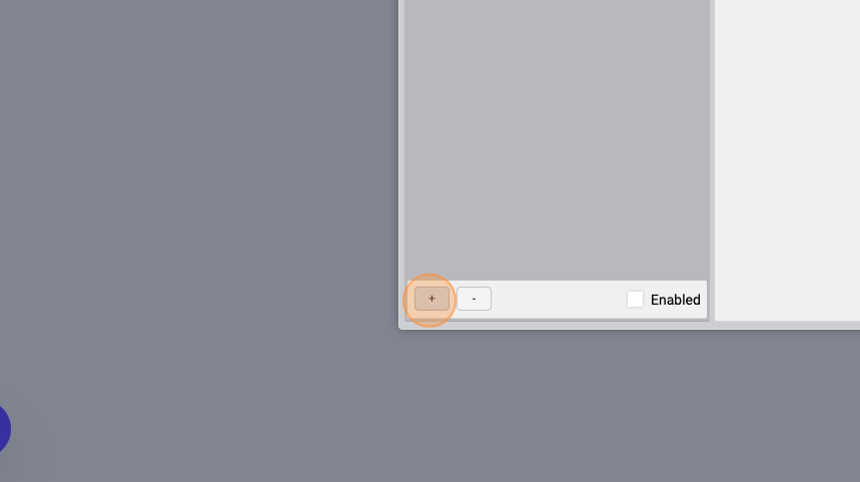
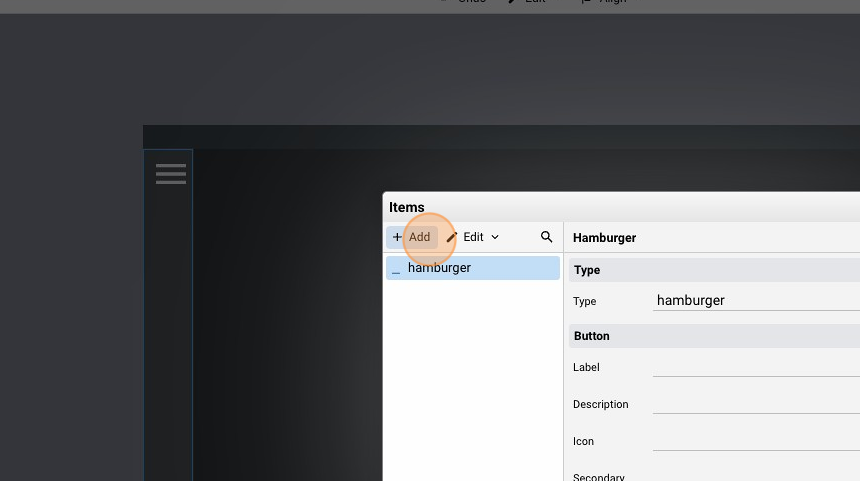
- Click "+" to add a new one
- Select "Dummy" from the "Type" list, give it an "ID" ("dummyserver" for example) and click "Confirm"

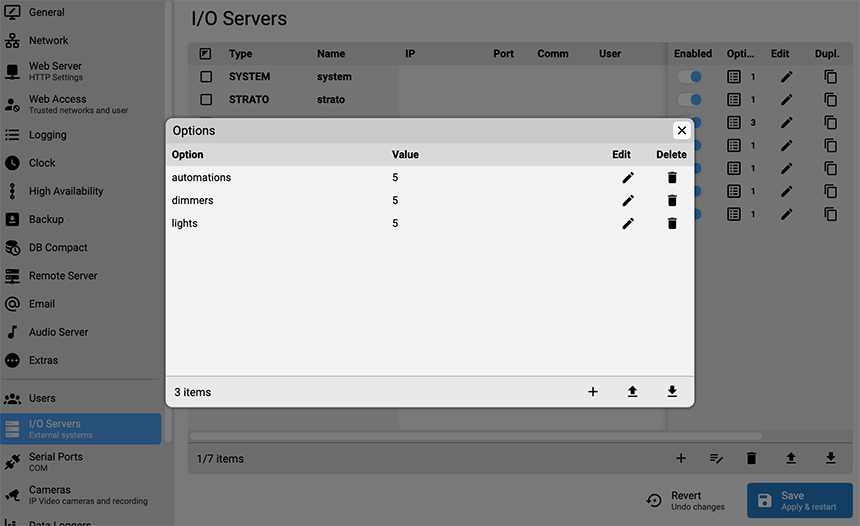
- Click on "Options" to add attributes to the newly created server
-
Select the "automation" option, give it a value (5 for example) and click "OK"
-
Click "Confirm"
-
Select the "dimmer" option, give it a value and click "OK"
-
Click "Confirm"
-
Select the "lights" option, insert a value and confirm
-
Close the popup with the "X" button on the top right
-
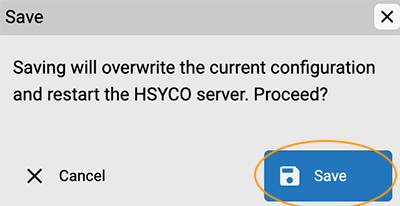
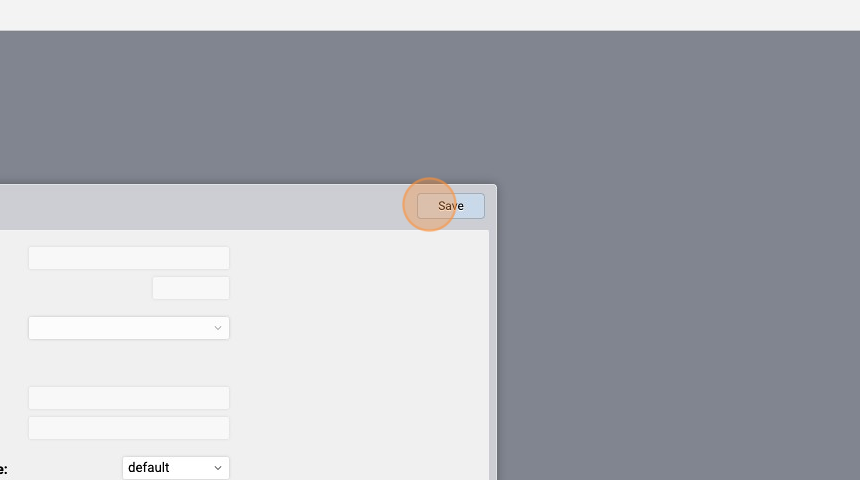
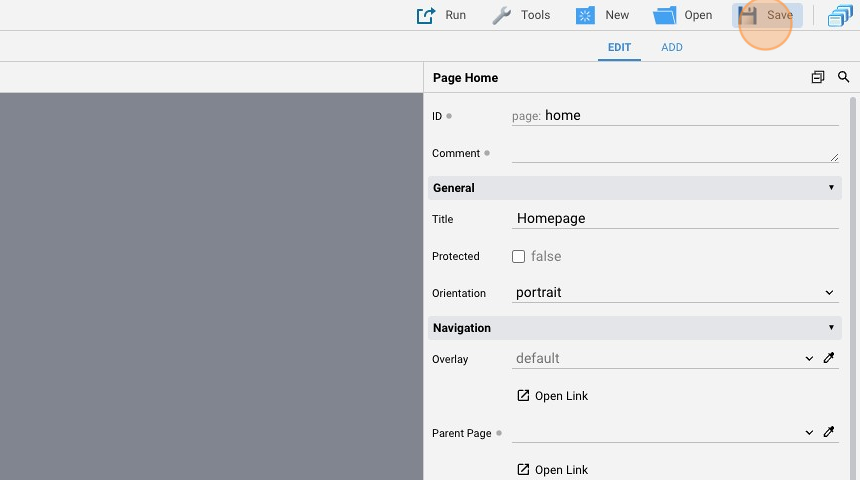
Click "Save" the "Save" again and wait for HSYCO to restart
Project with Landscape and Portrait views
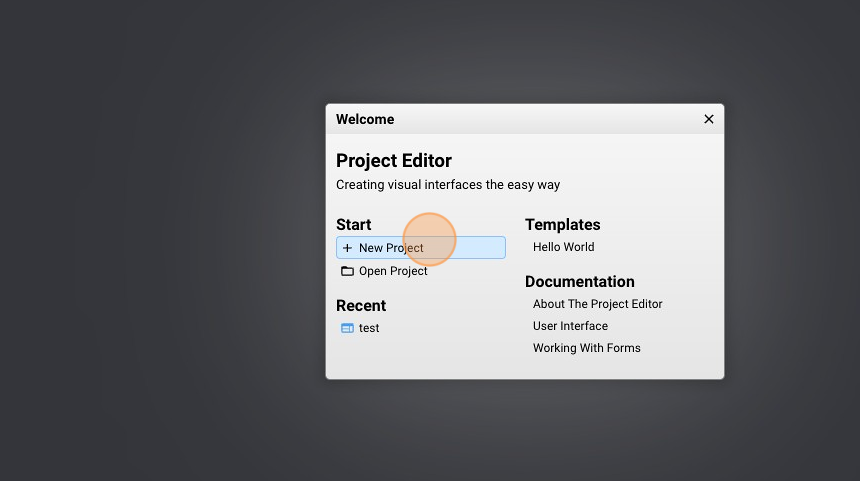
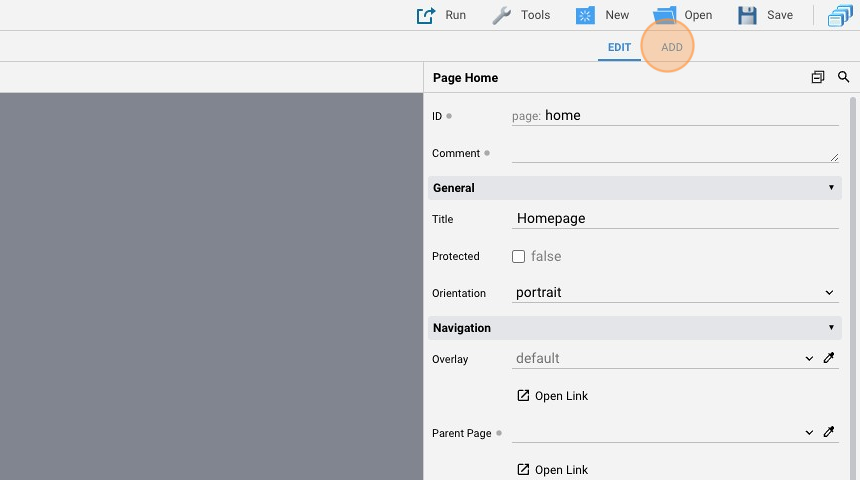
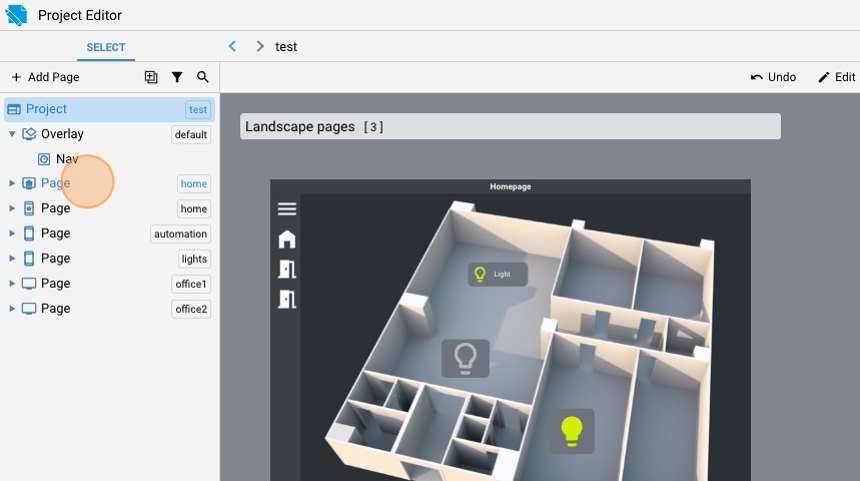
- Go into "Project Editor"
- Click "New Project"
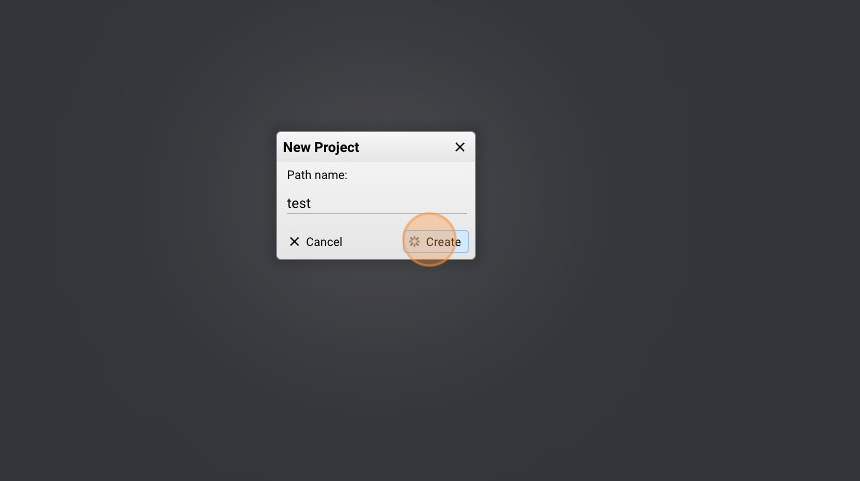
- Give it a name ("test" for example) and click "Create"
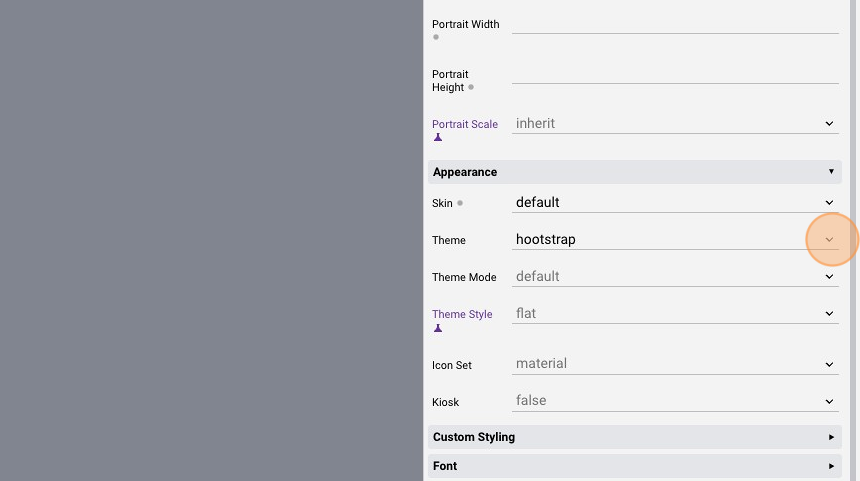
- Modify the "Theme" attribute and select one of your choice
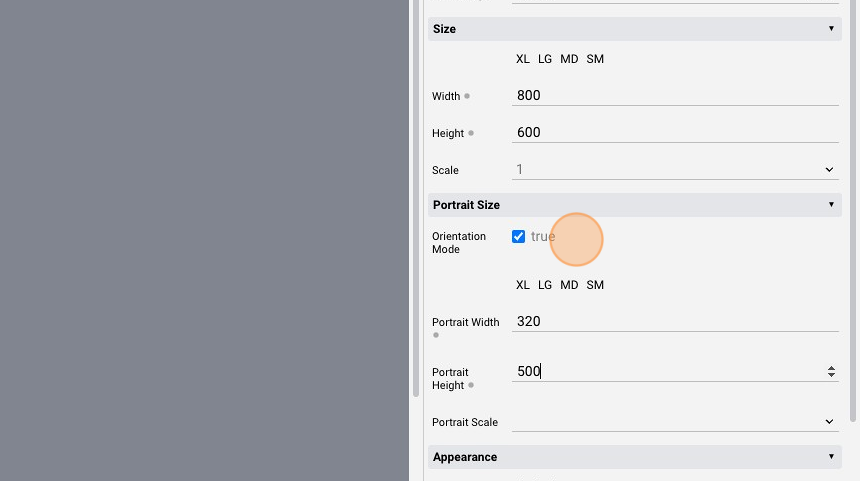
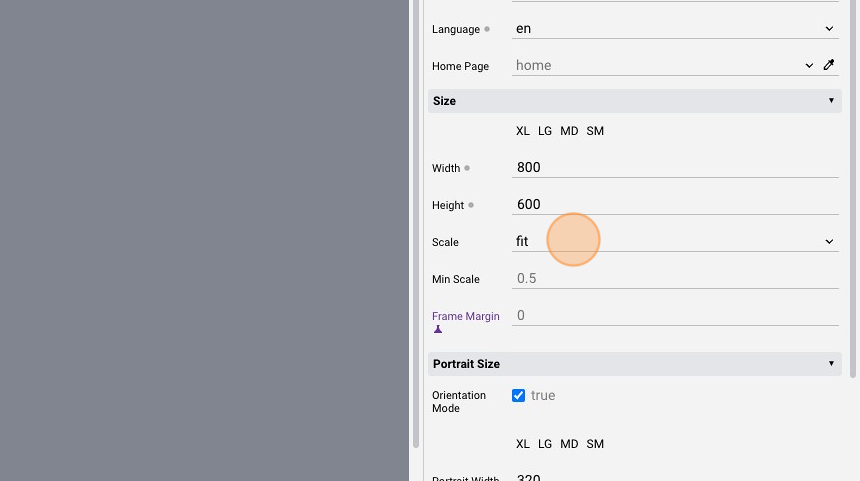
- Modify the "Width" value to "800"
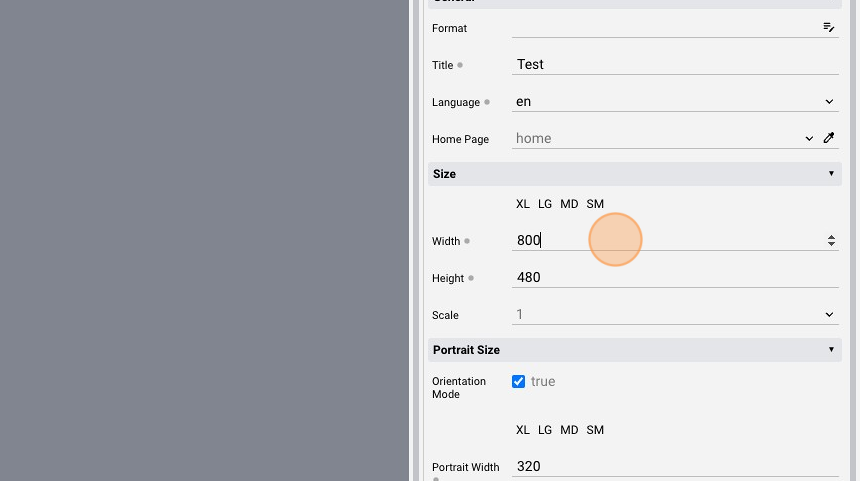
- Modify the "Height" value to "600"
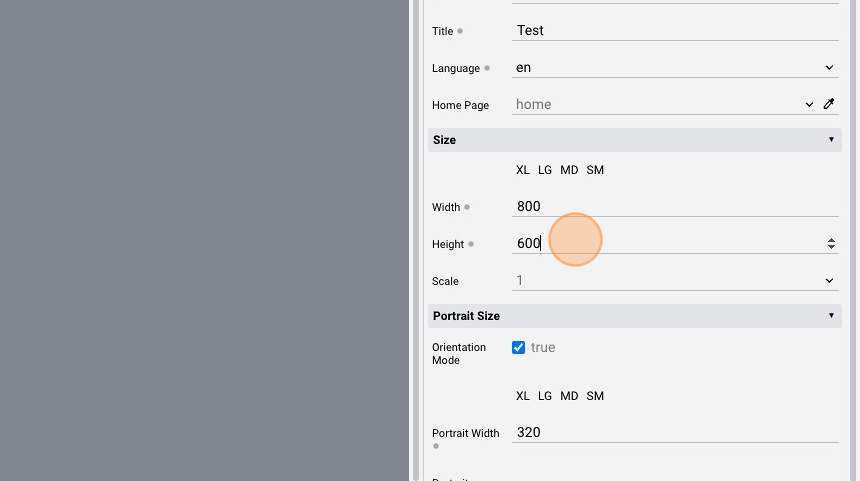
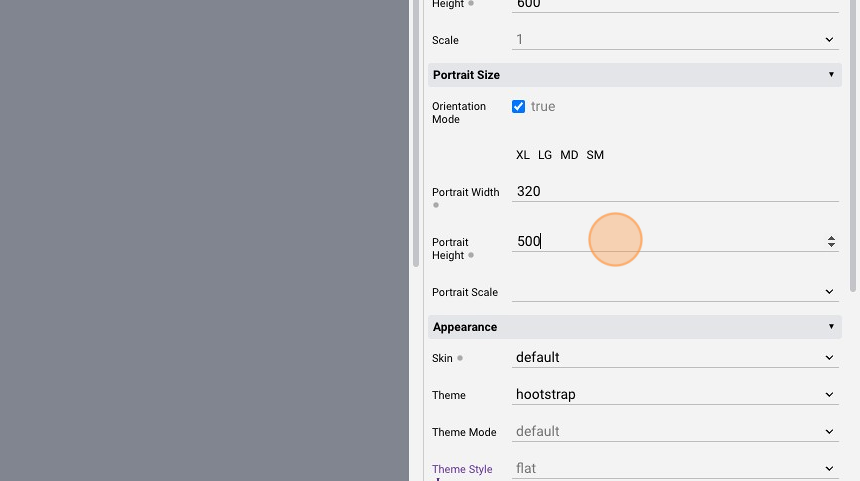
- Modify the "Portrait Width" value to "320"
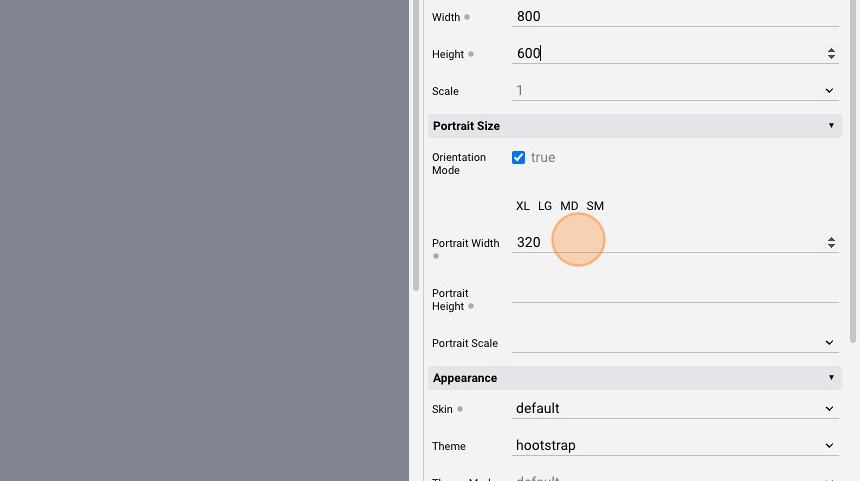
- Modify the "Portrait Height" value to "500"
- Make sure that the "Orientation Mode" flag is flagged
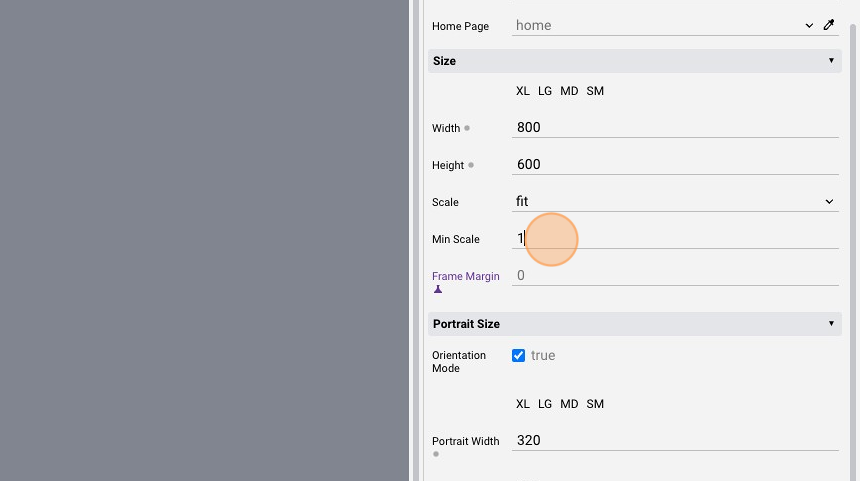
- Change the "Scale" attribute to "fit". By doing this, the UI frame is scaled to fill the available browser area, both vertically and horizontally
- Change the "Min Scale" attribute to "1". This is the minimum scale value, by defaut is "0.5"
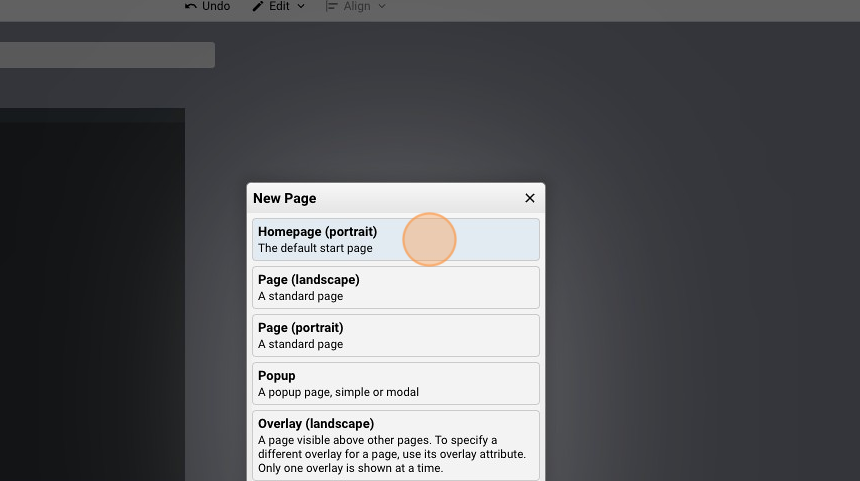
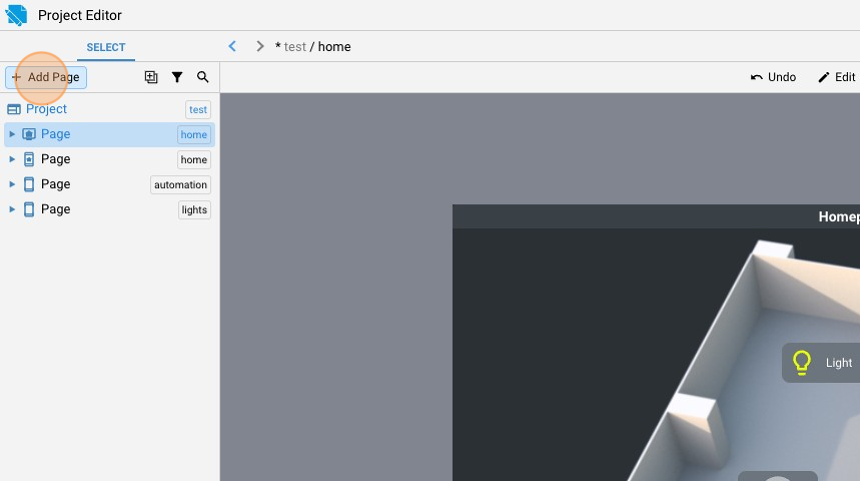
- Click "Add Page"
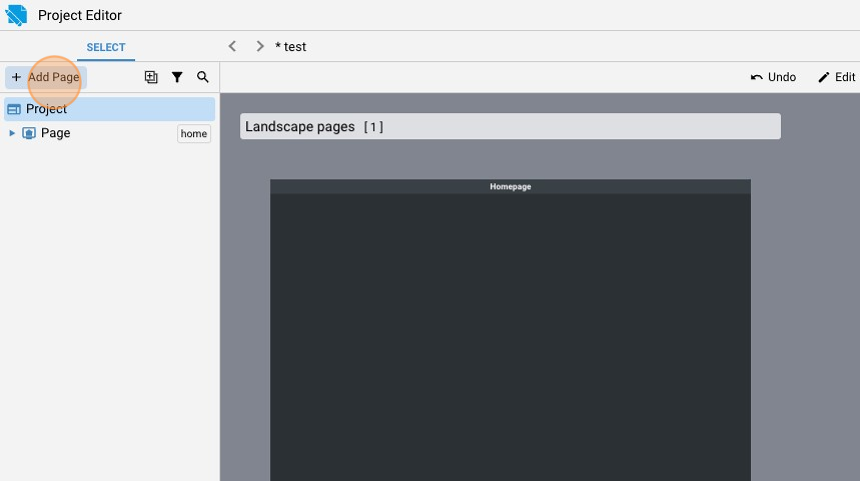
Portrait
- Add the "Homepage (portrait)"
Lights and Automation Pages
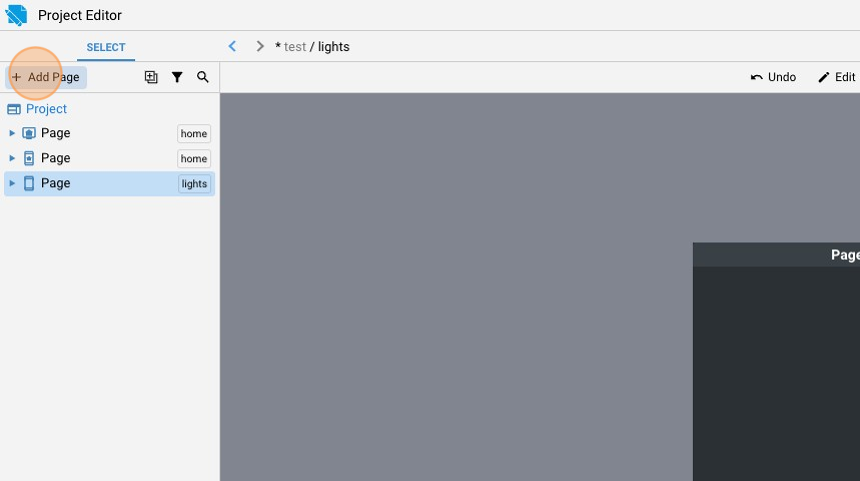
- Click "Add Page"
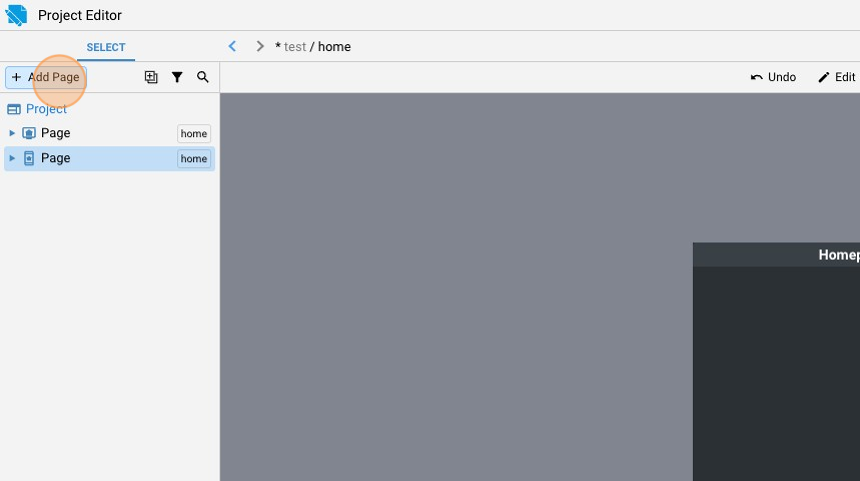
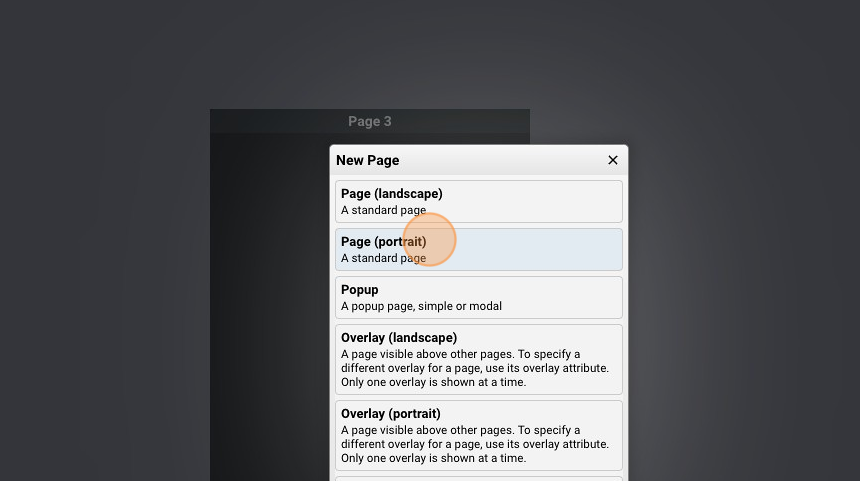
- Add a "Page (portrait)"
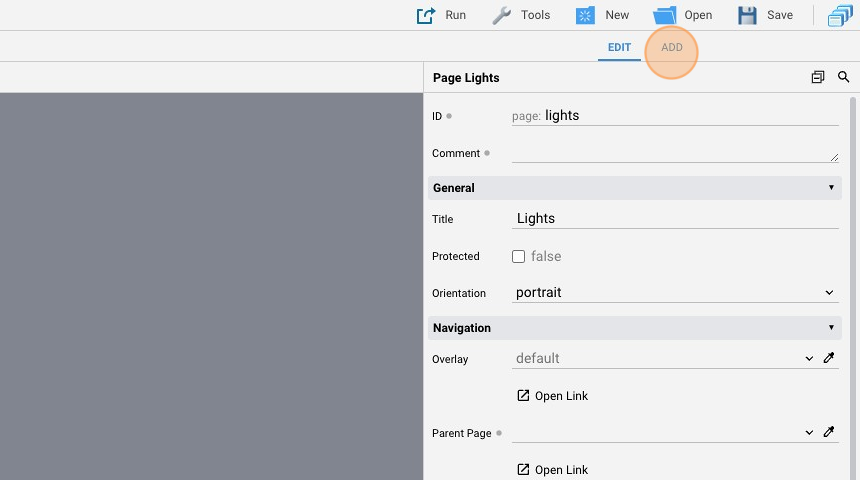
- Modify the "ID" of the page to "lights"
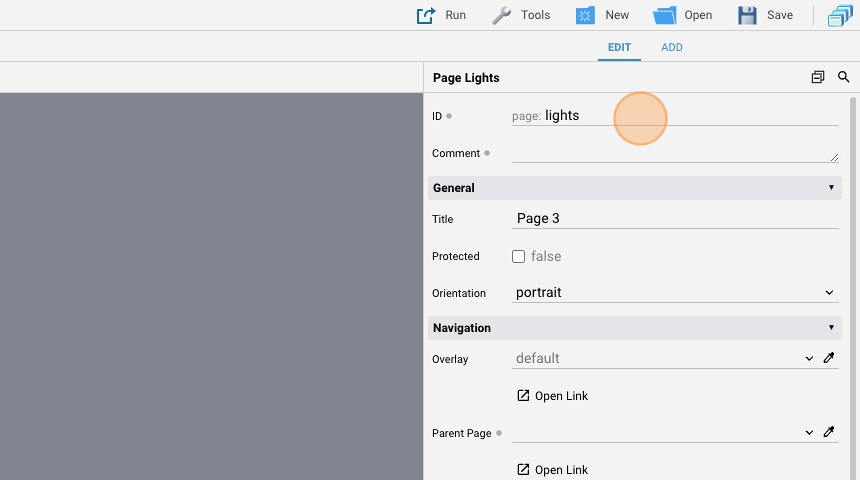
- Change the "Title" to "Lights"

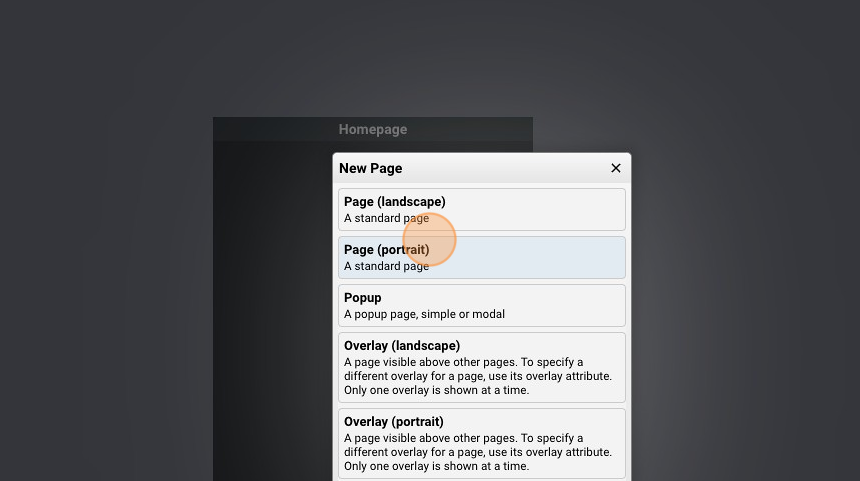
- Click "Add Page"
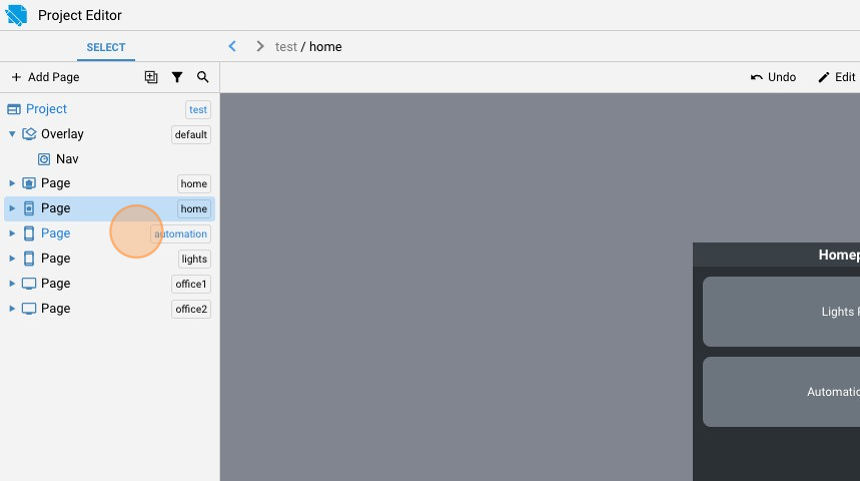
- Add another "Page (portrait)"
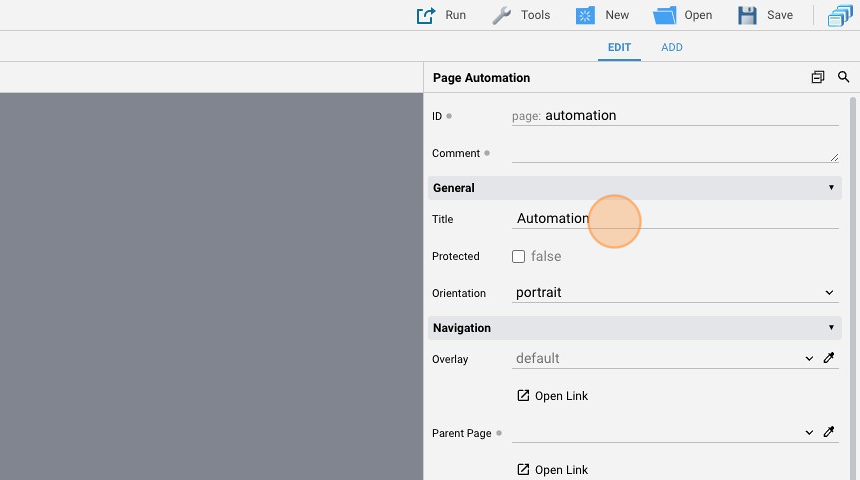
- Change the "ID" of the page to "automation"
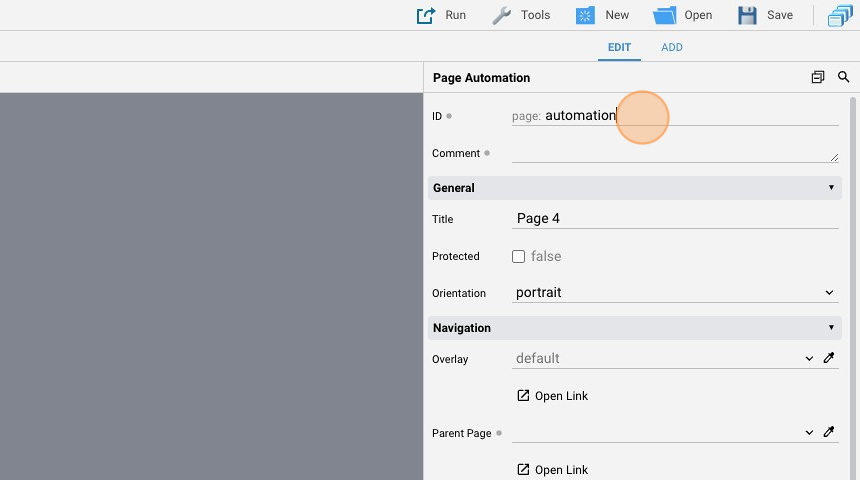
- Change the "Title" to "Automation"
- Select the portrait "Home" page
- Click "add"

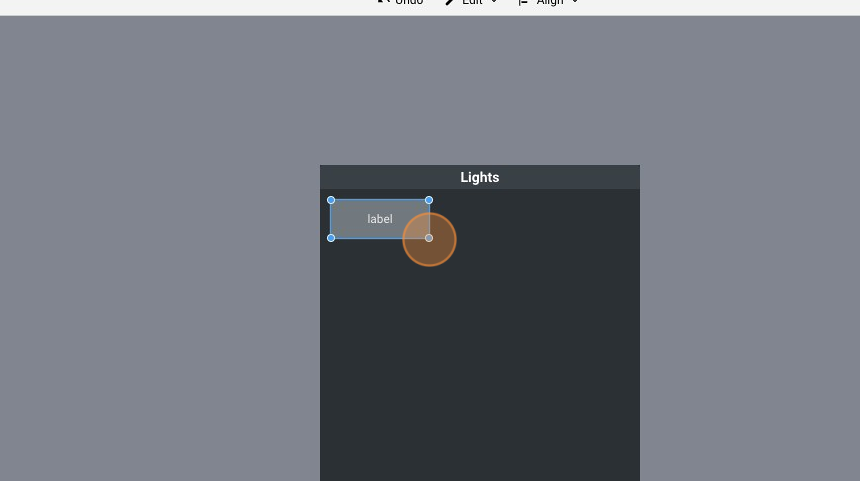
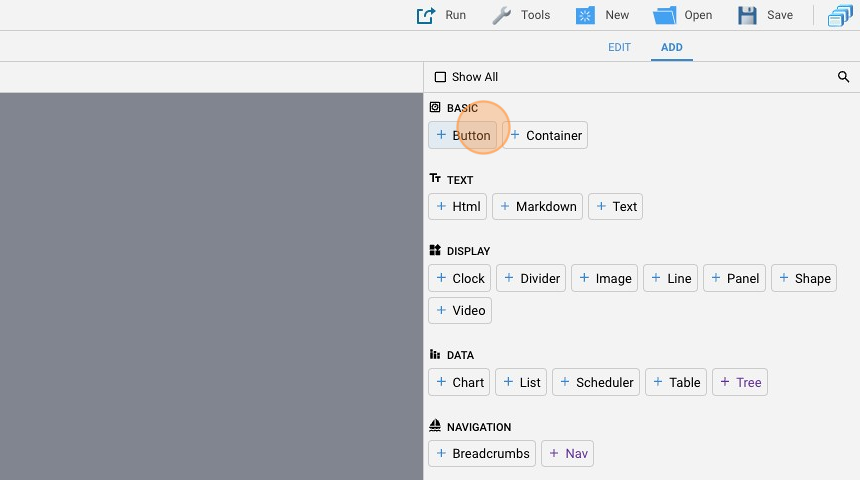
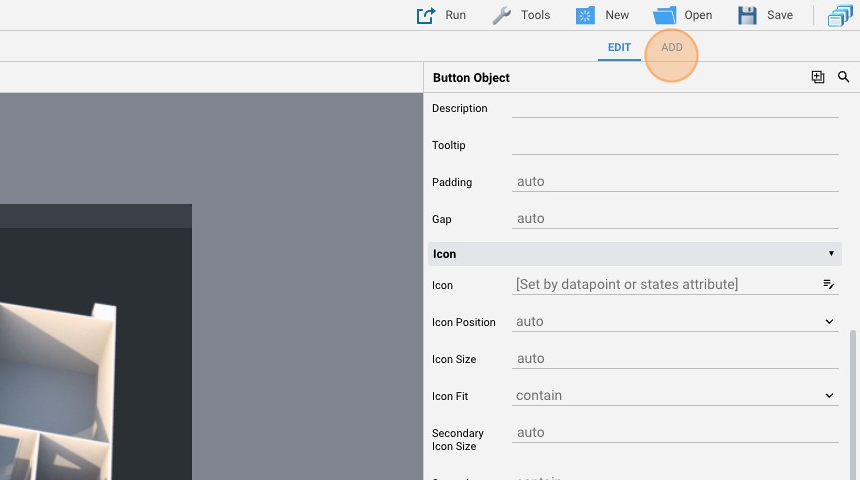
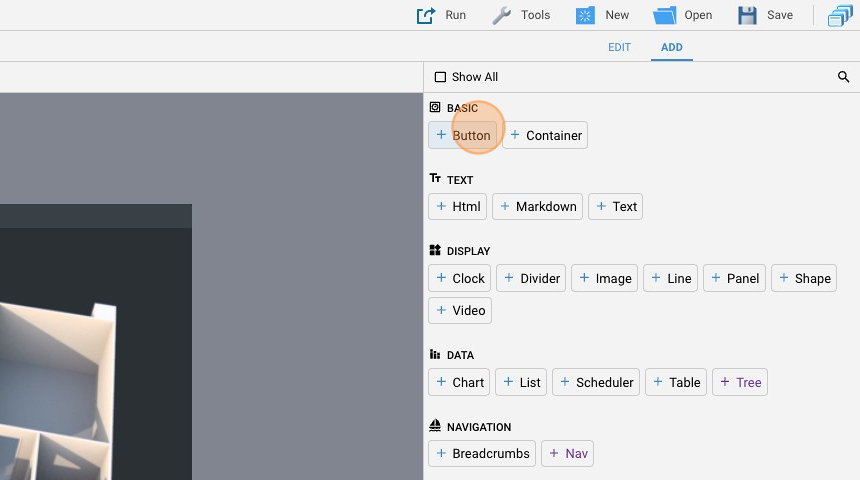
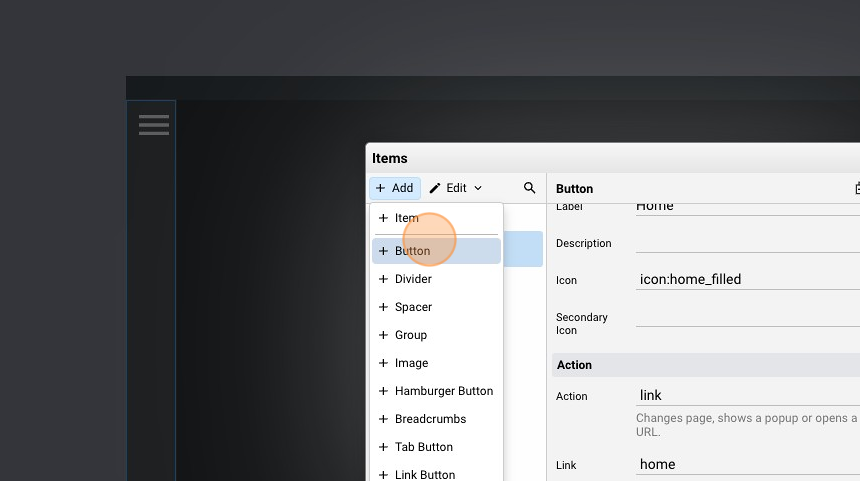
- Add a "Button"

-
Enlarge it to make it fit the entire horizontal space. You can do it by dragging one of the four corners of the button
-
Change the "Label" to "Lights Page"
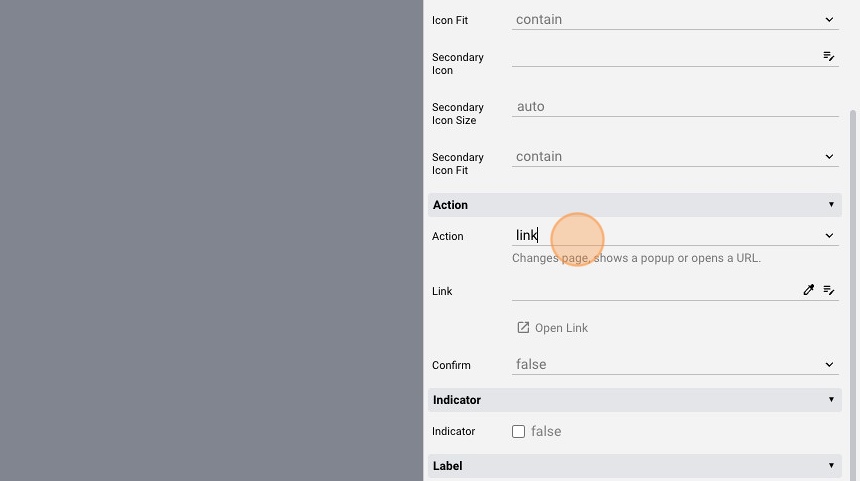
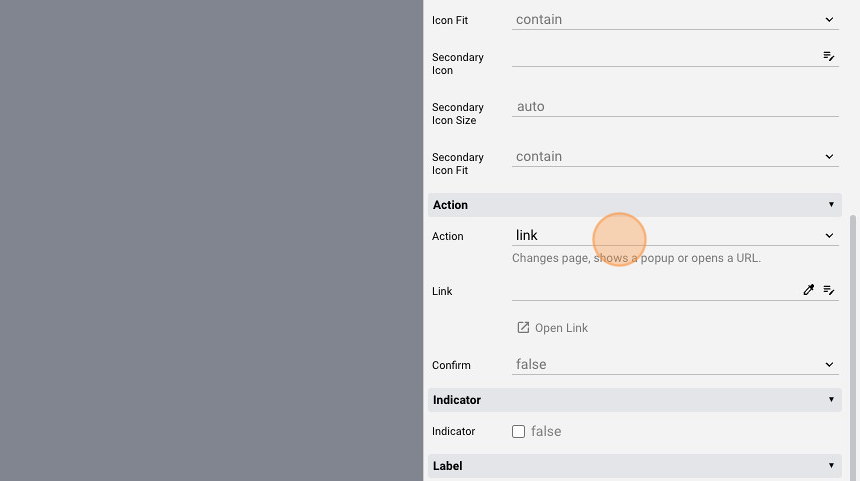
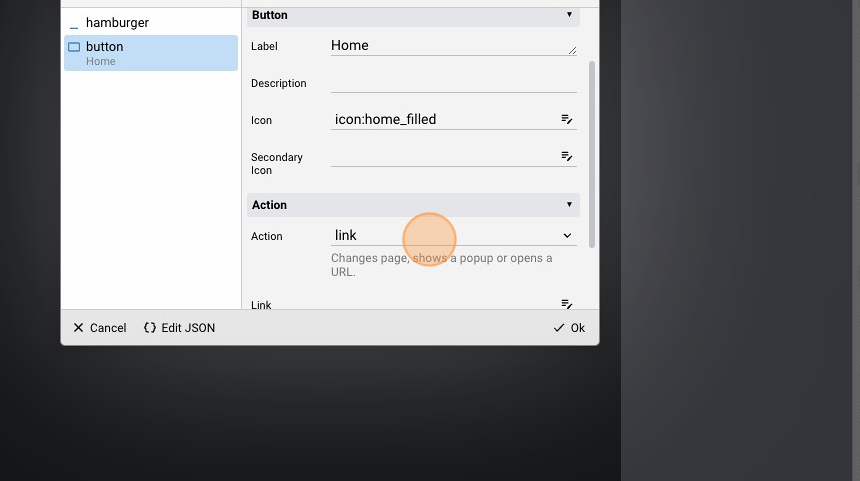
- Change the "Action" to "link"
- Change the "Link" attribute to the "lights" page

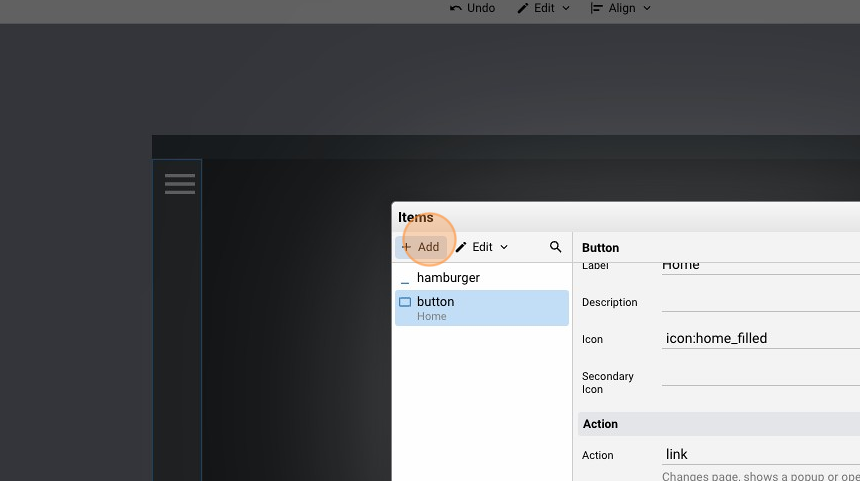
- Click "add"
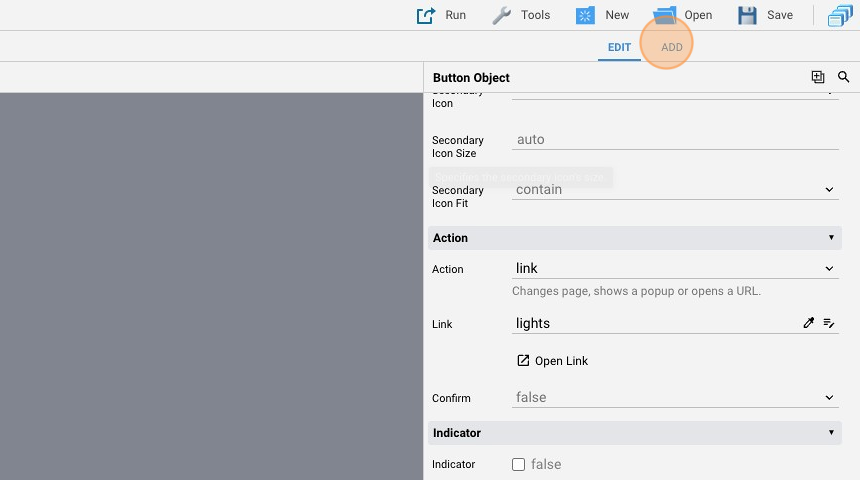
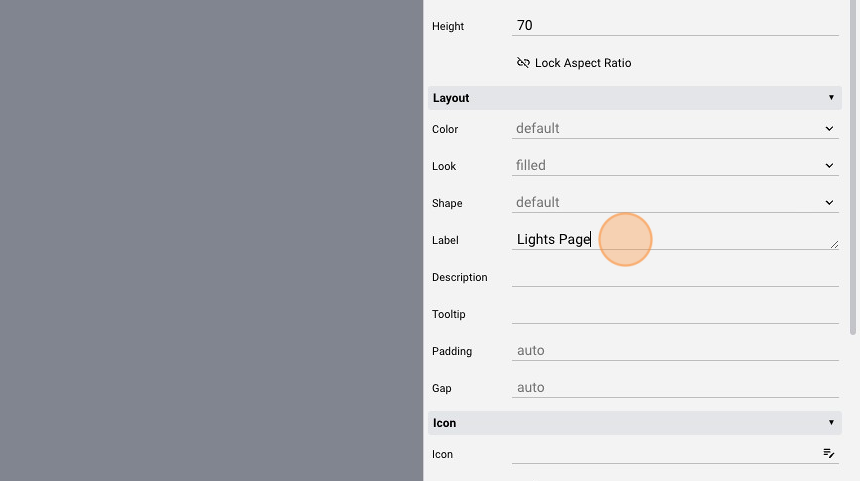
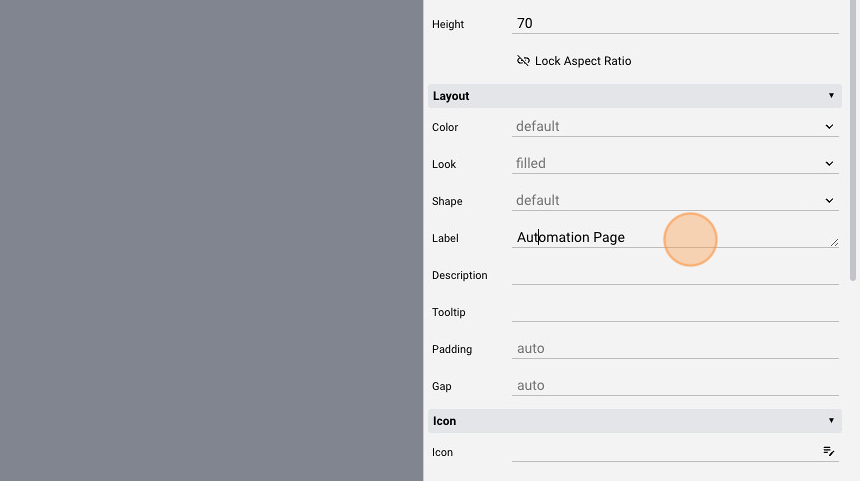
- Add a second "Button"

- Change the "Label" to "Automation Page"
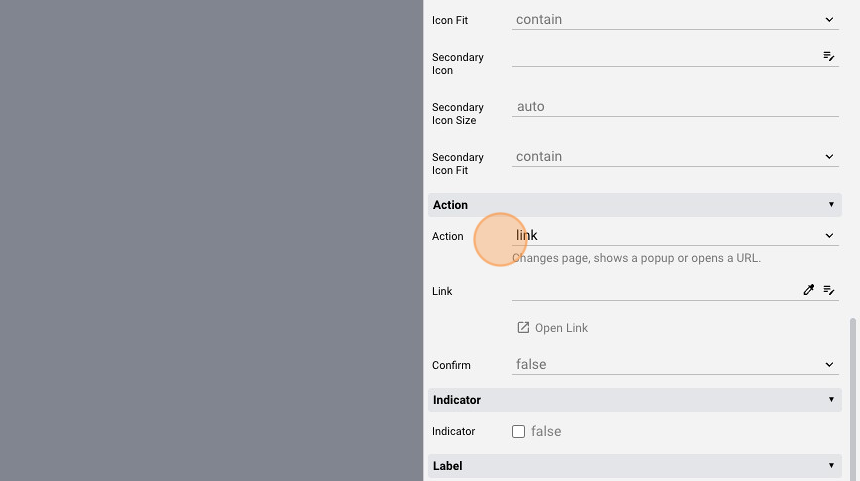
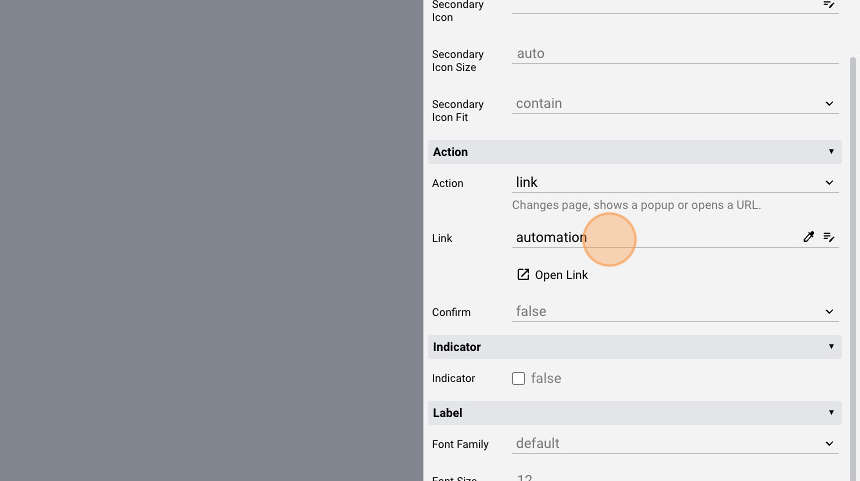
- Change the "Action" to "link"
- Change the "Link" to "automation"
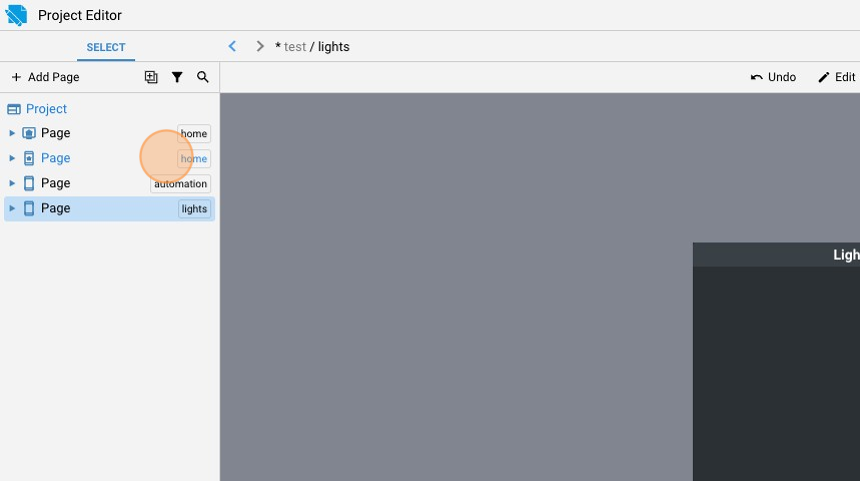
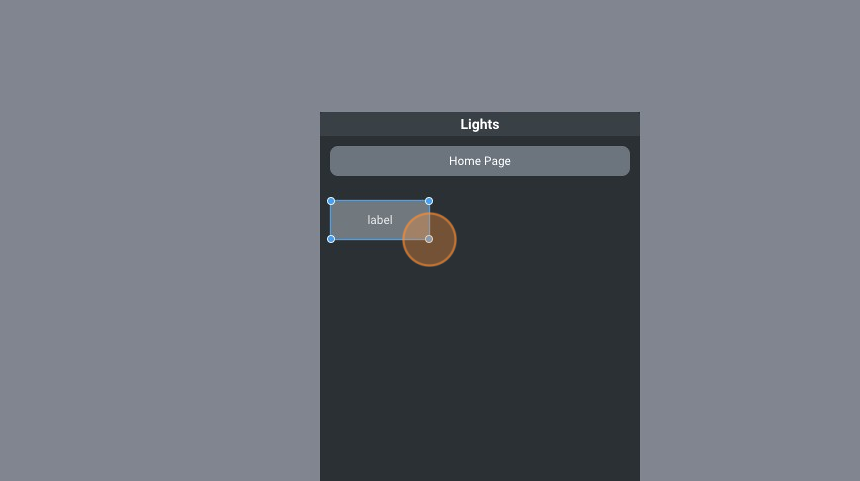
- Select the "lights" page
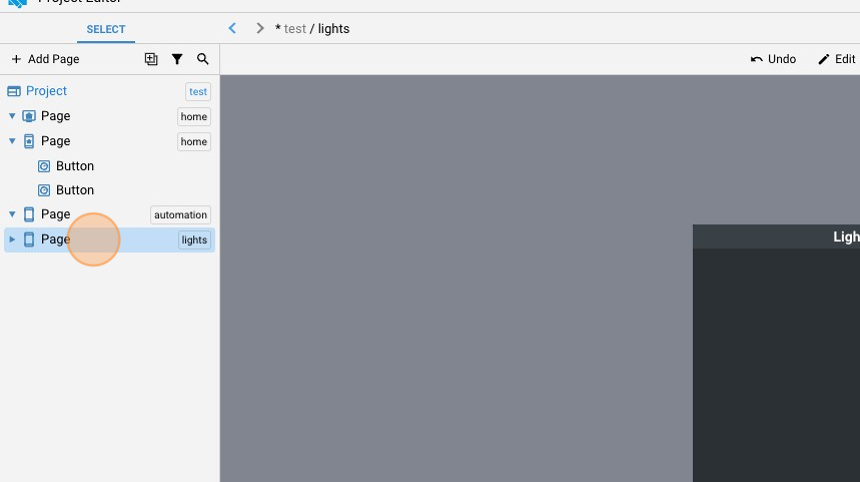
- Click "add"
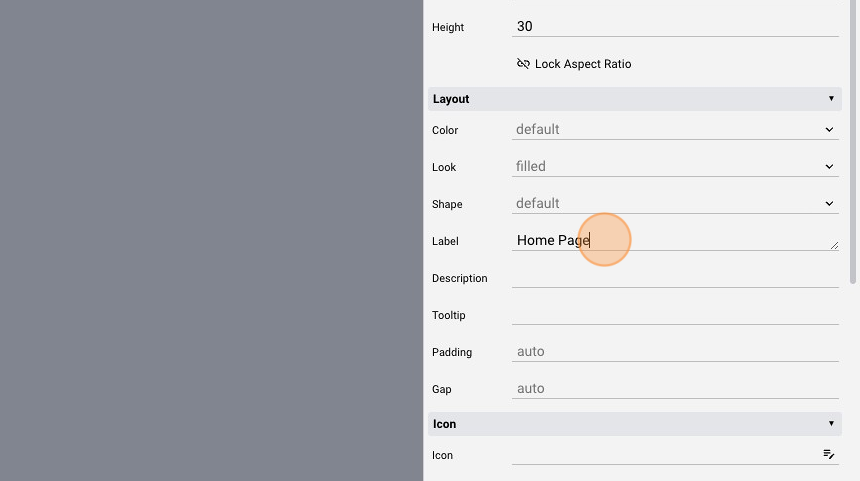
- Add a "Button"

- Enlarge it to make it fit the horizontal space
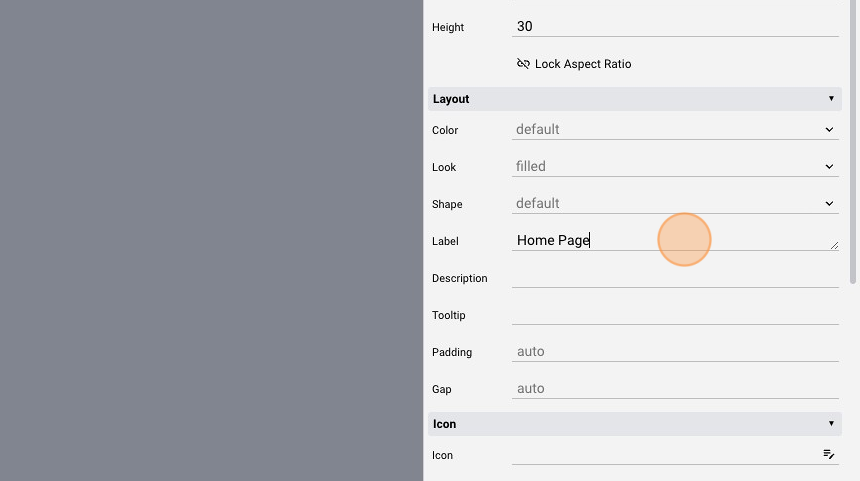
- Change the "Label" to "Home Page"
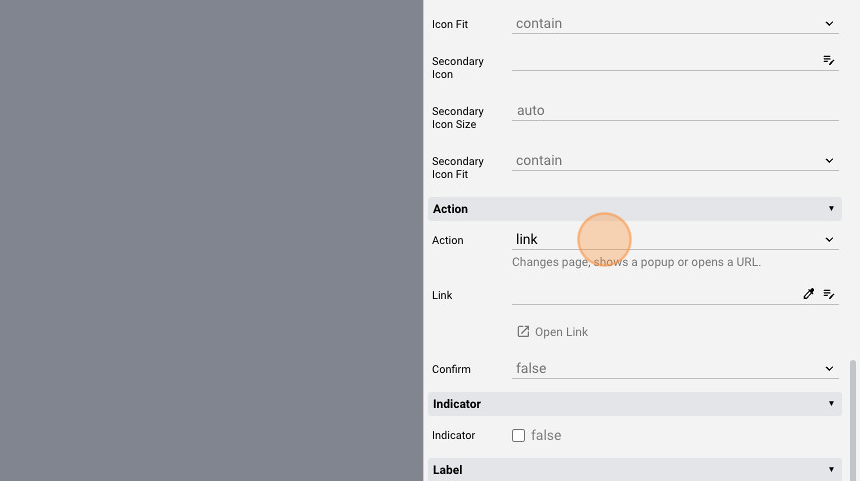
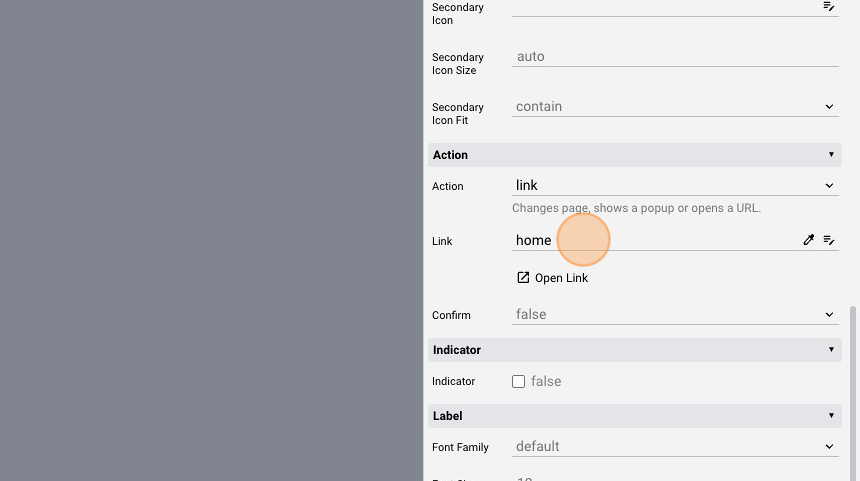
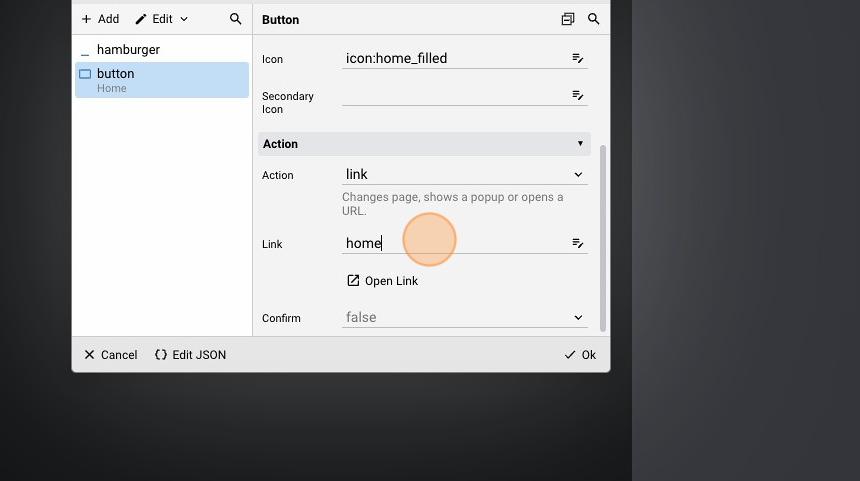
- Change the "Action" to "link"
- Change the "Link" attribute to "home"

- Click "add"
- Add another "Button"
- Move it below the other button and make them the same size
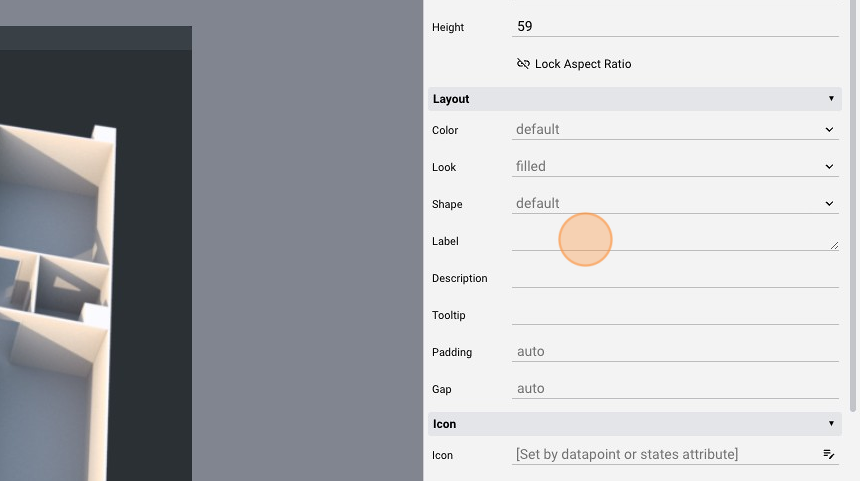
- Change the "Label" to "Dummy Light 1"
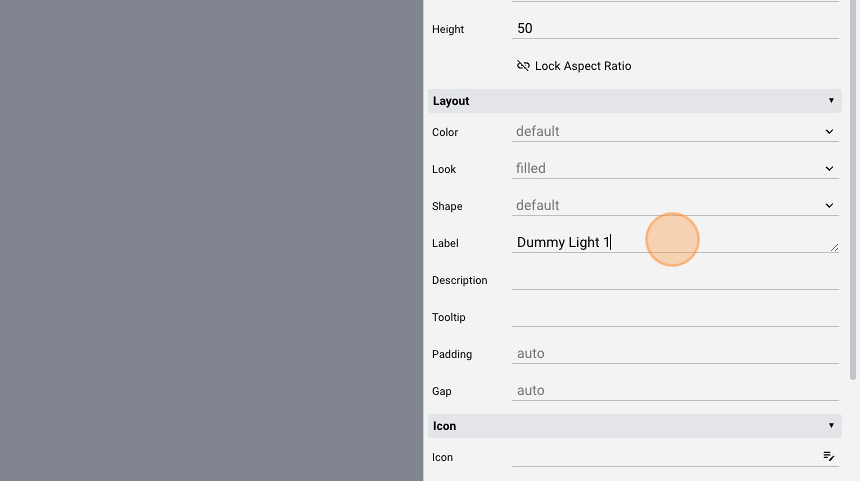
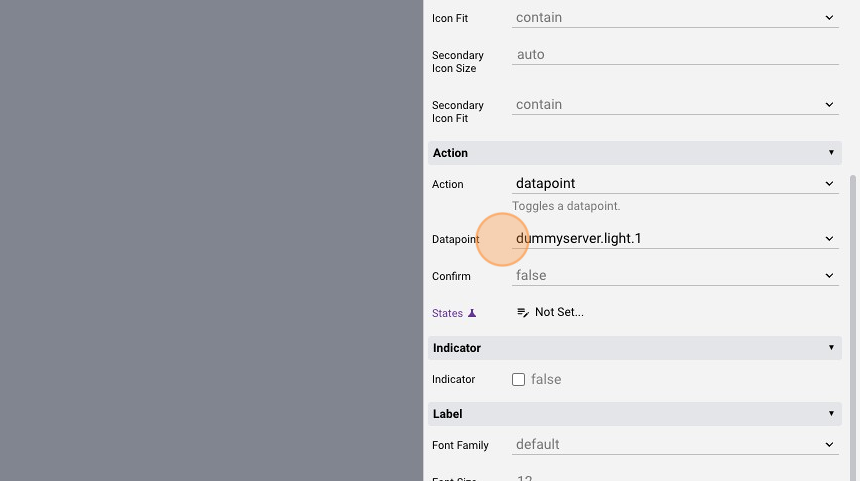
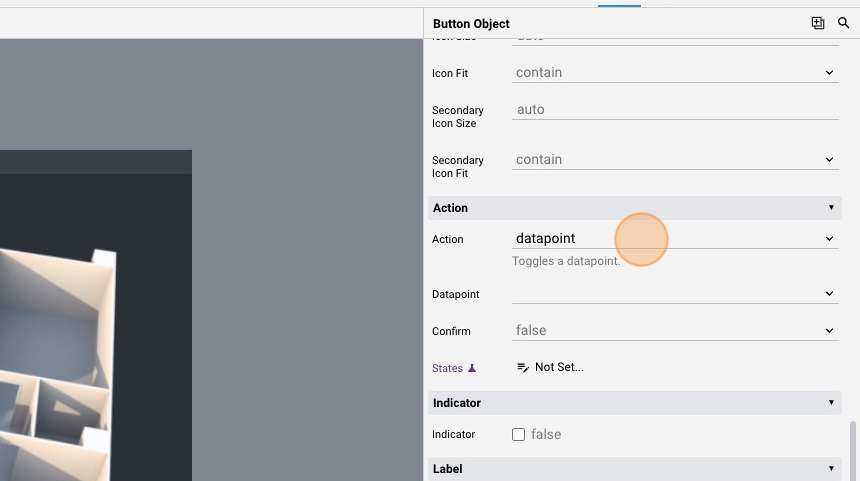
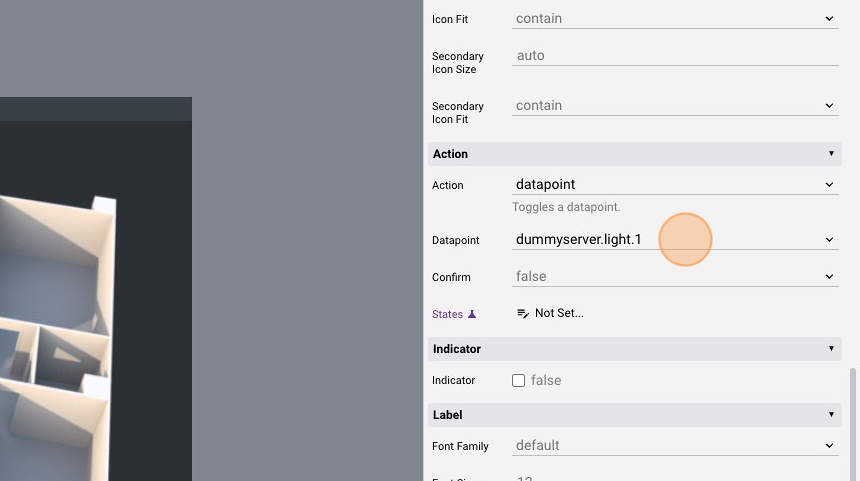
- Change the "Action" to "datapoint"
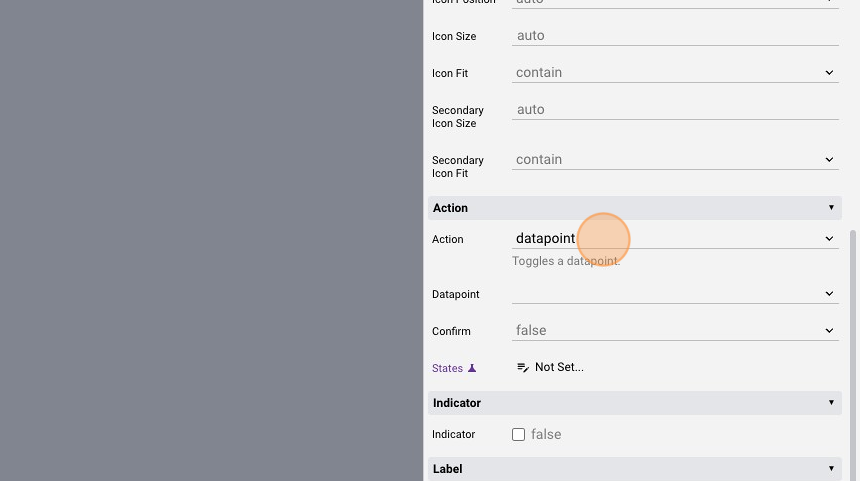
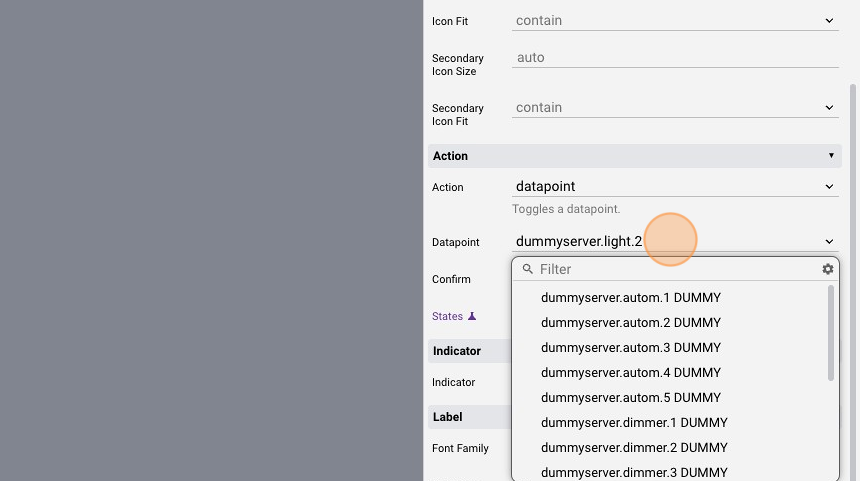
- Select the "dummyserver.light.1" datapoint from the "Datapoint" list
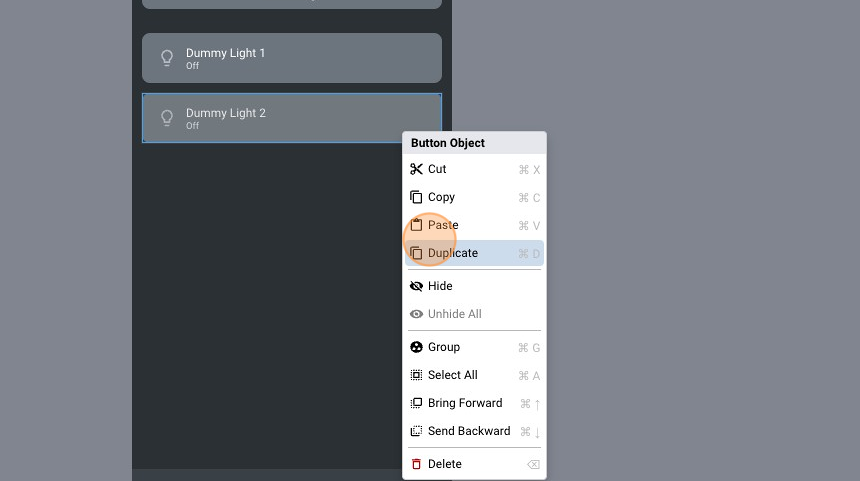
- Right-click the button and click "Duplicate"
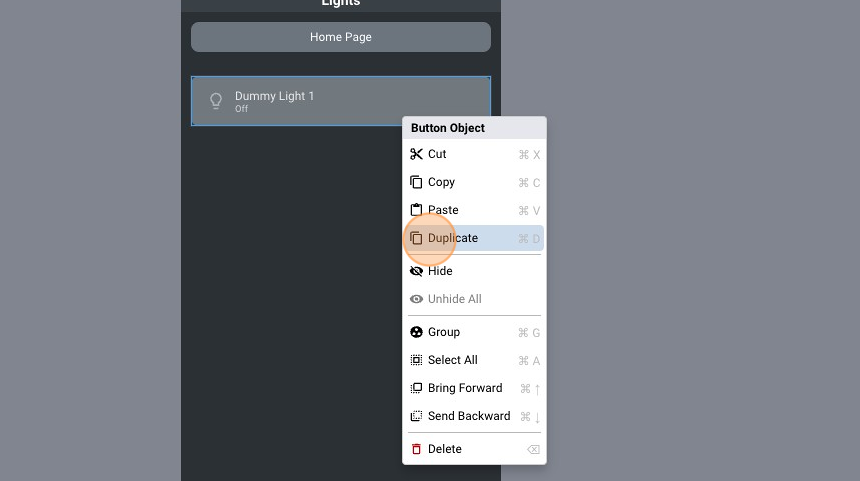
- Change the "Label" to "Dummy Light 2"
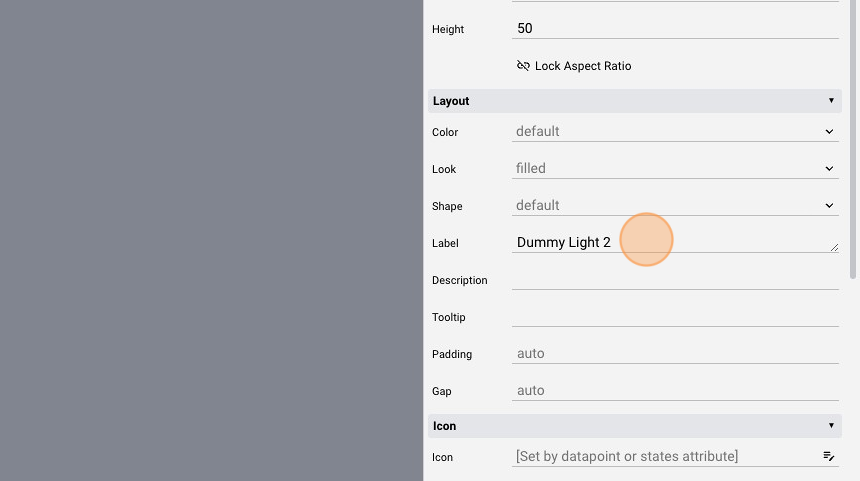
- Change also the "Datapoint" to "dummyserver.light.2"
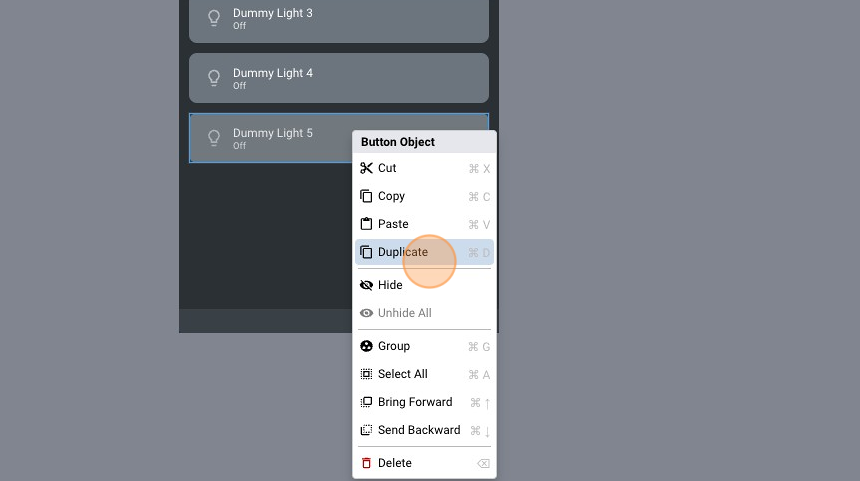
- Right-click and duplicate again
-
Repeat the steps until the fifth dummy light button
-
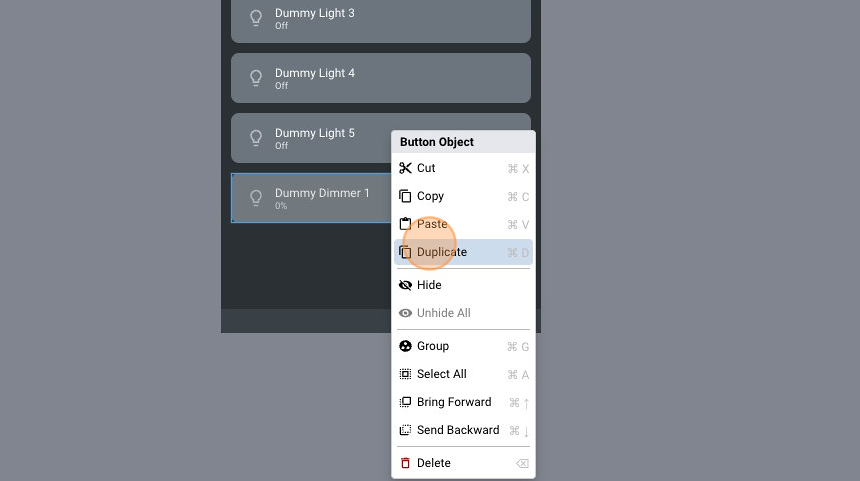
Right-click the button and click "Duplicate"
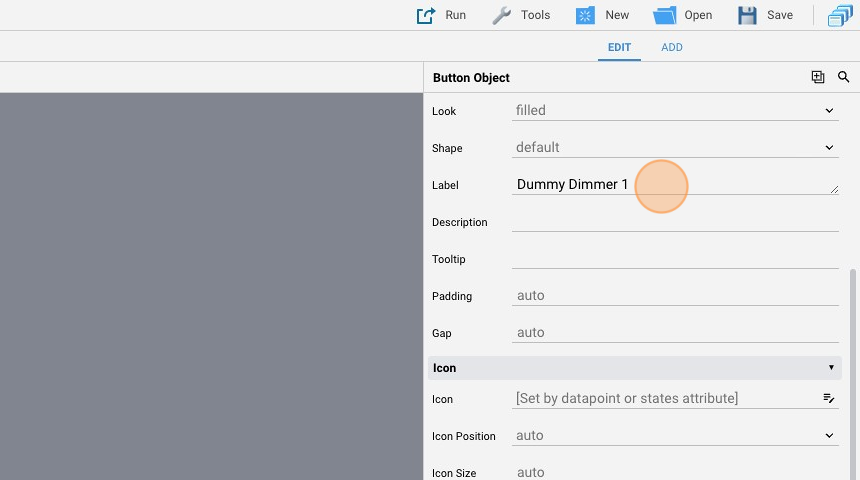
- Change the "Label" to "Dummy Dimmer 1"
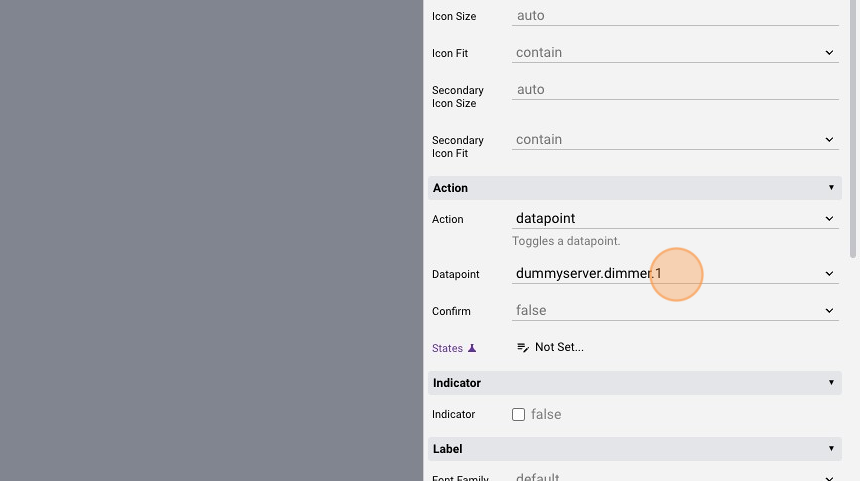
- Change the "Datapoint" to "dummyserver.dimmer.1"
- Right-click and duplicate again until the fifth dimmer light
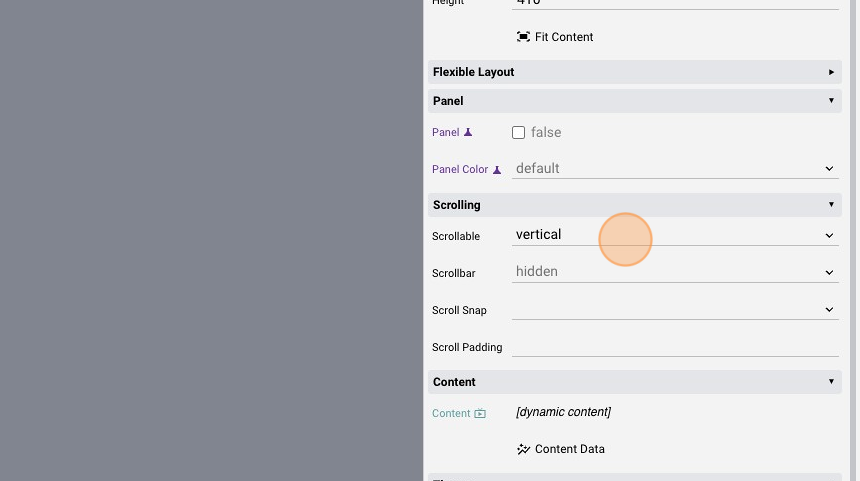
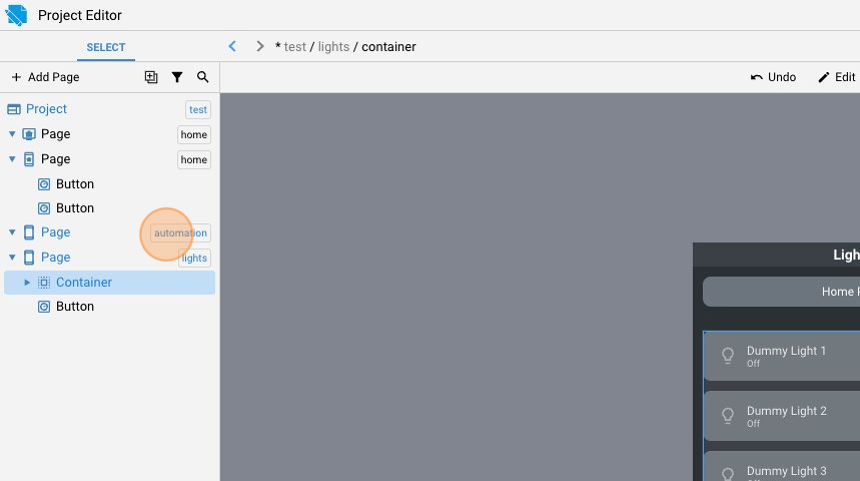
Container
- As you can see, the buttons cannot fit in the vertical space of the page, so we need to group them

- Select all the buttons, right-click and select "Group". By doing this, the buttons will be included in a container
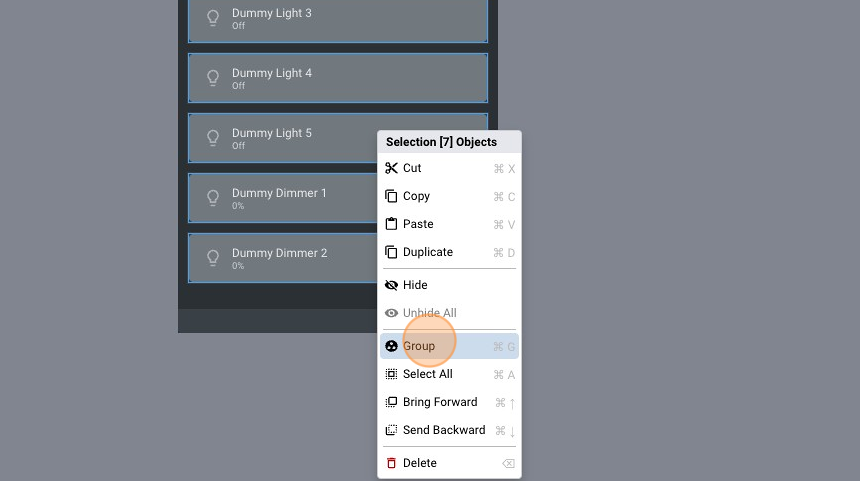
- Change the "Scrollable" attribute to "vertical". To be able to see all the buttons, we need to scroll the container
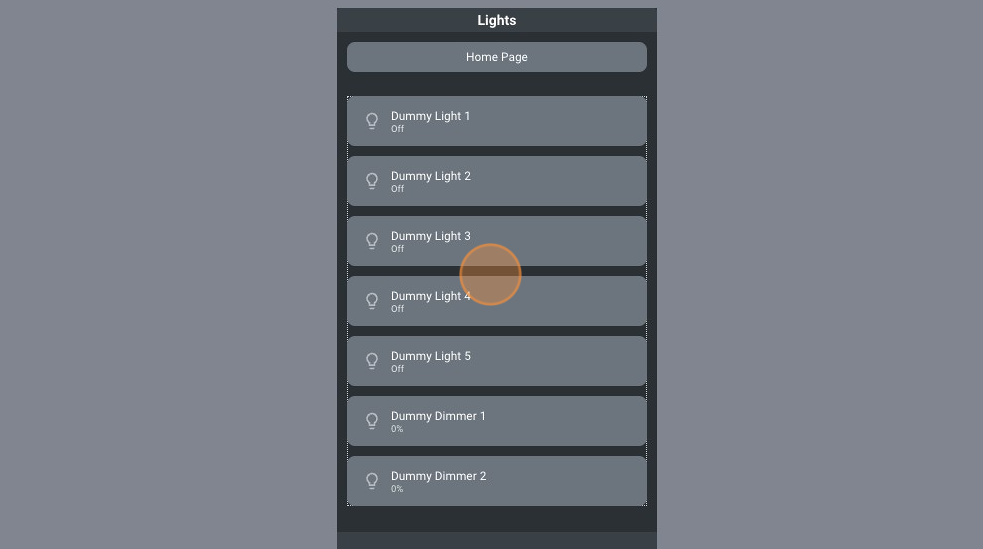
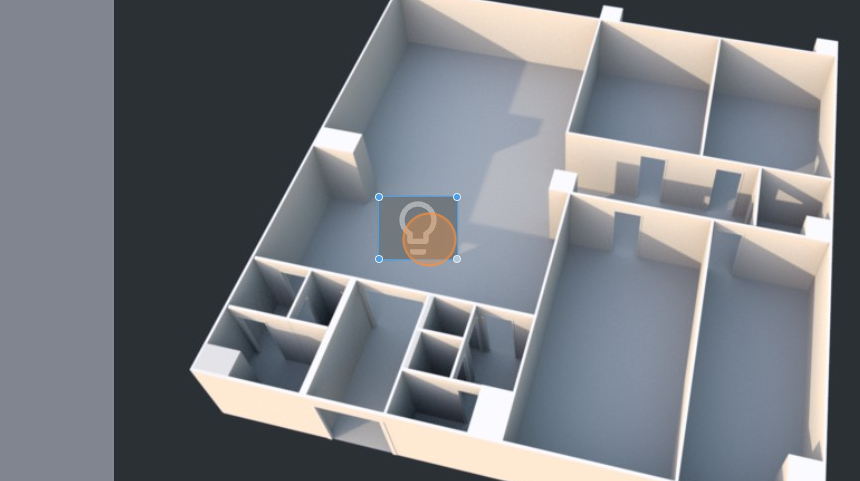
- The page should look like this:
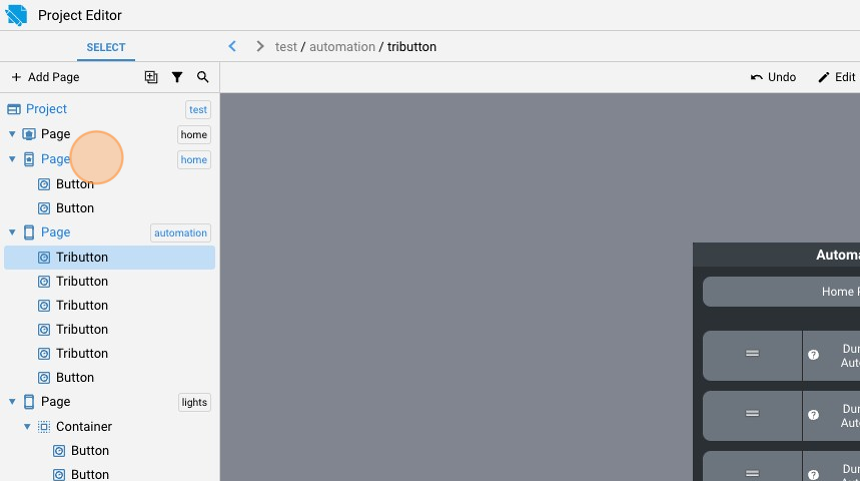
- Select the "automation" page
- Click "add"

- Add a "Button"
-
Stretch the button to make it fit the horizontal space
-
Change the "Label" to "Home Page"
- Change the "Action" to "link"
- Change the "Link" to "home"
- Click "add"
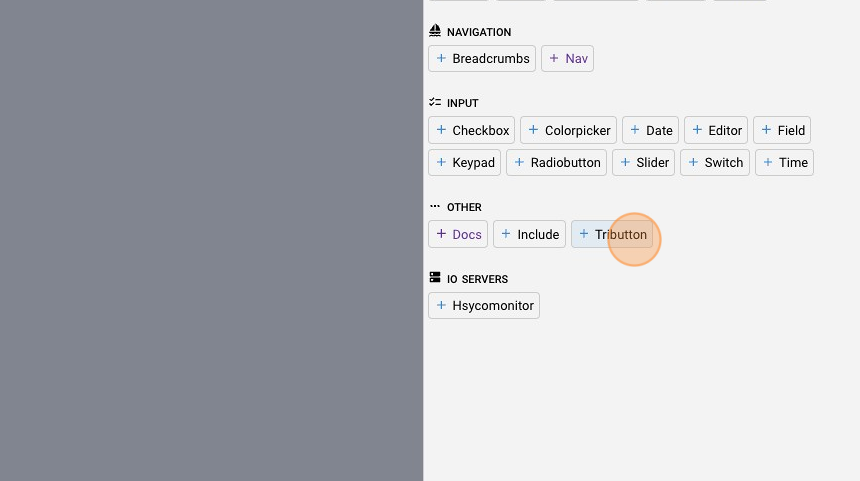
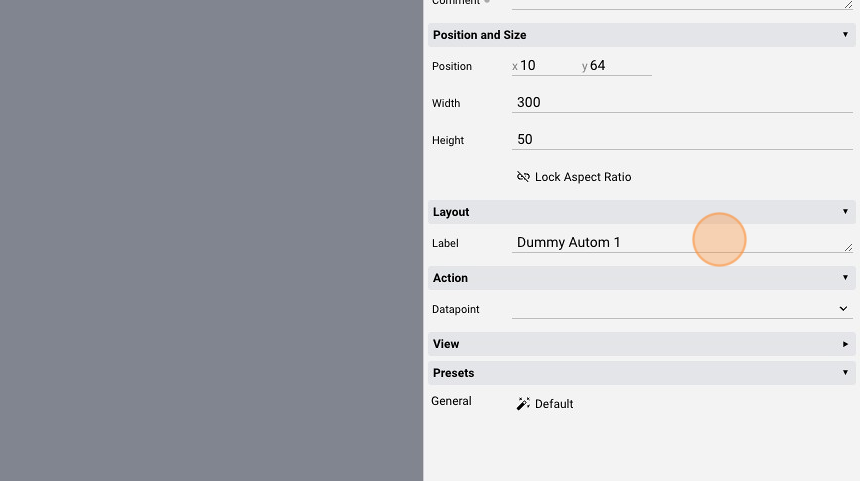
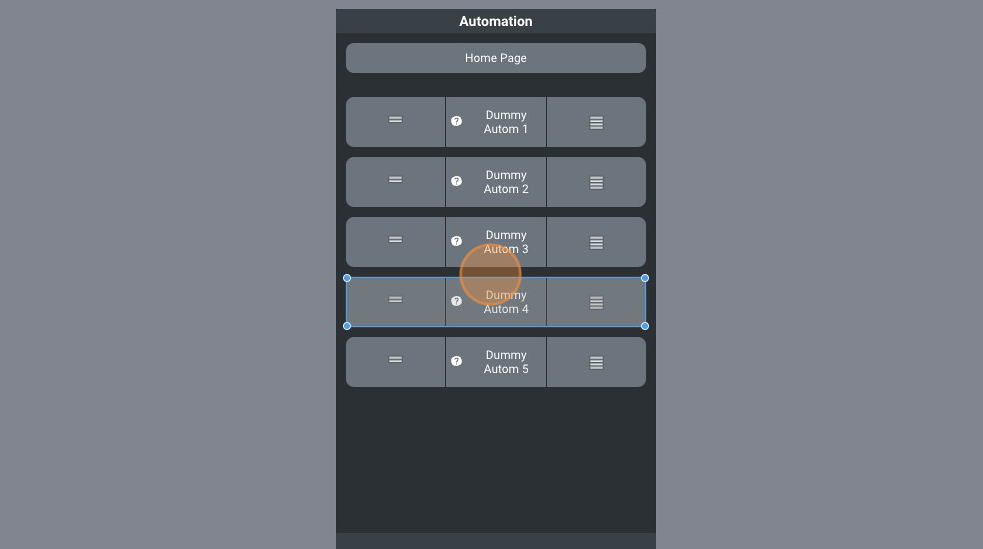
- Add a "Tributton"
- Change the "Label" to "Dummy Autom 1"
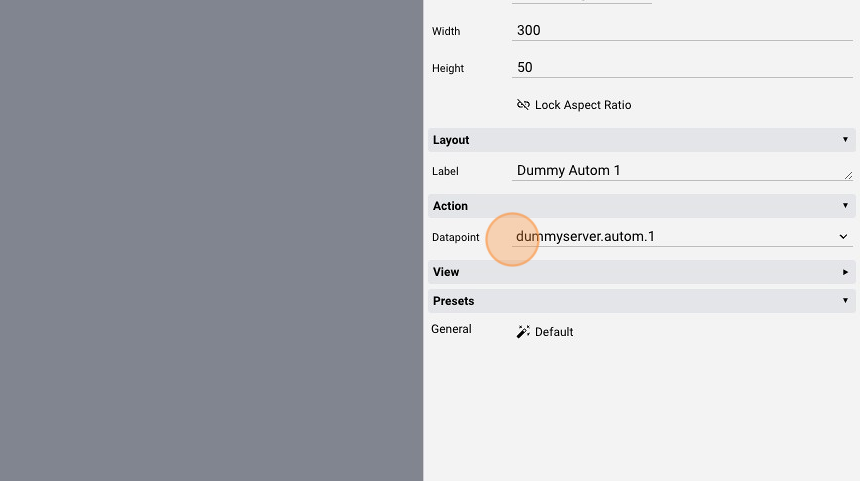
- Change the "Datapoint" to "dummyserver.autom.1"
- Right-click the tributton and click "Duplicate"
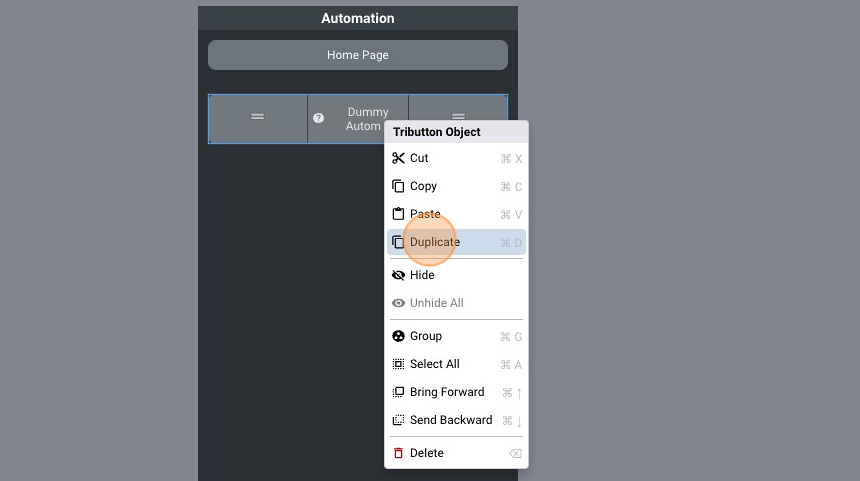
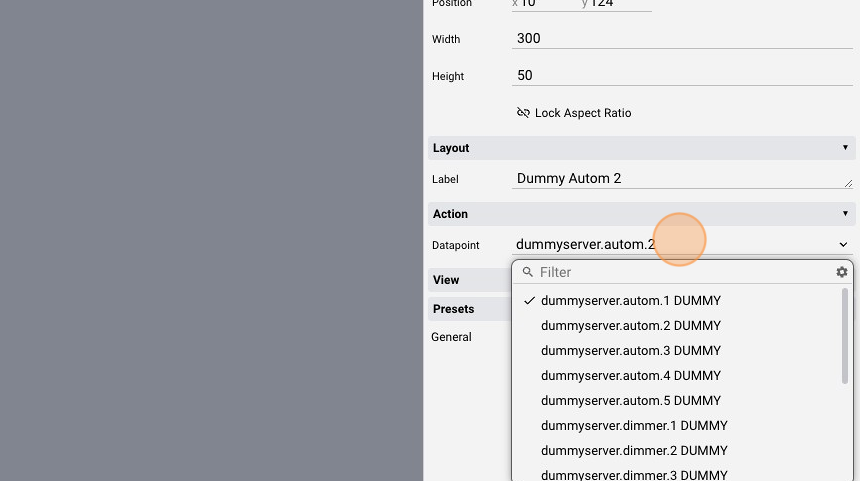
- Change the "Label" to "Dummy Autom 2"
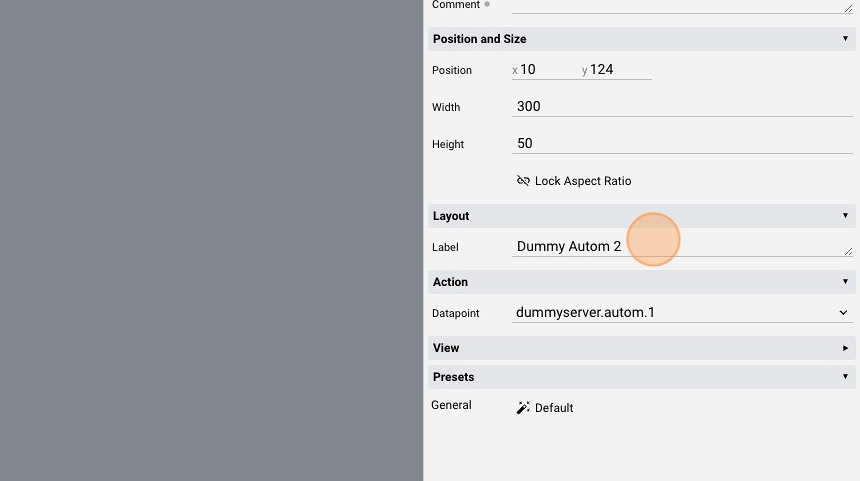
- Change the "Datapoint" attribute to "dummyserver.autom.2"
-
Repeat the steps above until the fifth automation tributton
-
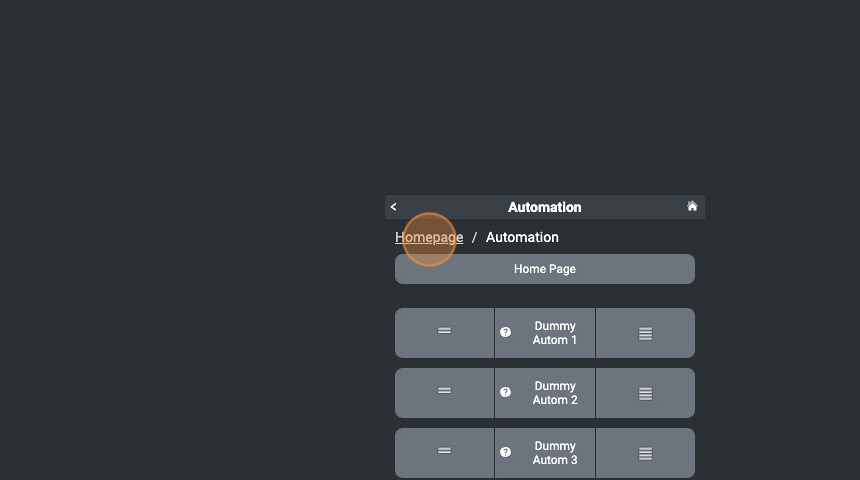
The page should look like this:
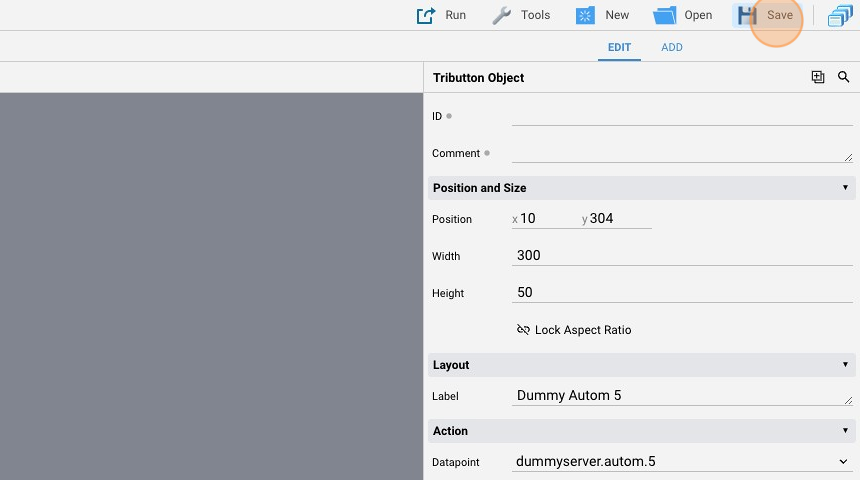
- Click "Save"
- Click here.

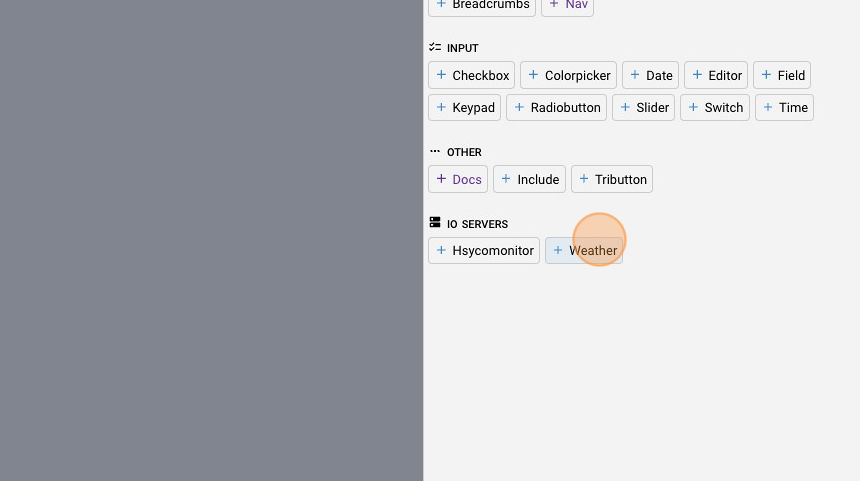
Weather Object
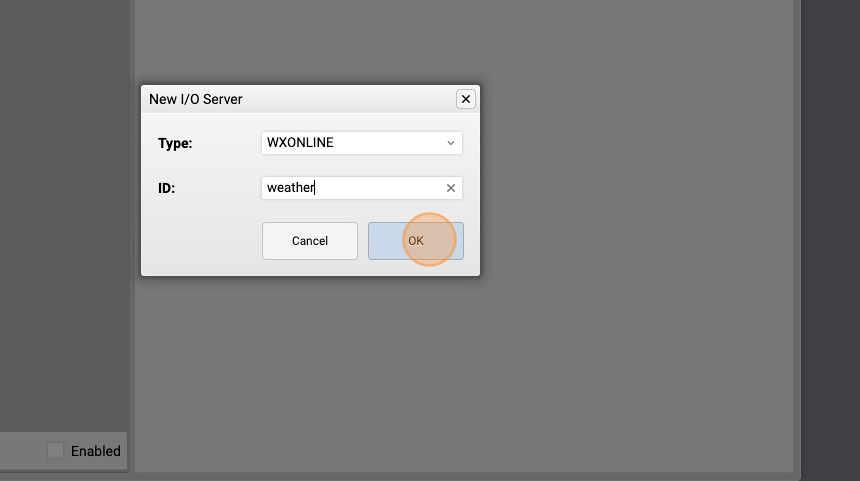
- Go into "Setting"
- Select "I/O Servers"
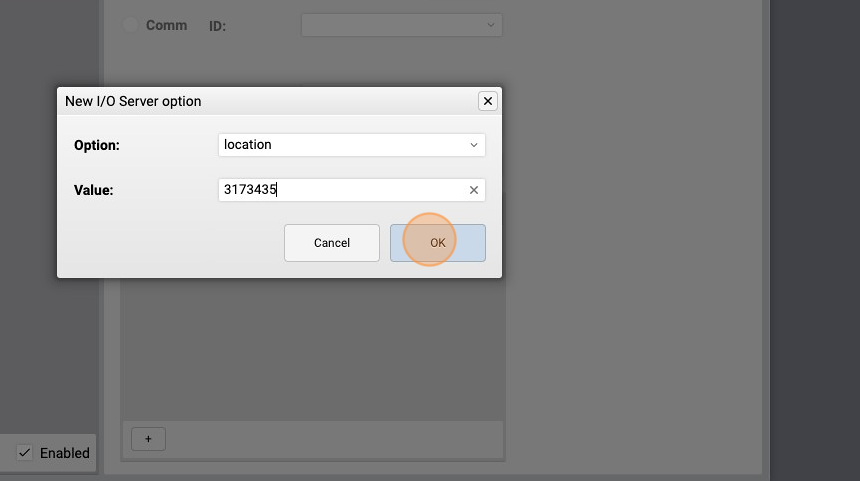
- Click "+"
- Select the "WXONLINE" server type from the "Type" list, give it a name ("weather" for example) and click "OK"
- Click "+"
- Select the "location" option, insert a valid location ID in the "Value" attribute and click "OK". The Location ID is a unique identifier for every city. It is obtainable from https://openweathermap.org/
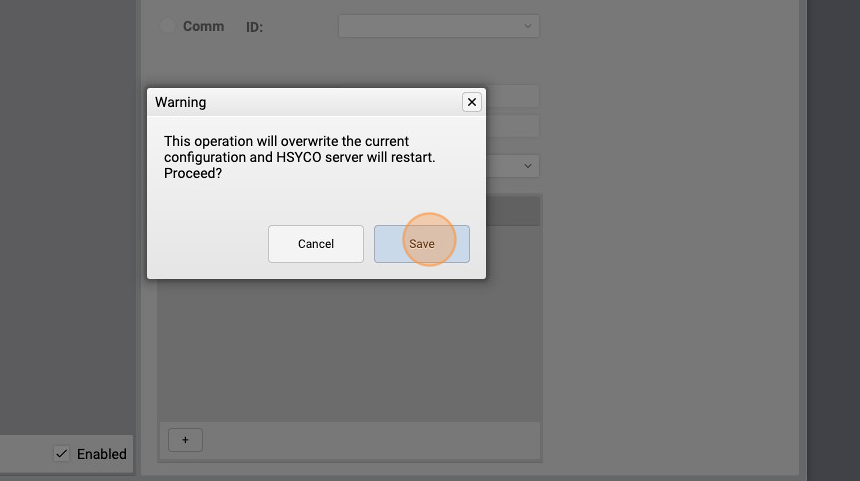
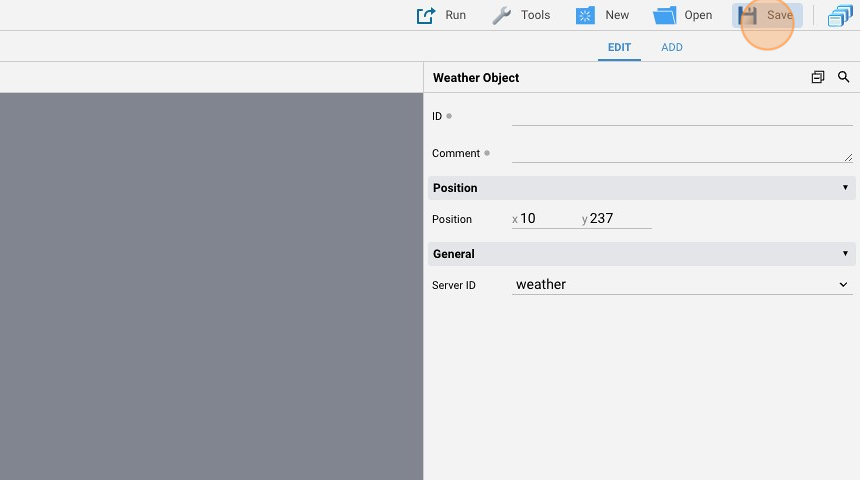
- Click "Save"
- Click "Save" again and wait for HSYCO to restart
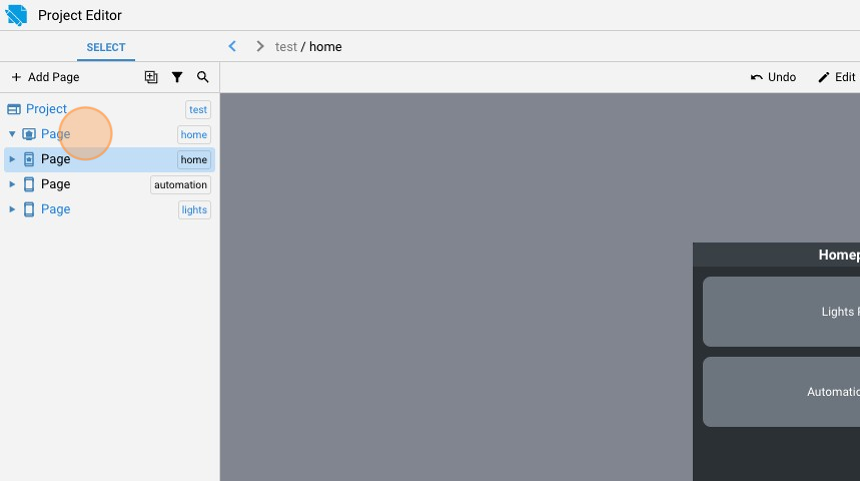
- Go back to "Project Editor"
- Select the portrait "Home" page
- Click "add"
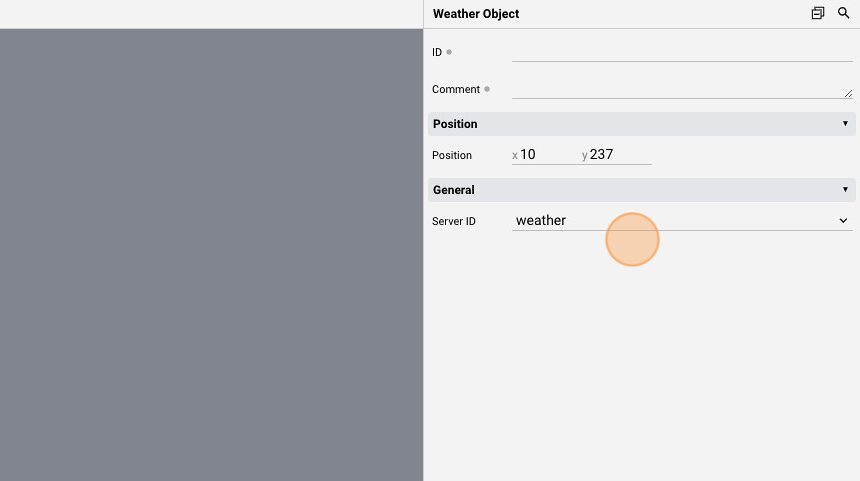
- Add a "Weather" object
- Select "weather" from the "Server ID"
- Click "Save"
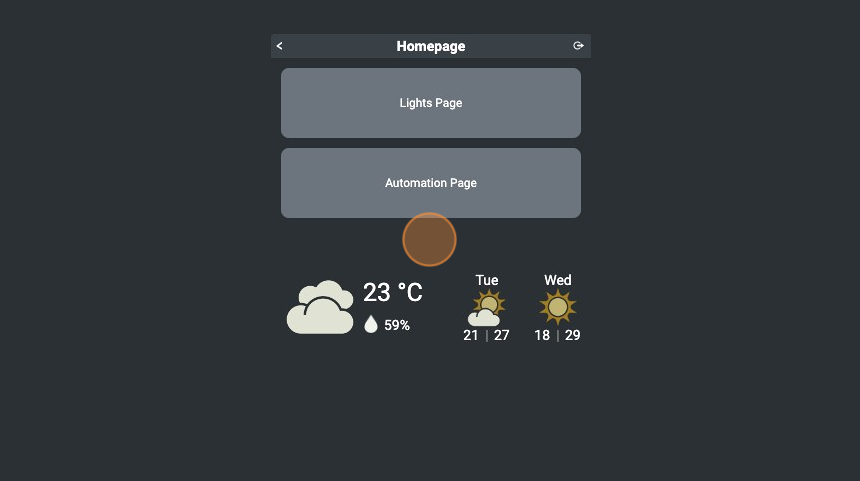
- The page should look like this:
Landscape
- Select the landscape "Home" page
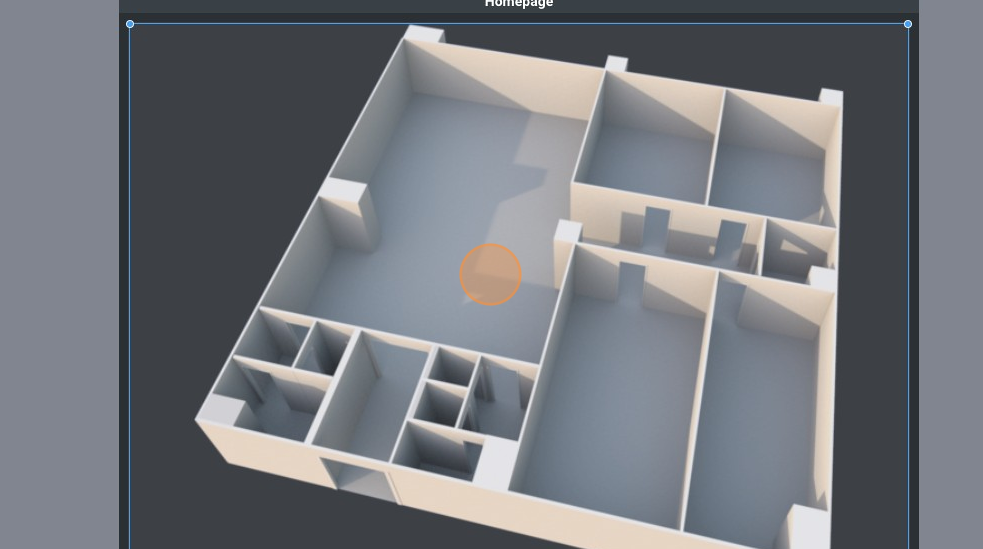
Floor Plan Image
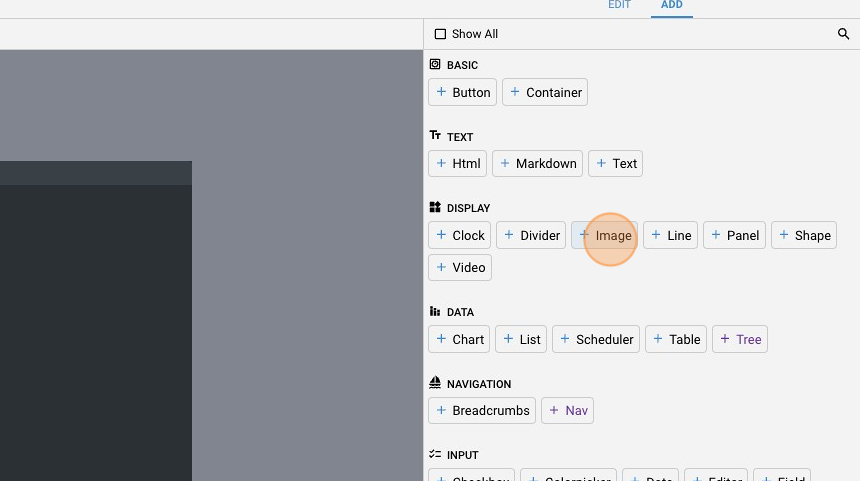
- Click "add"
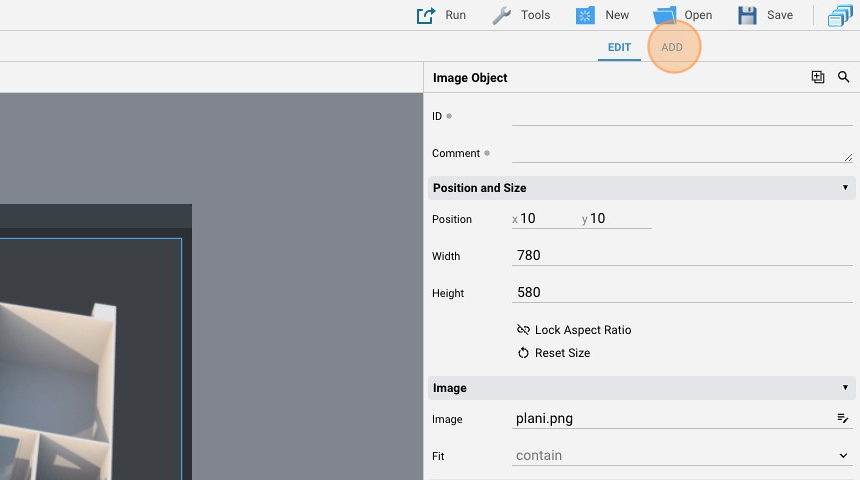
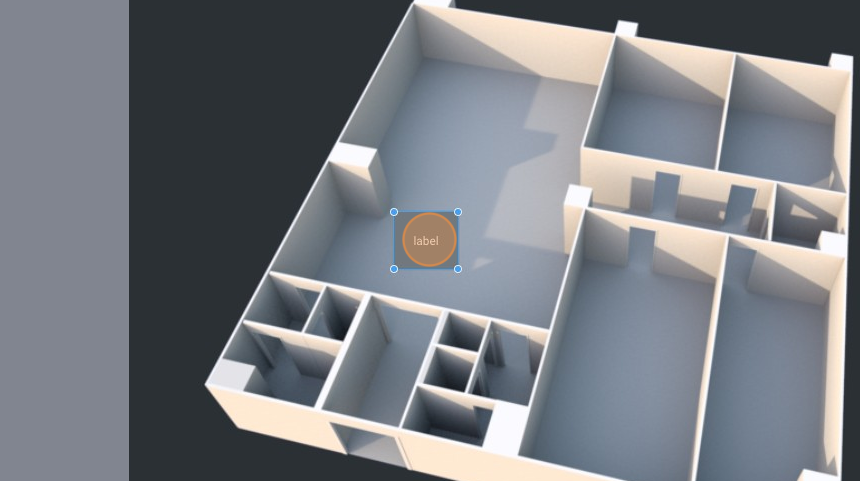
- Add an "Image" object
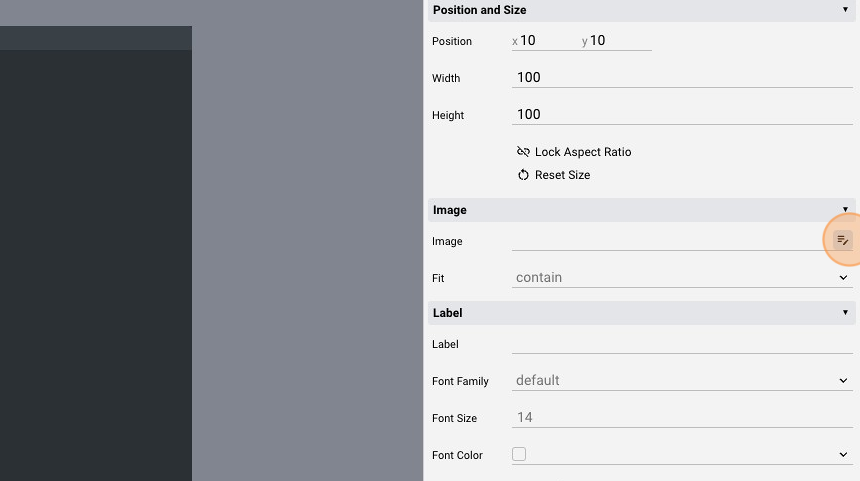
- Click this icon to select the image to show
- Click "image"
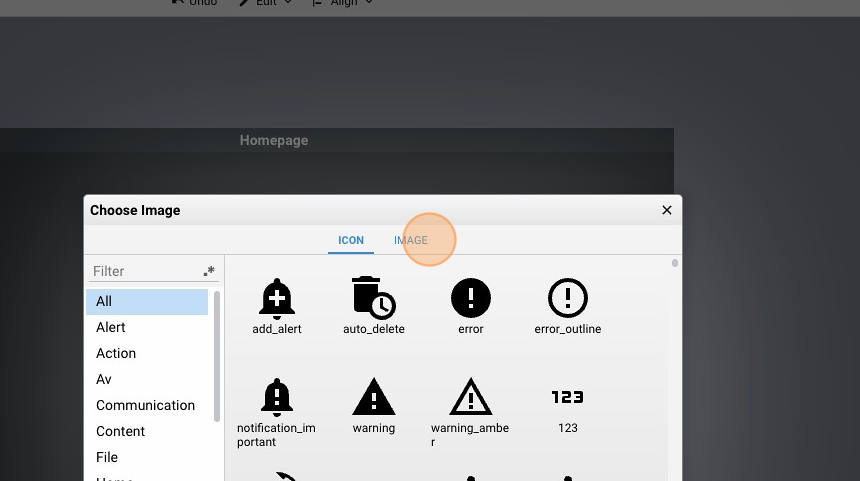
-
Select the image and click "ok"
-
The image will be resized to match the object's dimensions
Buttons with icon
- Click "add"
- Add a "Button"
- Move the button
- Change the "Action" to "datapoint"
- Change the "Datapoint" to "dummyserver.light.1"
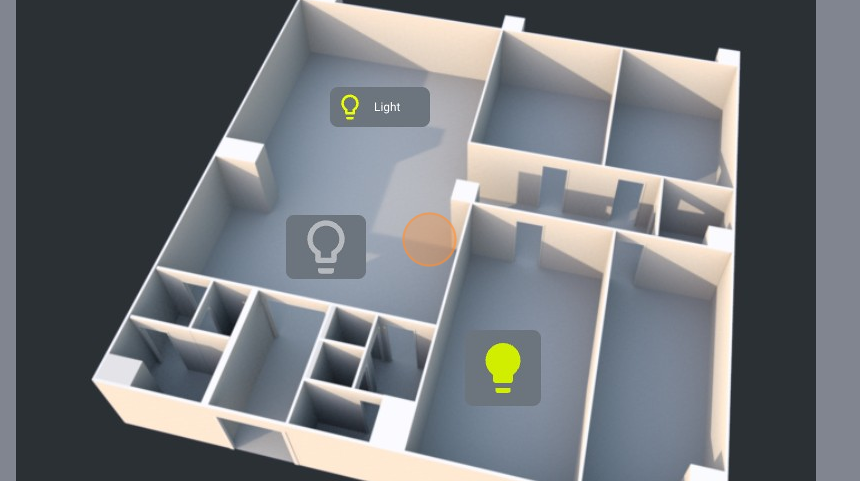
- Leave the "Label" empty so that the icon occupies all the button size
- It looks like this:
- Click "add"
- Add another "Button"
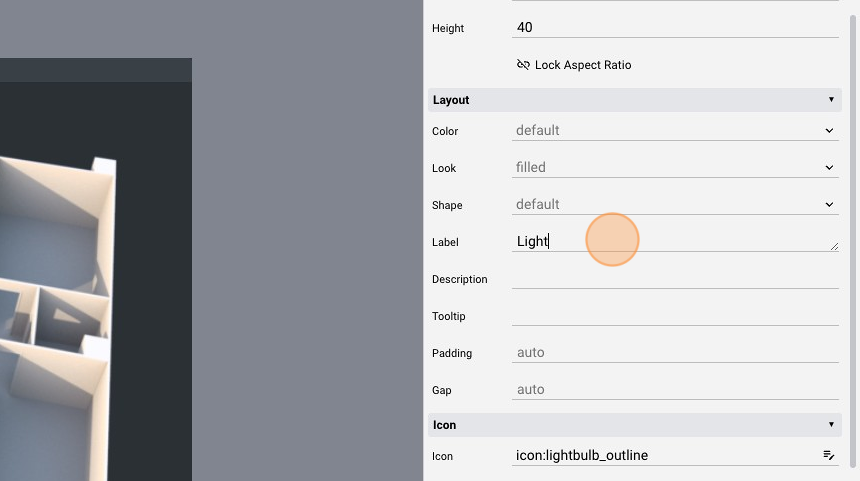
- Change the "Label"
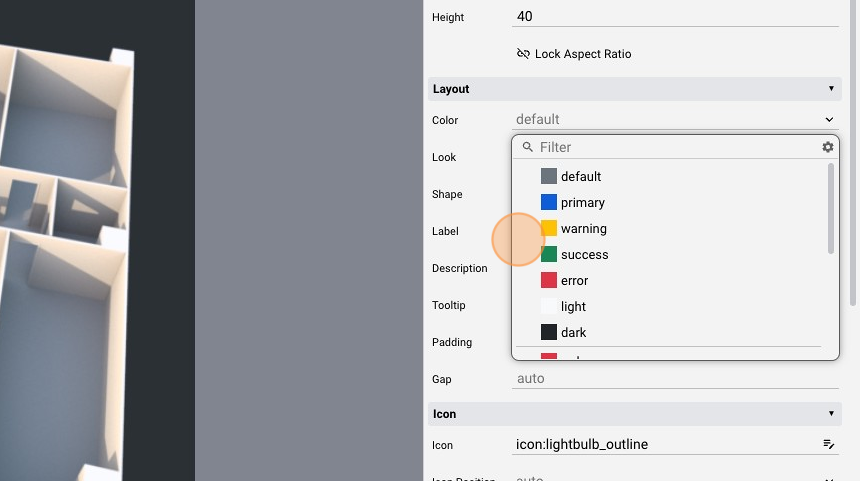
- You can change the color of the button by selecting one from the "Color" dropdown box. There is a list of standard colors and some unique colors to represent a warning color, a error color and so on
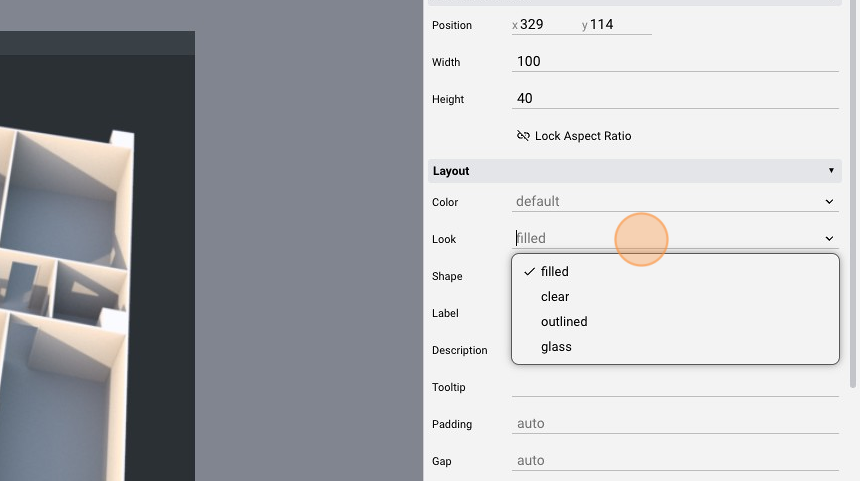
- The "Look" attribute specifies the button look
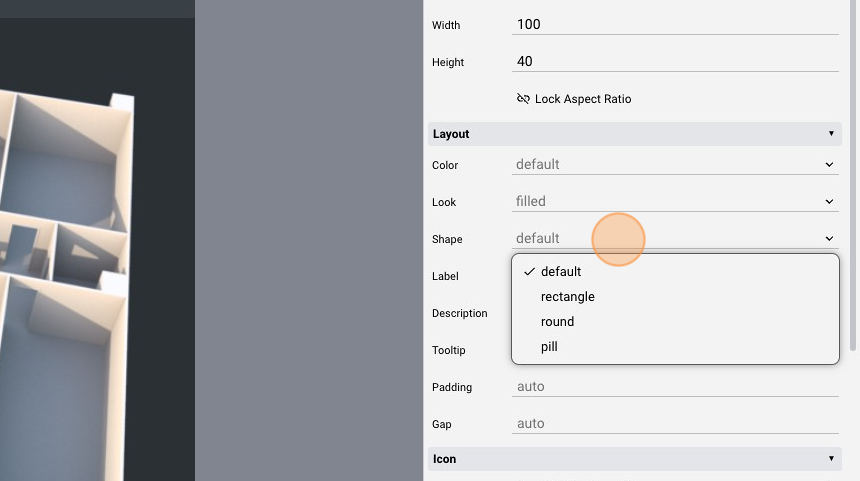
- You can also change the shape of the button by modifying the "Shape" attribute
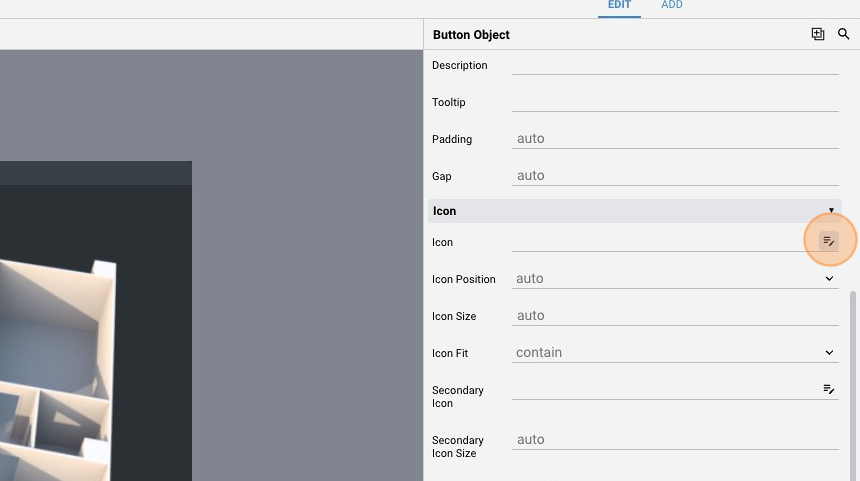
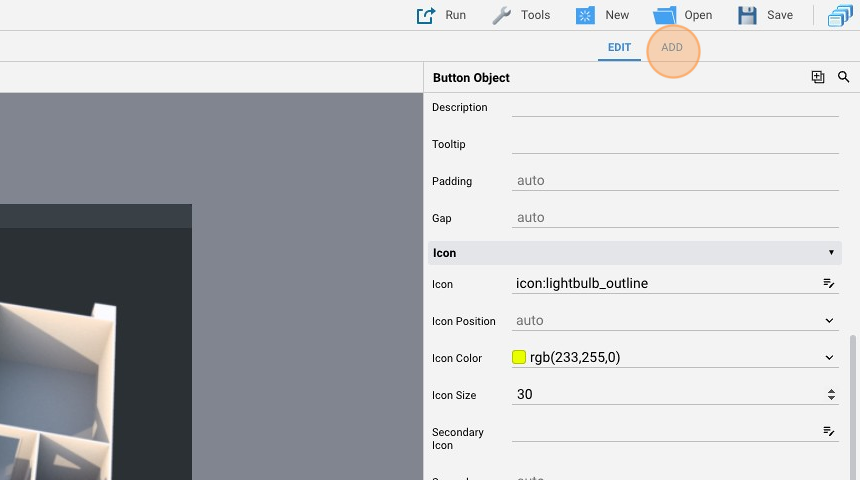
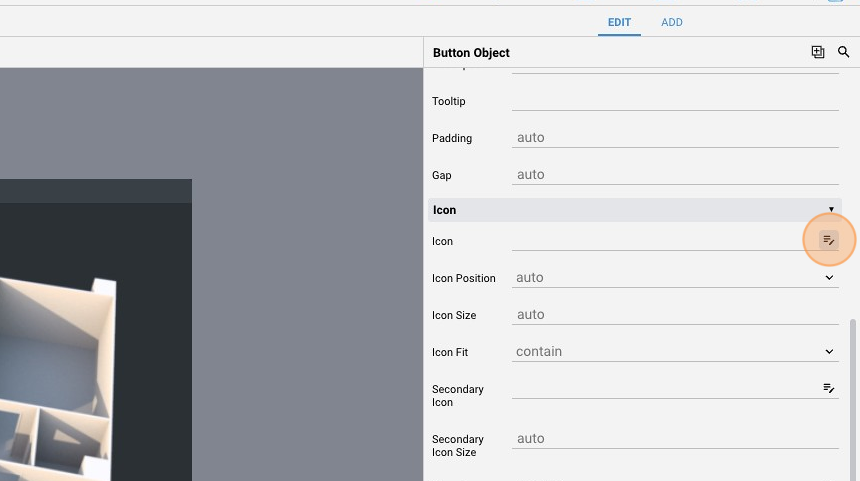
- Click this icon to modify the icon
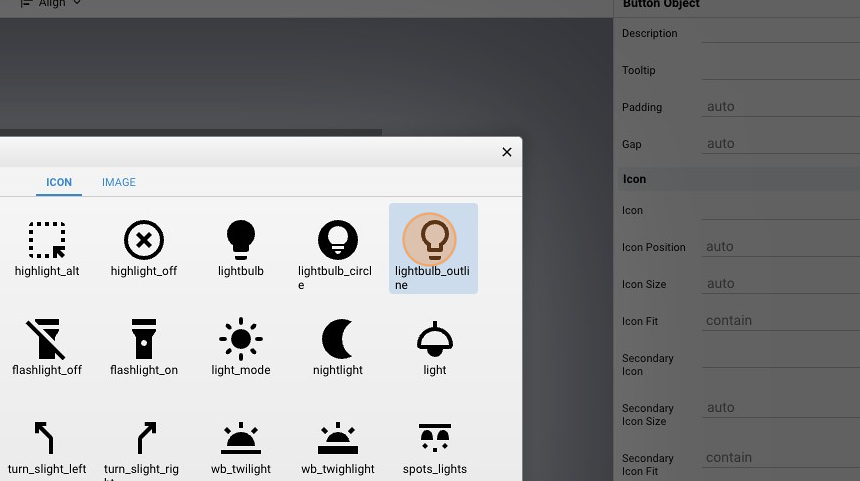
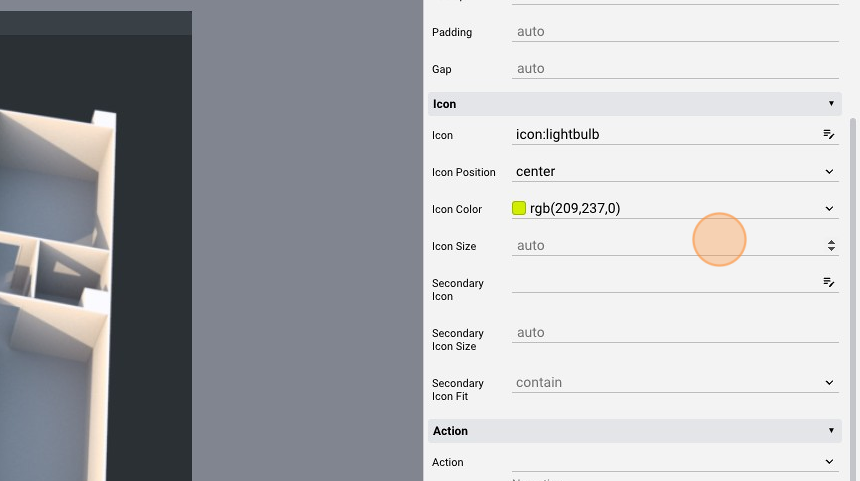
- Select a light icon and click "ok"
- You can change the "Icon Color" to modify its appearance
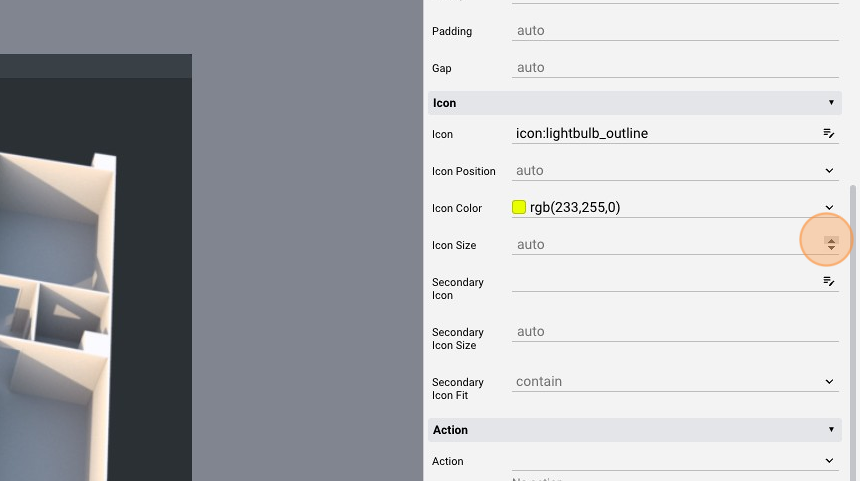
- The "Icon Size" is another option to modify the appearance of the icon

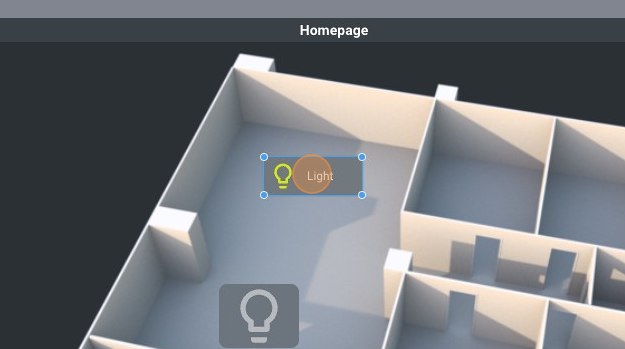
- This button looks like this:
- Click "add"
- Add a third "Button"

- Leave the "Label" empty
- Select a light icon like before
- Change the "Icon Color"
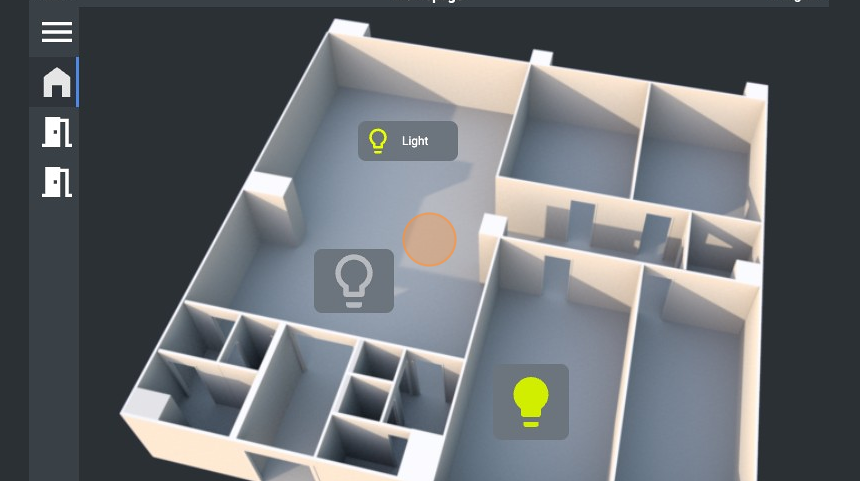
- The page should look like this:
NAV Object
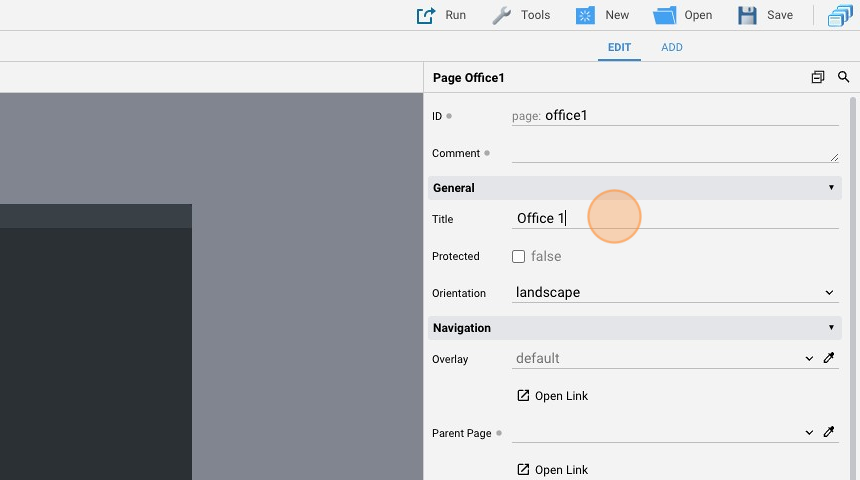
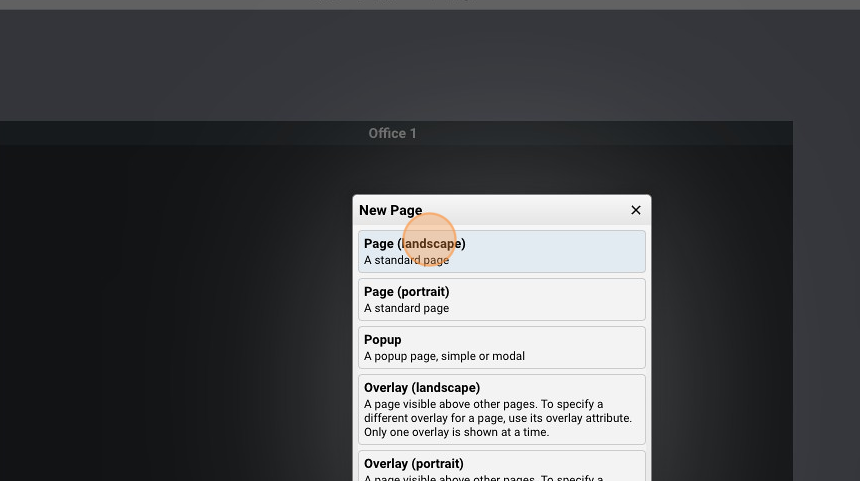
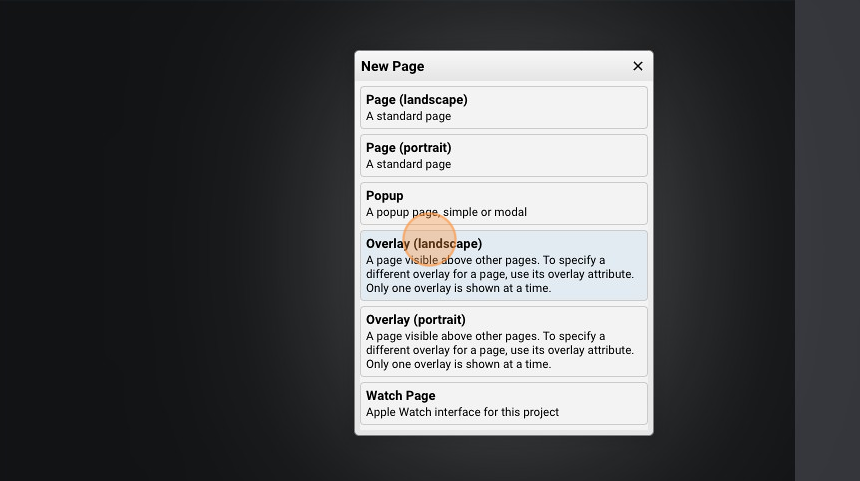
- Click "Add Page"
- Add a "Page (landscape)"
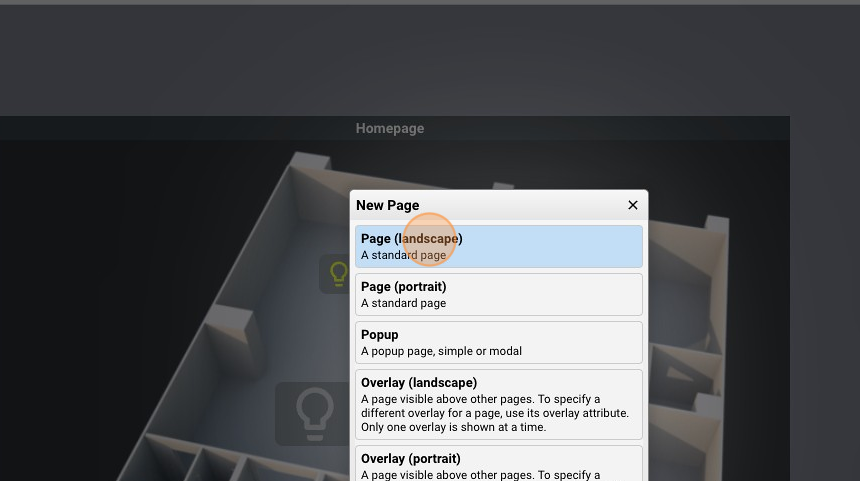
- Change the "ID" of the page to "office1" for example
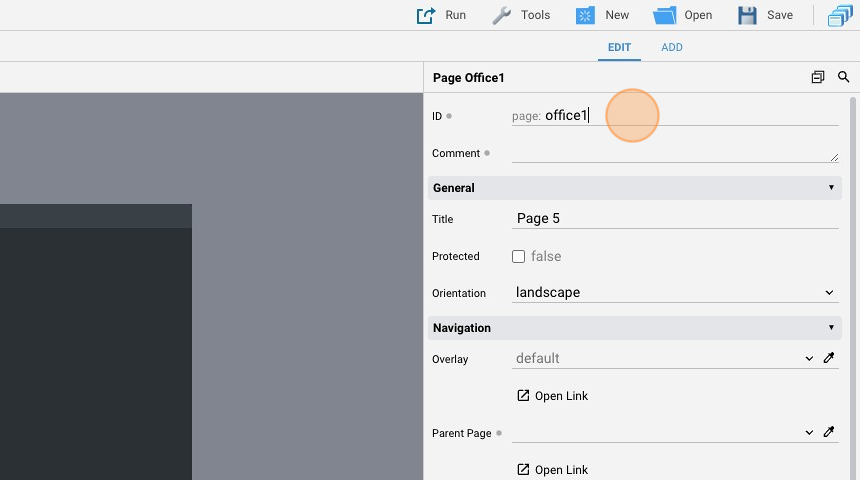
- Change also the "Title" of the page
- Click "Add Page"
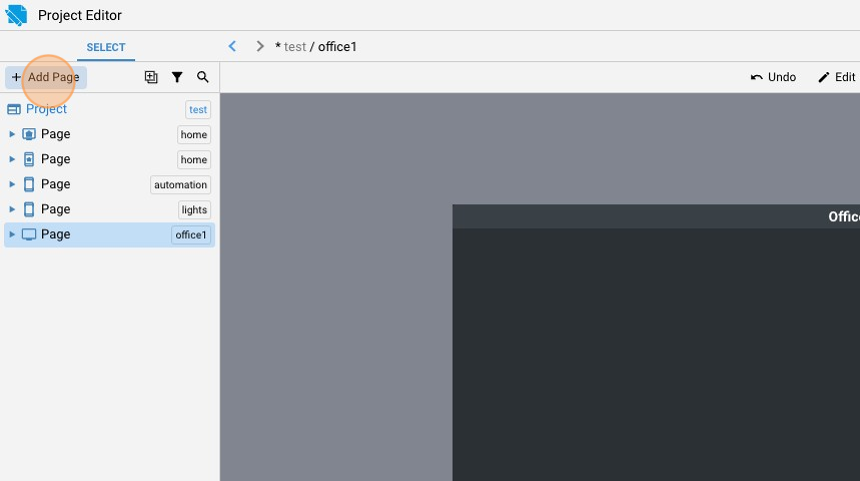
- Add another "Page (landscape)"
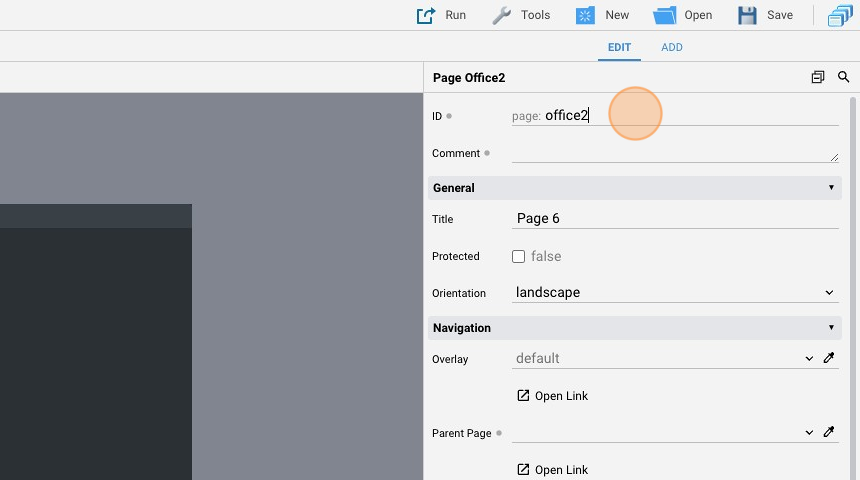
- Change the "ID" of the page to "office2"
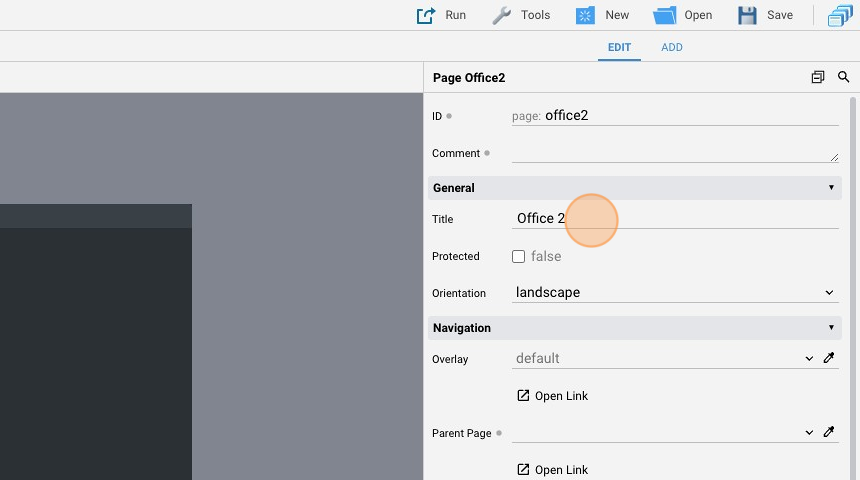
- Change the "Title" to "Office 2"
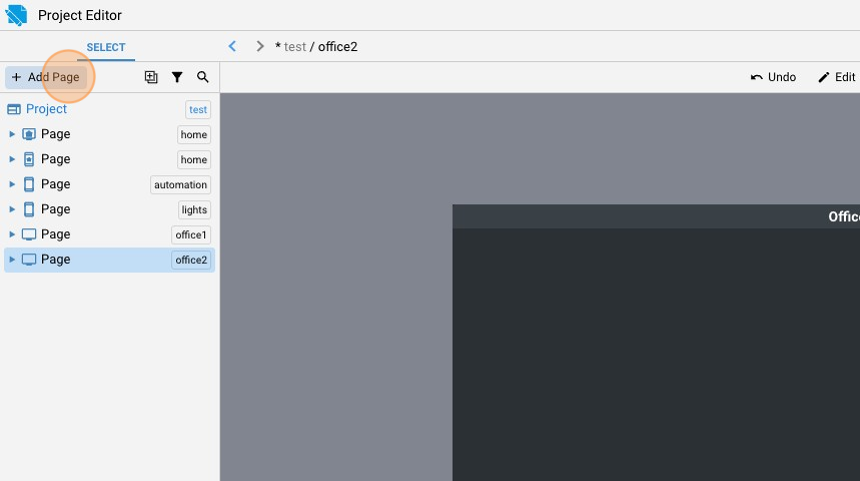
- Click "Add Page"
- Add an "Overlay (landscape)"
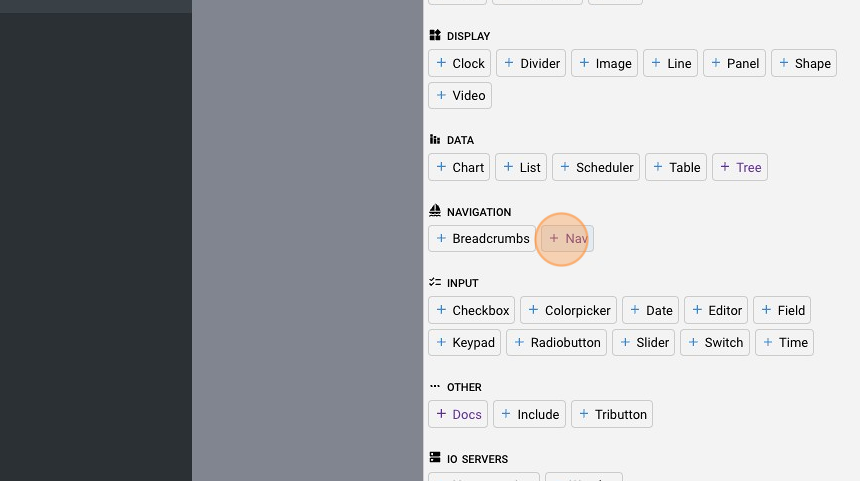
- Click "add"
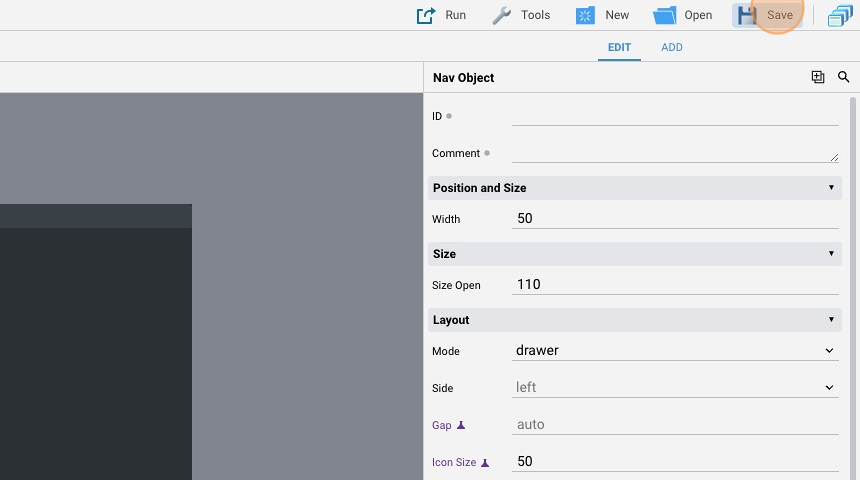
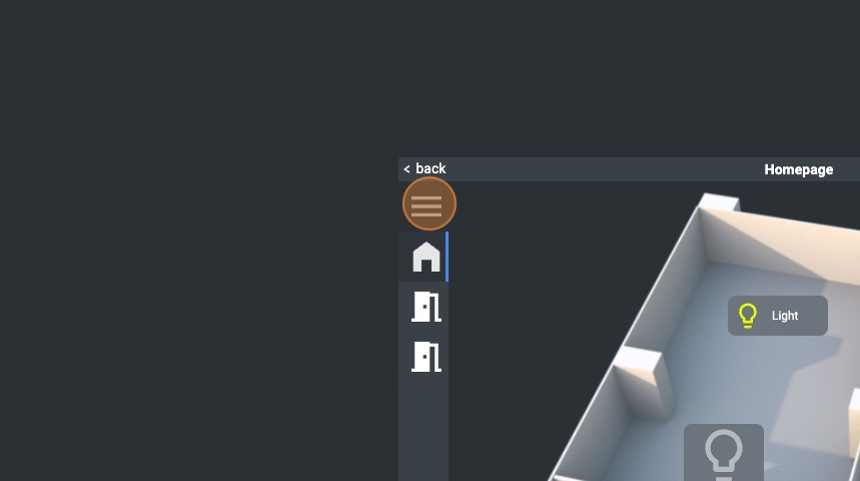
- Add a "Nav" object
- Change the "Mode" to "drawer". In this way, the nav has open/closed states and can be controlled by an hamburger button, that we'll add later

- Change the "Width" to "50" and the "Size Open" to "110". These are the optimal sizes for our nav
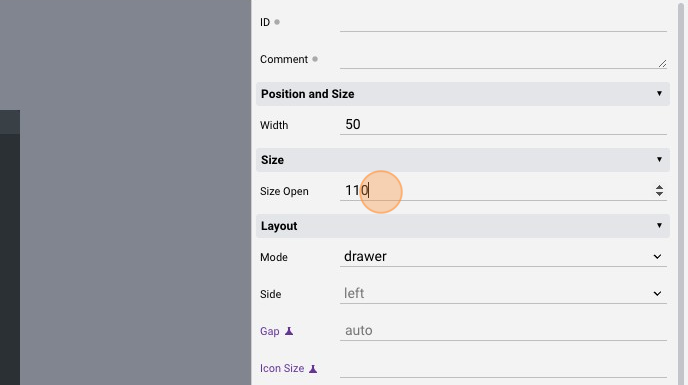
- Change also the "Icon Size" to "50"
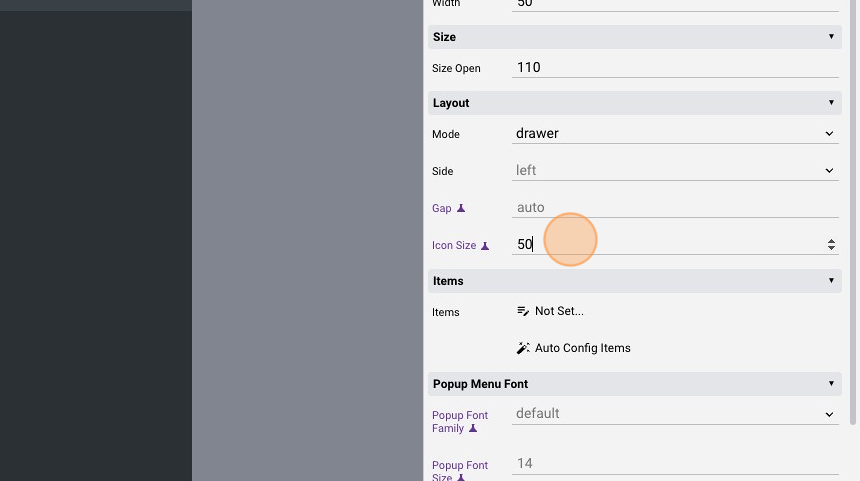
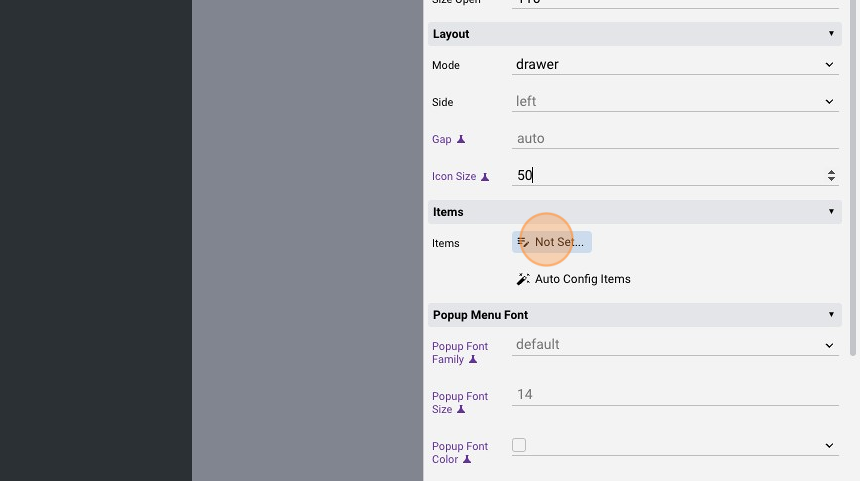
- Click "Not Set..." to add items to the nav
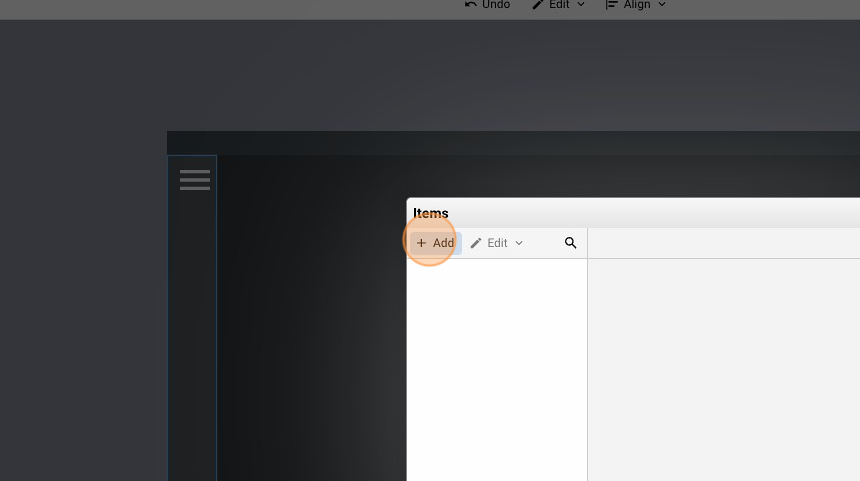
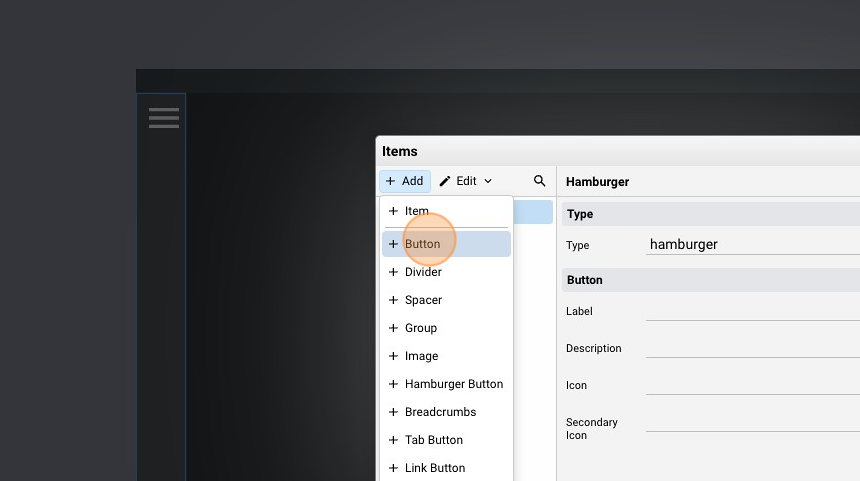
- Click "Add"
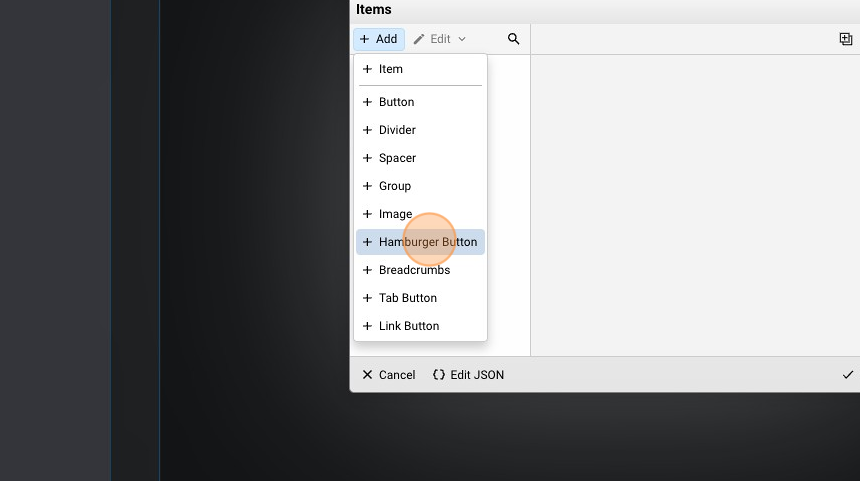
- Add an "Hamburger Button"
- Click "Add"
- Add a simple "Button"
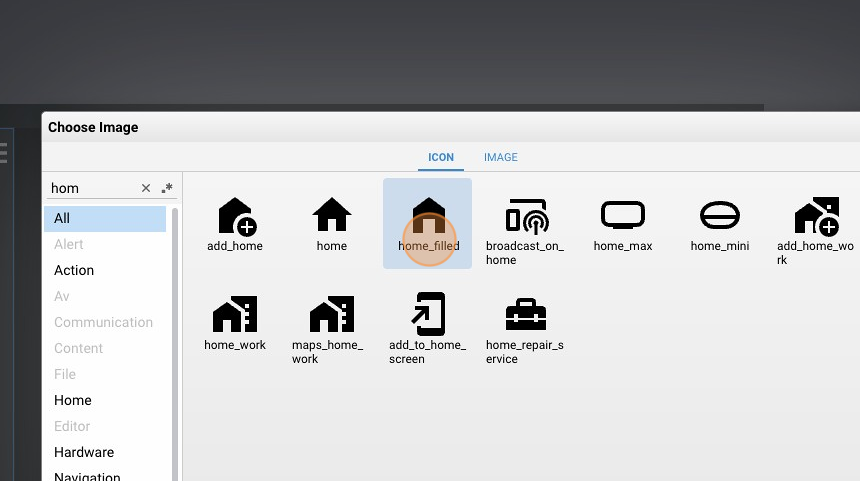
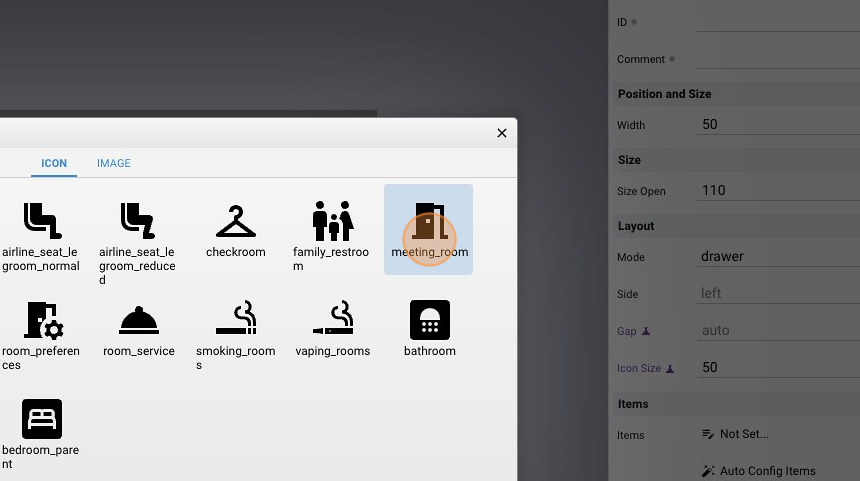
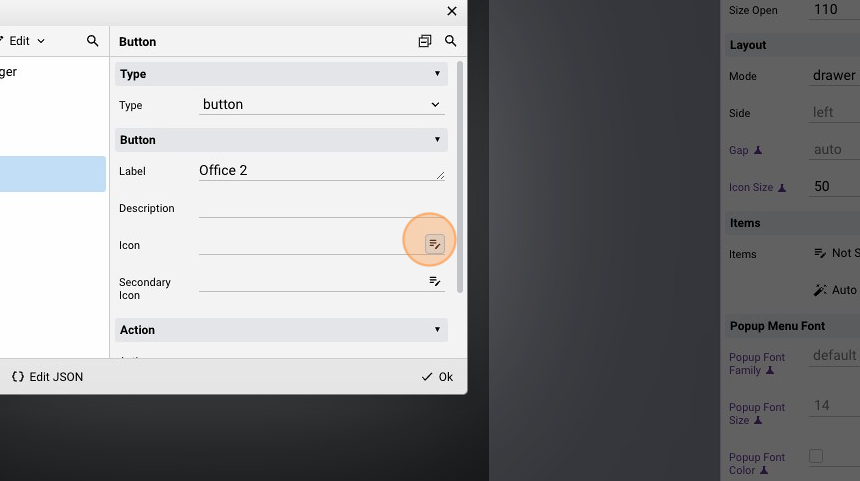
- Click this icon to change the icon of the button
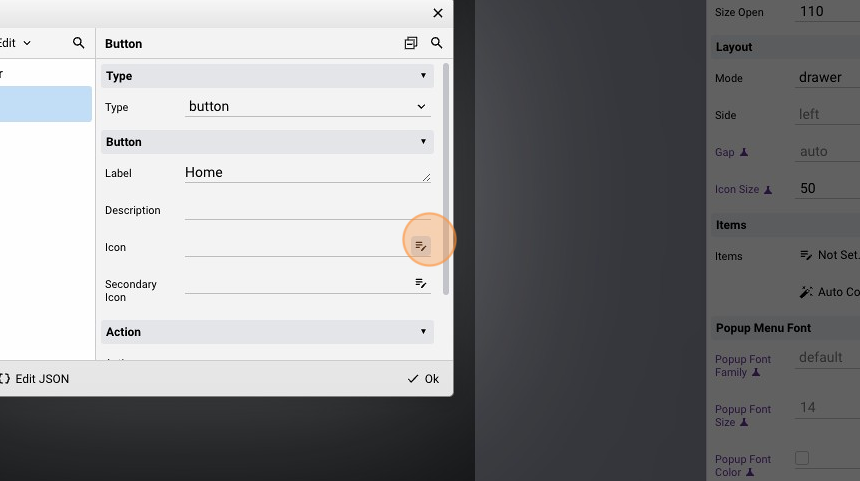
- Select one icon and click "ok"
- Change the "Action" to "link"
- Change the "Link" to the "home" page
- Click "Add"
- Add another button
- Change the "Label" to "Office 1"
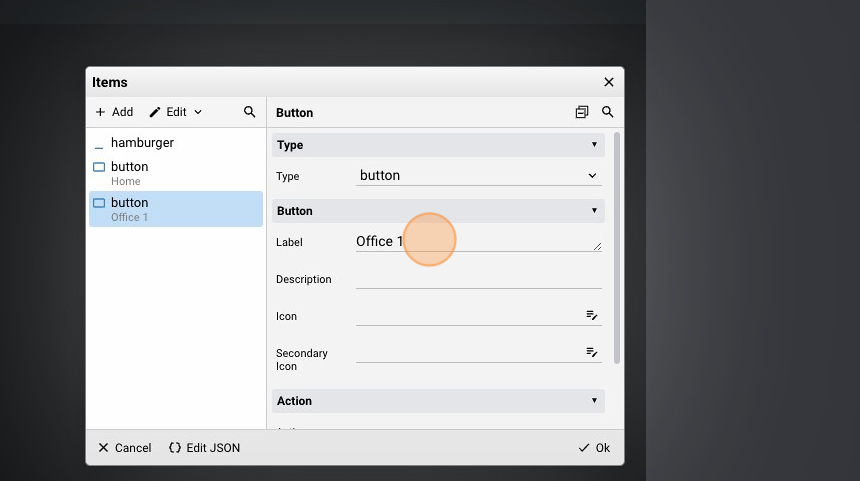
- Change the icon like before and click "ok"
- Change the "Action" to "link"
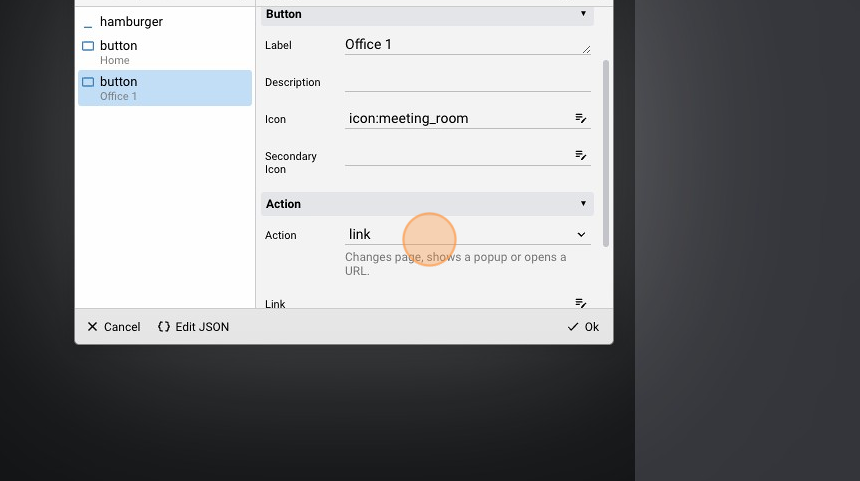
- Change the "Link" to "office1"

- Add another button
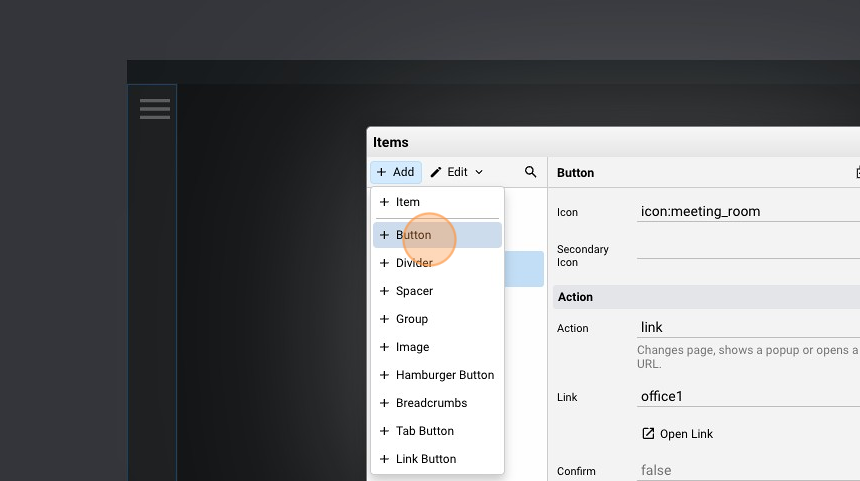
- Change the "Label" to "Office 2"
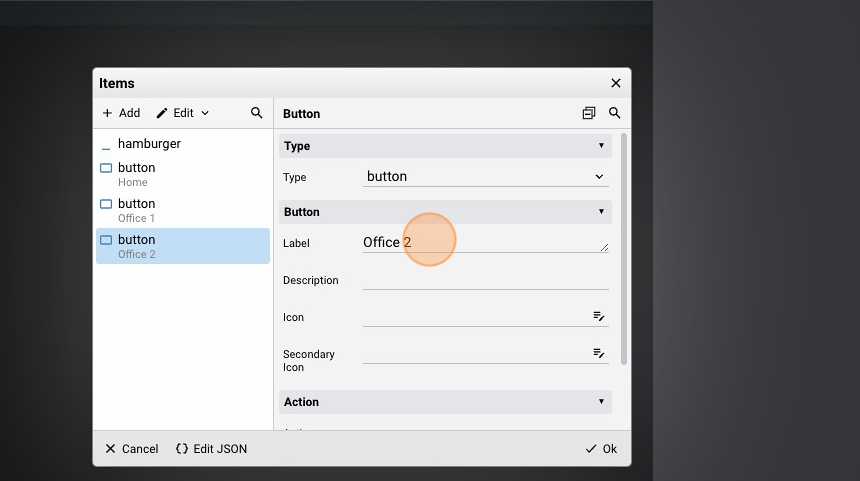
- Change the icon of the button
- Change the "Action" to "link" and the "Link" to "office2"
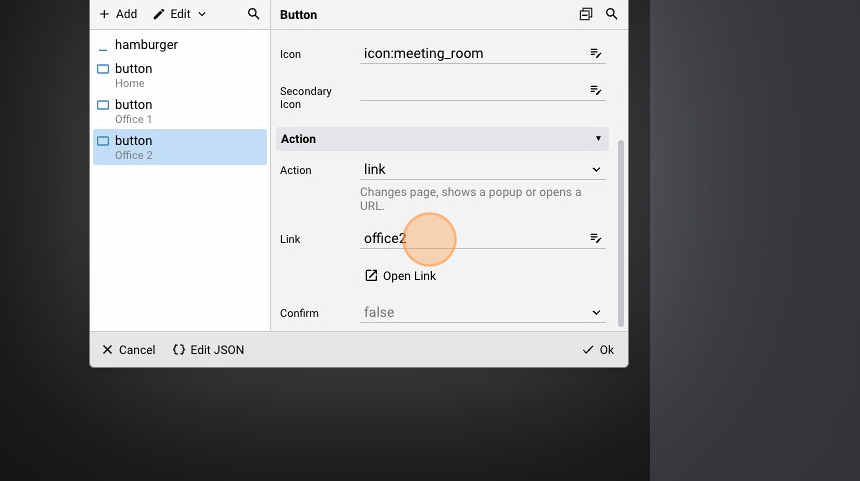
- Click "ok" to confirm
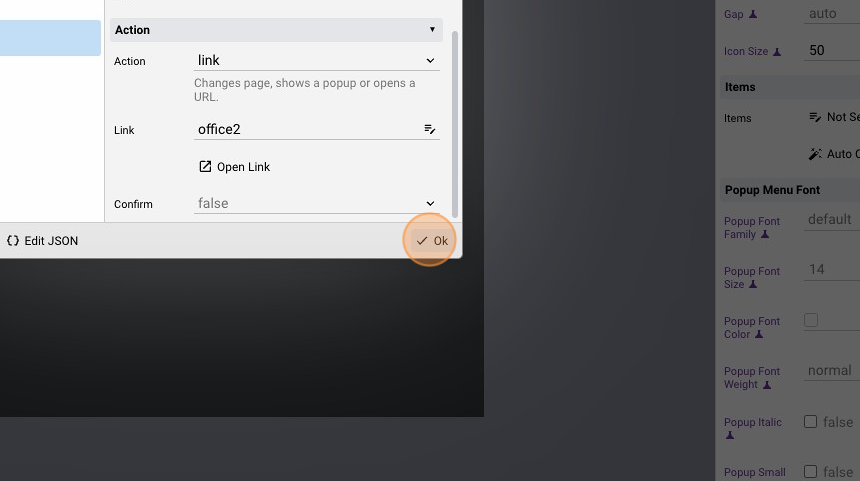
- Click "Save"
Working with NAV
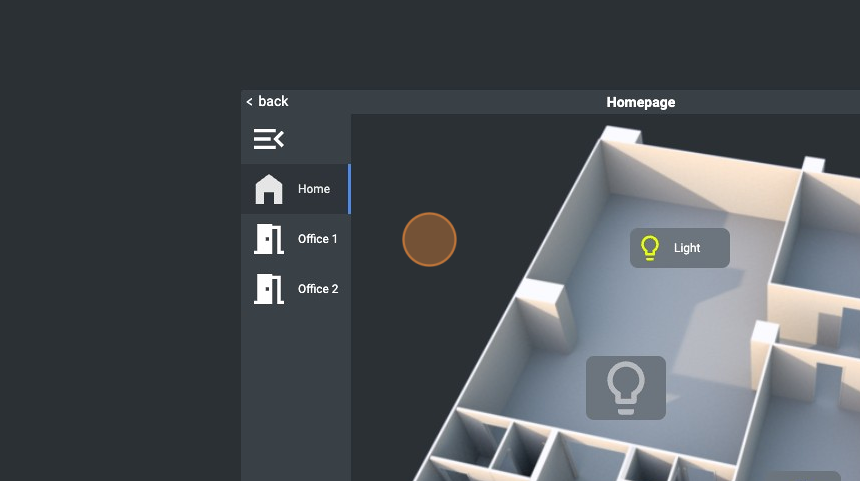
- Now we can navigate between the pages
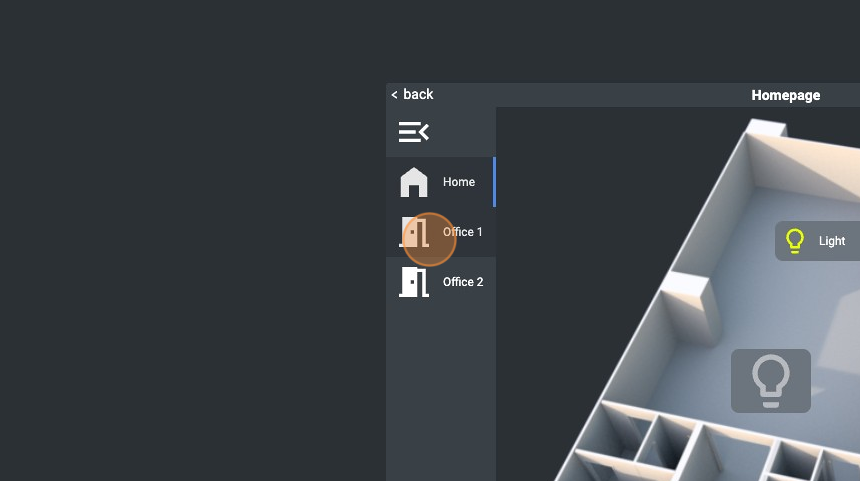
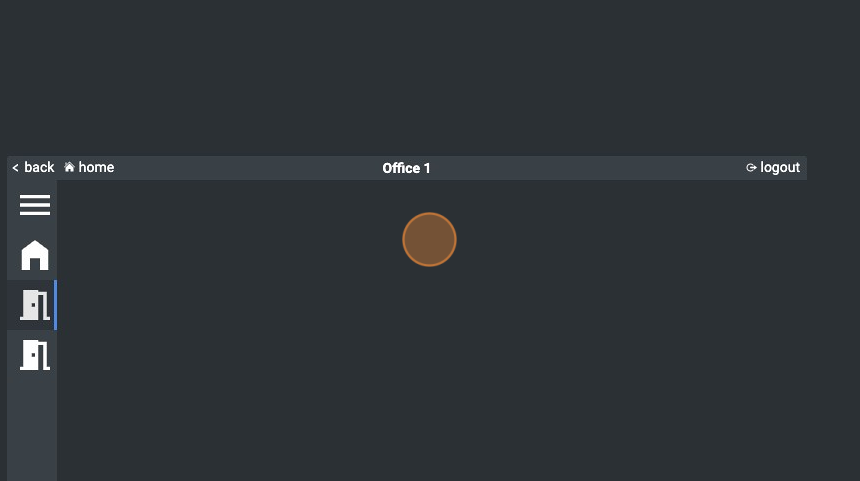
- Here we are in the "office1" page as you can see from the Title of the page
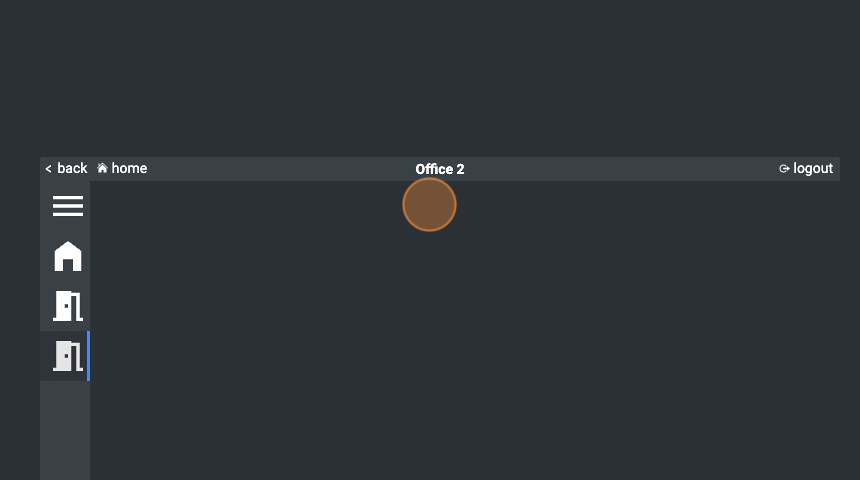
- Here in the "office2"
- We can always go back to "home" page
- Pressing the hamburger button will open the nav
- By default, the "Push" attribute is true so the page's content is pushed when the nav is opened. You can set it to "false" to tweak that
Connection between landscape and portrait pages
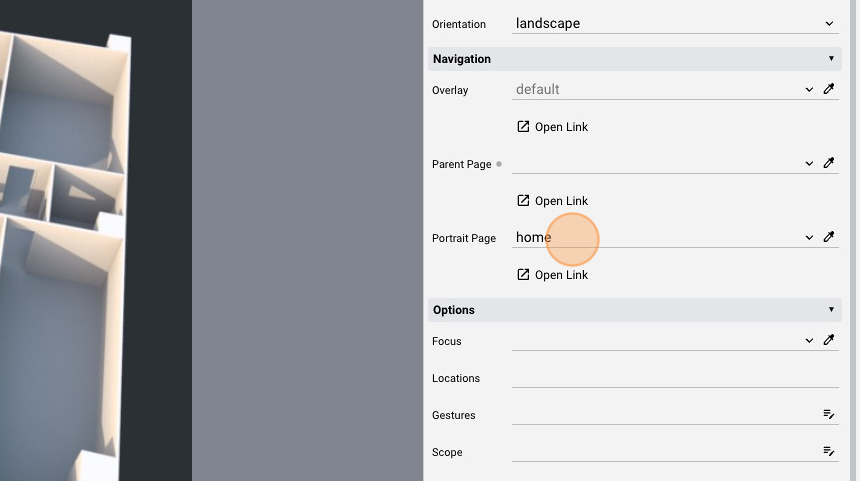
- Select the landscape "home" page
- Change the "Portrait Page" attribute to "home". This list will only show portrait pages so we know that this "home" page refers to the portrait one
- Now select the portrait "home" page

- Change the "Landscape Page" to "home". Like before, in this list there will only be landscape pages so this is the landscape "home" page

- Click "Save"
- Now the two "home" pages (landscape and portrait view) are linked together. When the device changes orientation, if we are in one of the "home" pages, the project will switch automatically to match the new orientation. The same process can be applied to any page
Breadcrumbs Object
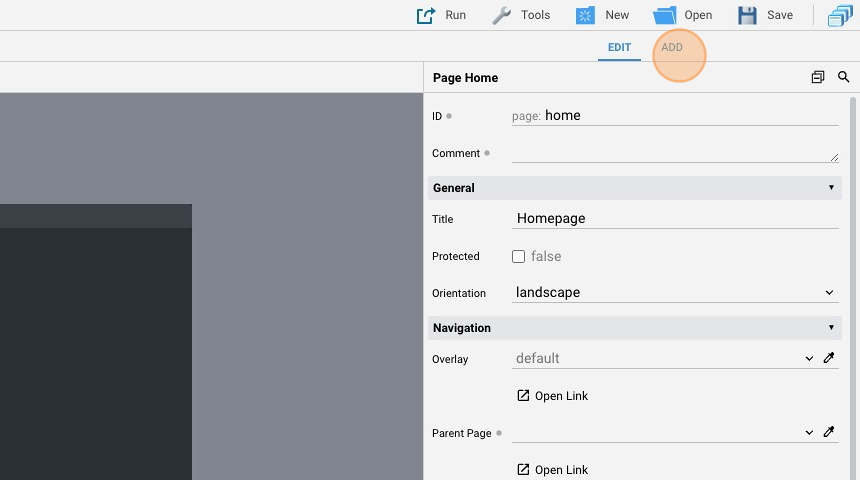
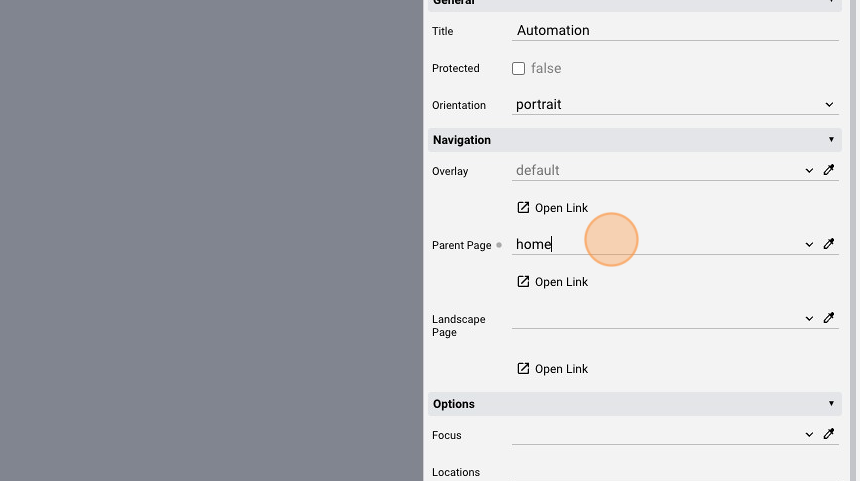
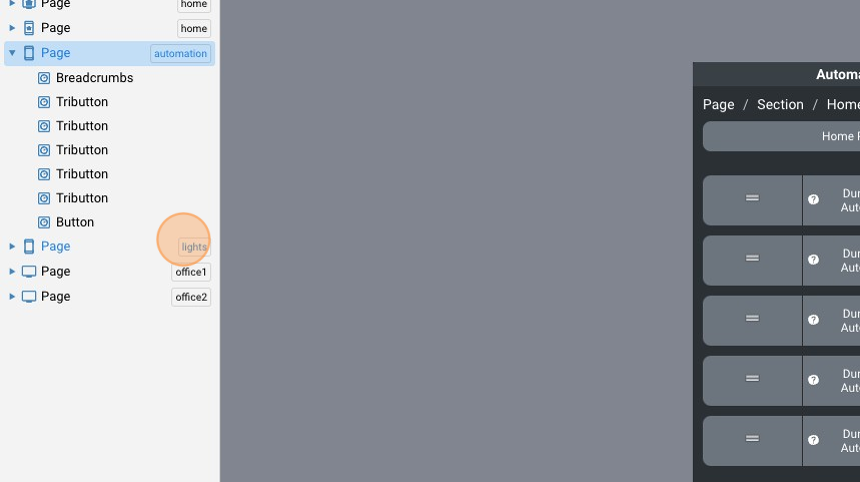
- Select the "automation" page
- Change the "Parent Page" to "home". This is used to create a hierarchy between the pages so the breadcrumb shows the full path to that page
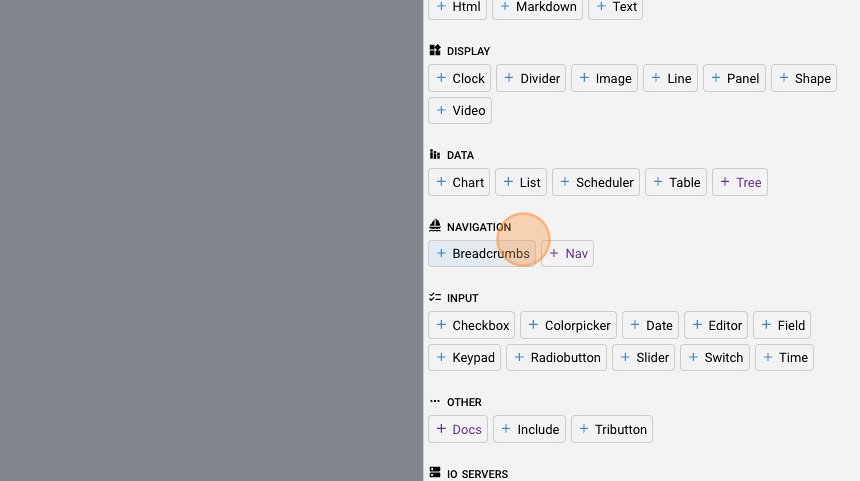
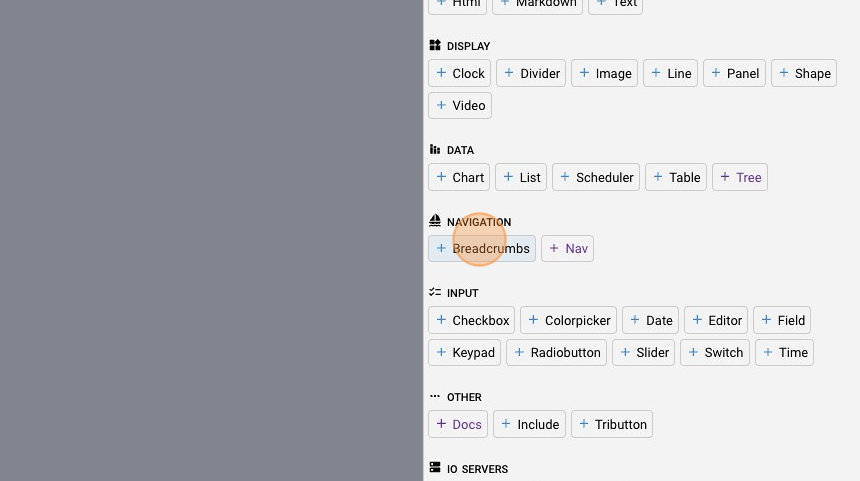
- Click "add"
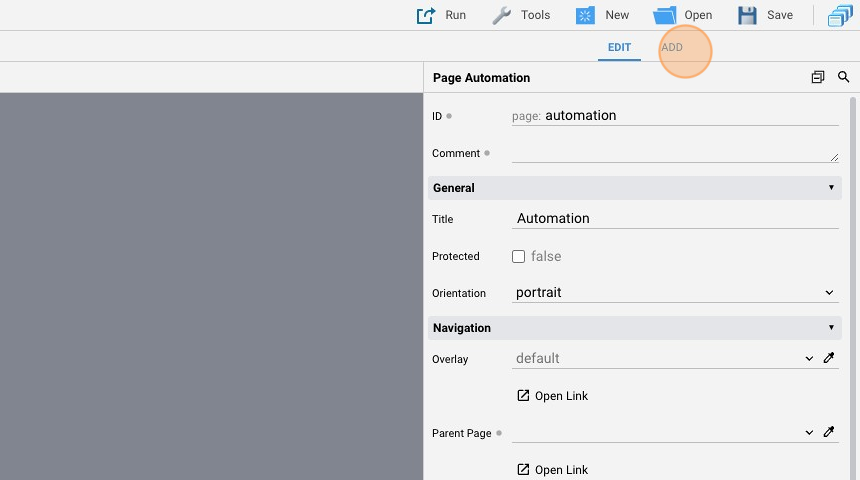
- Add the "breadcrumbs" object
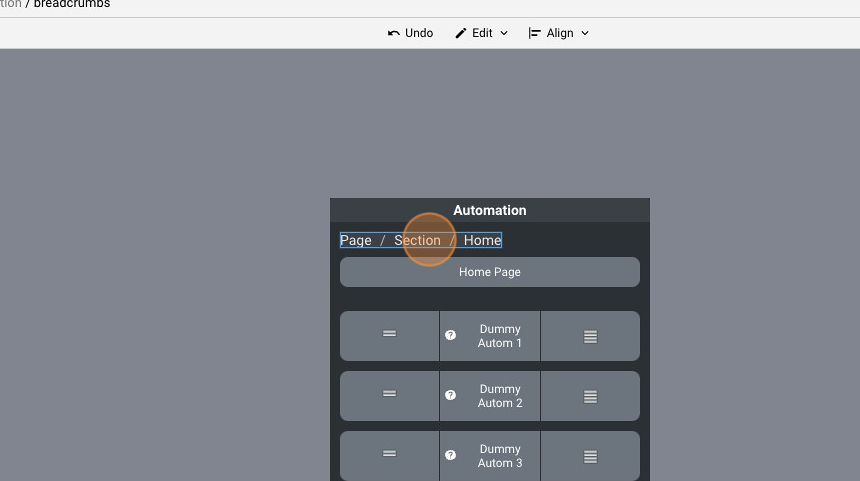
- It is automatically placed in the top-left corner of the portrait page
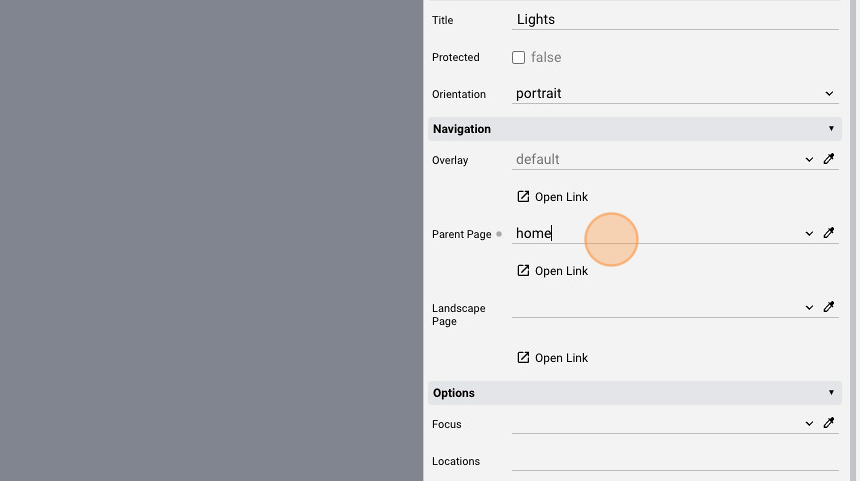
- Now select the other portrait page "lights"
- Change the "Parent Page" to "home"
- Click "add"
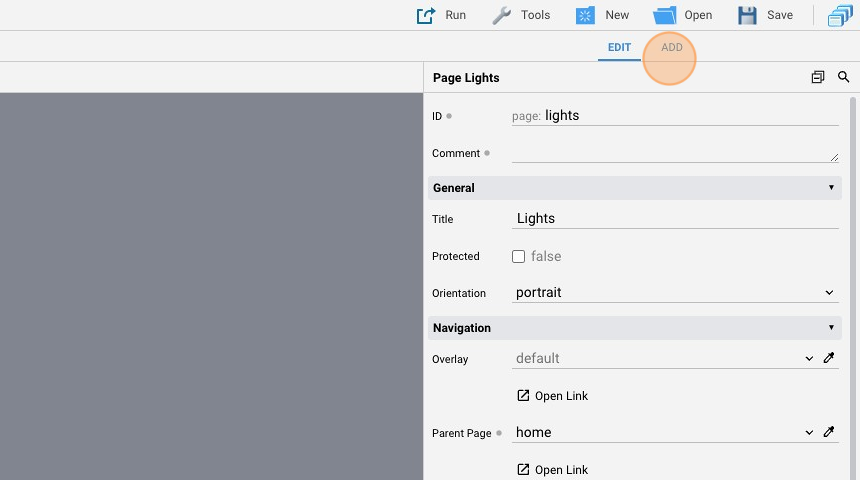
- Add the "Breadcrumbs"
- Click "Save"
- The breadcrumbs shows the hierarchy of the pages
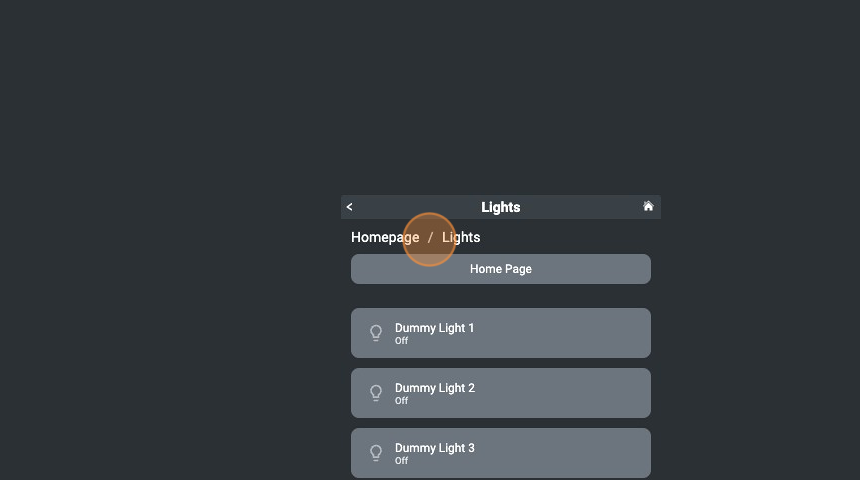
- We can also navigate the pages by clicking their name in the breadcrumb